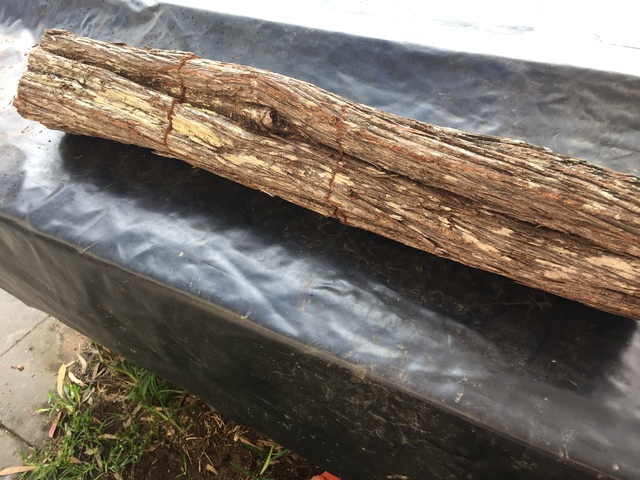
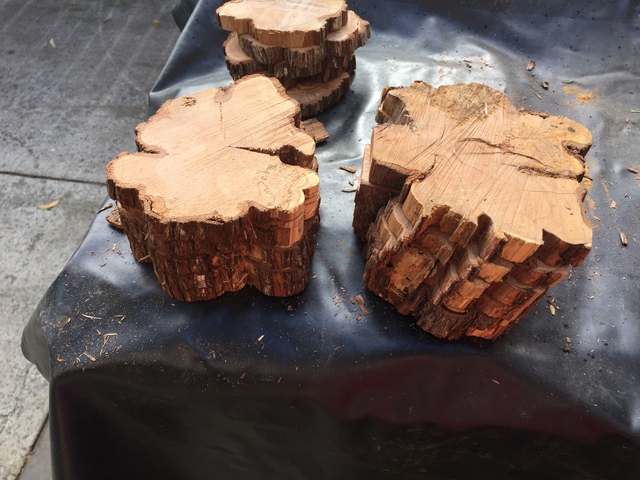
Over the Christmas break I had the opportunity to visit Crows Nest National Park (CNNP) While I was there I saw a piece of timber that the structure caught my eye as being quite attractive, so I brought it back home.
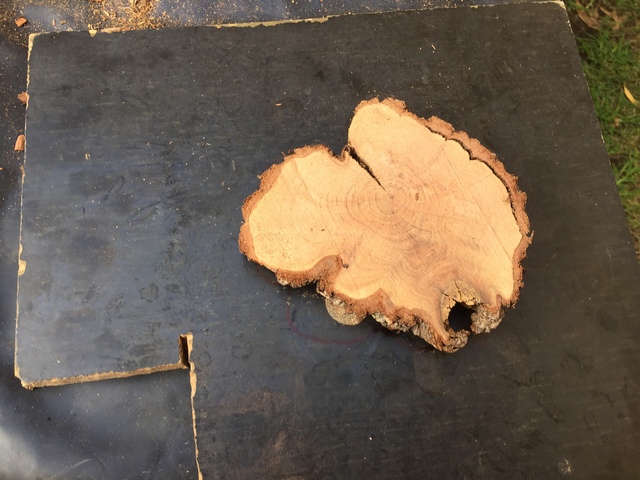
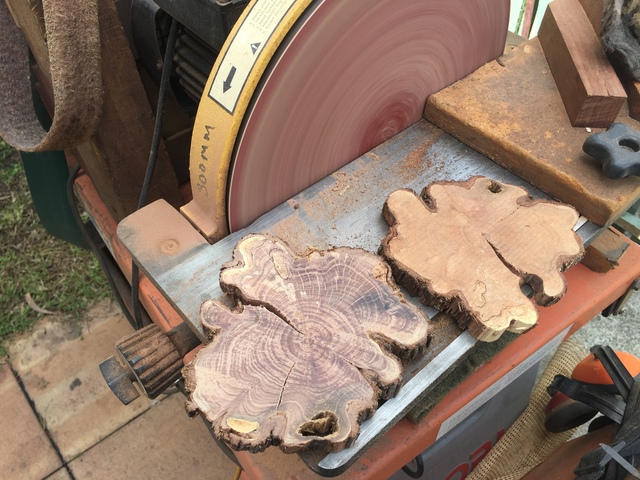
I cut it into three manageable pieces and then found the most interesting section. Using my band saw I cut a series of approx 16 mm sections from the sample. From these I selected about 10 which I thought would make attractive memorabilia type coasters. unfortunately as I tried to mill them I lost two in the process the thicknesser destroyed them, (not a real smart move on my behalf.) They started to be thicknessed OK but as the blades contacted more material then bang unexpectedly they were gone I tried various methods to retain them but all failed. My next attempt involved my ROS but although it worked it dislodged some of the bark edging. Thus causing another process to be activated
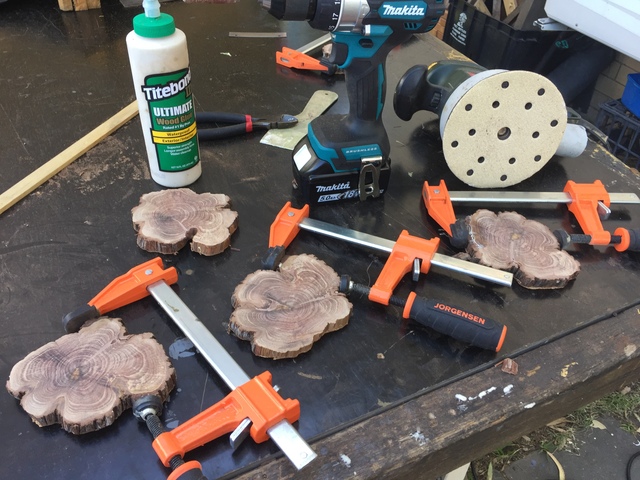
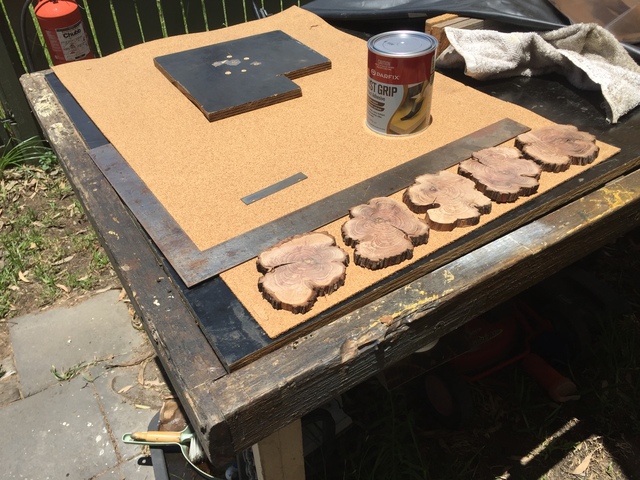
So I resorted to using my disc Sander to try and get them all parallel. they were tough as and some burning occurred in the process but I obtained a satisfactory result without losing any finger nails! That seemed to be the best solution. Next involved finding a way to retain the bark edging so I used some cork as a backing and possible retainer for the bark Contact adhesive was the glue of choice.
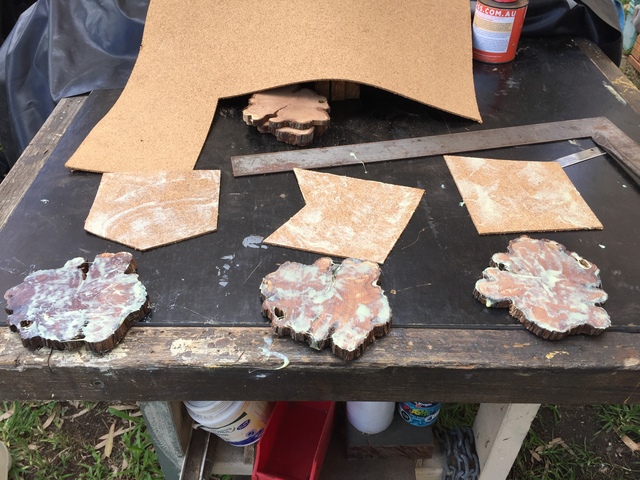
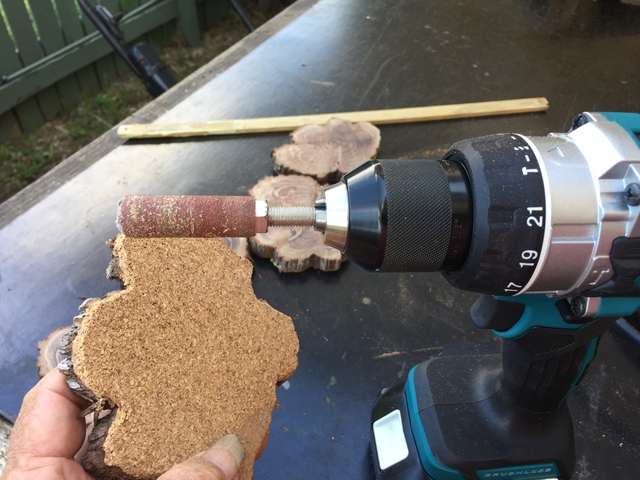
I then pressed the cork down using my veneer roller Next I trimmed the bulk cork away using a box cutter then profiled the edges with a drill mounted sanding drum.
(notice the new spankers Christmas present from No 2 son)
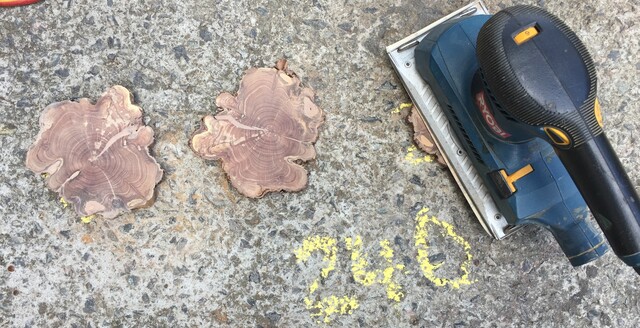
Next was Timbermate wood filler for the gaps and holes. And you guessed, ...more sanding, they presented a slight problem holding them so I placed them on the concrete driveway, that worked out OK. The disc sander was 60 G and I progressively advanced with the half sheet sander up to 240G
At this stage I seemed to be using more sandpaper than getting any noticeable improvements in results so stopped at 240G The surfaces were de dusted and inspected, a few depressions were re filled and all were ready for a finish coat.
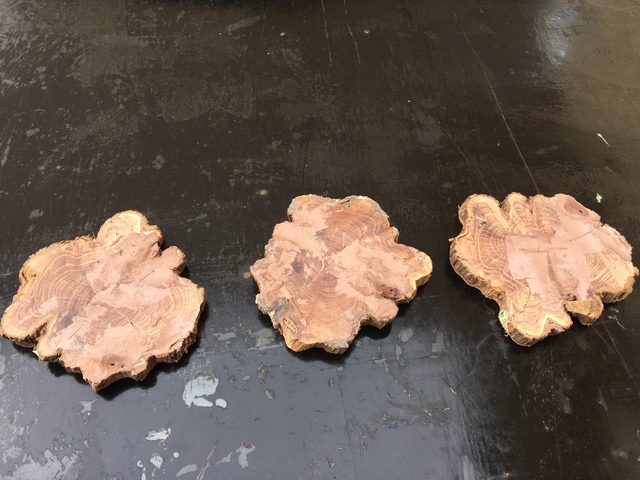
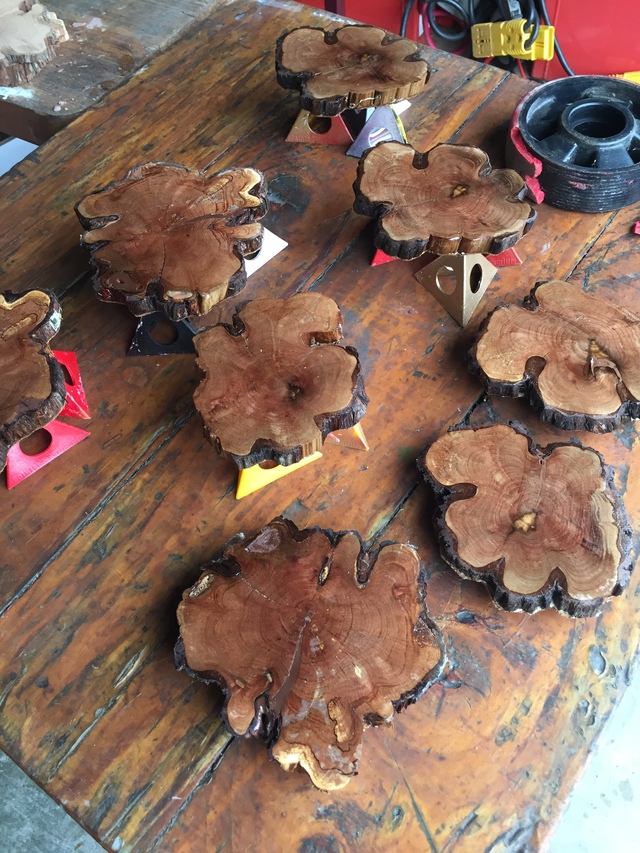
this process was repeated three times and I achieved the finished coasters you see at the beginning. some I made mirror images purely for looks other were matching profiles.
Now the timber I think is Sheaoak however I could not 100% identify it from wood data bases so will accept any knowledgeable input on my species determination. A build blog exists of which I will link later when I remember how! Enjoy.
Those came out great. Good job moving with the punches. A great lesson for anyone who thinks rustic/natural woodworking is easier than 'normal' woodworking.
My understanding is She Oak is the same as what we in Florida call Australian Pine. If that is true, the color seems right, but it is really hard to tell from endgrain. My experience with it is that is harder than white oak and dense tight grain like maple, and has beautiful long grain patterns.