I had some time while glue was drying on another project so I decided to make another Kuksa with a bigger volume. This one has a volume of 13 ounces so a full can of beer will fit in it nicely. Hi Les and Nathan. I was thinking of your guys on this project so I made full list of shots of the process of making one of these. I only hit my fingers twice on the spinning handle but no damage was done.
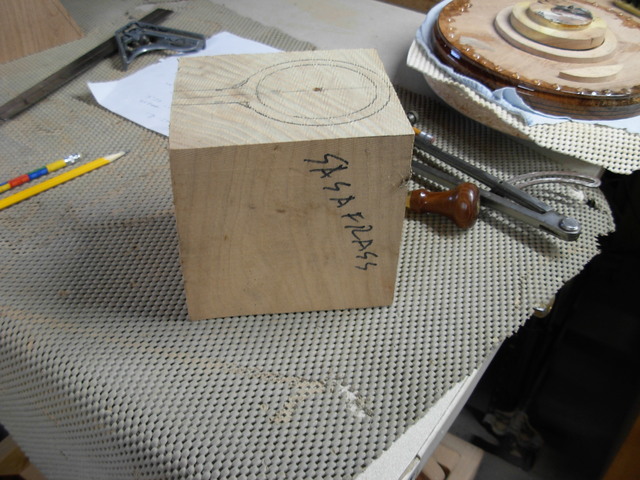
Here is goes from the beginning: When I went to wood storage room this block yelled "Pick me! Pick me! " so I started with a block that was a little longer than what I needed but it worked out okay.
I cut away the handle stock on the top and bottom to be sure I did not hit it while turning the finished ring dimension. If hit, it could tear it out enough to ruin the piece.
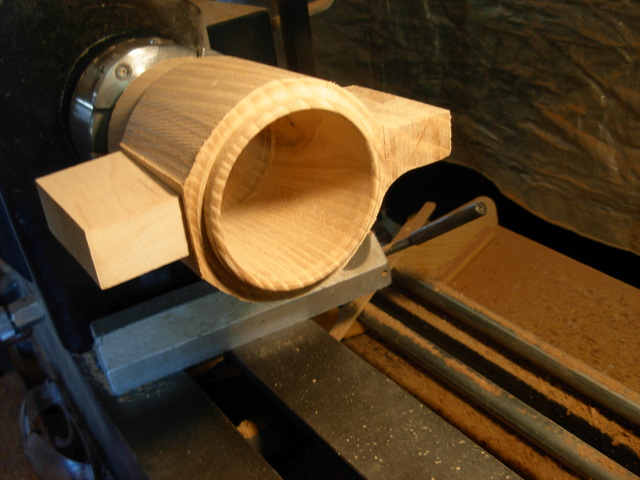
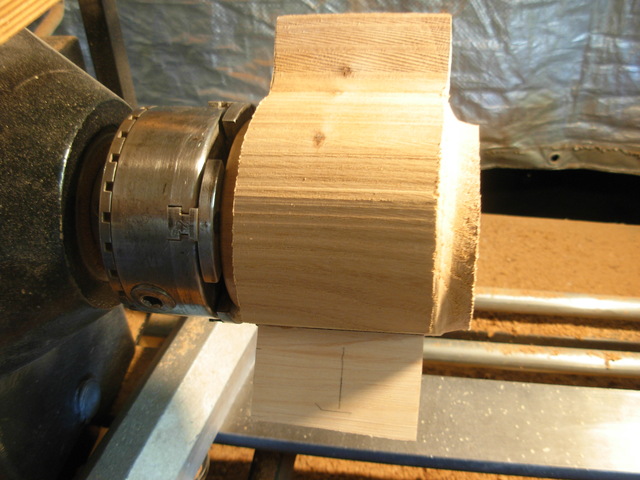
Put the bottom out when starting between centers so you can turn the tenon for holding it for the rest of the turning operations. You can see I had about 3/4" of extra length on this block.
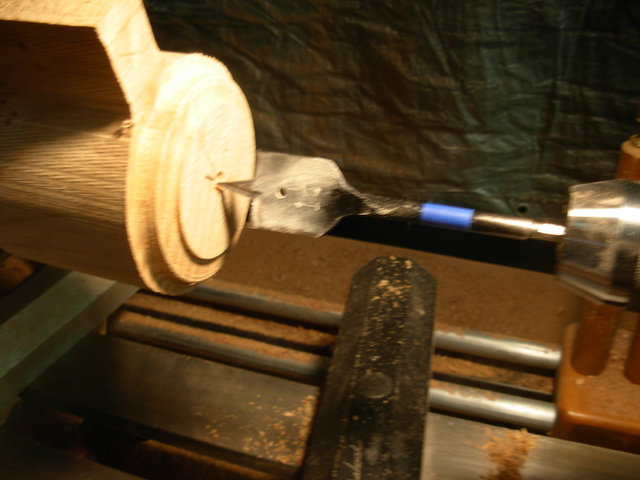
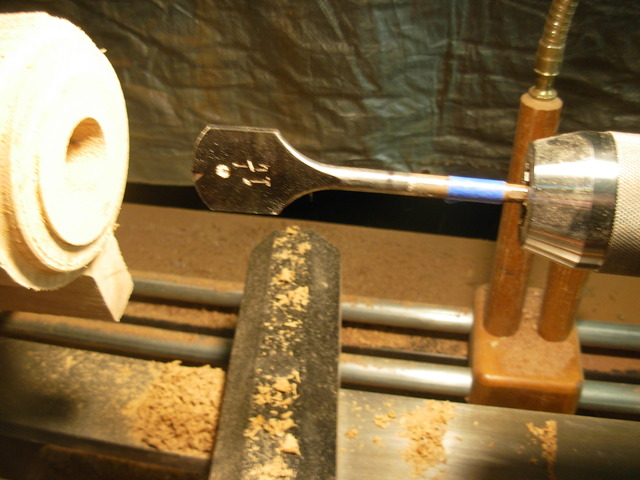
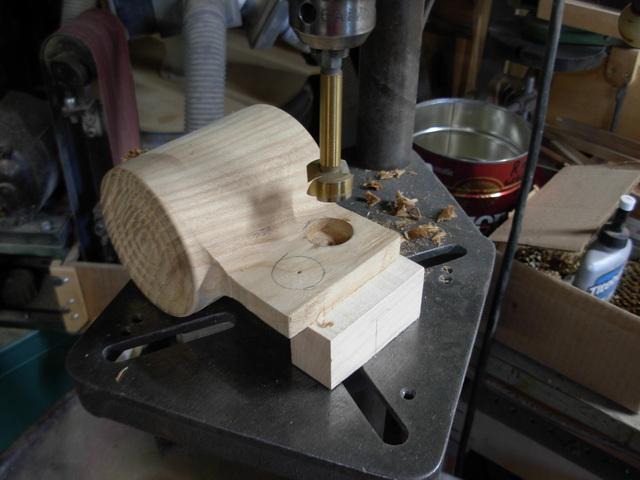
I start out with a spade bit rather than a Forstner bit because it cuts faster and cooler. I used the round end spade bit to establish where the bottom inside will be. The tape is my gage.
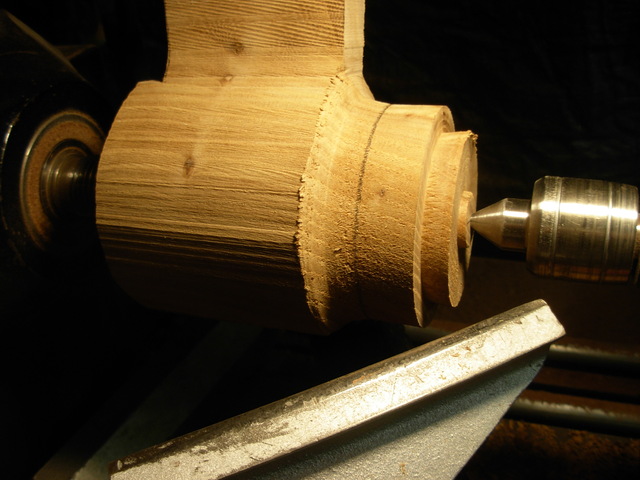
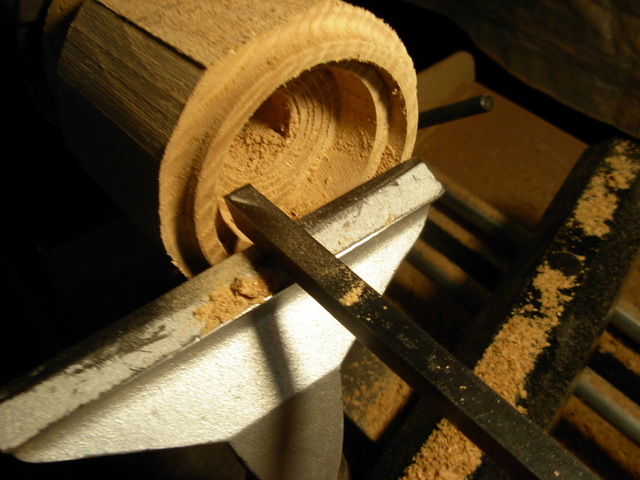
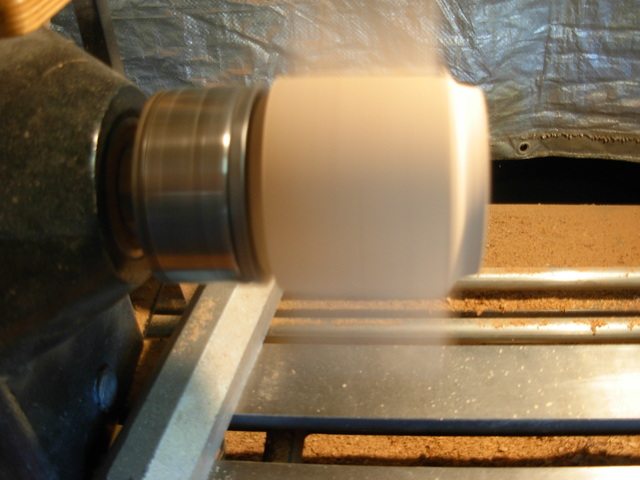
I started with a bedan to hog off a lot of wood It was getting to vibrate so I glued a block on the other side opposite the handle stock so it was more balanced. . The outside diameter is established with a ring around the top and the inside is bored to dimension and sanded so it can be taken off for the rest of the operations starting with the bottom cut off.
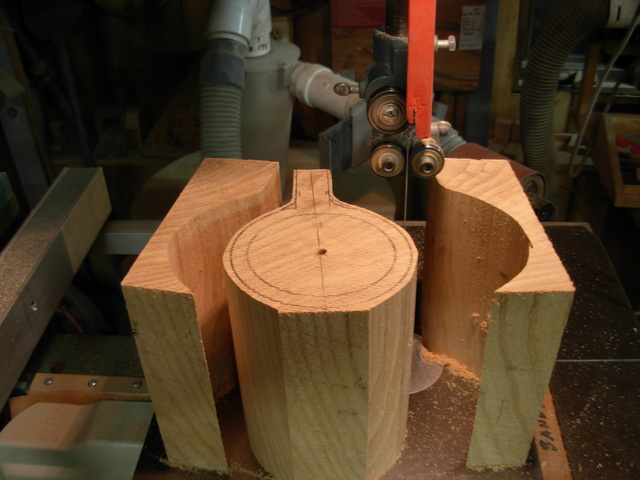
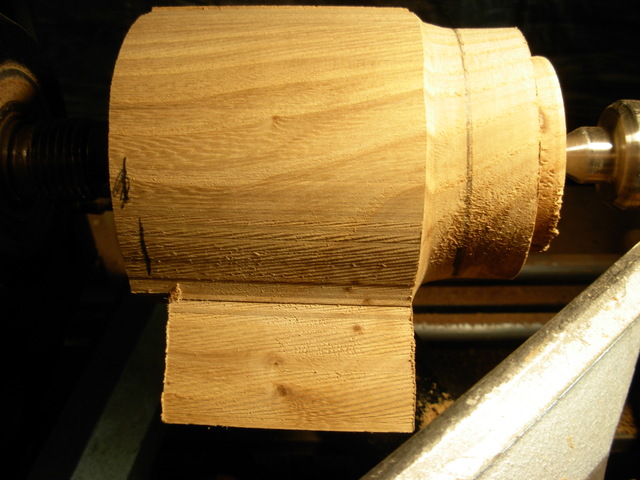
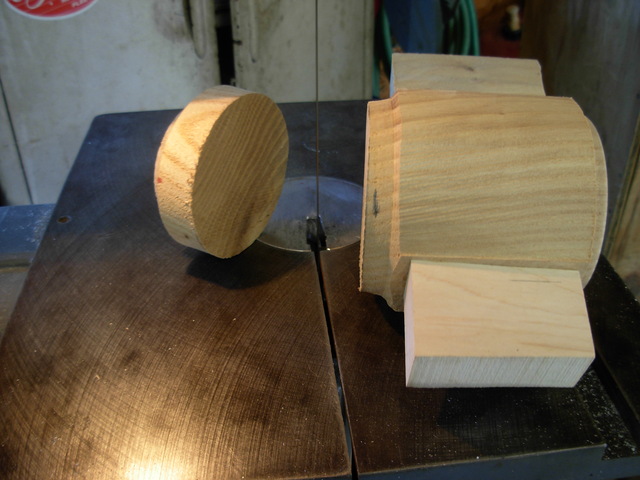
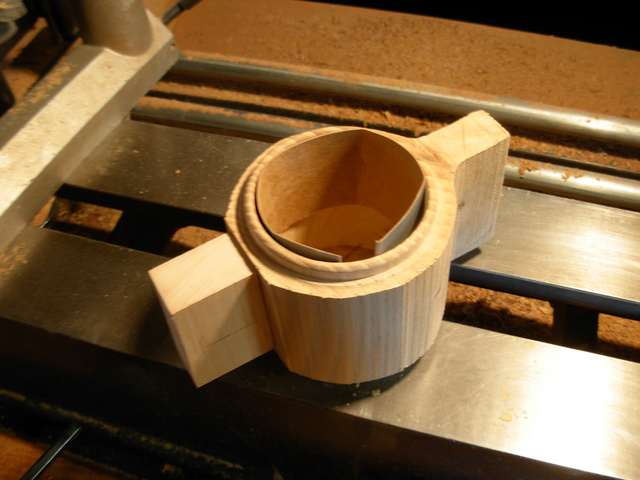
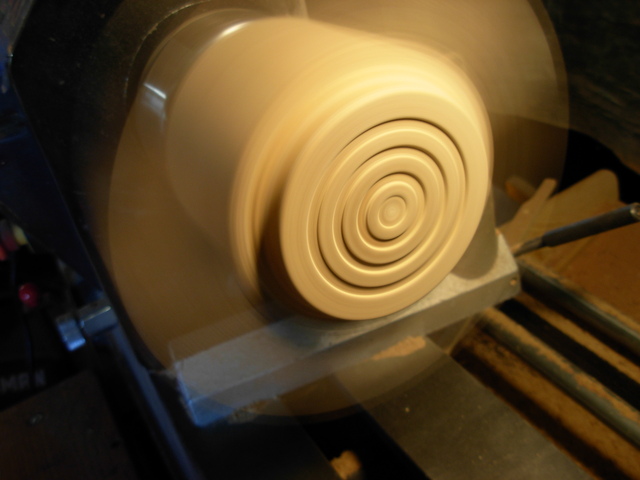
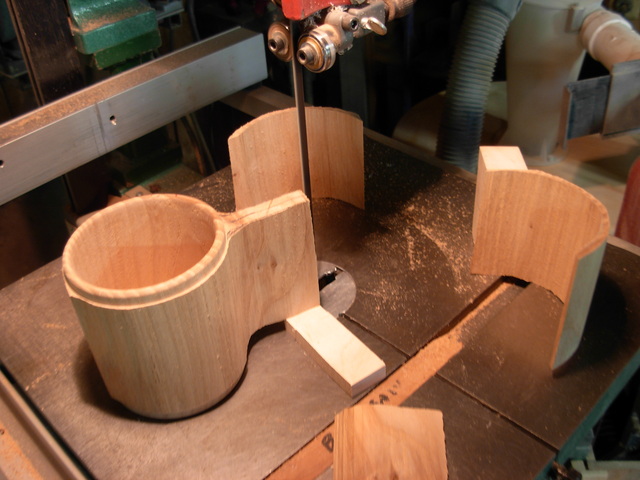
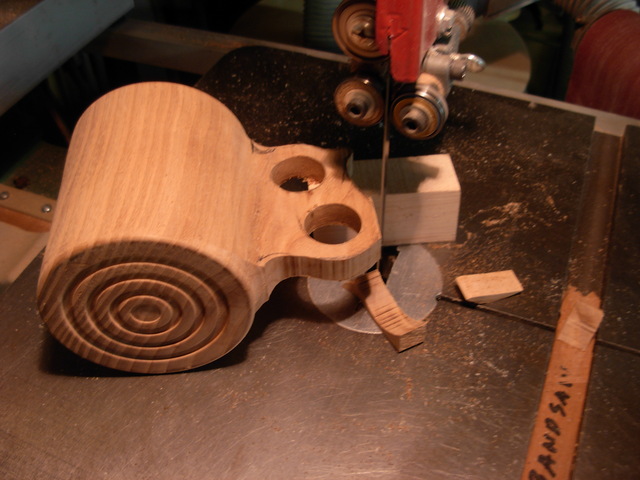
I put a ring of cardboard in the inside and mounted on the chuck from the top in order to finish the bottom. The extra block I glued on let it run without any vibration !! You want to be careful not to put your fingers near that spinning handle stock!!!!!!! I trimmed it close to that top ring on the bandsaw
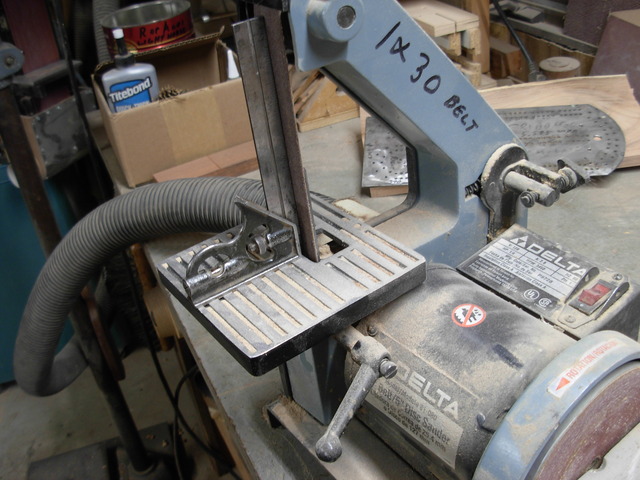
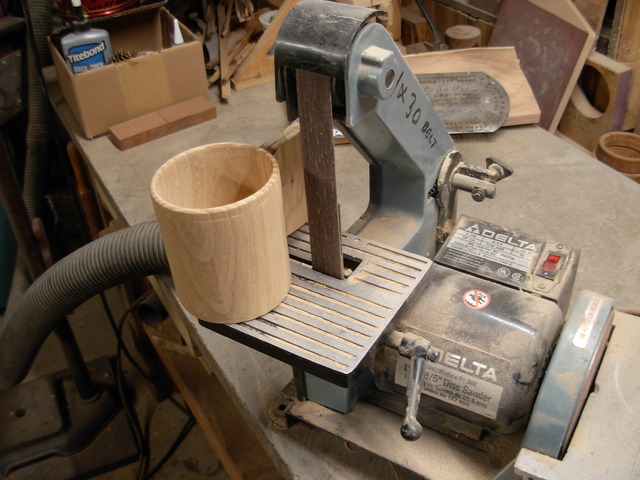
I had to check the sander to make sure the table was square to the belt.
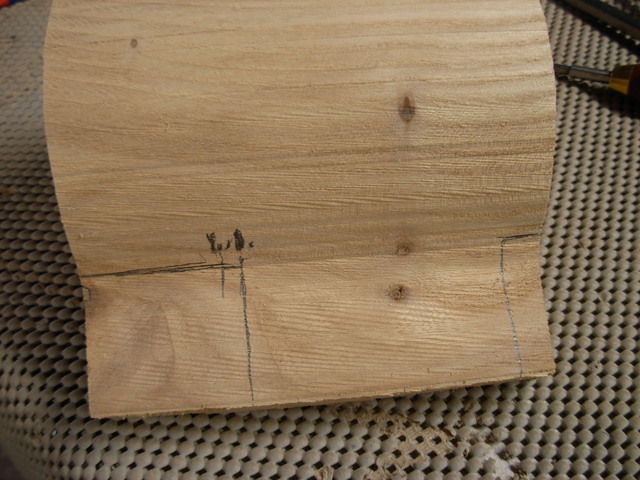
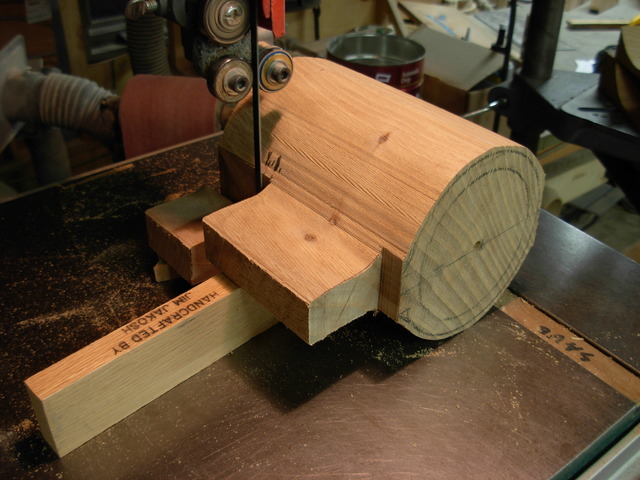
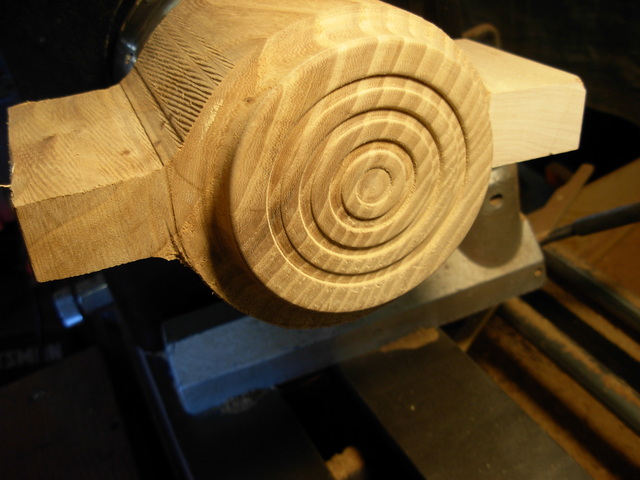
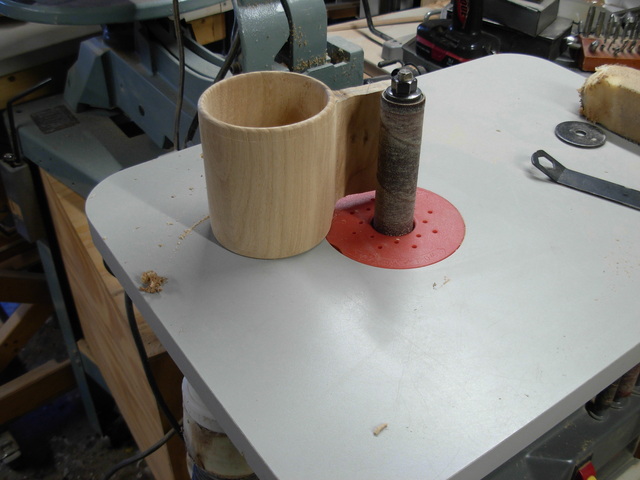
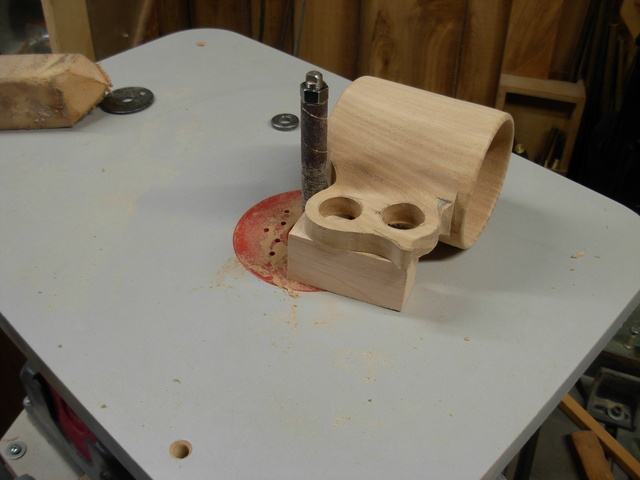
The handle is laid out and drilled and rough cut to shape with the band saw with a support to insure square cuts. The rest is sanding and blending the handle to the cup. THE END
Cheers, Jim ........................ Variety is the spice of life...............Learn something new every day
Great how to picts. Thanks for posting I'm half way through a very similar process on a chunk of cedar....soft wood for practicing. I only left one "wing" on the core while turning on the lathe. Gluing on the counter balance is a better idea although on my heavy lathe with the light weight cedar I had no problem. Now I need to clean up the sides. Next I have some birds eye birch to try.
Another very nice mug, and of beer can like capacity, what could be wrong with that? I like the grain, don't see much Sassafras around here. I like it.
When I started reading the first thought I had was the possibilities of the handle making trouble for you, then there it is, finger banging. Glad nothing serious resulted. Great looking beer mug. 👍👍
Thanks, Paul. It is only bit hairy when turning that ring around the top. when boring you are away from the spinning handle but always have to be aware of it...line when placing the tool rest! I set one up once and the handle caught the tip of the tool rest and snapped the handle stock right off. It was a clean break so I glued it back on after turning the ring and the inside and it is not noticeable at all! Actually that made it easier to turn!!
Cheers, Jim ........................ Variety is the spice of life...............Learn something new every day
I’ve got to say, Jim, while I know it would be cheating it sure seems like cutting the handle off and then gluing it back on after turning would be a much easier way to go!!
Ryan/// ~sigh~ I blew up another bowl. Moke told me "I made the inside bigger than the outside".
Great work and a very nice story with photos. Its almost like I am right there with you during your work. Great job, I wish I had my old shop back with all the great tools like you have.