awsum55
in about 3 years
More from awsum55
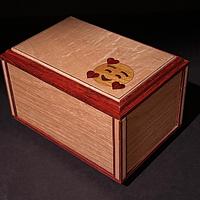
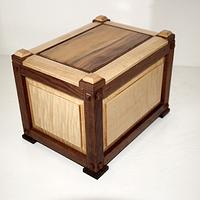
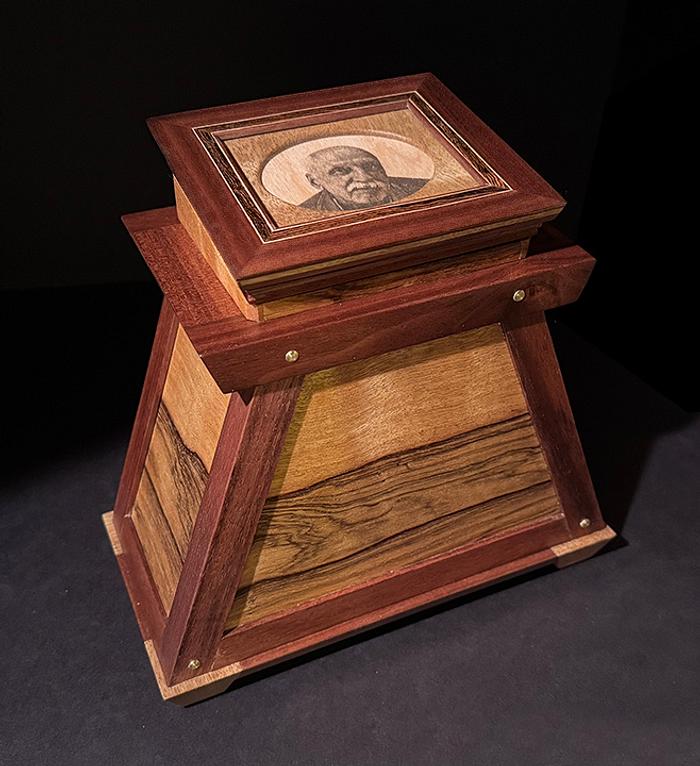
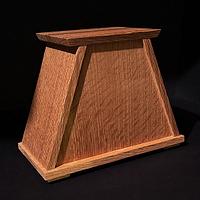
Urn

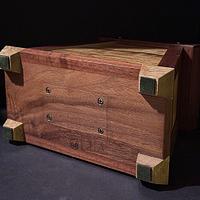
I had to figure out a way to make the glass replaceable just in case something were to happen to it. I ended up using magnets and a pin to register the frame. The glass is held in place with double stick tape which makes it easy to fix. I set the magnets half in and half out to prevent the frame from sliding or rotating. I also added a pin to register the frame correctly. I made a video so they would know how things worked and wouldn’t pull the frame off or drop the urn by mistake.
https://youtu.be/bmPx0VpmBbs


.................. John D....................
38 Comments
The Other Steven
working with my hands is a joy,it gives me a sense of fulfillment,somthing so many seek and so few find.-SAM MALOOF.
Which one will he be in? The one that gets buried or the other one?
James McIntyre
Ron
Ya done good!
I feel your pain on getting the best results with lasing an image.
If you haven't already, check out Imag-r, Saved me a bunch of time.

Not my favourite topic, however, one of the better designs that has cropped up.
If your first cut is too short... Take the second cut from the longer end... LBD
I'm sure your daughter in law and her family appreciates your work... Great work!
Which one will he be in? The one that gets buried or the other one?
Thanks James, actually both.
.................. John D....................
working with my hands is a joy,it gives me a sense of fulfillment,somthing so many seek and so few find.-SAM MALOOF.
.................. John D....................
Ryan/// ~sigh~ I blew up another bowl. Moke told me "I made the inside bigger than the outside".
working with my hands is a joy,it gives me a sense of fulfillment,somthing so many seek and so few find.-SAM MALOOF.
Cheers, Jim ........................ Variety is the spice of life...............Learn something new every day
James McIntyre
You’re dividing him in two parts (who gets that job)and half of him will be buried in his hometown and the other half will stay with his daughter.
The funeral home will do the dividing.
.................. John D....................
James McIntyre
.................. John D....................


