


Share your craft projects
Make new craft buddies
Ask craft questions
Blog your craft journey

lanwater
2132 posts
and
35 followers
in over 12 years
in over 12 years
More from lanwater


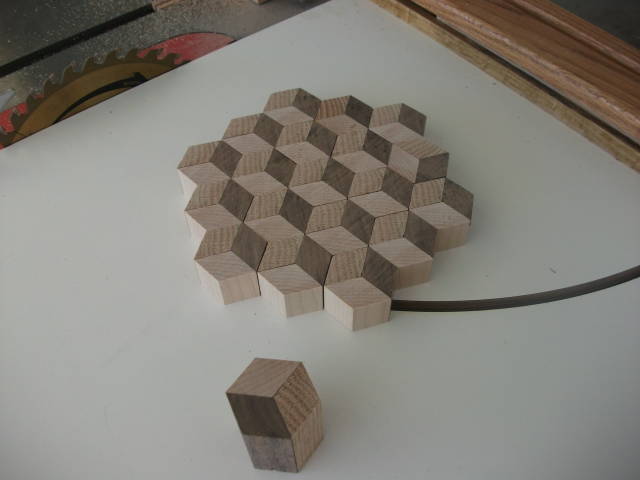
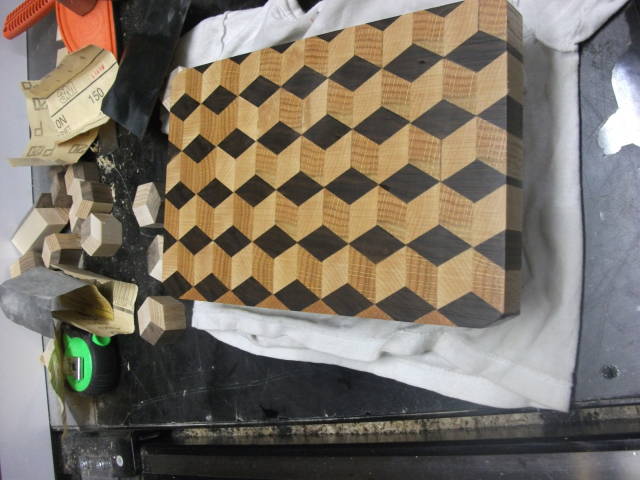
Thumbling Blocks


This cutting board was my second try at cutting boards.
This board was a little more challenging.
I followed Degoose blog: http://lumberjocks.com/degoose/blog/10460
It is very detailed.
I had few hiccups along the way:
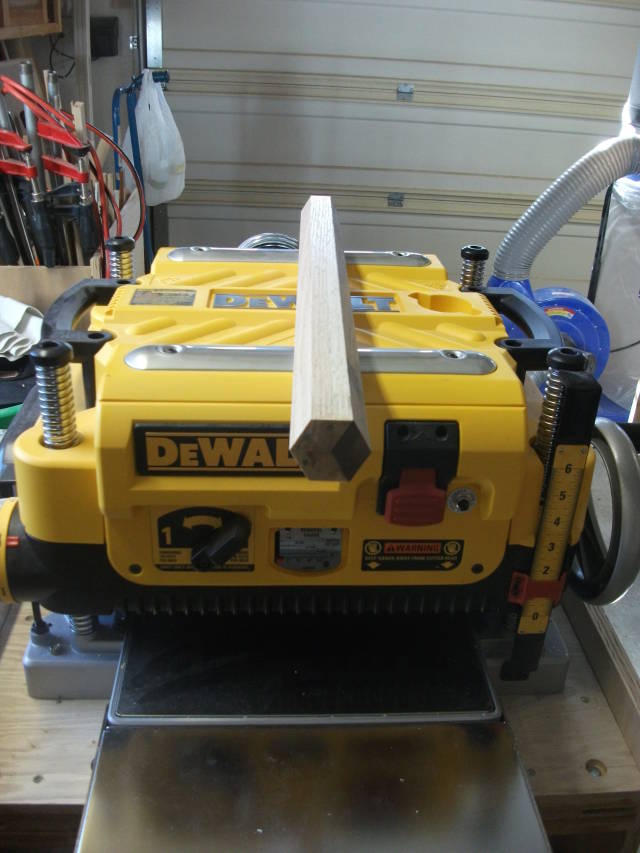
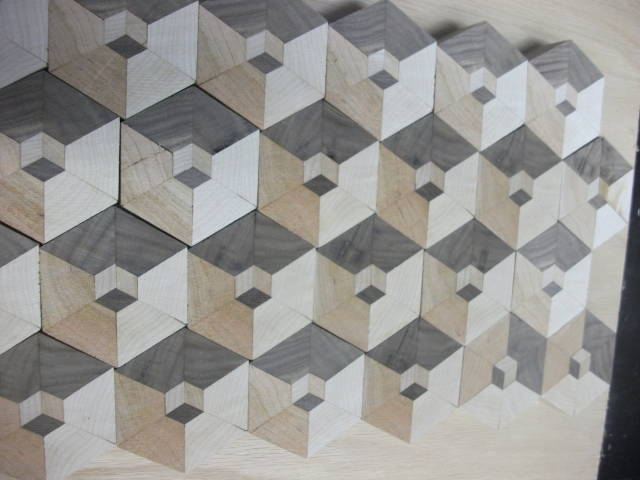
I started with only 1 “hexagonal sausage” thinking I would make my pieces 3/4” thick and that would give me a decent size board..
Well I changed my mind and decided to go for 1” and 1/8 thick to be left with about 1” after sanding. That meant I run out of material pretty quickly.

So I made a couple of more “sausages” but the setup was no longer the same on may tablesaw and the planer also. It did not matter how closely I tried to match the original pieces thickness the new setup was a tiny tiny off. That came back and haunted me during the glue up.
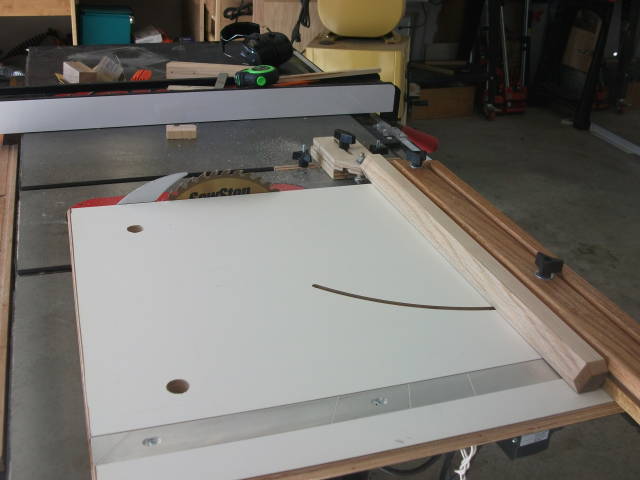
Lesson learned: Make enough of the hexagonal sausage with the same setup.
Sanding was a little cumbersome and I must say I am sloppy at sanding. End grain seems a little harder to sand than long grain.
Finish was much easier; just socked it with mineral oil on both sides, waited a couple of hours and wipe it clean.
The next day I applied a layer of butcher block oil (mineral oil and bees wax) let it soak in for a couple hours and rubbed it clean. Did the same thing again the following day.
I loved seeing dripping oil from the other side of the board (end grain).
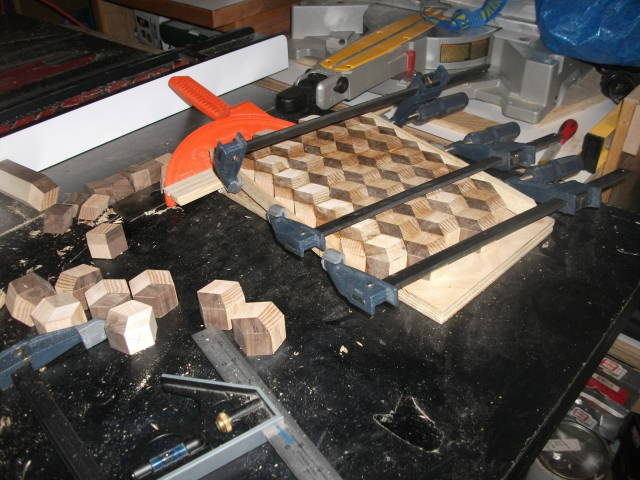
The glue up was the most tedious. Those tiny differences add up and some adjustment (sand paper) were necessary to fit those pieces.
I still had some blotches from the glue that was absorbed through the end grain during clamping; that I could not remove. Also in my hurry to finish glue up before the glue dries on me, I flipped a couple of blocks.
Cut it to length et voila.
Wood used: White oak, maple and dark walnut.
Abbas, Castro Valley, CA
12 Comments

You did a fantastic job , I really like the 3D look ,
Wheaties

Looks great. I don’t see any issues with fit.
I watched a video by some Russian guy that made a tumbling design like yours but did it by putting strips together like you would for a chessboard pattern. That greatly reduces the glue up mistakes and cuts the assembly time so you can get clamps on it quickly. The downside is each of the diamonds is 2 pieces, so it’s a little different.
Just found the video.
Losing fingers since 1969

I really like the tumbling block pattern you did a great job Abbas
Thanks for the photo work ,it was very interesting
woodworking classes, custom furniture maker
Thanks Bruce. Jerry, our woodworking class assistant got this one. He like it a lot.
Jerry helped me a lot. I remember him whispering “from left to right” when I hesitated the first time on the router table.
Thanks Brian! I have watched many of his videos but missed this one for some reason. I watched it last night and his technique makes the glue up much easier.
In fact I was looking at a double cube pattern that could be made easier with his way.
I appreciate the video.
Thanks A1Jim!
Abbas, Castro Valley, CA

Nice one Abbas. I’ve always liked the Louis cube pattern but haven’t gotten around to using it yet.
The early bird gets the worm but its the second mouse that gets the cheese.
Thanks Paul!
That’s the only one I did.
The second one I tried, the double thumble ended in the recycle bin because of a "1/64’]’ bug:)
That one was based off Steve (Spalm)
Abbas, Castro Valley, CA
Thanks Paul!
That’s the only one I did.
The second one I tried, the double tumble ended in the recycle bin because of a "1/64’’ bug:)
That one was based off Steve (Spalm)
Abbas, Castro Valley, CA

Great looking board!!!!!!!!!!
Cheers, Jim ........................ Variety is the spice of life...............Learn something new every day

love it. i gotta do one !
working with my hands is a joy,it gives me a sense of fulfillment,somthing so many seek and so few find.-SAM MALOOF.

Fantastic...looks 3D
I know what you mean by a tiny tiny bit off. It haunts you in the process!!!!!!!!!! I have yet to get a perfect one. I have thrown a few away too!
Cheers, Jim ........................ Variety is the spice of life...............Learn something new every day
Very cool
Petey
More from lanwater