lanwater
in almost 12 years
More from lanwater
Easy Plaid Box
Easy as in Easy Miter that is.
This is a project I did in 2014. One of my favorite. You may have seen it on another site
Credit goes to Martyn (britboxmaker) for the easy miter technique and a great blog:
http://lumberjocks.com/BritBoxmaker/blog/17048
This box started as a cutting board that I liked from Joesbetterhalf; this one:
http://lumberjocks.com/projects/90562
Thanks for the inspiration Joesbetterhalf!
Pictures:
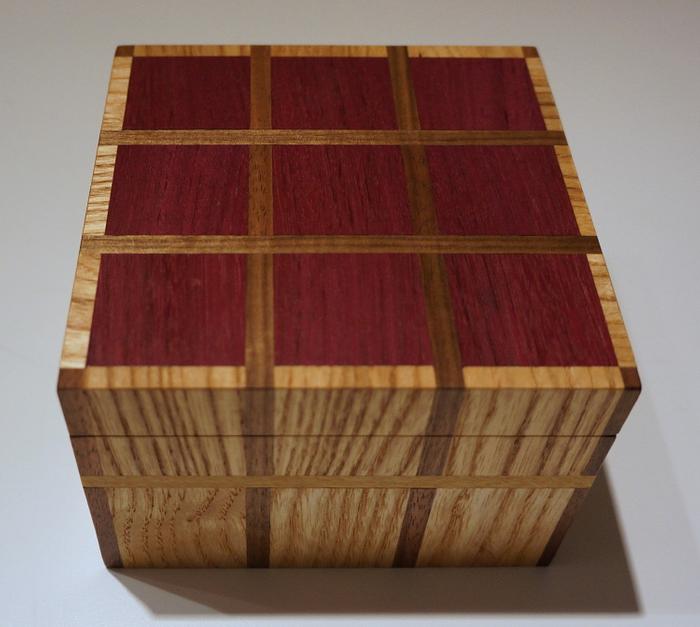
1- Finished box
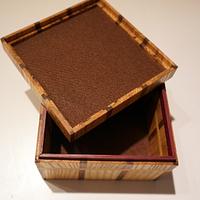
2- Box and lid
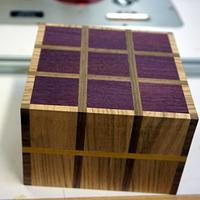
3- Box prior to lid separation
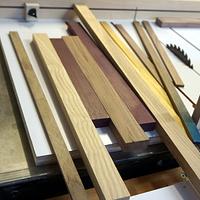
4- Lumber used
5- Plaid pieces being cut.
I had some gaps due to a poorly executed glue up. I thought about recutting the board and re-glue it.
after much thoughts I decided to resaw the cutting board and make 2 easy miter boxes.
While thicknessing the 2 halfs I got from resawing, the planer decided to chew on one of them when I got close to 1/4 inch thick (:
I had to take the planer apart to clean up the clogged internal blower.
Construction:
I used some long loose pieces I collected overtime for this build.
I thicknessed all of them and ripped them to width and cross cut to size.
After gaps where found in the glue up, I re-sawed the board in two:
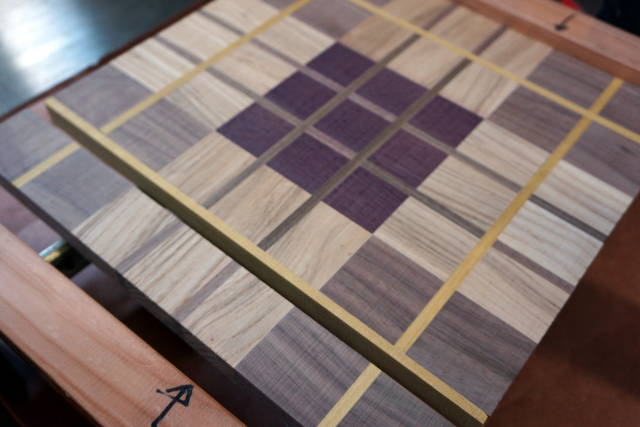
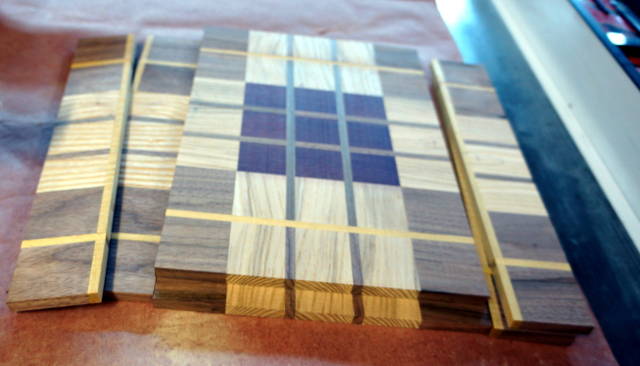
Cut Dadoes /grooves 1/8 all around the edges to receive the bottom and 5/8 for the lid separation
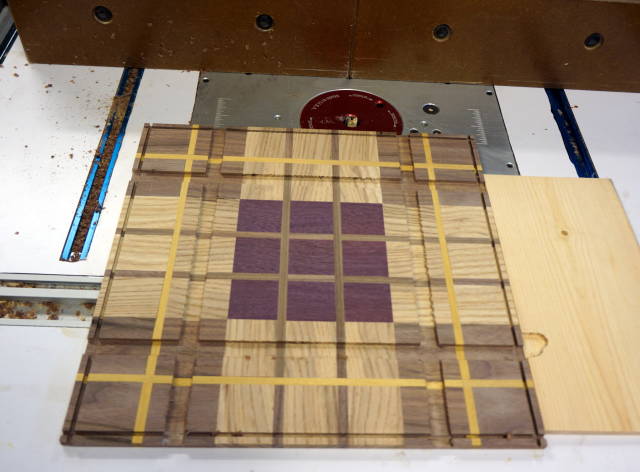
I applied some blue tape where the V groove will be cut on the opposite side and cut all around.
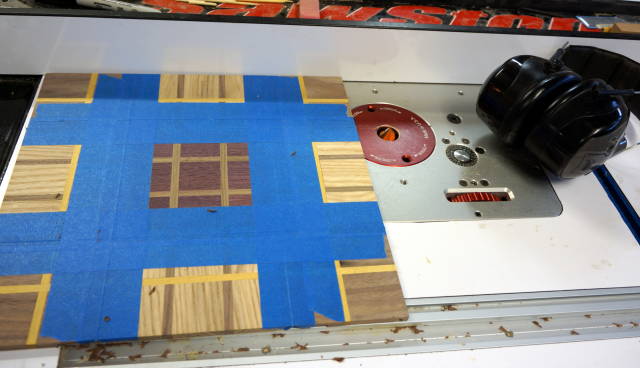
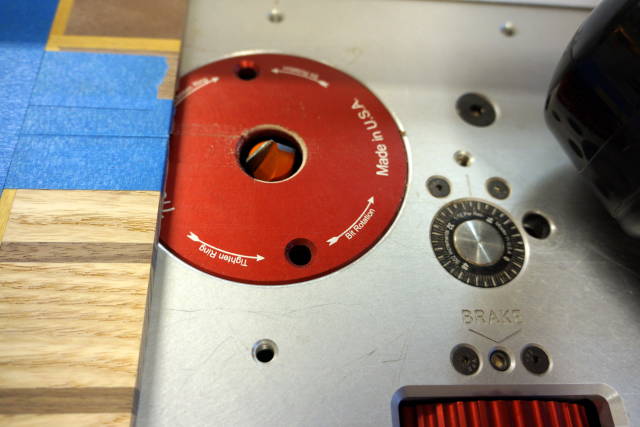
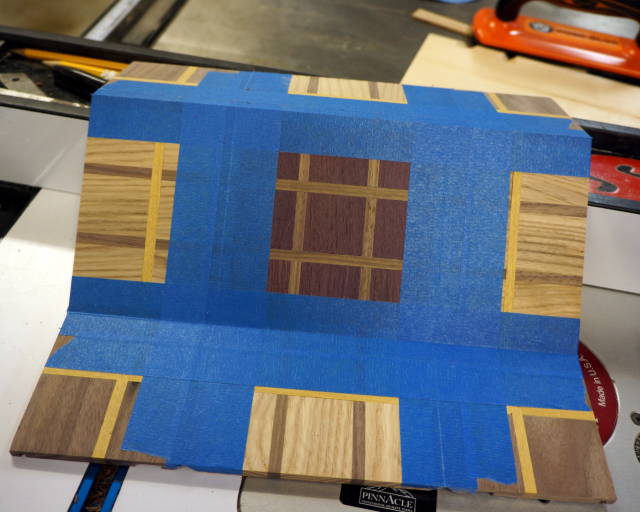
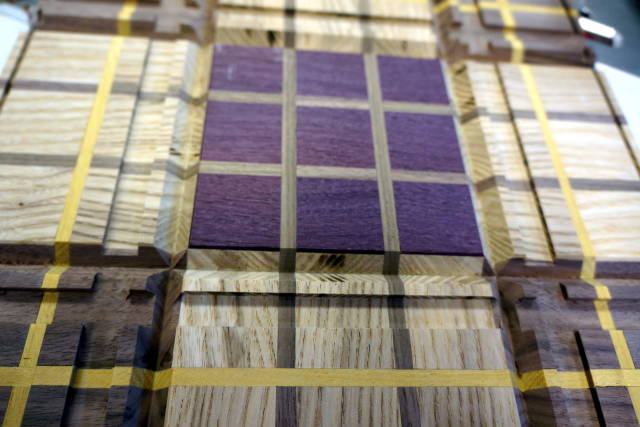
Cut off 4 corners with utility knife, applied glue, folded the box an “mummified” it.
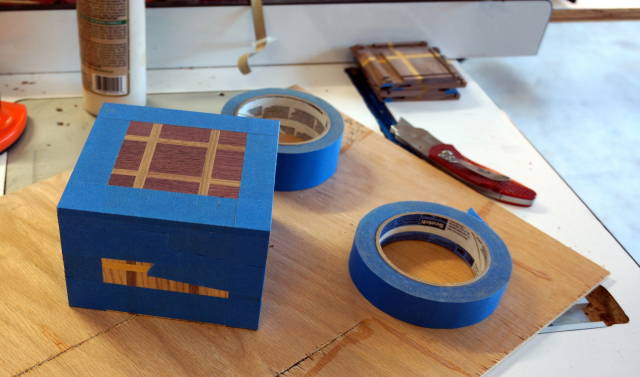
The separation was done on the bandsaw, I located the cut line with the help of one of the disregarded 4 corners.
For those wondering why the ends are cut off in picture # 6, The board was a little higher than my bandsaw
resaw capacity. So I cut from both sides to keep symmetry. I should have cut all four sides so the symmetry was maintained through out… That translated in the yellow heart strip a little off on two sides.
more learning for me :)
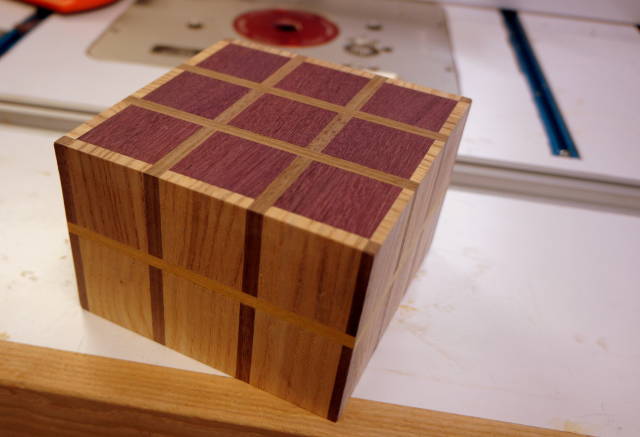
The positions of groove /dadoes and V-groove depends on what proportions you want for the box and where you want the miter folds to happen.
Wood: walnut and ash purple heart and yellow heart. The ash is from a saved small piece I though had character.
Bottom is 1/8th plywood.
*finish: *
wipe on satin poly gel from General Finishes.
The bottom and top interior are line up with brown felt.
*dimensions: *
5×5 x 3 5/16
Abbas, Castro Valley, CA
17 Comments
That’s really interesting , you do very nice work
Wheaties
That is some beautiful work. I’ve made a few tape-clamp mitre boxes. It’s tough to get perfect. Have you seen keifer’s mitre box strap clamp? It’s basically 4 inside corners with rollers that allow the strap to move without affecting the position of the corner pieces. It’s on my get-around-to-it-someday list.
Losing fingers since 1969
Very cool ,a great design and excellent workmanship
woodworking classes, custom furniture maker
I like it Abbas.
Nicely done.
The early bird gets the worm but its the second mouse that gets the cheese.
Thanks for the great comments.
Brian: the beauty of the easy miter is the continuity of the fiber. It’s like you are folding the wood. With cutting miter you loose at least twice the thickness of the blade; the wood grain flow is then interrupted. Give the easy miter a try. It’s easy:)
I am a fan of Klaus. He has a great mind and he does good stuff. I have several of his project on my to do list. Don’t laugh, I added doors a couple weeks ago. I am growing tired of the commercial ones.
Abbas, Castro Valley, CA
Great job ;)
-- Michal, http://WoodworkingWeb.com
Thanks Michal!
Abbas, Castro Valley, CA
Great looking box Abbas and excellent work too.
Mike, an American living in Norway
i love your work, just beautiful.
Jack
Thanks Mike and Jack!
Abbas, Castro Valley, CA
Gorgeous, love the creativity and thought process you went thru to get this done. Love your work, something I can learn from also.
Jamesw
Thanks James!
Abbas, Castro Valley, CA
working with my hands is a joy,it gives me a sense of fulfillment,somthing so many seek and so few find.-SAM MALOOF.
Ryan/// ~sigh~ I blew up another bowl. Moke told me "I made the inside bigger than the outside".
Petey
Main Street to the Mountains


