


Share your craft projects
Make new craft buddies
Ask craft questions
Blog your craft journey

lanwater
2132 posts
and
35 followers
in over 12 years
in over 12 years
More from lanwater


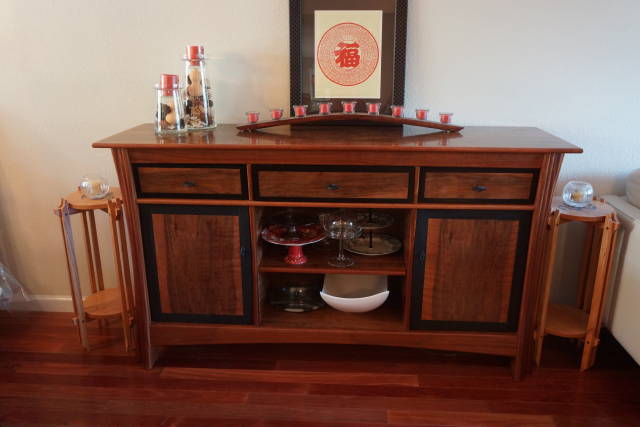
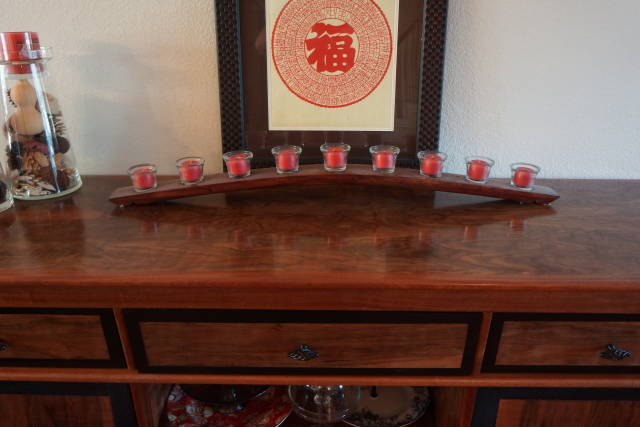
Buffet


My woodworking teacher, Jim Vice, invited few students to take his buffet class. It was an instruction only class were everyone was expected to do all the work at home.
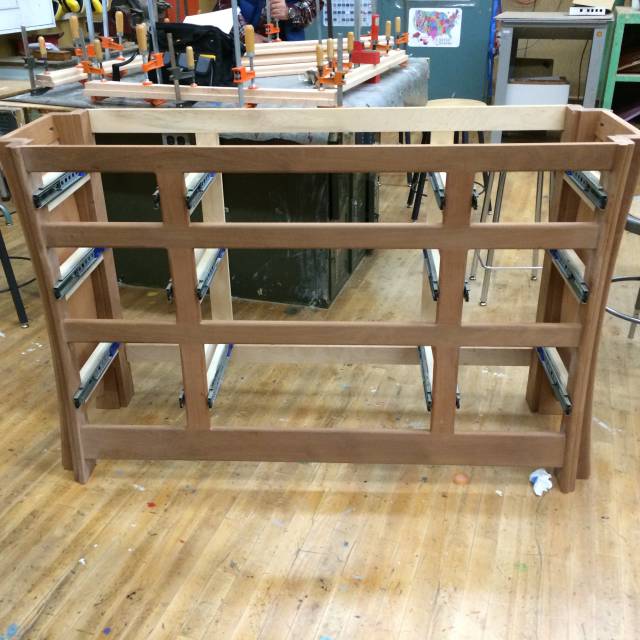
The original design was 9 drawers
I liked his design but I gutted it and changed it quite a bit. I did not want to use just solid wood. I wanted to practice my veneering skill. Well Jim never taught veneering but some of you will remember my “baby steps” under the tutelage of Paul Miler, AKA shipwright.
I would like to say a bunch of things about Paul. I am sure we all have seen his blogs and work. He has been very generous in sharing his knowledge. In my case he went way beyond that. From what I have been reading from people who have interacted with him, he has done the same with them as well.
My friend Bently has been whispering in my ears every time he sensed I need help throughout the project:)
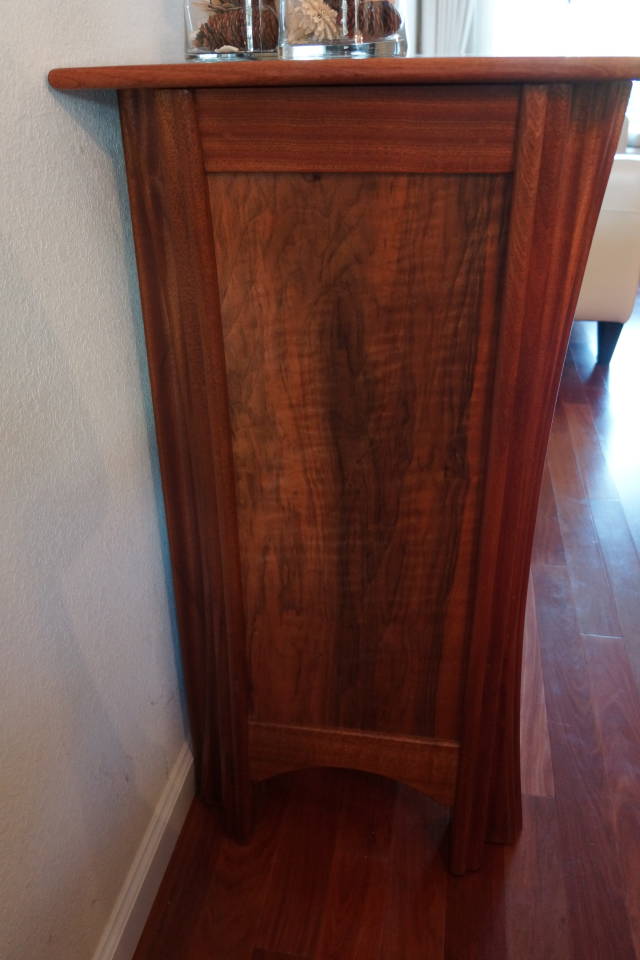
I wanted to use walnut for this project. I did not find some decent walnut at the local lumber yards. I went for ribbon sapele for the frame instead .
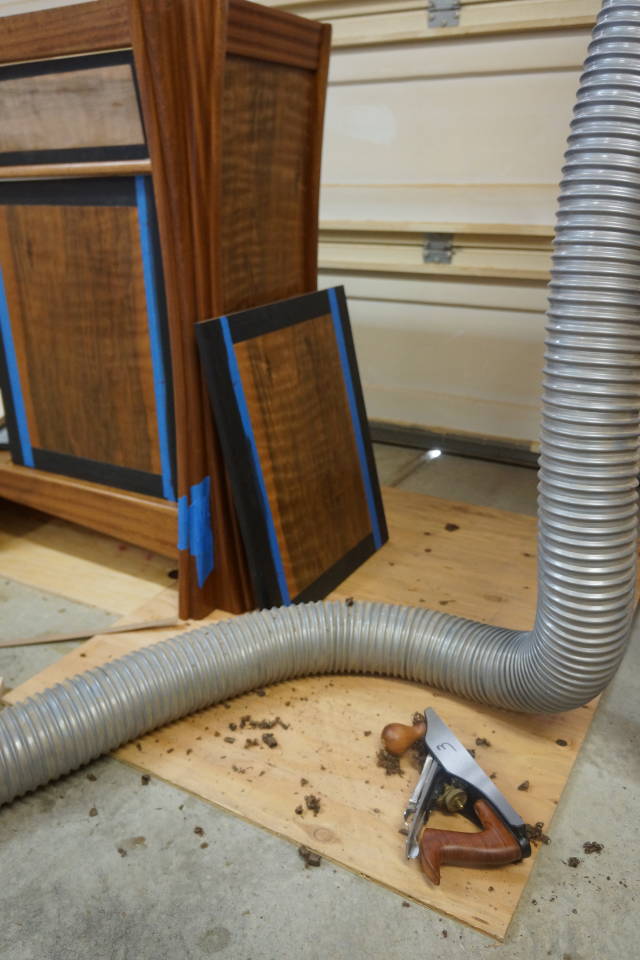
Using Walnut veneer opened up a tremendous amount of figured walnut none of which I could find as solid. It is worth noting the price of veneer is much cheaper than solid.
All veneers for this project were purchased from Joe Woodworker.
The veneer vacuum system was built following his plan and all parts were purchased from him as well.
If you noticed the legs are curved and so all the front had to be “aligned” with that curve.
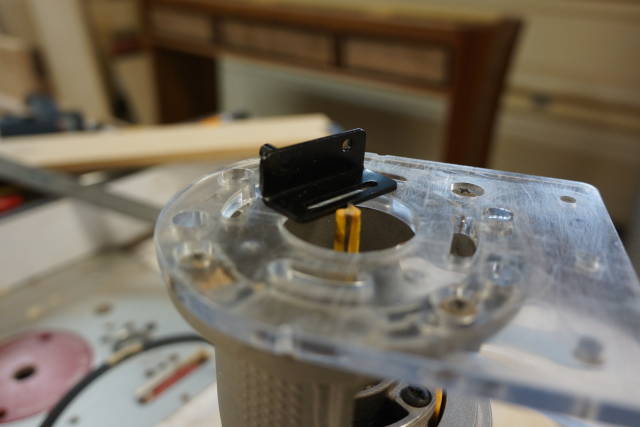
That means the front rails are at an angle and that goes for the tongue and groove I used on those. It also means the face of the drawers, the floor and the doors are at an angle.
All the veneering was hammered with hot hide glue except the top. I am sure I could have hammered the top too but I chickened out. I spent a lot of money on the veneer and did not want to risk ruining it.
The top was done with Better Bond glue and a vacuum press. That was my first time using a vacuum bag / press. I had a little glue seepage that gave me some pain during finishing but overall it went well.
At first the stiles and rails for the doors were sapele. My wife wanted darker. I went out and found Peruvian walnut. That was not dark enough.
Then I used black java stain on the drawers rails and stile of doors and drawer trims. I had to glue the doors and sand them flush before I stain. The solution of vinegar and steel give a very nice black. Unfortunately, I noticed some seepage under the blue tape on a trial piece. Java did not exhibit that.
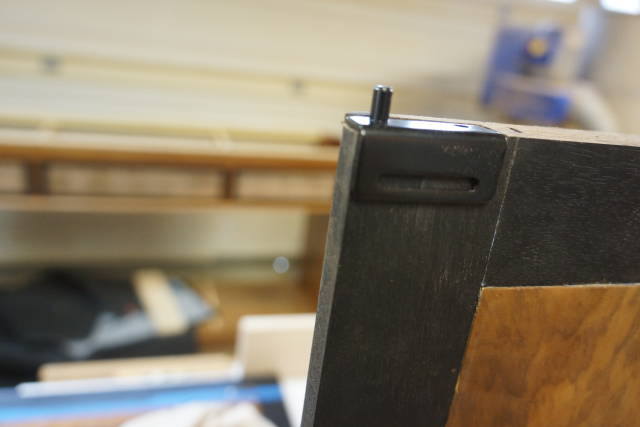
The plan was to use a European 170 degree cup hinge so it can clear the leg. That was not enough. I ordered a bunch of different hinges I thought will work but my wife wanted something totally invisible. I decided to go for pivot hinges.
The finish is General Finishes Arm-R-Seal Satin wipe on. 3 to 4 coats depending on the part. I used 2 quarts on this project. Sanded with 600 and 800 grit between coats.
The last coat on the top was sanded to 1200 grit.
It was my first contact with arm-r-seal. It works very well for smaller pieces but wipe on is not really ideal for larger pieces like the top. I really need to practice spraying.
This project took so long with a lot of interruptions. there were many moment of frustration and during those moment I did not think about taking pictures. So I don’t have a blog for this project. Instead I posted some construction pictures.
If you have any question, please ask.
The pictures are pretty lousy. Probably due to insufficient light.
Thanks for looking.
Abbas, Castro Valley, CA
22 Comments

Just amazing
Wheaties

An absolute stunner !….. All the details of the build and photos are well done. A great right up with an honest depiction of your journey. You took on a challenge and nailed it !……
Measure "at least" twice and cut once

The WOW factor describes it best for me, love it. The design, the colors, the fit, the finish, just beautiful.
Jack
The veneer really makes the whole piece pop!! Great job!!

Absolutely beautiful. Thanks you for the great description write up too.
Jeff Vandenberg aka "Woodsconsin"

(I meant to make this comment here but posted it in your build photos, but it’s worth posting twice so…)
First of all, you get an A+ on your hammer veneering exam. A lot of perseverance and dedication is required to learn something like that “over the net”. I’m proud of you.
Second, this is a beautiful piece top to bottom. Not an easy build by any stretch but just a sweet result. I hope your wife is over the moon about it. She should be.
BTW, you could avoid the little glue problem you had by using liquid hide glue on the big vacuum bag glue-up. OBG would be my choice.
Congrats on a fine piece of furniture Abbas!
The early bird gets the worm but its the second mouse that gets the cheese.
Thanks all for the uplifting comments.
Joe wood worker has created an easy site to buy veneer. The veneer was pretty close to the pictures. There were some deep scratch lines in the walnut. My guess it comes from a nick in the original knife that was used to harvest the veneer.
I screwed up bit. Like cutting the drawer front to size then coming back the following week and taking few more inches off.
I did not even read my notes.
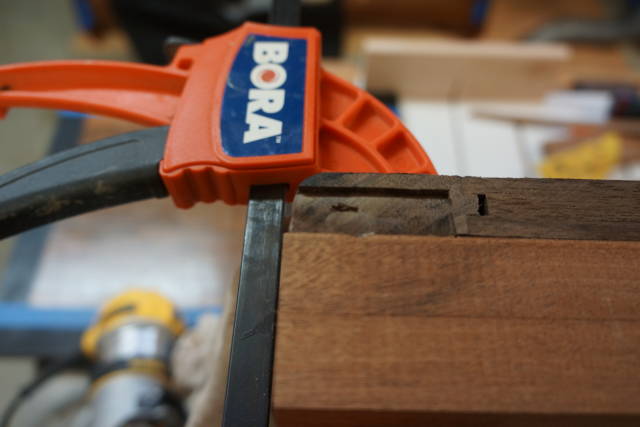
There are some scars on the leg. I cut the grooves for the drawer separation twice: on opposite sides.
Finish the top was most problematic for me. I was very concern about sanding through. well if you look closely… lucky it’s tiny and the figure of the surrounding grain king help camouflage that.
The glue up was difficult. I enrolled my son help for that.
Abbas, Castro Valley, CA
Thanks Paul. you spent a lot of time with me. You offered many things. That gave more more determination to learn more about hide.
The learning is not over. I still have few things to practice and learn. Probably on my next project: a desk for myself. it won’t be square.
My wife was very skeptical at first. Then she started asking for changes. She had me move a pull on the door literally by 1/16. she can spot small differences like that.
I think she is more excited to be able to park her car inside again.
for now back to cutting boards. Christmas is coming:)
Abbas, Castro Valley, CA

Absolutely stunning piece. Great job.
-Madts.
Tor and Odin are the greatest of gods.

Fantastic in design and execution. Really stunning.
Losing fingers since 1969
Thanks Madts
Thanks Brian
Abbas, Castro Valley, CA

very nice work you do well
jim

This is an amazing beautiful piece Abbas, an outstanding design and a very challenging build A+++
woodworking classes, custom furniture maker
Thanks Jim and Jim:)
Abbas, Castro Valley, CA
Coming up Bently!
Cutting boards for christmas
Abbas, Castro Valley, CA

I’m sorry I missed this when you posted it Abbas, as I’ve been out of the loop for quite a awhile, but I think it is very outstanding work and beautiful to boot. I admire that you went to great pains to get it the way you (and your wife) wanted it.
Mike, an American living in Norway
Thanks Mike.
I have been out of the shop myself for about 6 months now. Lots of stuff to take care of.
My wife is joking about putting my tools on Ebay.
Abbas, Castro Valley, CA

wow that is one gorgeous buffet. love the curves,very sensual shall i say.
working with my hands is a joy,it gives me a sense of fulfillment,somthing so many seek and so few find.-SAM MALOOF.
That is beautiful!
Petey

A beautiful piece and well crafted, great lines and curves. Love the top with a grain that pops out.
Main Street to the Mountains
More from lanwater