


Share your craft projects
Make new craft buddies
Ask craft questions
Blog your craft journey
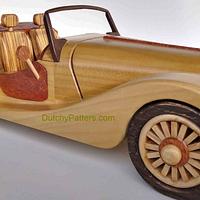
In this series I want to show what different techniques I use to make my models. I appreciate comments, especially if you come up with another prop...

[IMG_8875.jpeg]
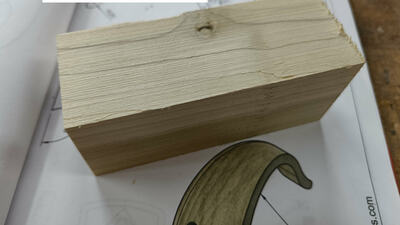
For this project, I chose some walnut and Burmese teak. The teak has some great chatoyance, a big color shift as you view it from ...
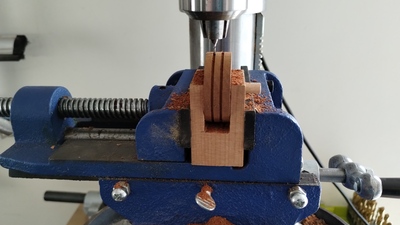
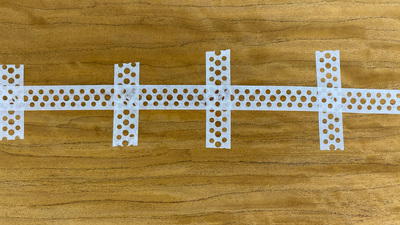
This is a simple jig and setup I used to put grooved tread patterns on the tyres. Works very well on a drill press.
[IMG_20231204_154147669.jpg]
A...

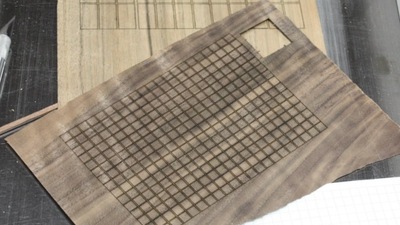
With oversized lengths of veneer cut an jointed, I started work on joining the veneer pieces together in pairs to get the width needed. I'd need 1...
Making a piano player


When I left off, I had the case members cut, box joints cut and the case dry fit. Next up was the plywood back. I cut it the first piece to lengt...

Before I started working on the cart, I decided it was time to address a problem I had been deferring. The racks pivot on 3/8” dowels, with a washe...


[13.03 Fixes - Base Weight Rebar in Base.jpg]
When I brought the assembled rack inside, I was pleased to see that it was quite stable when the...


As I mentioned in part 1, I based my cart design around a a Sketchup model I found on their 3D Marketplace. Once the Supercell arrived and before...


I haven’t done a very good job with this blog so here’s an update on my urn-building journey.
For several months I did not work on the urn as I was...

There are lots of good ideas/techniques and lot of good home made tools used in making the lamp in this video. I thought it would be good to share ...

As I mentioned in part one, I initially started with just 4 slices of the bell. I decided to use some nice straight grained SPF 2x8 I found at Lo...