


Share your craft projects
Make new craft buddies
Ask craft questions
Blog your craft journey

Brian
2044 posts
and
31 followers
in almost 12 years
in almost 12 years
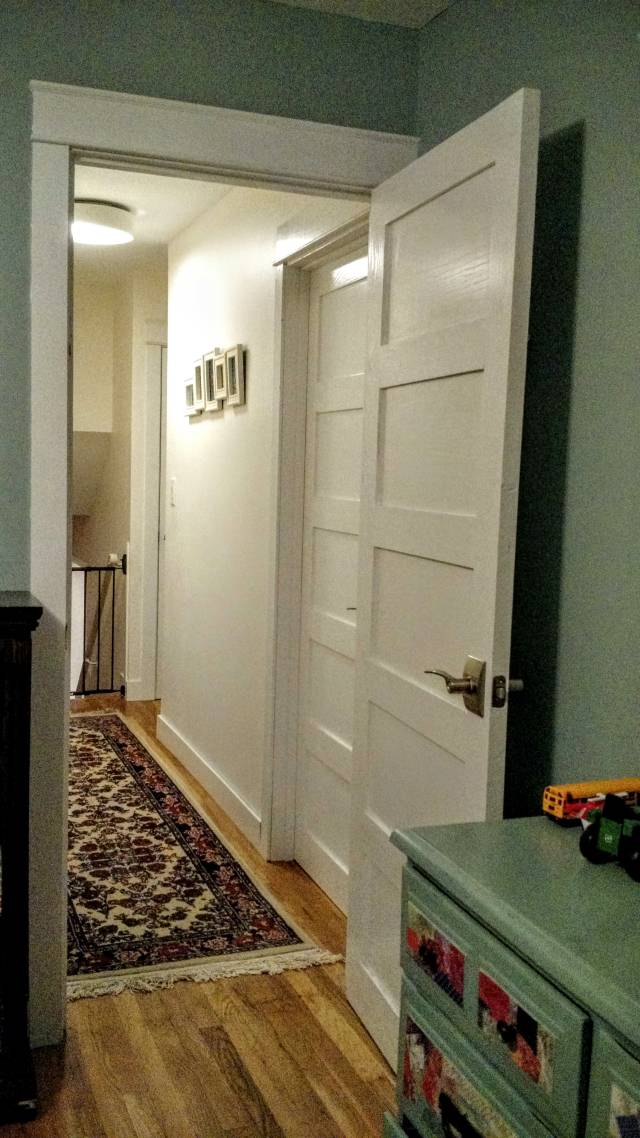
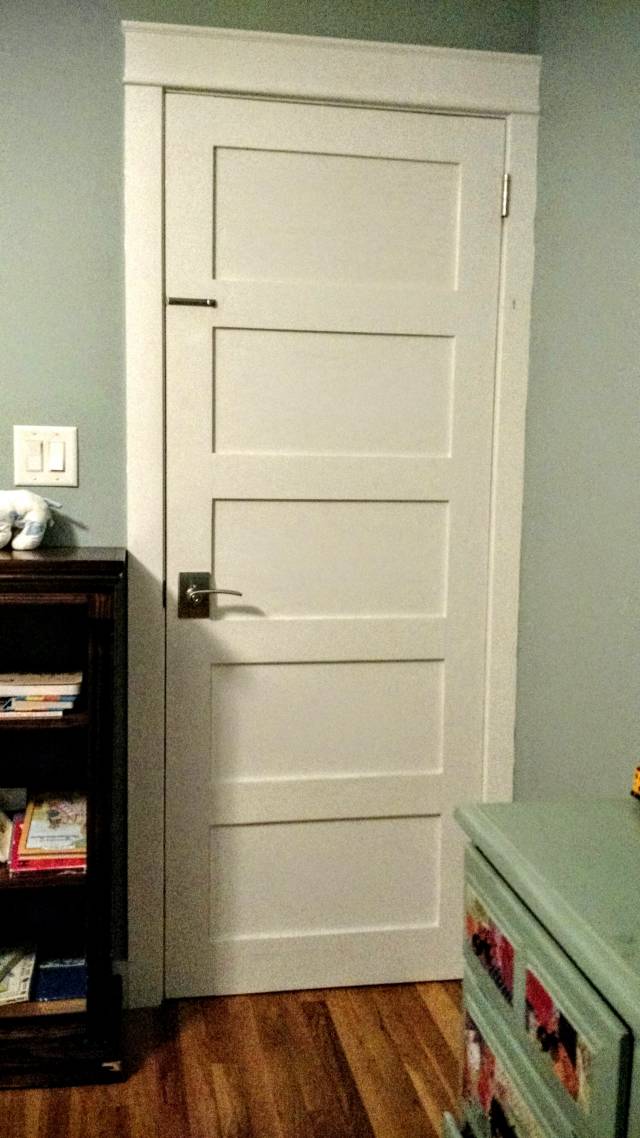
Interior door making #9: No movement doors!
This is
part 9
in a
9 part
series:
Interior door making
I’m very happy to report that all 10 of my doors, which have all gone through at least one complete heating and cooling season, have not moved at all. No sticking after this incredibly hot and humid summer. Even the bathroom door, which takes the most abuse from shower humidity, and even though every knot has checked and every joint opened slightly – the only one that did that. It still opens and closes smoothly.
I have to attribute that to double coating the top and bottom with BIN shellac primer and caulking the panels before painting. It’s so important to seal all 6 sides of a door and yet hardly anyone does it. At least in the trades.
My goal installing them was 1/16th gap on the top and sides and 1/4" off the floor. I was more or less successful there, which makes the whole non-movement thing even that much more noticeable. I don’t mean to toot my own horn but I’m pretty darned pleased with the results. :-)
Losing fingers since 1969
7 Comments

Brian,
You have every right to be impressed with the results. It’s not easy to get doors to fit well over all four seasons. Congrats!
L/W
“Those who would give up essential Liberty, to purchase a little temporary Safety, deserve neither Liberty nor Safety.” Benjamin Franklin

Tough job Brian but you nailed it! Congrats.
Jack
Funny thing – one bedroom door is warped a little but it came off my bench that way. I installed it anyway and played with the door stops to make it work. It hasn’t changed at all since it went up. I was kind of hoping it might straighten out LOL.
Losing fingers since 1969
It’s true that doors are kind of in a world of their own. It takes me a couple of hours to hang a door. I make the frames for the door so I know it will fit snugly. I use a 6’ level to make sure it’s plumb and straight. Start with the hinge leg, then hang the door, then shim the strike leg with the door closed. Then finally I mark the strike and cut the strike plate, install the hardware and lastly put the stops up with the door closed. I push the stops up snug to the door before nailing. This makes the door operate like a car door. Ka-LUNK! I love that sound. Last but not least, if the door won’t open all the way because the floor isn’t level I’ll trim the bottom and don’t forget to re-seal the bottom after cutting!
I’ll try to get some photos. If you’re interested, I explain my construction process in a previous blog in this series. It’s far different than the way you do it. Your method is the best way, but mine is a little less work and I think just as durable (for interior doors). We’ll see if they pass the test of time, but so far so good. I don’t have any teenagers slamming them on a regular basis. LOL
Losing fingers since 1969
Losing fingers since 1969

I would be proud too! They are strait.
good work in = good doors out :)
Abbas, Castro Valley, CA
I still have 2 left to make but I’m going to wait until i renovate those rooms. One is for my master bathroom which can only be seen in my bedroom and the other is for an opening that doesn’t exist yet – another bathroom renovation. By the way my bathroom door sticks and makes an awful cracking sound every time it’s opened. Wife hates it. Haha.. She has to wait a little longer.
Losing fingers since 1969