


Share your craft projects
Make new craft buddies
Ask craft questions
Blog your craft journey

Thorreain
1908 posts
and
47 followers
in almost 12 years
in almost 12 years
Work Bench Build #4: She's Got Legs
This is
part 4
in a
16 part
series:
Work Bench Build
With the legs already cut to length its time to glue them up. I have the joinery drawn out on the top roughly so that after cutting the boards the top will be able to receive the legs hopefully with out any major amount to chisel out. 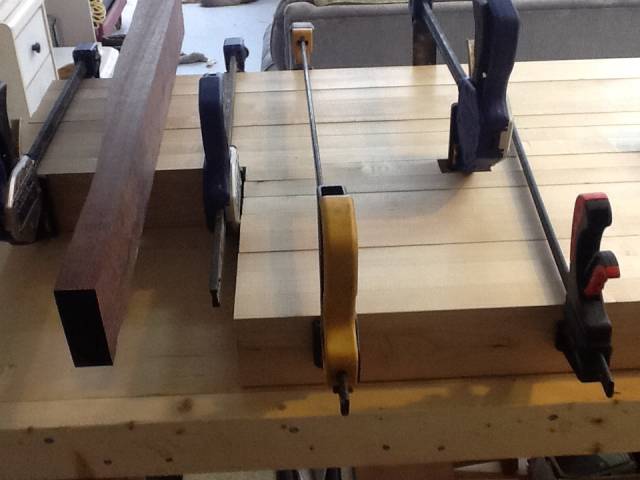

As I stated before I had one of the oak boards narrower in the middle and only noticed after cutting it to length. This will have to be passed thru the planer and each of the other legs to match it. This is something I didn’t want to have to do as I wanted the weight of the legs, stretchers, and, shelf to be twice as much as the top for stability. Hopefully it won’t effect the joinery too much. Gluing up was easy as I had diluted my carpenters glue to give me more setup time. 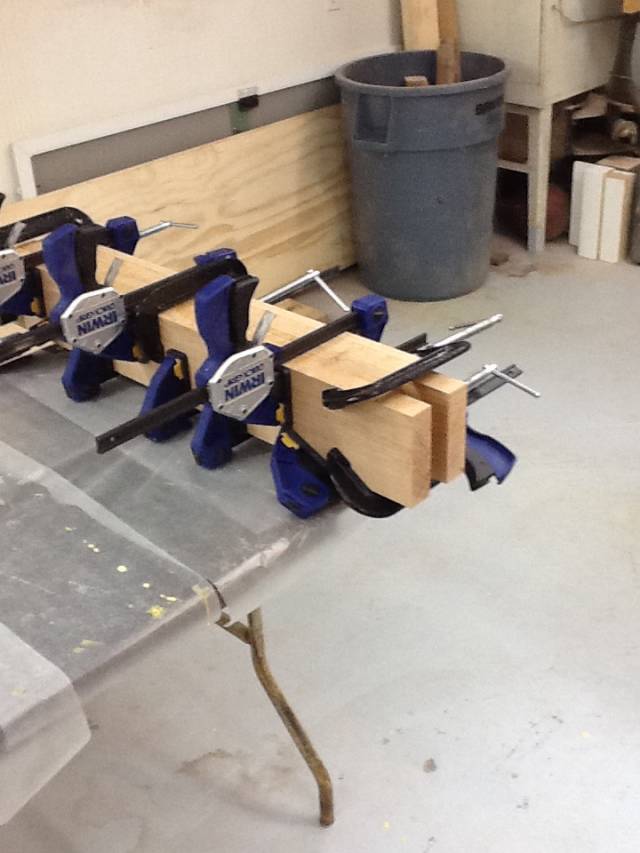
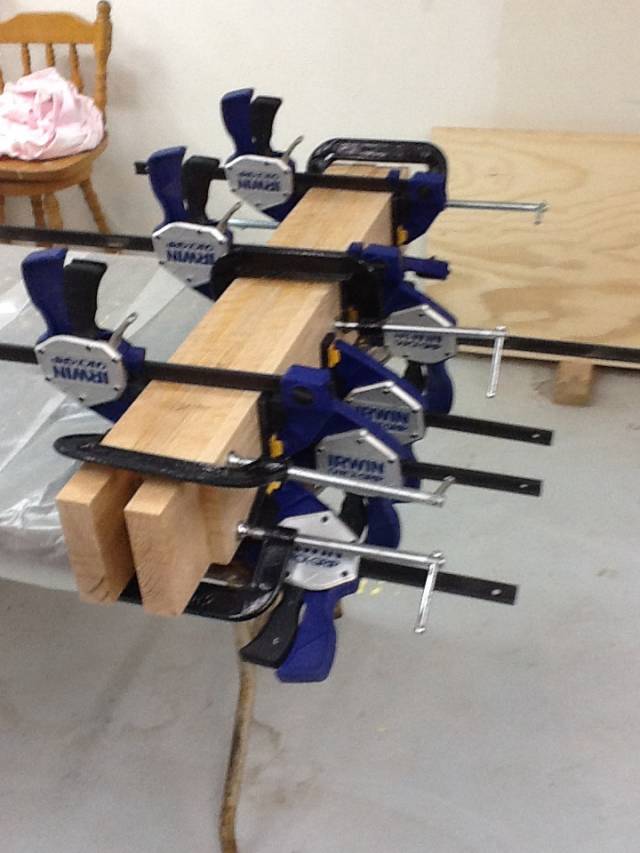
I have done this in the past and tested the strength of various dilutions. With the oak it has large pores so it can take quite a lot of water but in this case I only used about 5%. I use a “V” notched plastic trowel to spread, 1/8" v’s, and to remove excess a straight 2" putty knife. The extra clamps I bought recently come in handy. My dad always said you can never have enough clamps, and don’t leave the hardware store without buying a clamp or two! I cut the top boards while waiting for the glue to dry using a piece of scrap from the legs as a rough size knowing they would be planed. 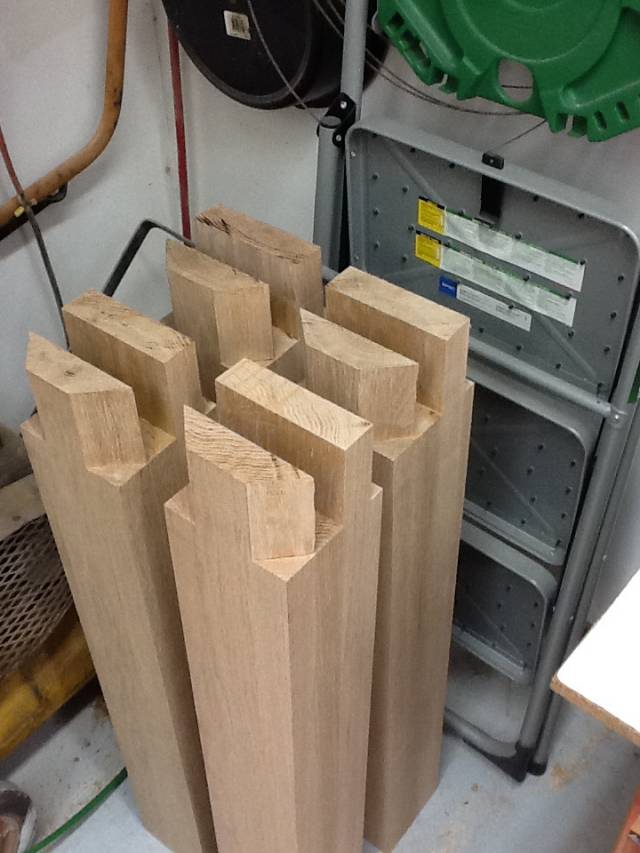
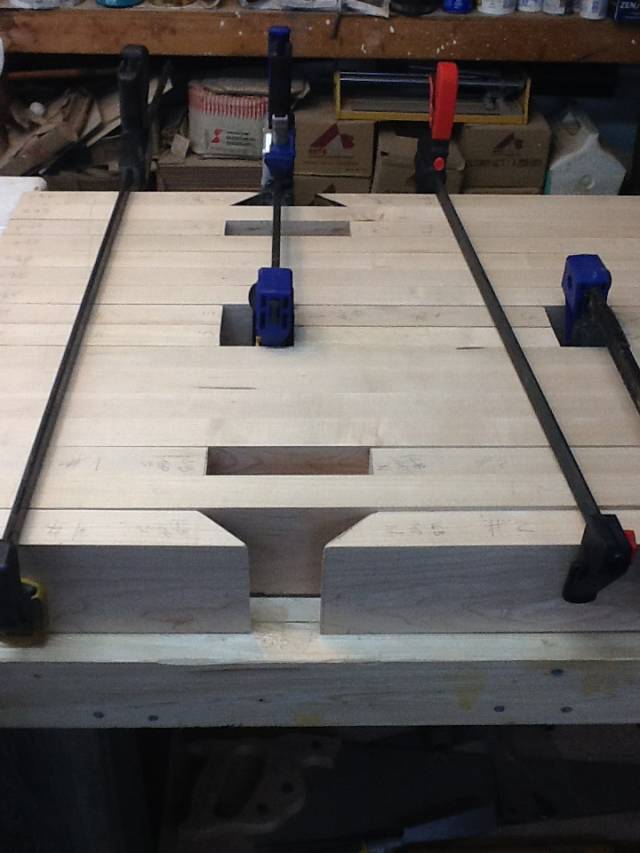
After glue up the small amount to remove on each legs 45 was easy with just a chisel, but I just bought a plane at a flea market on the weekend and gave it a try. 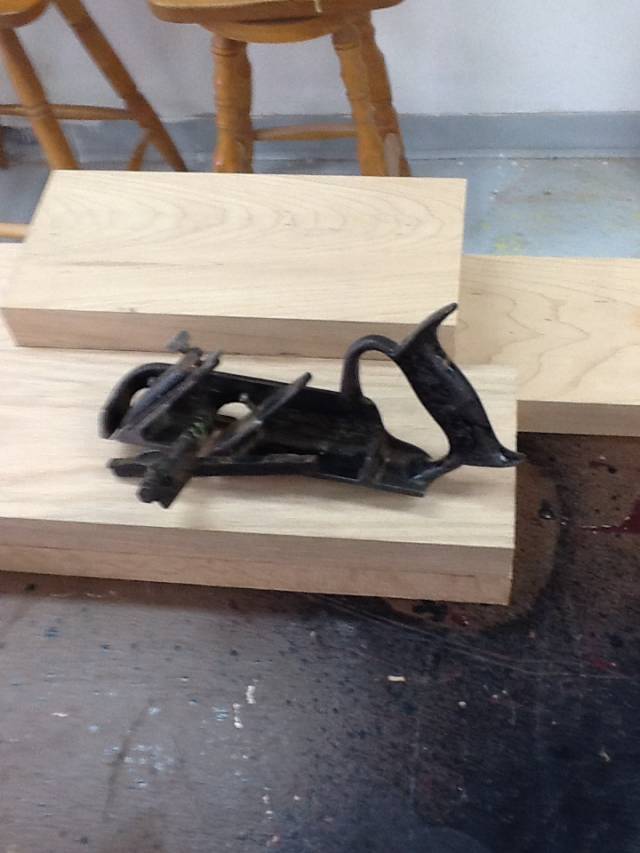
I think I will stick with the chisel and block till I get used to it. The dry fit of each leg went very well, with the top clamped I had to tap the legs in with a wooden mallet lightly.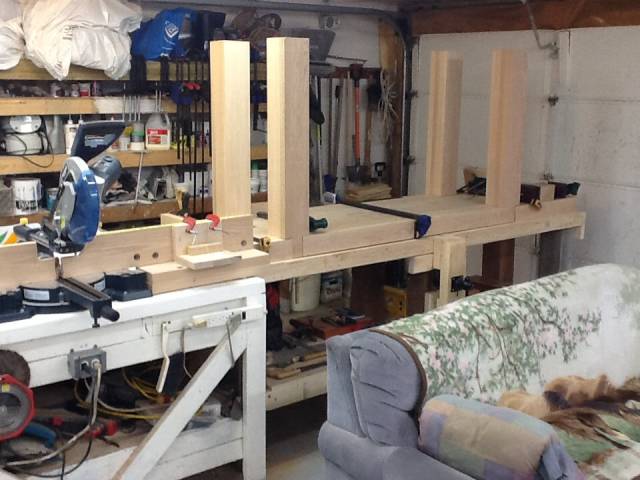
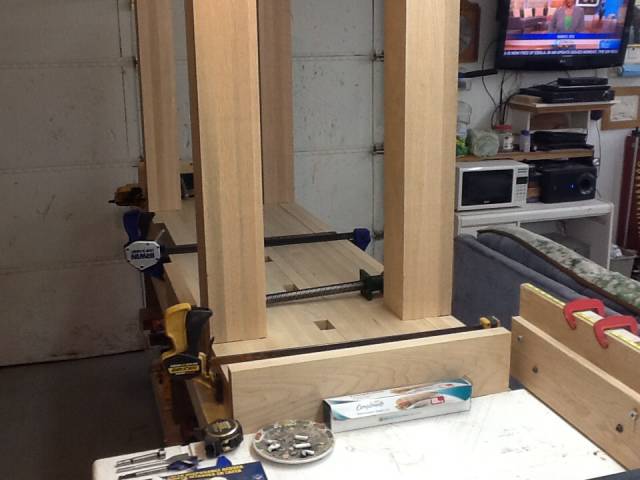
Once the top is glued they will be about the proper size to tap in with my hand…perfect. 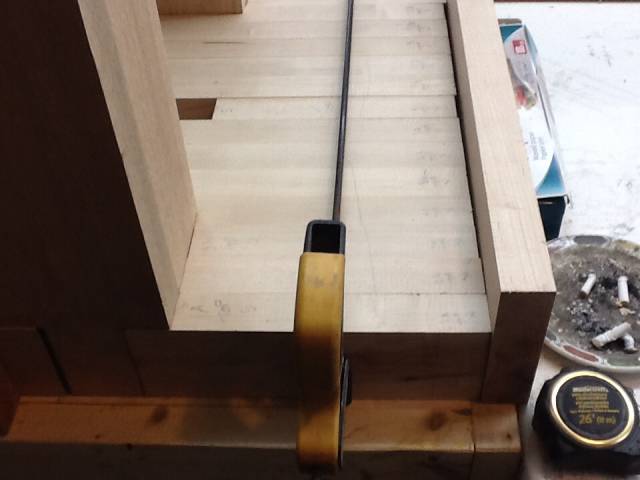
The next biggest time consumer is going to be finding material for the stretchers. Everyone here seems to be out of most hardwood, including the box stores, I may end up with some different type than the top and legs, but I love going to mills to look around. Thanks for following along.
CHRIS, Charlottetown PEI Canada. Anytime you can repurpose, reuse, or recycle, everyone wins!
5 Comments
Thanks pat. I remember the struggles you had fitting your legs into that giant slab of fir. Mine seemed to give me no trouble at all. At least not yet, well see once the top is done and glued up.
CHRIS, Charlottetown PEI Canada. Anytime you can repurpose, reuse, or recycle, everyone wins!

Great info Thorreain. I am following with great interest.
Although titebond FAQ mention that you can thin titebond3 upto 5% I have never done it; out of fear really. I was taught to seal the end grain with a thin layer of glue before applying some more for the glue up. Here you are not working with end grain but long grain.
in the interest of learning, Do you mind me asking what’s the reason for thinning? I know oak has fairly large pores and that’s one of the main reason why I don’t use it much anymore.
Thanks!
Abbas, Castro Valley, CA
Hiya Ian, the thinning will upto double the drying time allowing me to set up more boards when laminating. It will be a great help when gluing the top so I can reduce the number of days required to get the 16 boards together. As for the oak it’s better not to thin it too much as it penetrates further and has less adhesive between boards. With oak I usually spread it with a notched trowel to be sure there’s enough between after penetrating.
CHRIS, Charlottetown PEI Canada. Anytime you can repurpose, reuse, or recycle, everyone wins!
Ah!
Thanks for the information.
That will come handy as I have rushed the glue up many times as to finish before the glue sets.
Abbas, Castro Valley, CA

Looking good. Thanks for the tip about thinning the glue. I’ll try that when I make my bench.
Losing fingers since 1969