


Share your craft projects
Make new craft buddies
Ask craft questions
Blog your craft journey

Thorreain
1908 posts
and
47 followers
in almost 12 years
in almost 12 years
Work Bench Build #16: Final Pictures
This is
part 16
in a
16 part
series:
Work Bench Build
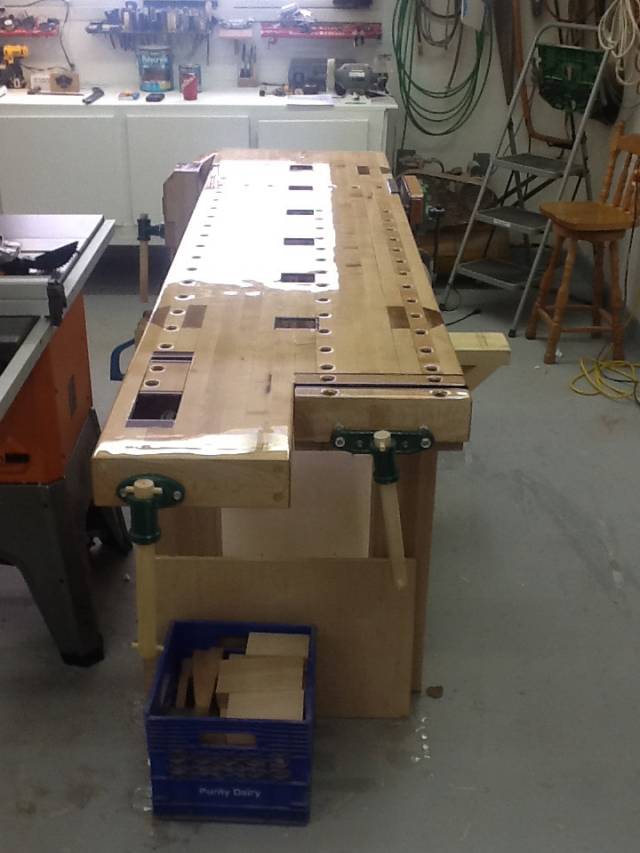
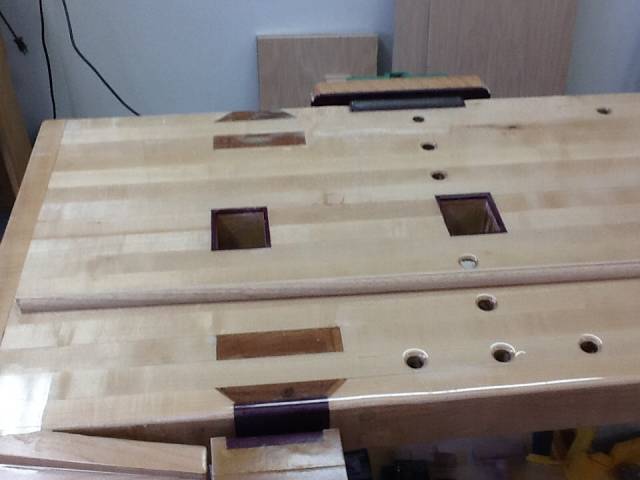
Well this will close up this blog on my journey building this Robou Hybid Workbench. When I started I wanted to be able to hold and clamp wood in order to work on it. I incorporated a lot of my own ideas and design. I have been using this for a few months now and I am very pleased. I have finished the top and sides and even have a few scratches. This weekend I will spray the bottom and legs, but it’s 99.9% done so I am posting the final pictures today.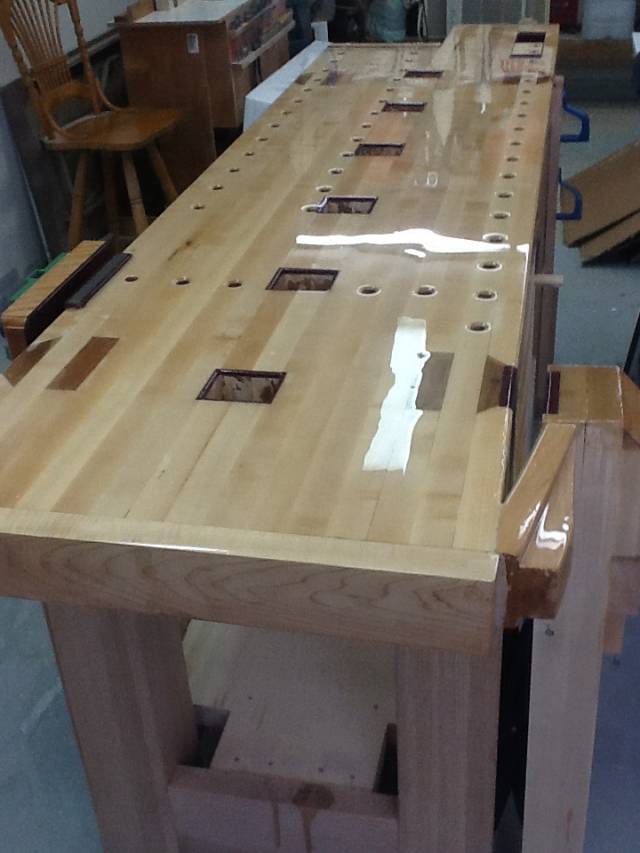
CHRIS, Charlottetown PEI Canada. Anytime you can repurpose, reuse, or recycle, everyone wins!
25 Comments
The finish on the top is epoxy by the way. The rest will be sprayed with water based nitro cellulose. Thanks to everyone that followed along and offered suggestions. It was great therapy sharing this projects. Thank You.
CHRIS, Charlottetown PEI Canada. Anytime you can repurpose, reuse, or recycle, everyone wins!

It shines in many Way Chris.
You produced a fine bench. The journey was exciting and well documented.
Abbas, Castro Valley, CA
Thank you, it was my pleasure.
CHRIS, Charlottetown PEI Canada. Anytime you can repurpose, reuse, or recycle, everyone wins!
Chris – and you’re going to actually use that beautiful thing? Seriously, it is well designed, well equipped work bench. I like the epoxy top. Did you have to redo the holes or did you put plugs, or a dam in them before you used the epoxy? Anyway, excellent blog, impressive documentation along the way. I appreciate YOUR hard work.

That is the Cadillac, La Creme de la Creme, and la sans pareil of work bench creations. Beautiful. If that doesn’t win creation of the year, we will riot. As the good ole boys in the south of in the USA say, “you done good.”
Jack
Thanks you guys. I didn’t plug any holes, had some drip below. The second coat I heated to 110 deg F. It flowed great, and still looks wet!
CHRIS, Charlottetown PEI Canada. Anytime you can repurpose, reuse, or recycle, everyone wins!

Pretty bench. Congrats on the build and the blog. Now it’s time to get in there and make some dings so it looks used (loved).
The early bird gets the worm but its the second mouse that gets the cheese.
Already have a few scratches so far, but yes time for another big project ship.
CHRIS, Charlottetown PEI Canada. Anytime you can repurpose, reuse, or recycle, everyone wins!
At the very start lanwater, you express an interest in following along because you were looking forward to see how interesting and different this bench would turn out, so, what do think of the design, function, and uniqueness of my bench man? Is it as different as you thought it might be at the start?
CHRIS, Charlottetown PEI Canada. Anytime you can repurpose, reuse, or recycle, everyone wins!
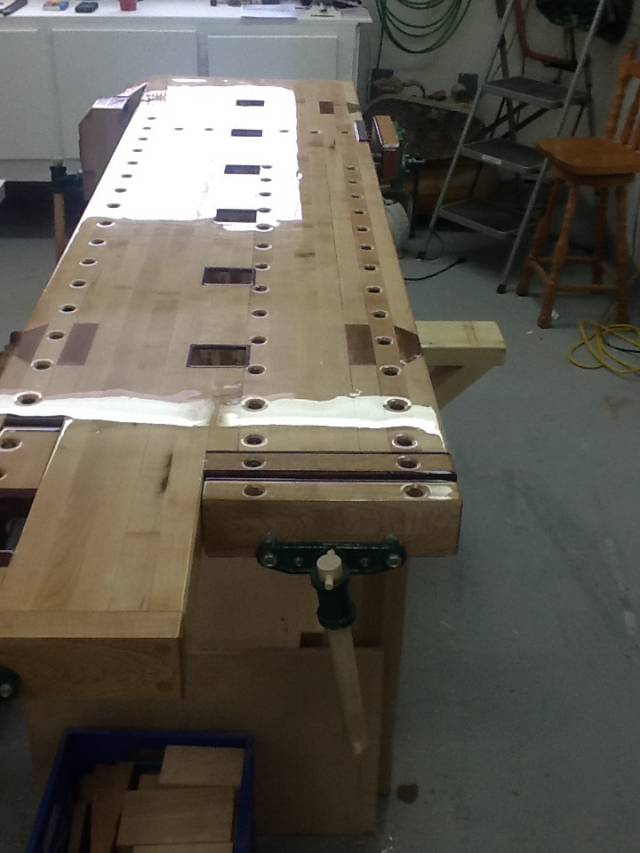
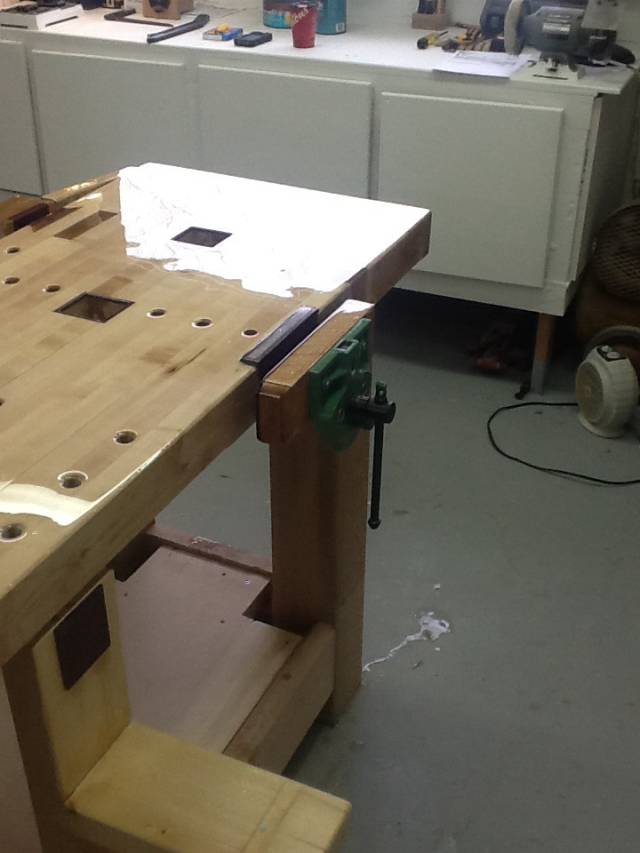
Start to finish this project took around 3 months. Their were some challenges and changes along the way, some good some not. I will attempt to go over some. First the table top wood was rock hard maple, I would liked to have a thicker top, the final thickness was 3-1/2", I wanted it to be 4" and seeing it now I wish I had made it 5-1/2" the size of the legs. Next, I found a video on u-tube with a better designed joint for the legs that has even wedges for the top. This was the first time doing any joinery of this type and it turned out better than expected, but the size of one piece of the oak laminate threw the mortises for the sliding dovetail off a bit. I should have gone and got another piece of oak the same dimension. Next, was the way the general cabinetmakers Vise fit. I like that it is even with the top of bench. The metal is part of the bench top, whereas most people would have dropped it down a bit so the bench top was only showing, on mine it allowed me to trim it out in Purple Heart like all the other vises. Next, when doing the top glue up it was my first time laminating such a large devise. I should have only done one set of four boards then added to them instead of making the two sets and trying to space them together as they would not bend after glued. This ended up making some cracks in the glue lines bigger than I would like, but functionally they are alright. I added a pair of stretchers right under the table top to make sure they won’t get any bigger. In a true split top they are part of the design, I just added them after the fact. I had changed the sizes of the plane stop holes, this was a great improvement. To then trim them in small pieces of Purple Heart worked out well too. I wish I had enough oak for the stretchers to match the legs, but the birch was much larger dimensionally and makes it look more massive and adds weight. I had purchased handles for the vises, they had goofy knobs on the ends and I ended up building one anyway but could have just made them all myself for way less cost. I had originally planned to cap both ends off with boards using dovetailed joints. After doing some milling with my small saw and router I decided it was best to just bolt them on with lags and cap the holes with dowels, this worked out well but it’s not as decorative as some benches. I am very happy with the way all the vises and battens work, it is great to finally have a woodworking bench purpose built. As always, any questions I will try to answer as best I can. Thanks for following along.
CHRIS, Charlottetown PEI Canada. Anytime you can repurpose, reuse, or recycle, everyone wins!

Nice job. It’s so shiny! It won’t be for long, I’m sure.
Losing fingers since 1969

Congrats on an excellent build Thorreain. A beautiful bench. I would probably want to keep it in my living room for fear of scratching it up. Now you can work in the way you envisioned when you designed the bench and I’m sure a lot of great projects will come off it, the sooner the better!
Mike, an American living in Norway
I LLLIIIKKKEEE. IIITTT !!!
CHRIS, Charlottetown PEI Canada. Anytime you can repurpose, reuse, or recycle, everyone wins!

Nice job.im getting ready to make mine and will be adding pictures as i go along.
Jeff Vandenberg aka "Woodsconsin"
Great Jeff, try out the add a blog feature, it’s one of the best on the web.
CHRIS, Charlottetown PEI Canada. Anytime you can repurpose, reuse, or recycle, everyone wins!
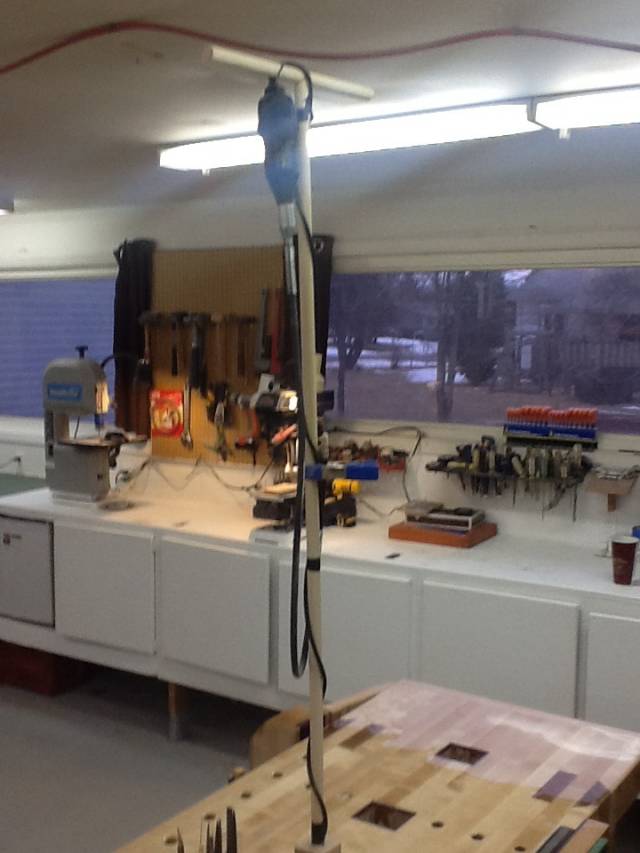
Here is a couple shots of the dremel stand in action.
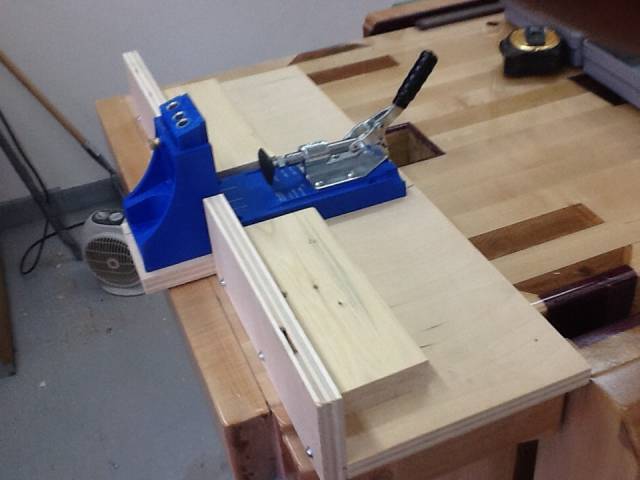
And a couple with the kreg and jig. 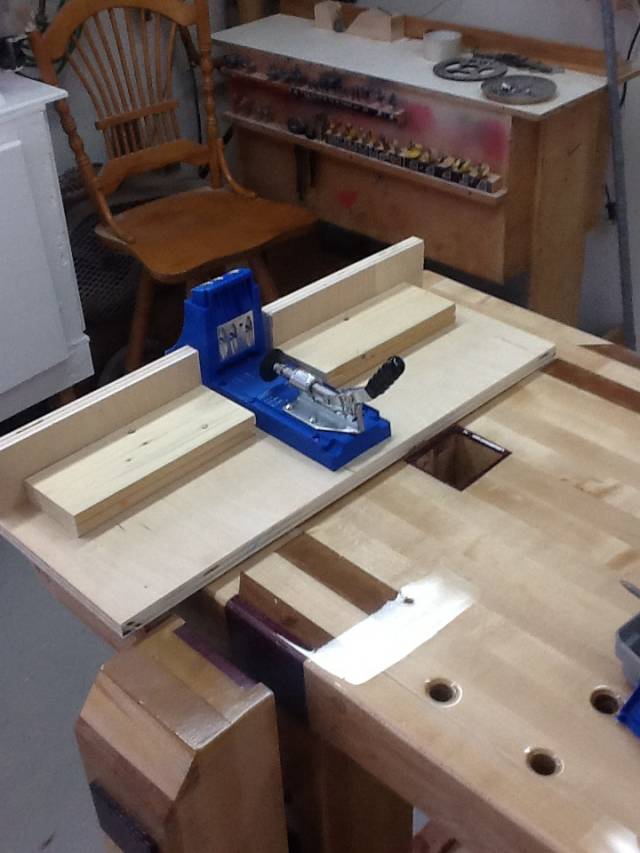
CHRIS, Charlottetown PEI Canada. Anytime you can repurpose, reuse, or recycle, everyone wins!
Getting scratched up and saw dust and chips. Now it’s just another tool, well maybe a bit more than that….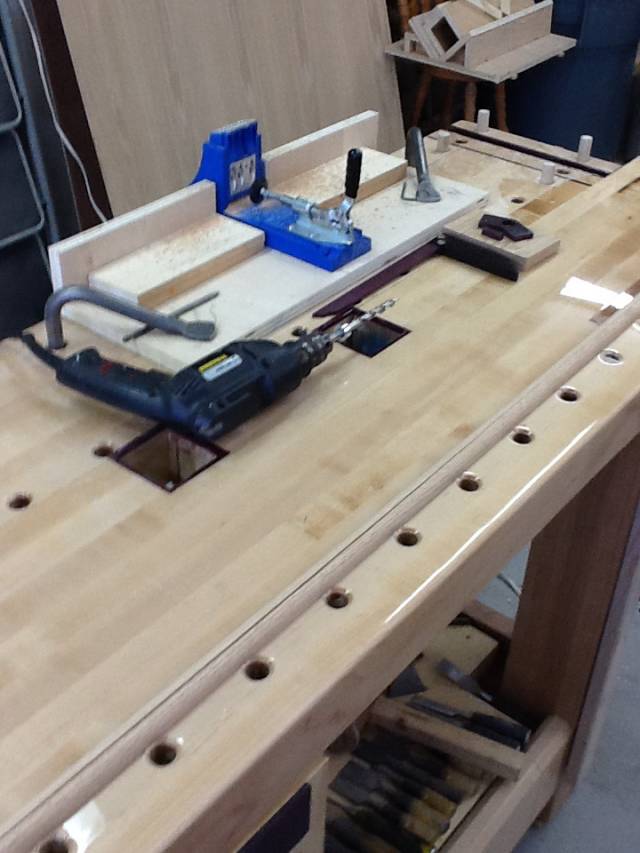
CHRIS, Charlottetown PEI Canada. Anytime you can repurpose, reuse, or recycle, everyone wins!
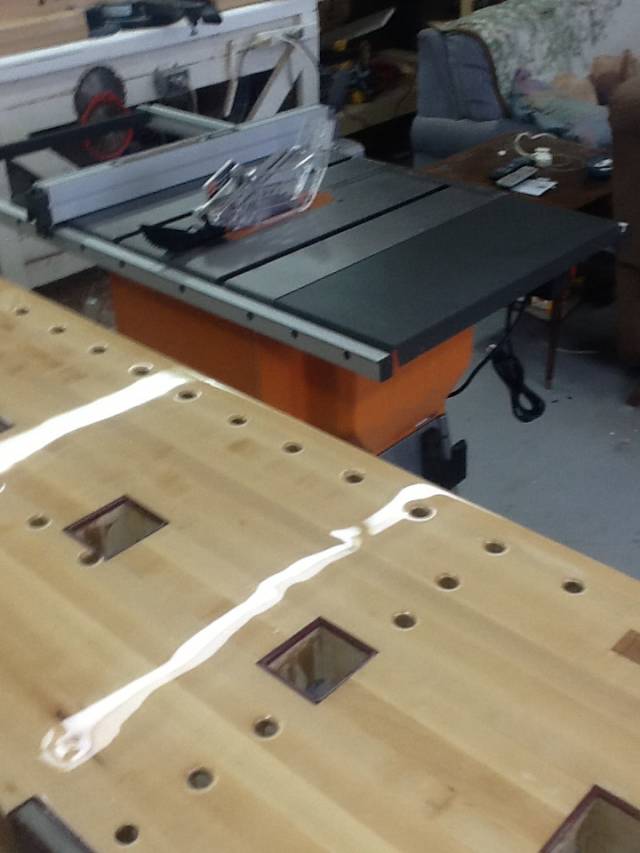
Wow. Looks great.. I just bought that ridgid table saw…. how do u like it.
The saw is fantastic, just take some time to set it up and align everything.
CHRIS, Charlottetown PEI Canada. Anytime you can repurpose, reuse, or recycle, everyone wins!
I have some updating to do… All of the vises are trimmed in Purple Heart but all now have been faced in deer hide swade the same colour as the Purple Heart. I have replaced all the wooden dowel bench dogs with brass ones over twenty, Father’s Day birthday etc… I have built a drawer cabinet that fits underneath the bench and has 6 drawers, it holds all of my woodworking hand tools and is made from birch plywood and birch wood. Next time I go to the workshop I will take my iPad to follow up with pictures.
CHRIS, Charlottetown PEI Canada. Anytime you can repurpose, reuse, or recycle, everyone wins!