


Share your craft projects
Make new craft buddies
Ask craft questions
Blog your craft journey

Brian
2030 posts
and
31 followers
in almost 12 years
in almost 12 years
mesa boogie amp head #7: finishing up
This is
part 7
in a
7 part
series:
mesa boogie amp head
Over the week and this morning I finally got all of the construction tidbits out of the way. It’s finally ready for finishing. But before the amp could be fit in, a few small details had to be taken care of.
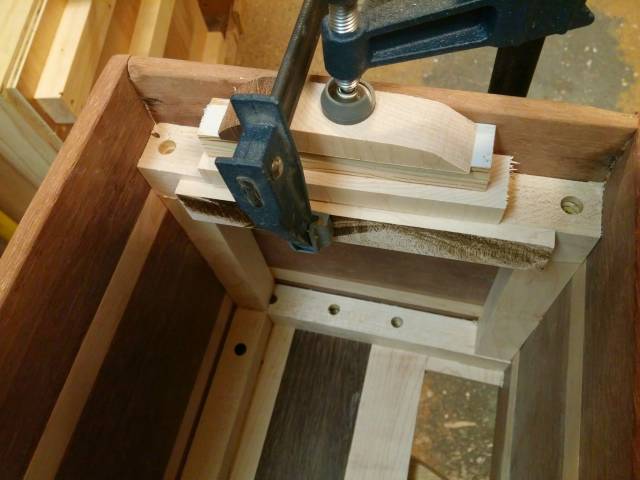
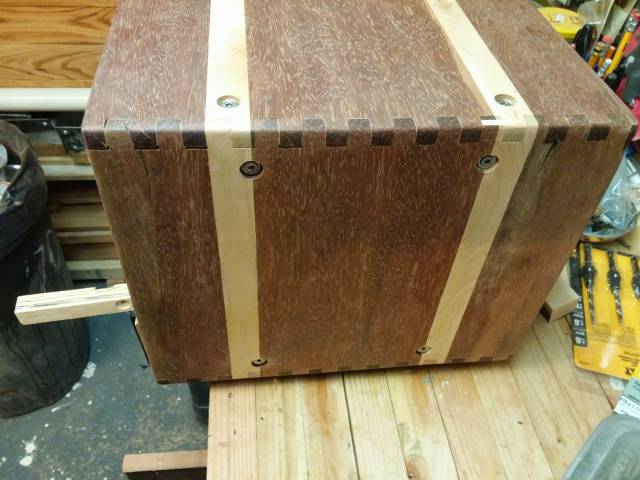
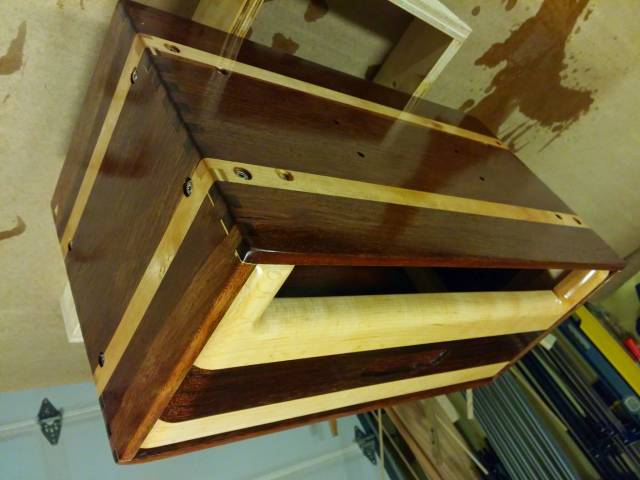
I reinforced the corners with maple cutoffs. I only have 2 unwieldy clamps with throats deep enough to clamp these guys in, so instead I used scraps for blocking to push the corner supports into the corners.
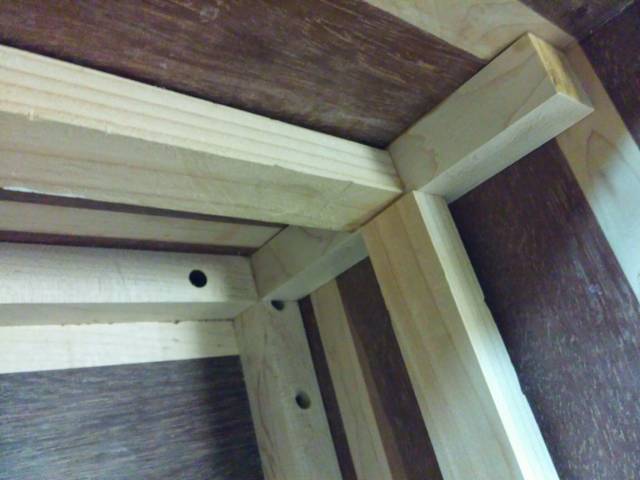
Then I added 2 vertical pieces to act as receivers for the back.
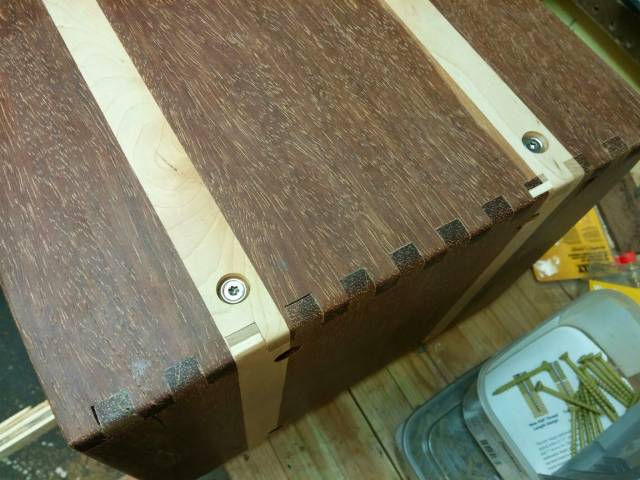
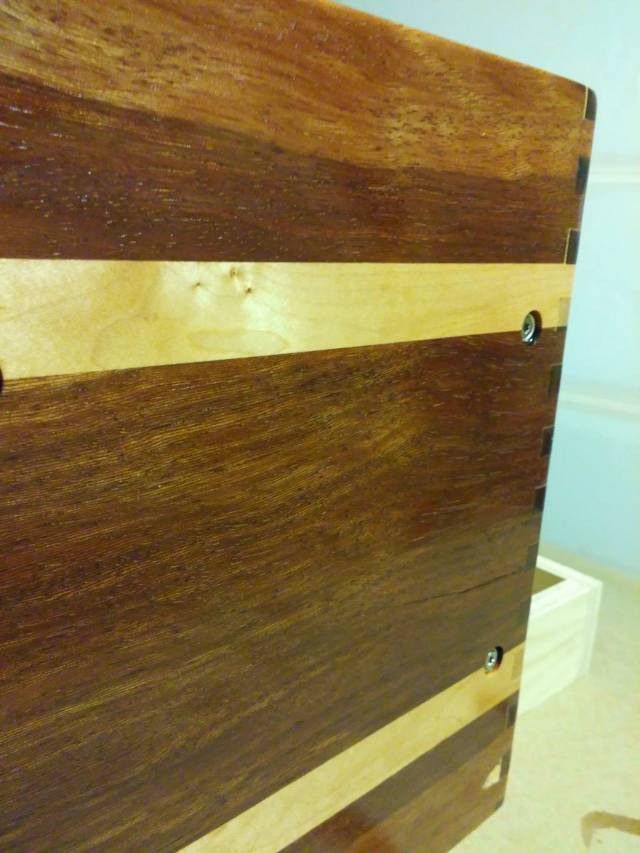
They are all glued and screwed. The corner supports get screwed from the outside, of course. Now here is where I went along with a suggestion that I should have ignored for aesthetic reasons. My buddy that is getting this thing wanted the same kind of grommets that come with the factory amp but he wanted them countersunk. Obviously a grommet can’t be countersunk – it has to be mortised, so that’s what we did and I’m not happy with the results. It’s plenty sturdy but it doesn’t look right. I think we should have either not mortised them or just not used grommets and countersunk flat head screws. But what’s done is done. He’s happy and he’s the one that has to live with it.
Next I filled the little gaps in the finger joints with filler. As I mentioned before I have some wax pencils to fix up the color.
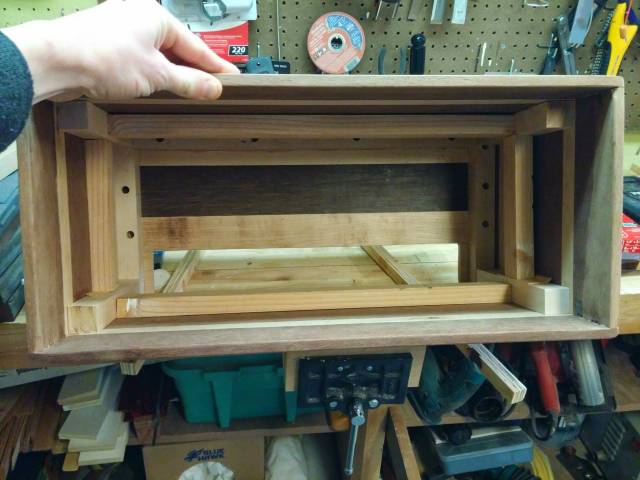
Then this morning my buddy came over with the amp and we fit it inside and drilled the holes for amp and the carry handle that goes on top. Here it is with the amp inside.
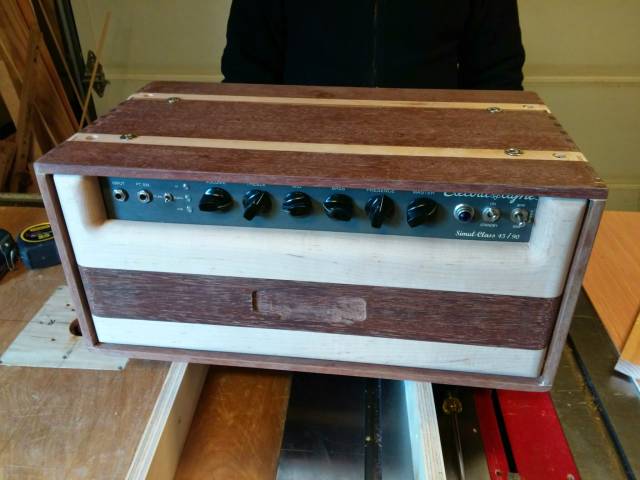
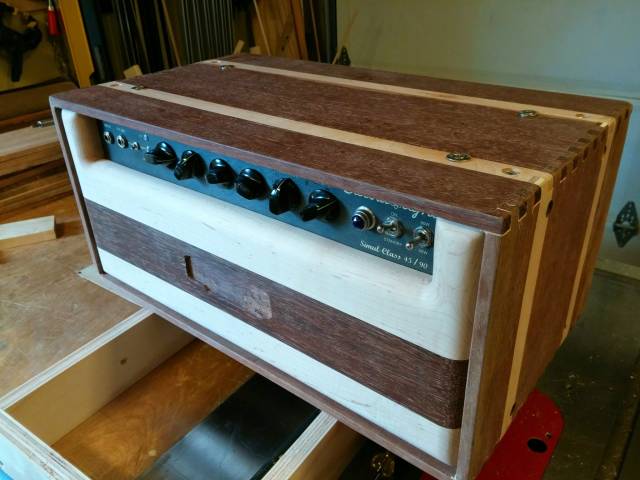
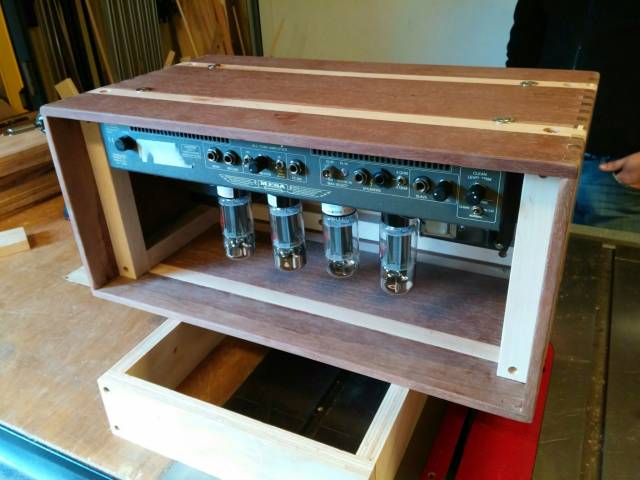
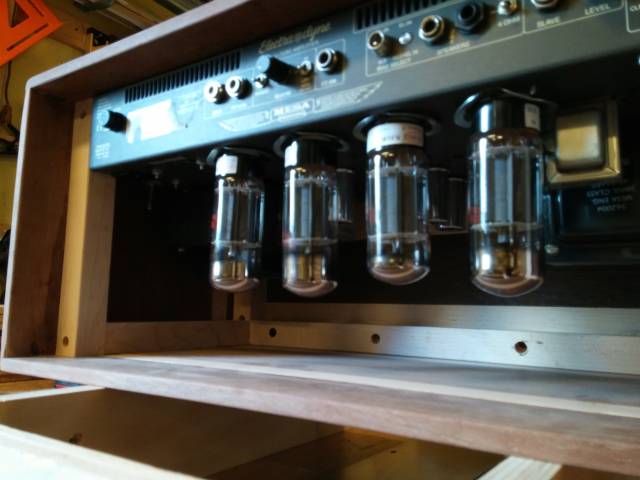
We decided there will be no back, or maybe a steel grill will be added later, but for now it’s finished.
And that is all she wrote. This will be the last entry for this blog. Next one will be a “creation” as finished project.
Next steps are final sanding and Danish oil (today). Then wipe on poly over the course of the week until I feel it’s done. Then install the amp and hardware. There will be rubber feet as well.
Thanks for looking in.
Losing fingers since 1969
7 Comments

looks good brian
jim

Looks very retro. Great work on this Brian.
Mike, an American living in Norway

It turned out beautiful Brian. I really enjoyed watching the progress and seeing the end results.
Jack
Thanks guys. Finished sanding and got the Danish oil on. It was still wet when I took the pictures.
I love the color of this stuff. It’s really beautiful when oiled.
Losing fingers since 1969

Just beautiful.
-- Alec (Friends call me Wolf, no idea why)

Turned out awesome. Great job
Jeff Vandenberg aka "Woodsconsin"
I was going to use satin poly, but after looking at these pictures while the Danish oil was wet, I think I’m going to go with gloss. I think I sanded it smooth enough for gloss. LOL
Losing fingers since 1969