


Share your craft projects
Make new craft buddies
Ask craft questions
Blog your craft journey

Mike40
1074 posts
and
35 followers
in almost 12 years
in almost 12 years
A STORAGE SHED FOR MY BBQ GAS GRILL #6: Doors - Mortising the vertical door frame pieces
This is
part 6
in a
10 part
series:
A STORAGE SHED FOR MY BBQ GAS GRILL
...
-
Roofing
-
Doors - Mortising the vertical door frame pieces
-
Door Frames - Cutting the tenons and Glue-up
...
...
- Roofing
- Doors - Mortising the vertical door frame pieces
- Door Frames - Cutting the tenons and Glue-up
...
It’s been awhile since my last installment on this project. I had to install a burnt out garage door opener and change the tires on my car. That was supposed to be finished Saturday after last, but I messed up my back working on the opener and I had to take a whole week off to recover.
Today’s work
I started on the doors today. I have been agonizing myself trying to decide between what I would have liked, that is, a frame and panel door, and the door I need which will hold up in our very wet climate. Since I’m getting old I figured it would be best to do the job right as I don’t want to expend the energy doing it over again, so I went with the practical approach rather than the beautiful one.
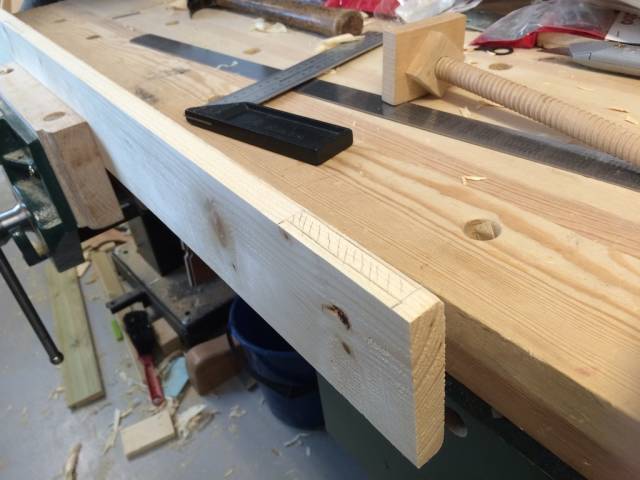
I am using 2X4 fir for the door frames. I ripped these in half and planed them to almost 3 /4” thick and marked them up for the mortises. See Below
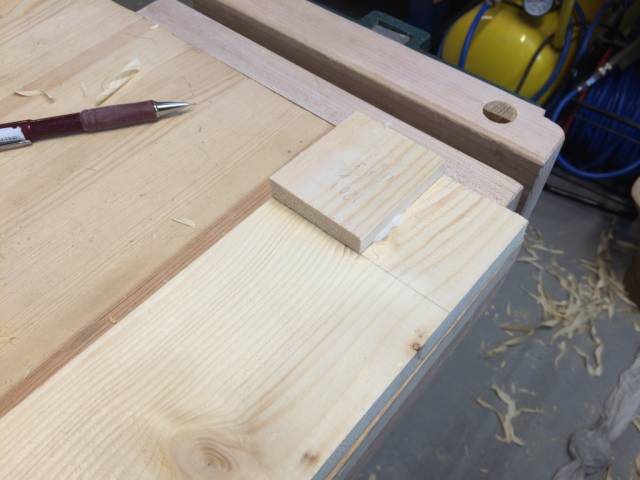
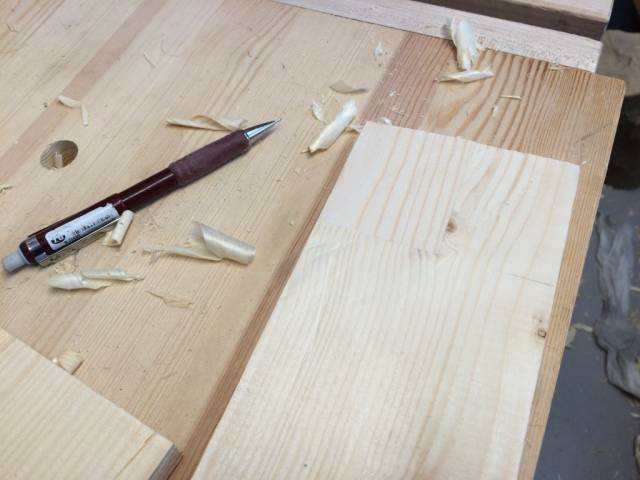
I tore out a piece where there was a knot on one of the frame pieces while planing and I had to do a patch. I used polyurethane glue for this as it is waterproof. See Below
Next I set up my mortising attachment on my combination machine and went to work on the mortises (3 mortises to each of the 4 vertical frame pieces). See Below
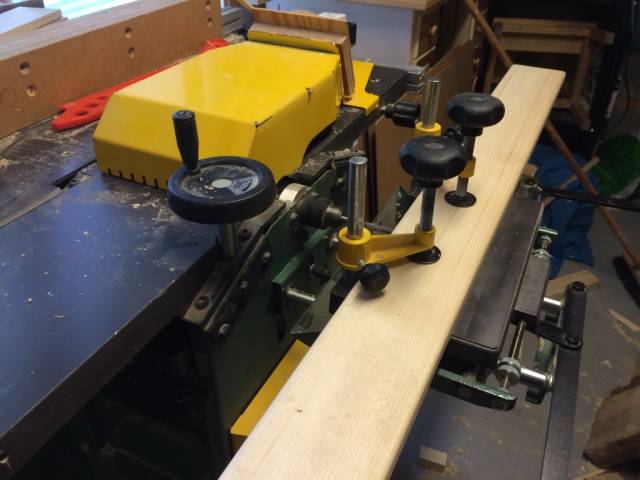
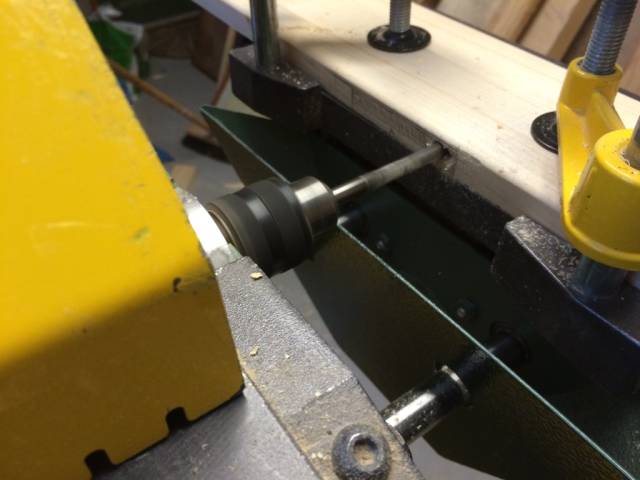
This was finished pretty quick and it came out real good. The mortising bit runs on planer blade holder and it held by a regular drill chuck, except the mortise bit runs in the opposite direction to a drill as it has to run in the same direction as the planer blades. The work sequence goes like this.
- There are two levers on the work table. One lever moves the table back and forth and the other moves it in and out
- First you drill a series of overlapping holes along the mortise using a lever to move the clamping table back and forth against pre-set stops set to produce the length of the mortise.
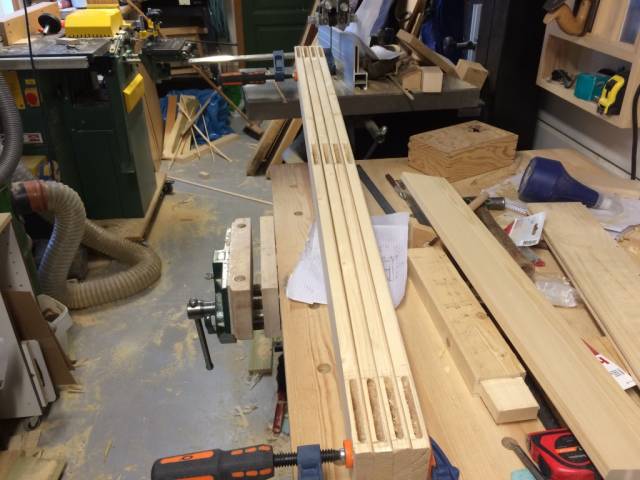
- After the holes are finished it’s just to move the table back and forth to allow the spinning bit clean up the mortise along the walls. There is also a stop to regulate the depth of the mortise. The drilling is done with a lever that moves the table in and out with relation to the drill bit. Here are the finished pieces. See Below
After finishing the vertical frame pieces, I started thinking about the top, bottom and middle horizontal pieces and I realized that I had cut them too short, so I will have to cut them again, plane them and then cut the tenons on them tomorrow. If i weren’t retired I would probably never get anything done!
So that’s it for this episode. Thanks for following along!
Mike, an American living in Norway
7 Comments

Hey Mike, we all make mistakes
Madts.
Tor and Odin are the greatest of gods.
This is one of those measure once and cut twice situations which we all like to avoid. Making mistakes is the only woodworking specialty I have mastered so far.
Mike, an American living in Norway
Just remember: “I cut it 3 times and it is still too short”.
Madts.
Tor and Odin are the greatest of gods.

Mike,
I’m another of those “one step forward, two steps back” woodworkers. Actually, that’s not very truthful. It’s more like “one step forward, about two dozen back.”
Your shed will be perfect when it’s done!
L/W
“Those who would give up essential Liberty, to purchase a little temporary Safety, deserve neither Liberty nor Safety.” Benjamin Franklin
Some mistakes lead to very useful discoveries, my mistakes lead to discoveries too, but they are normally not very useful.
Mike, an American living in Norway

Nice!
Steve Tow
Thanks Steve.
Mike, an American living in Norway