


Share your craft projects
Make new craft buddies
Ask craft questions
Blog your craft journey

shipwright
2073 posts
and
113 followers
in over 12 years
in over 12 years
Shipyard Memories #21: Closing Up the Hull
This is
part 21
in a
22 part
series:
Shipyard Memories
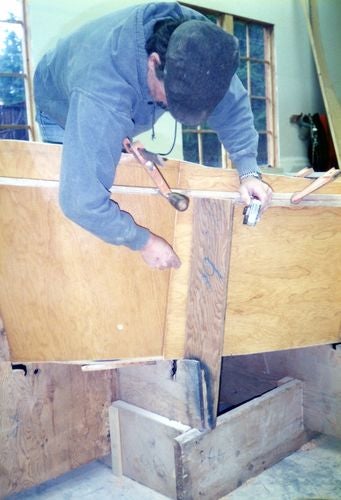
Time for the trickiest part of this round stern hull, fitting the stern panel.
Here we have carefully clamped the stern piece exactly in place and Jim is scribing the line where it meets the bottom. Note that this piece, in order to let it bend, is scarfed side to side rather than end to end. The 'glassing of the outside of this piece is also facilitating the rather extreme bend. This is Harbour Six. You can see the bow of Harbour Seven in the background.

Now he is scribing the exact position of the side panel's scarf, which was planed before assembly, on the outside of the stern panel. As this is the last piece and has to be scarfed at both ends, both the location and the angle of these scarfs are critical.
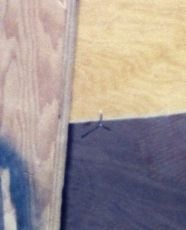
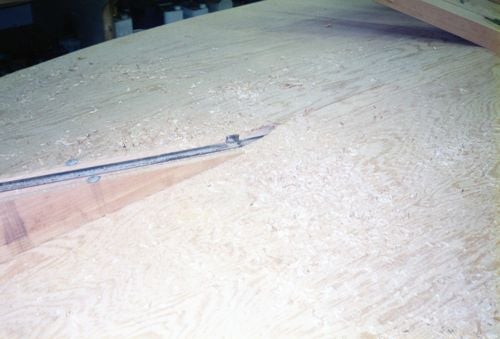
In the last photo, just forward of the vertical jig member you can actually see one of the elusive "stitches" of tie wire. I didn't think I had any photos that showed one. Here's a closer look.
Now the bottom line has been cut off and the scarf is carefully cut at the same 8:1 ratio as the side panel. When re-installed it will be clamped by sandwiching the scarf between two 3" strips of 3/4" plywood (protected from the glue by strips of poly) and then squeezed by running a pattern of screws through the whole works. Sorry, no picture.

Once the shell of the hull is complete, it is rolled over to have the bottom 'glassed and the keel fitted before progressing with the interior. The wire ties are heated with a torch and pulled out, the joints are sanded to smooth rounded lines and any cracks or remaining gaps are filled with thickened epoxy. Then a skin of 6 oz. 'glass cloth is applied with epoxy. All work was supervised by a trained professional shop dog. Her name was Katie and she was "the best dog".
This point is usually about one week into the build process. The hull is always the fastest part of any boat construction.
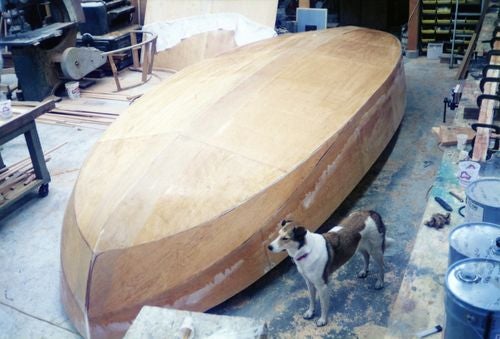
This photo actually belongs before the last one but I wanted to show the inverted hull first for better context. Here I am using a boring bar to cut the preliminary shaft hole through the hull before gluing and bolting the keel on. The stub of deadwood is attached temporarily and will be removed to 'glass the bottom, which is already done in the previous photo.
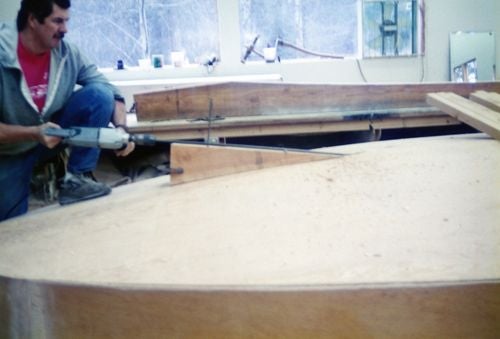
Here's a close up of the business end of the boring bar. This one is just a 1/2" bar with a small fly cutter welded on the side and a 1/2" drill bit welded on the end. I'm just making a hole big enough to pass the bigger one that will be used after the keel is on to bore out the shaft hole to final dimension and alignment.
That's it for this segment. Next time will pretty much get us to the end of my available photos so yes, this will come to an end.
Thanks for looking in
Questions, comments and critiques are always welcome.
Paul
The early bird gets the worm but its the second mouse that gets the cheese.
1 Comment

That is good to know the hull goes quickly in the build process. At least for an experienced builder.
Main Street to the Mountains