


Share your craft projects
Make new craft buddies
Ask craft questions
Blog your craft journey

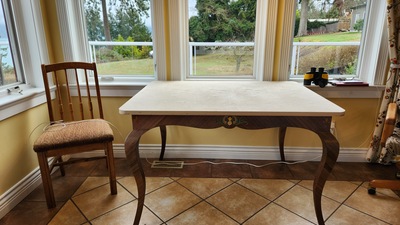
Just a quick update to show the top in place and the installation in the kitchen by the 18C dog food cabinet. It will live here under a tablecloth ...
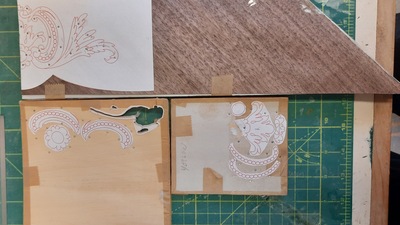
Well, I said I would post again when the veneering was done. It took a little longer than I expected because I decided to add a little marquetry to...
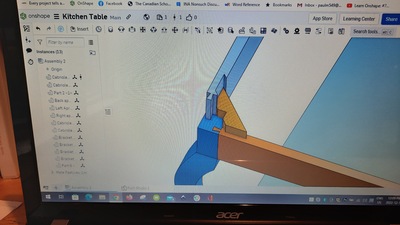
This year’s winter project is a new kitchen table. The beater we have is having trouble living next to the new dog food cabinet beside it.
Our whol...

I'm afraid that the photos are a little scarce from here on but I'll do what I can with what there are.
This photo shows the keel halves ready f...

Time for the trickiest part of this round stern hull, fitting the stern panel.
Here we have carefully clamped the stern piece exactly in place a...

As these boats are a little larger than the usual stitch and glue hull and because some of the bends are difficult, I chose to make a female jig ...
This is the fourth and last blog on the different styles of construction that I have used in wooden boat building. Preceding blogs have covered Ca...

Time to wind up the Cold Molded Construction edition of this little trip through my old shipyard, my old photos and my old memories. The followi...

To answer some of the questions asked about the keel bolts after my last entry, here are some photos from Friendship that show the process a litt...
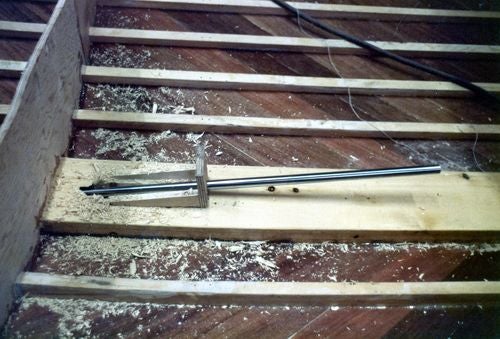
One of the interesting tools that find a regular use in building boats is the boring bar. After the hull is finished and the time comes to instal...

Once the hull is planked, it is skinned with 6 oz. fiberglass cloth set in epoxy and faired using several tinted coats of a high build epoxy prim...

I have to apologize for my lack of a lot of photos of this stage. I guess it just seemed to boring to take a lot of photos at the time. Anyway t...