Well, I said I would post again when the veneering was done. It took a little longer than I expected because I decided to add a little marquetry to the aprons. 😁🙄
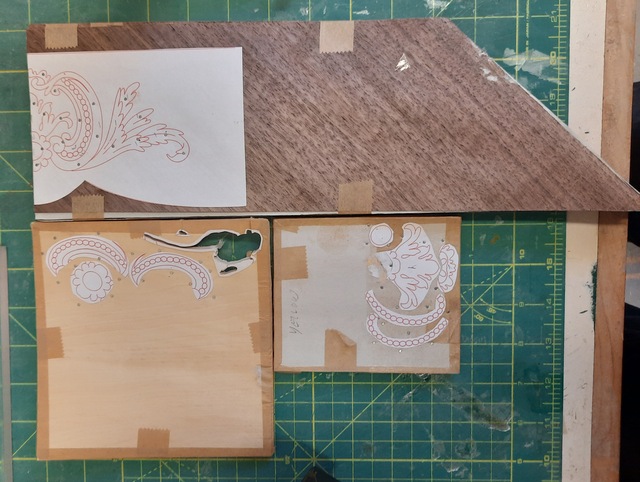
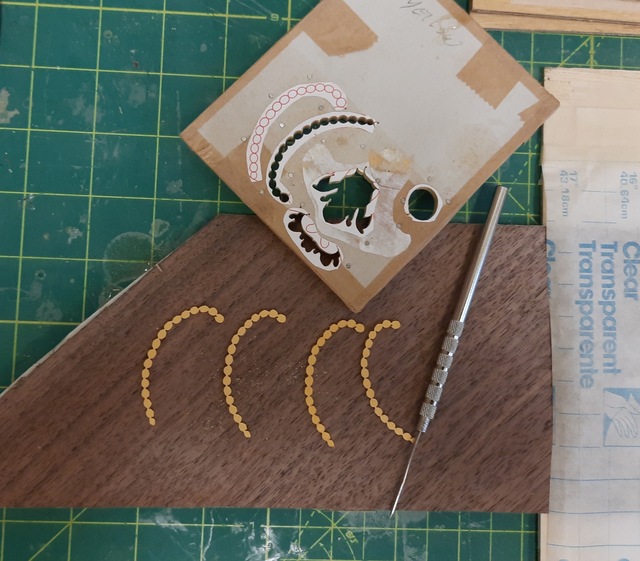
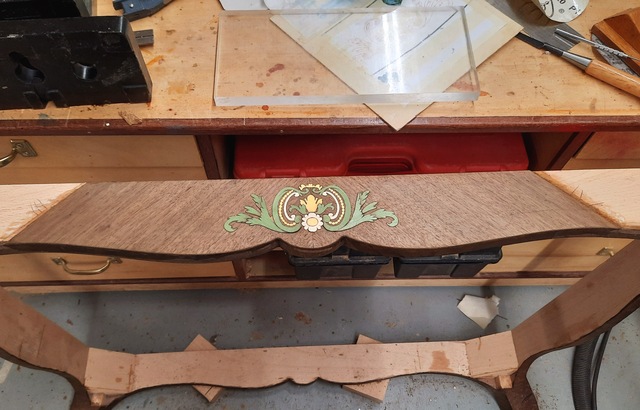
The veneer will be diagonal on the base so I started by book matching four pairs of walnut veneer pieces to centre the sides. I would be cutting in piece by piece style (background and elements cut separately) so I folded these pairs in half and carefully aligned them into a packet (8 layers) and cut the pattern to form the four backgrounds. The elements were cut from separate packets of four layers each.
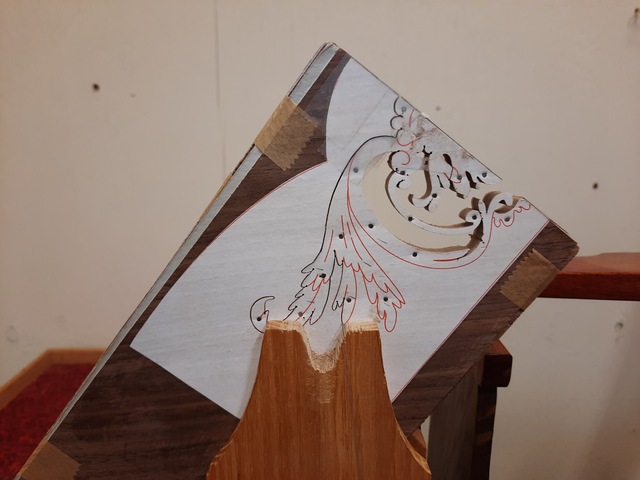
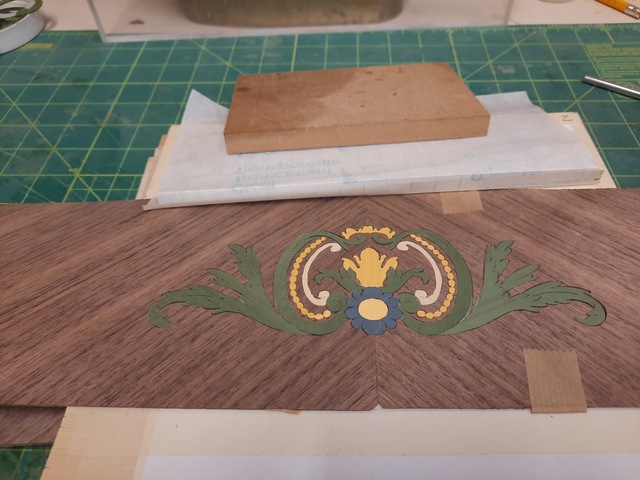
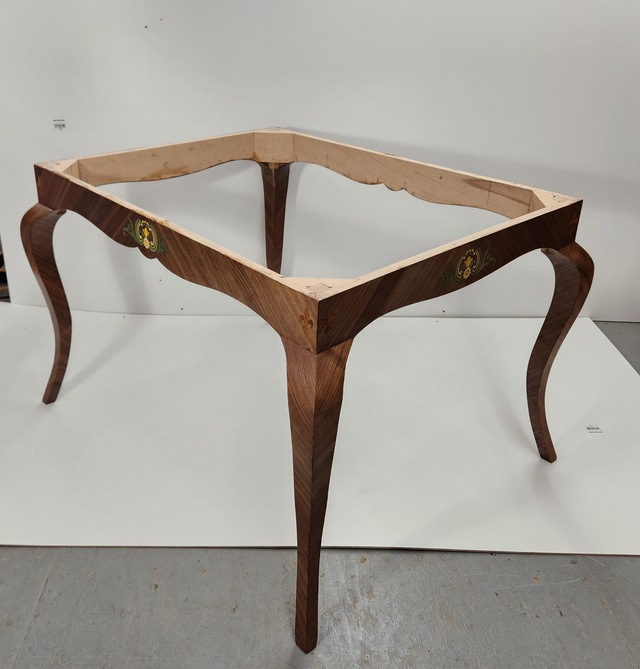
Once cut and assembled, I applied them to the aprons. There were some very delicate cuts.
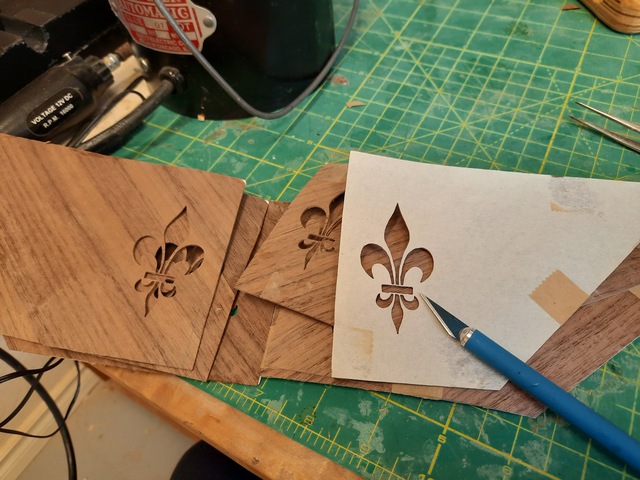
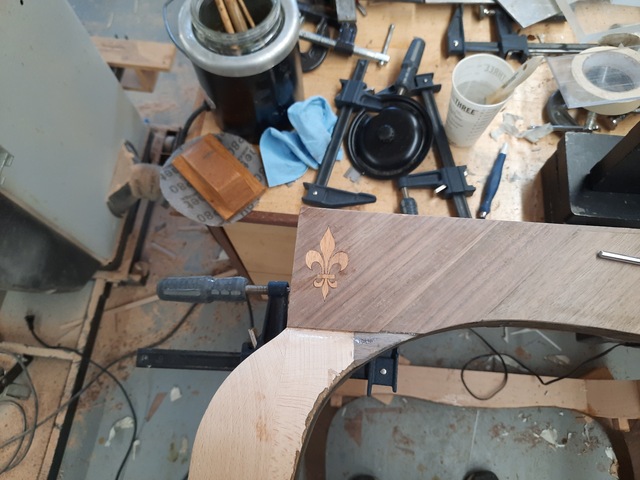
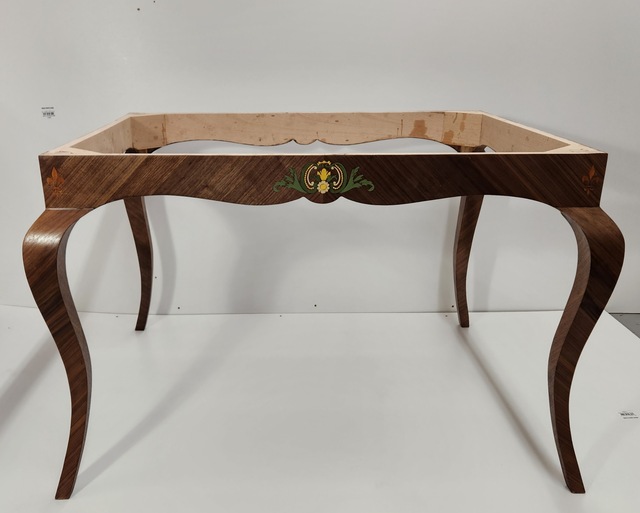
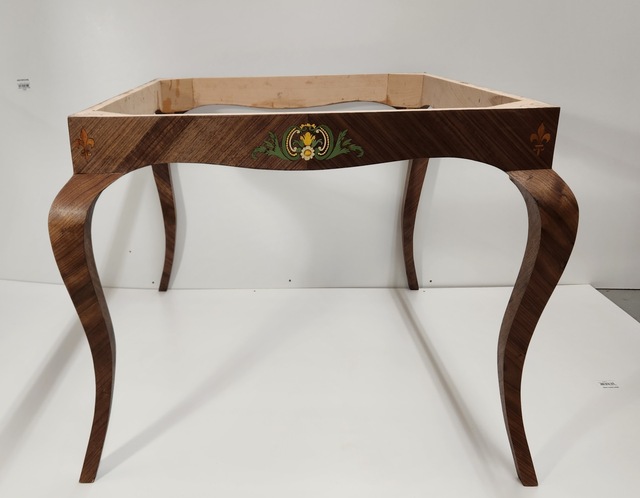
So then I was all set to finish veneering the rest, right? Well I was …… but I decided that it would be nice to add a French touch with a fleur de lis in each corner. I didn’t want it to be too busy. I wanted a subtle effect rather than in your face so I chose Koa for the fleurs.
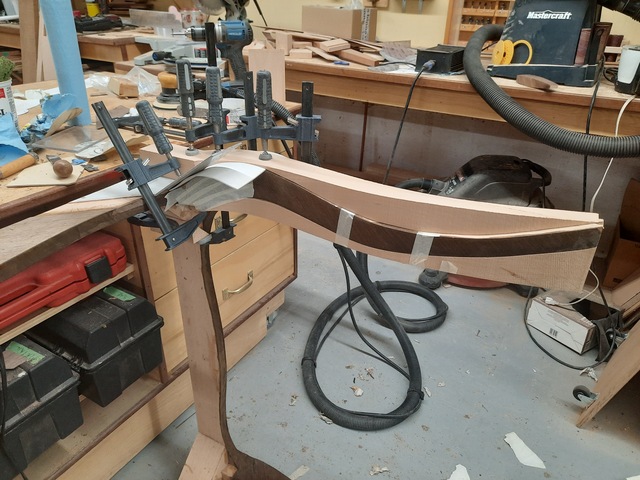
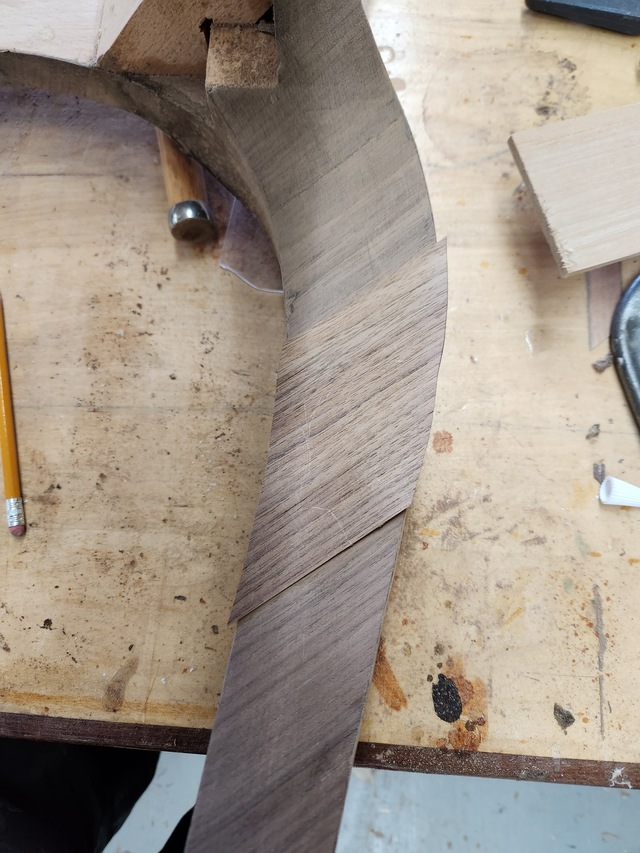
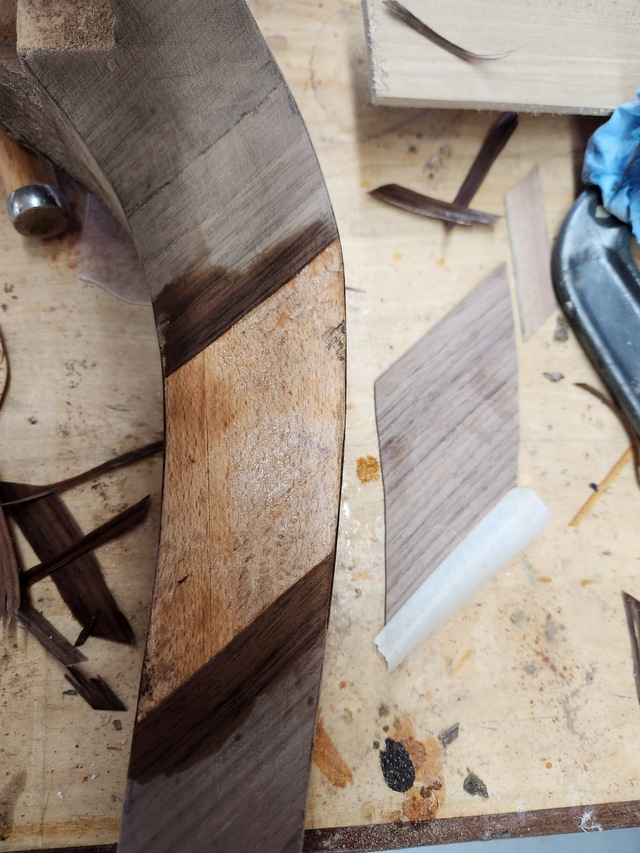
…and now I really was ready to finish up. Veneering cabriole legs is much easier if you save your offcuts from the bandsaw. The big issue here was that I’m using .6mm veneer and sanding through at the corners was a real possibility. Okay more than a possibility, an inevitability at least an occasional one. Fortunately with hide glue you can remove and replace the offending piece. …. only had to do that once.
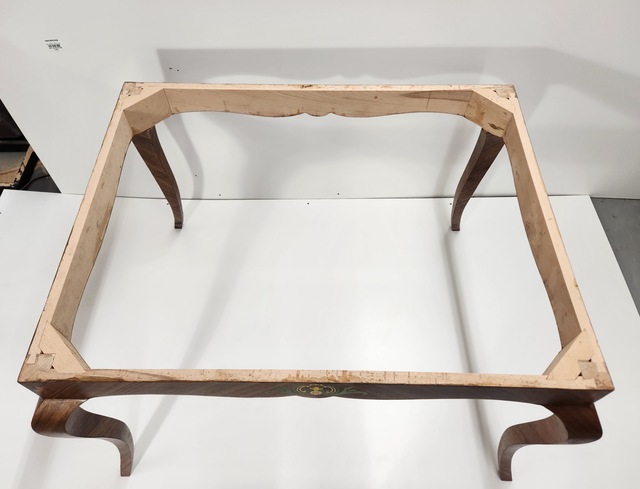
At last a final sanding and a few coats of shellac to protect the veneer and it is “done for now”. What that means is that it will have its bare plywood top applied and will come into the kitchen and be our table while I spend the next weeks building a swap box and then doing the table top marquetry.
Thanks for looking in.
The early bird gets the worm but its the second mouse that gets the cheese.
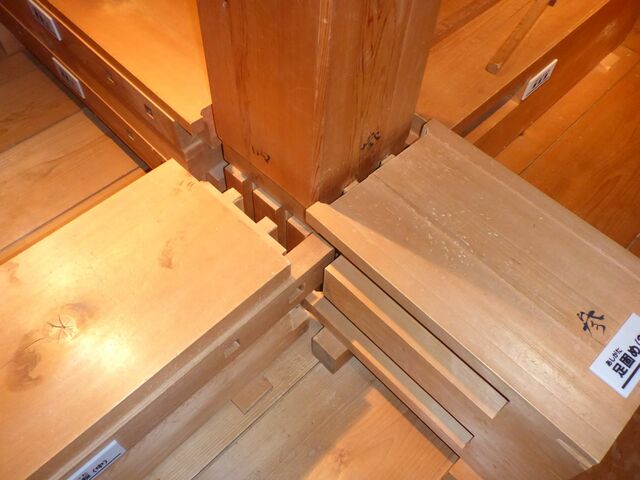
Complex corners Paul, but then you've never done easy! Yes Japanese joinery is a bit special and fits with your not easy I remember trying to get my head around this one I saw in Japan a few years back. The table is looking like an excuse for a stunning marquetry panel for the top, which I'm now looking forward to seeing! As is often the cae looking at your work, you've got me thinking about a French Comtoise clock movement that I restored some years ago. It currently sits on a bracket in the garage and could really do with a 'proper' case.