


Share your craft projects
Make new craft buddies
Ask craft questions
Blog your craft journey

lanwater
2132 posts
and
35 followers
in over 12 years
in over 12 years
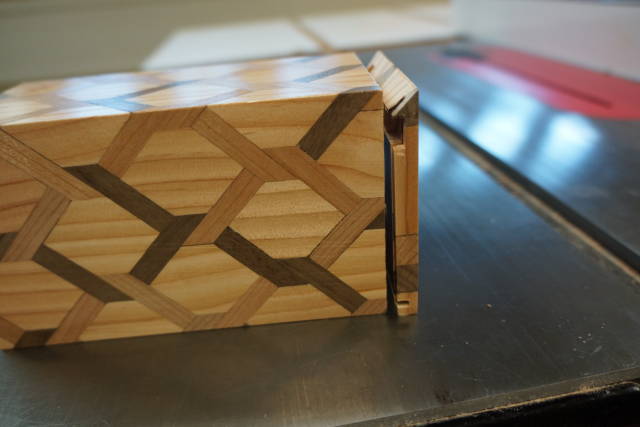
Making the Fence
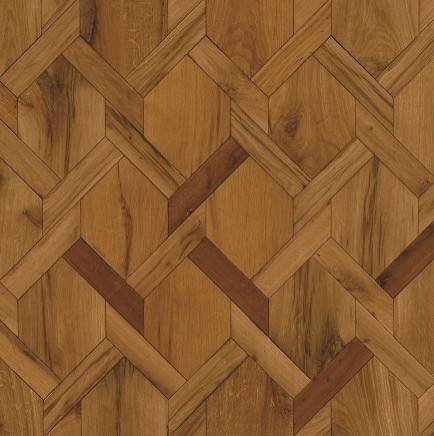
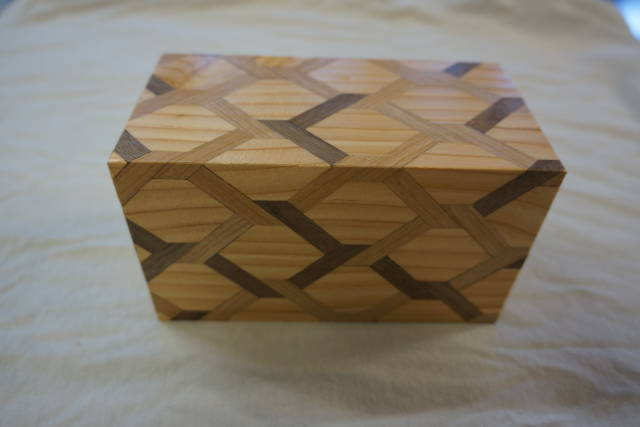
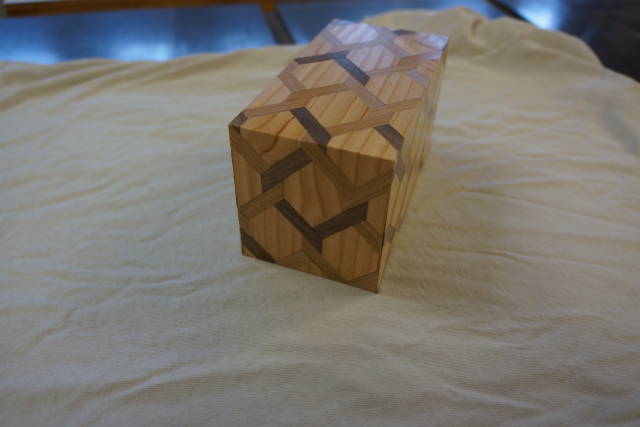
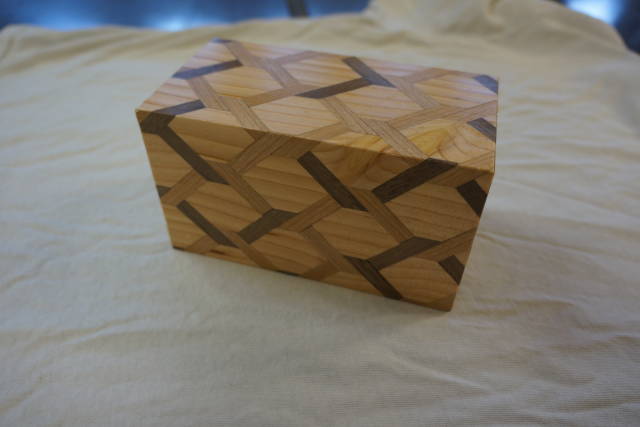
I saw a parquetry picture on google and wanted to make it.
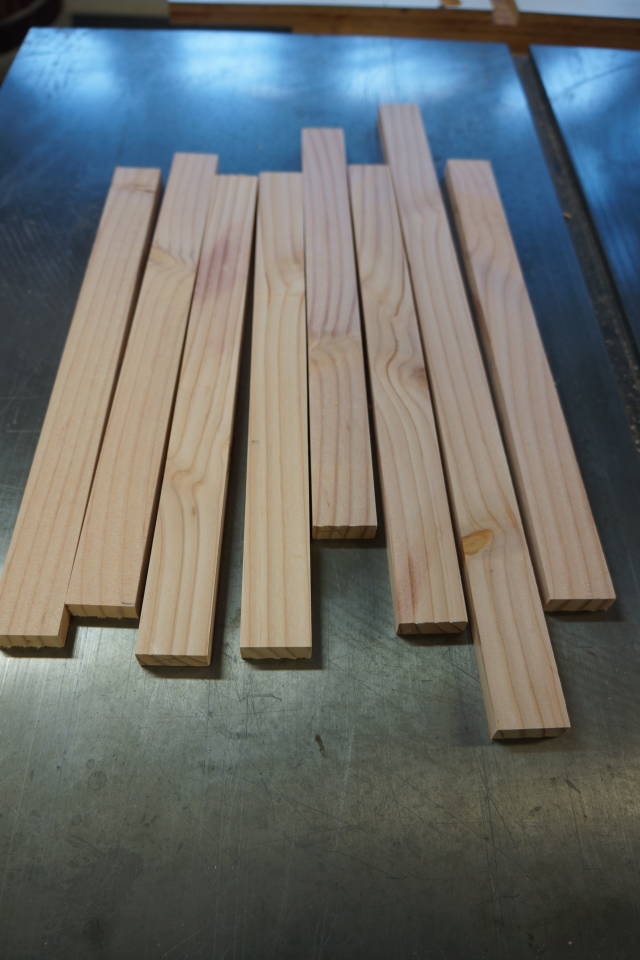
I had small leftover of salvaged Douglas fir from my picnic table
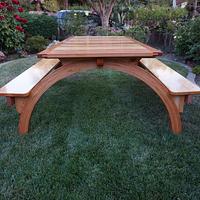
I also had some small off cut of Cherry and walnut
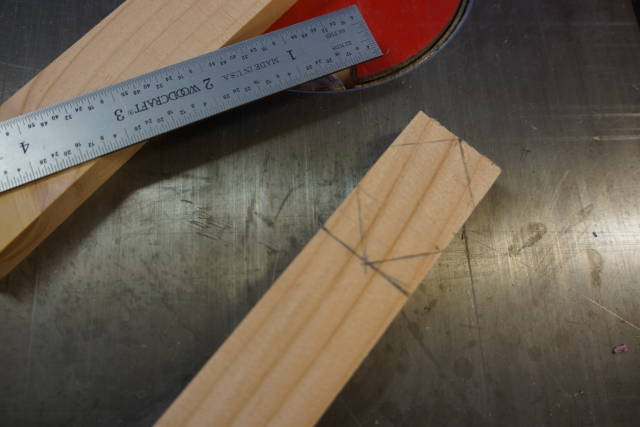
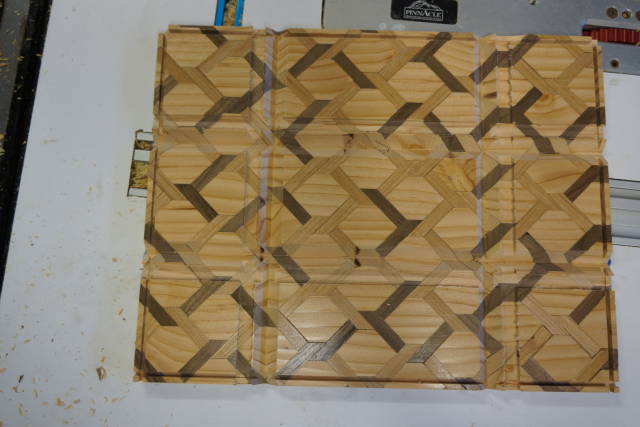
There are 2 kind of element in that design. If you count the color of the thinner pieces then three.
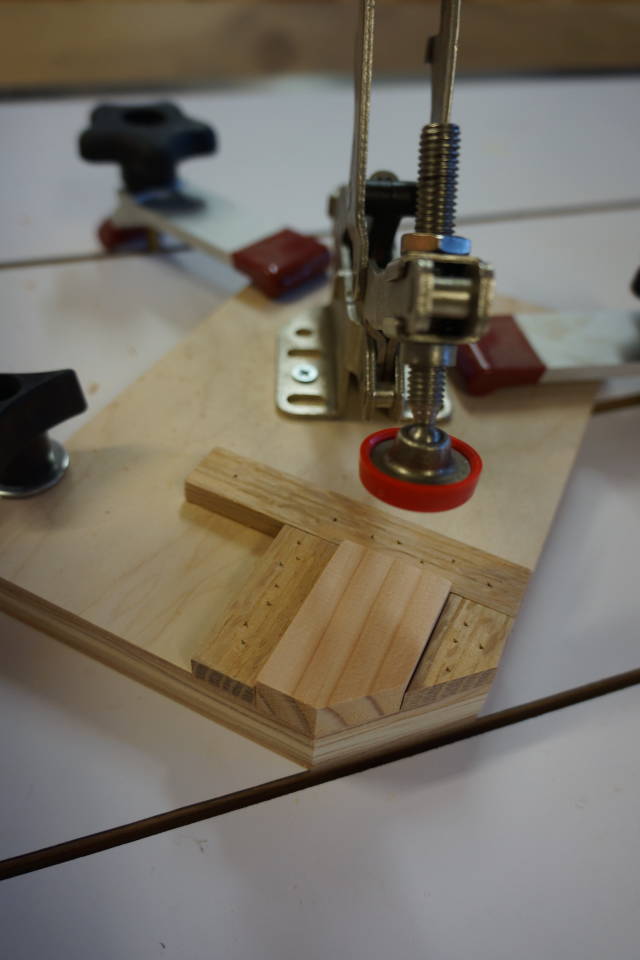
Cut the Douglas fir into manageable sections
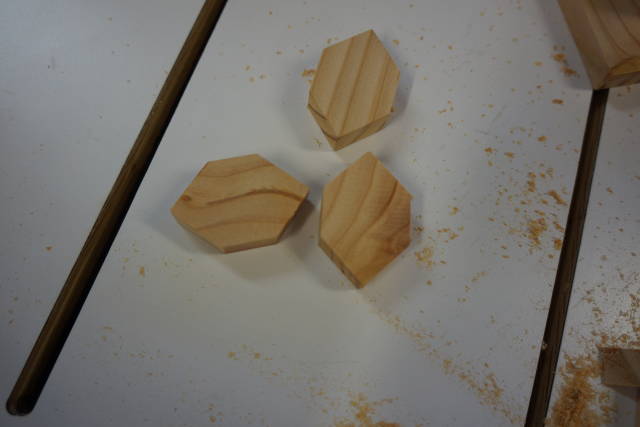
These section will be cut into hexagons as drawn below
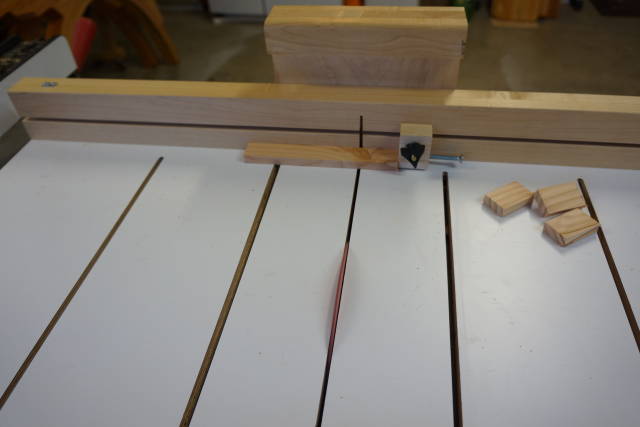
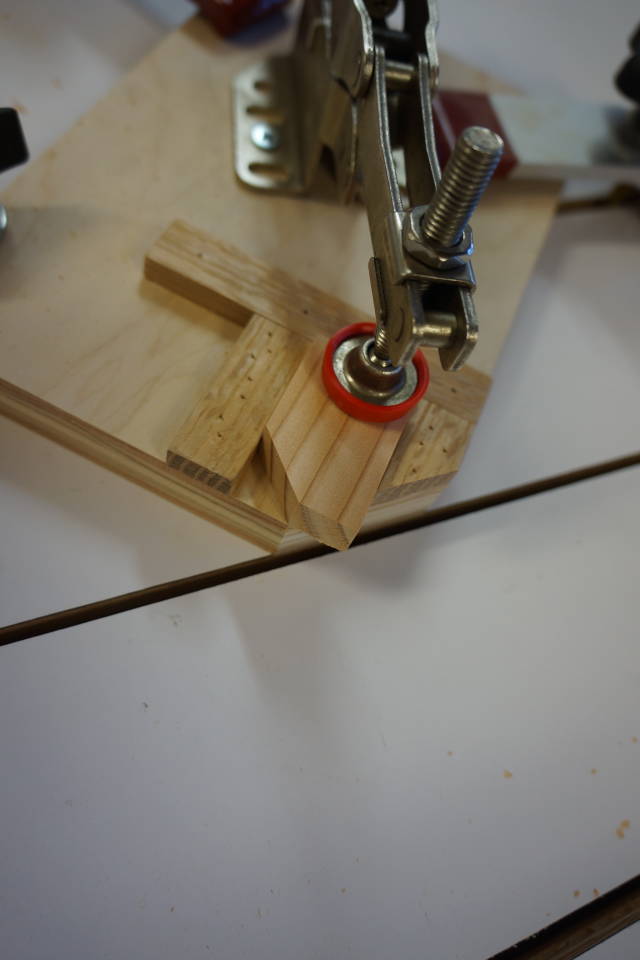
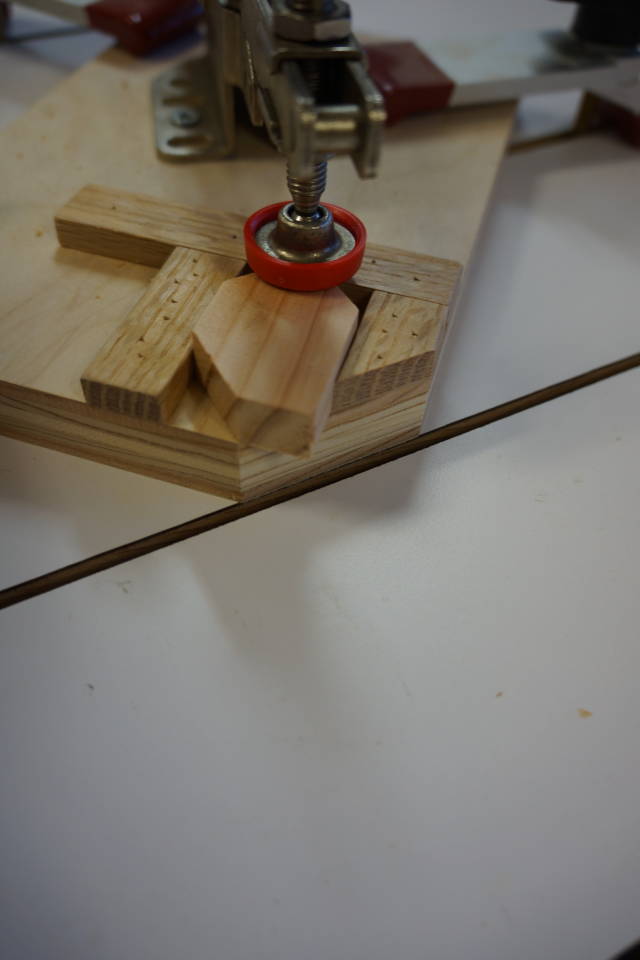
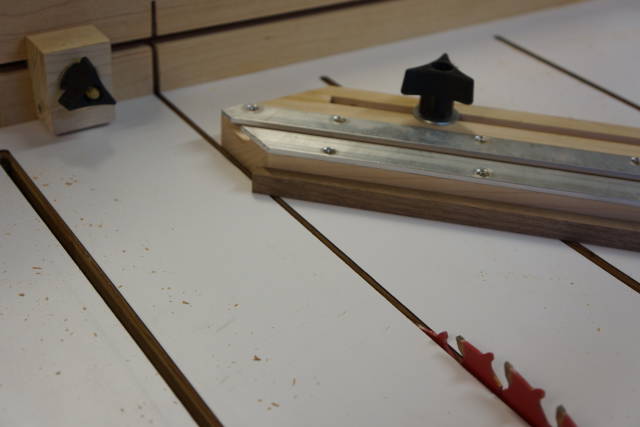
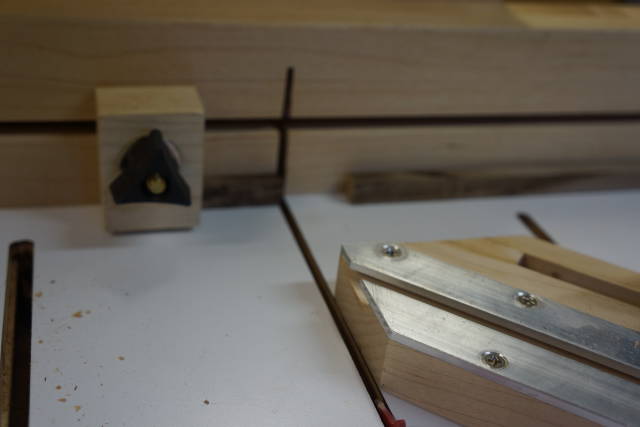
To cut the hexagons I made a quick jig and attached it to my cross cut sled
basically cut 1 corner then rotate and cut again until all 4 corners a cut
I set my cross cut sled for 45 degree miter cut and I also set a stop block to cut the side pieces to length
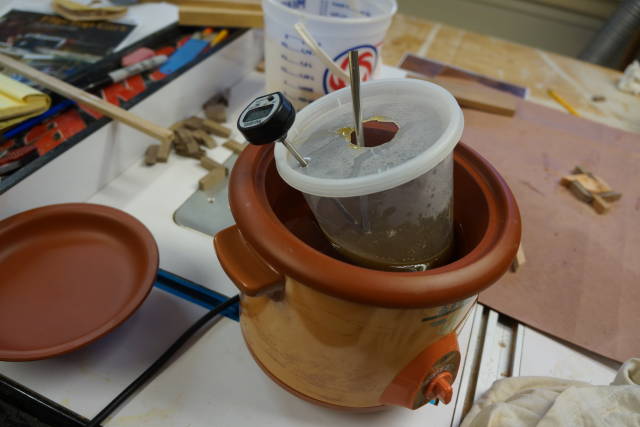
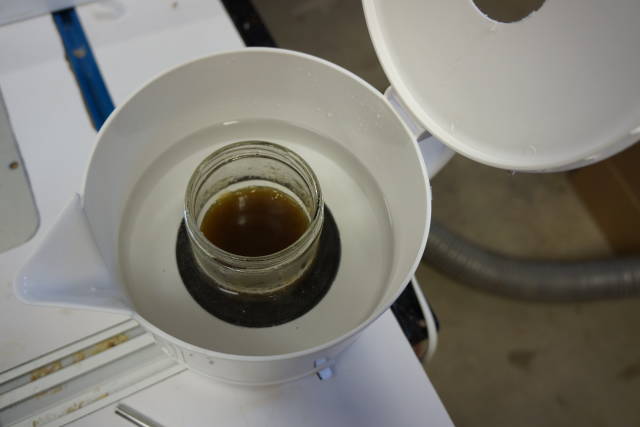
After reading Paul’s blog about hide glue
I Got my Hide glue ready for action
https://woodworkingweb.com/entries/212-hide-glue-first-encounter
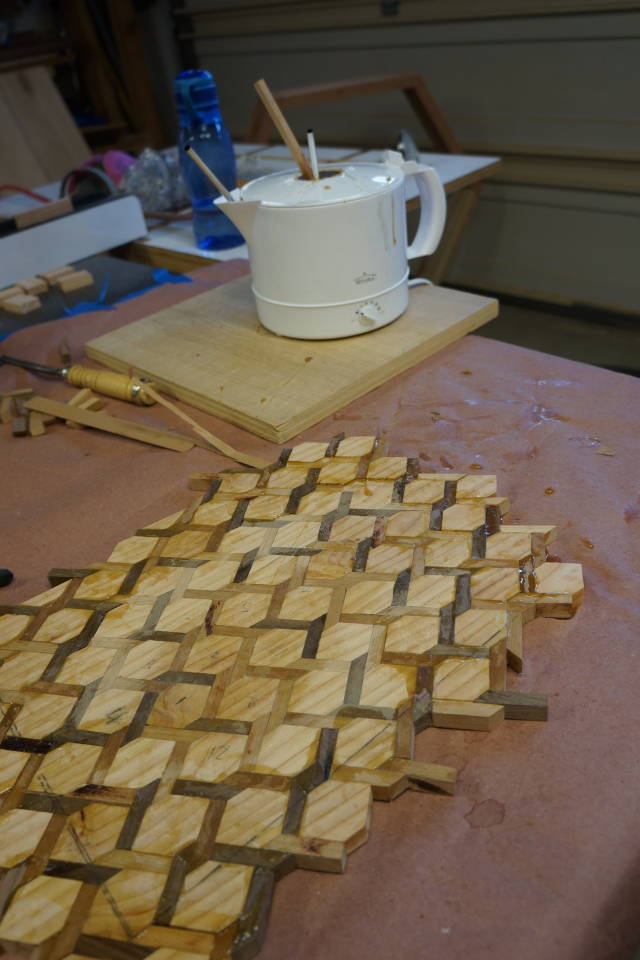
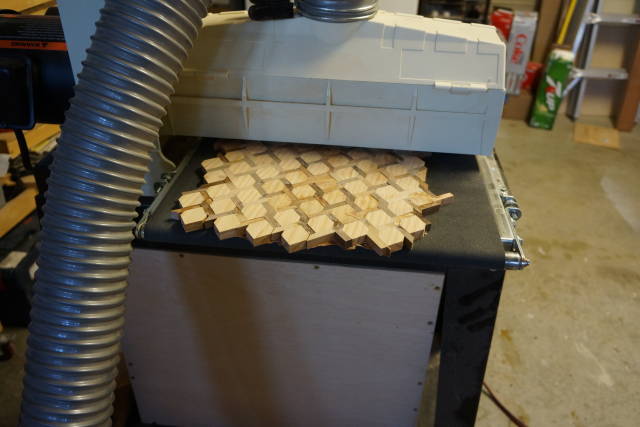
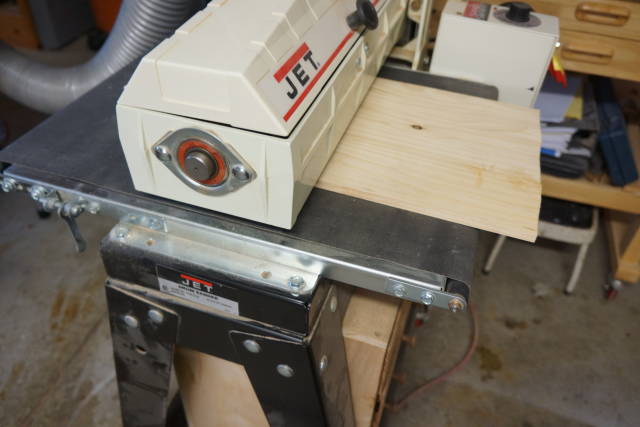
After the glue was dry, onto the drum sander to flatten the board and thickness it.
I learned not take this kind of pattern through the planer to 1/4 inch :)
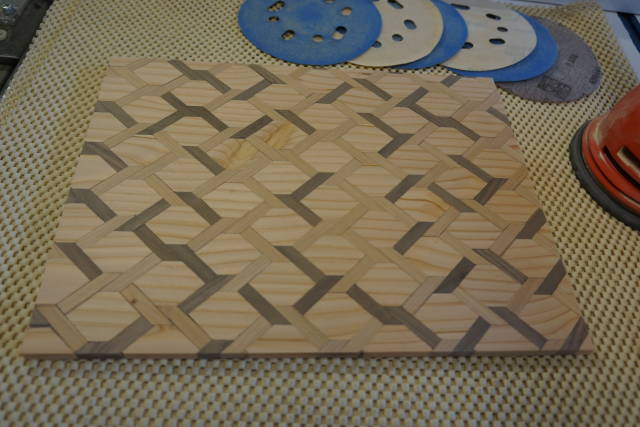
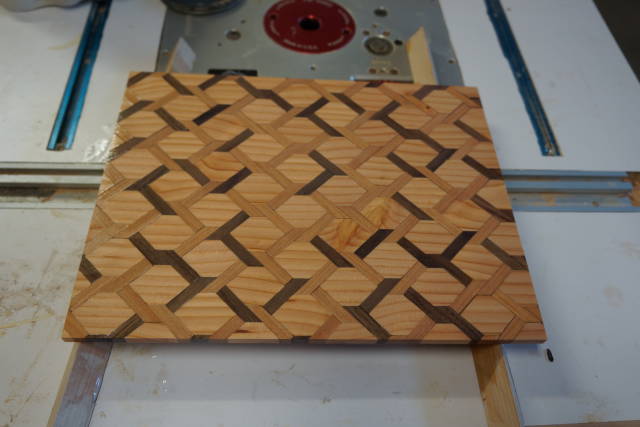
Applied a couple of water based poly ( good drying time but terrible color tone; no warmth)
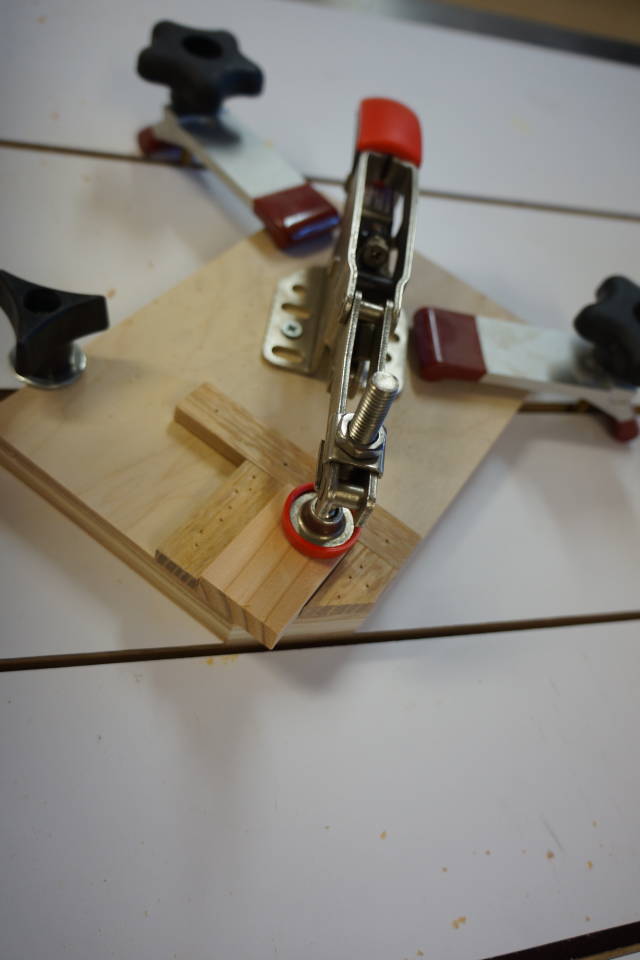
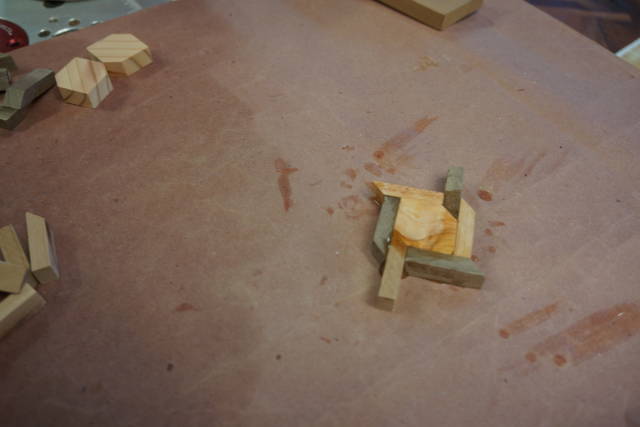
I also prepared a dummy from salvaged pallet wood that I will use during the routing operation just to make sure of the setup
Please note that the procedure below is from BritBoxMaker and his easy miter technique is nicely described
in this blog: http://lumberjocks.com/BritBoxmaker/blog/17048
Thanks Martyn!
First cut is 1/8 inch for the bottom of the box
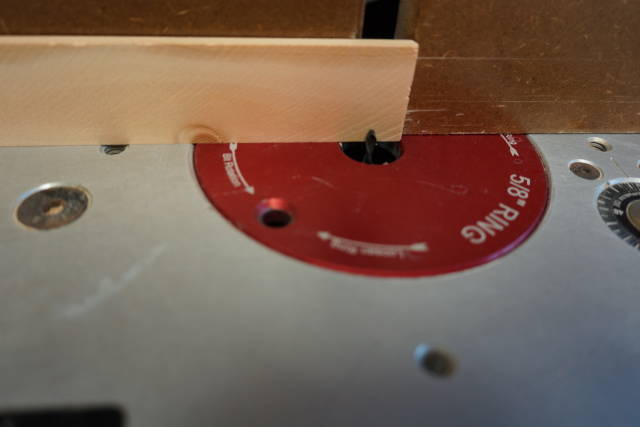

Cut the lipping grooves with a 3/8 inch strait bit
Then the folding groove with a “v” 90 degree bit
It all fold nicely with no effort
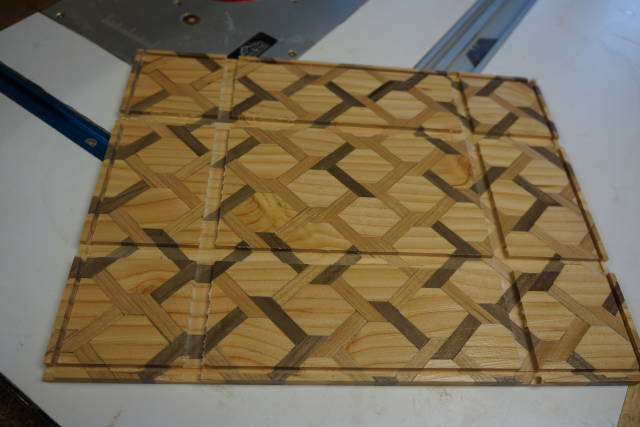
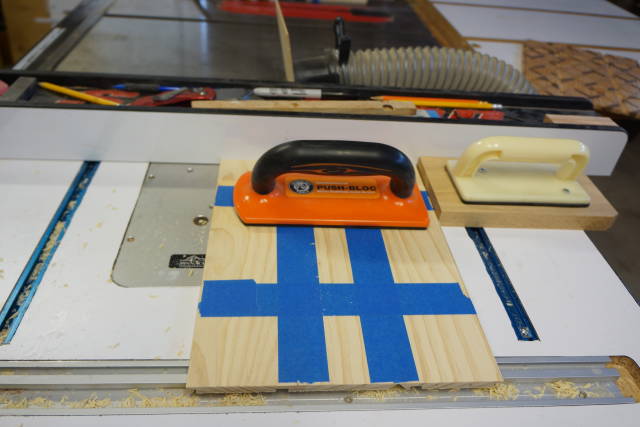
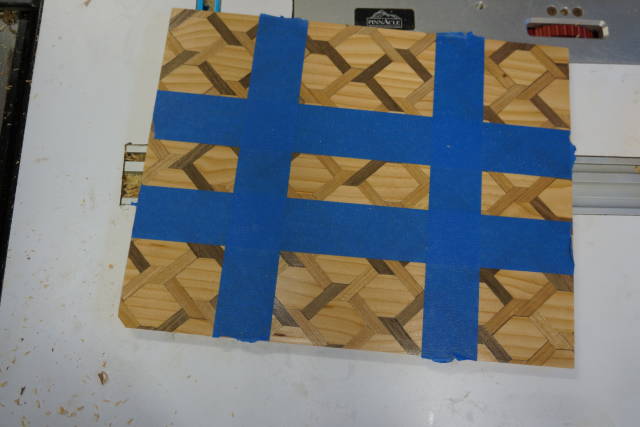
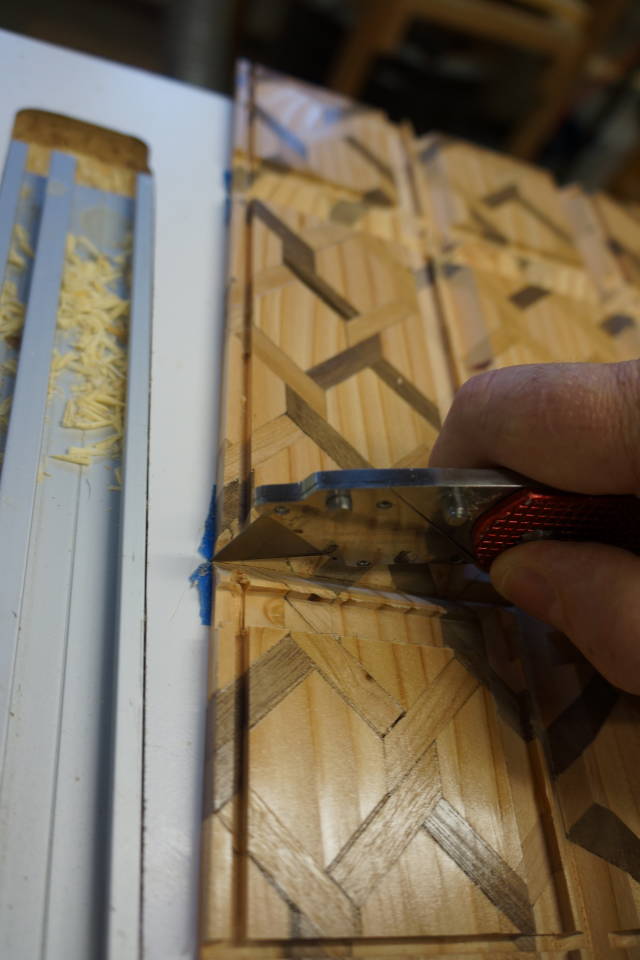
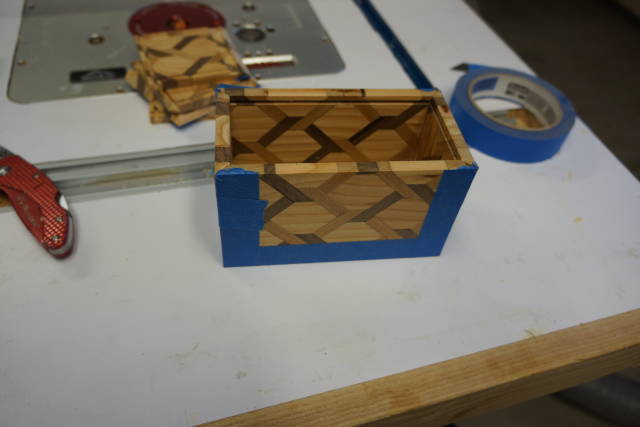
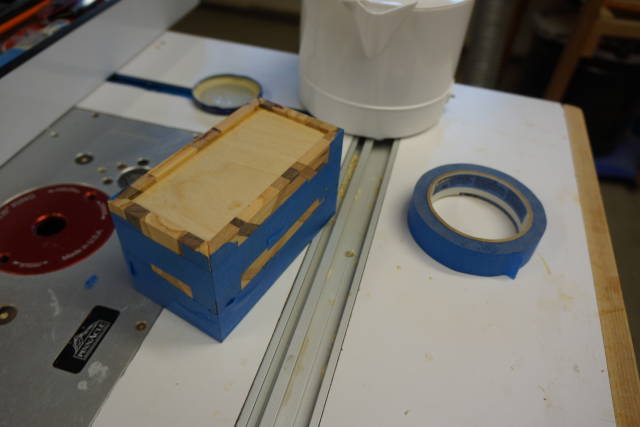
Once the setup worked, I did the same thing for the actual pattern. Note the blue tape that will hold it together.
Cut the corners that are not needed
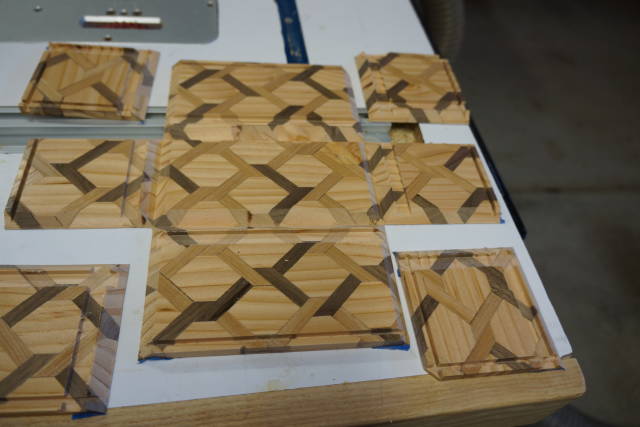
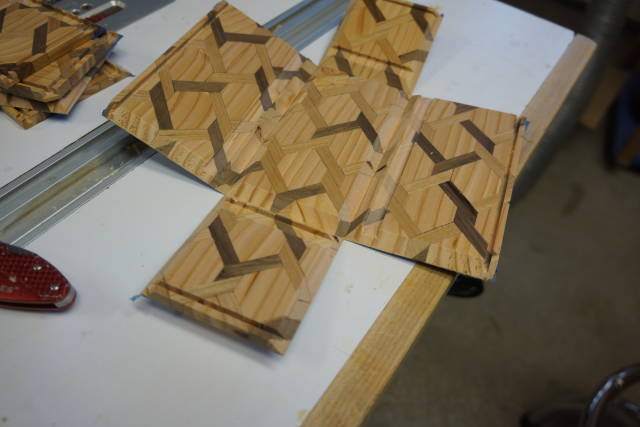
Dry fitting test. That also allow to measure the ply for the bottom
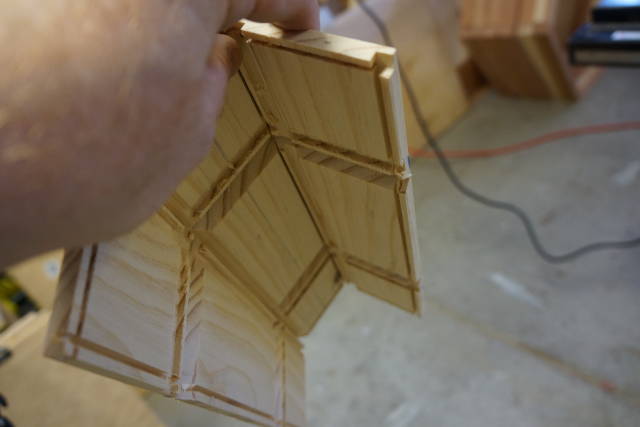
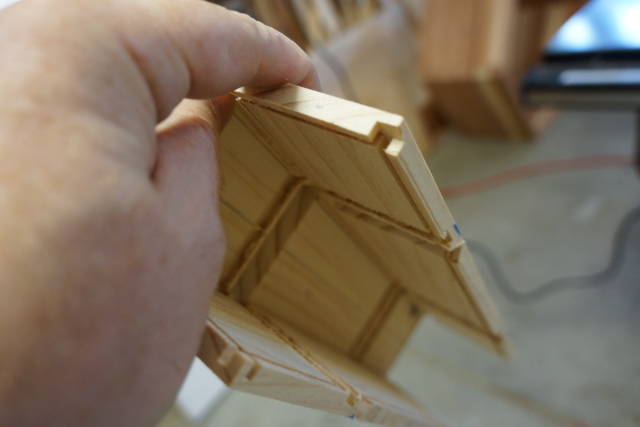
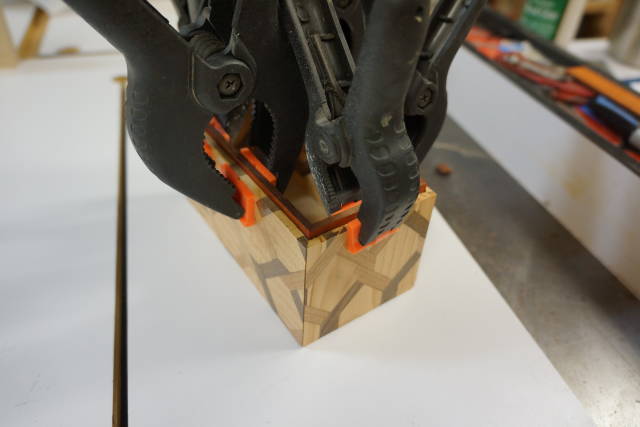
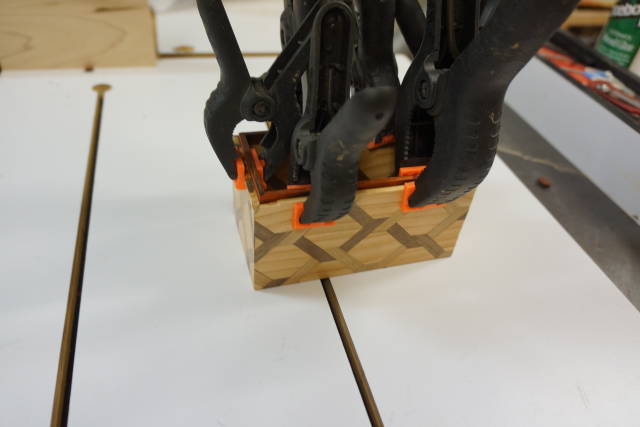
Got out the hide glue that has been hibernating in the refrigerator then glued up and tape it to hold.

After it’s all dry…
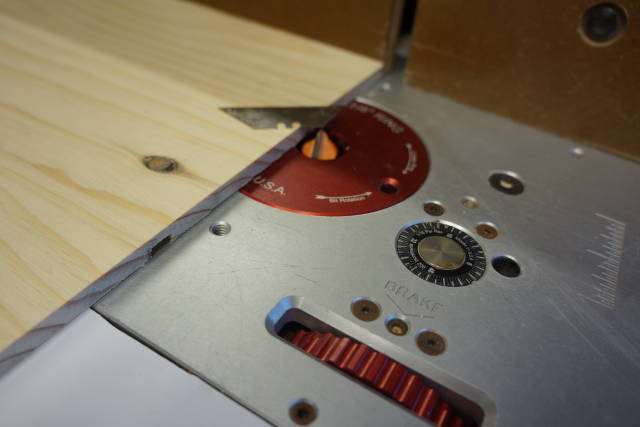
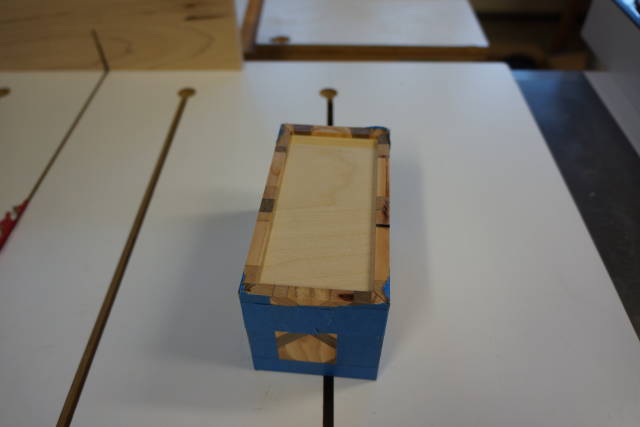
The corner cut off help in separating the top from the body
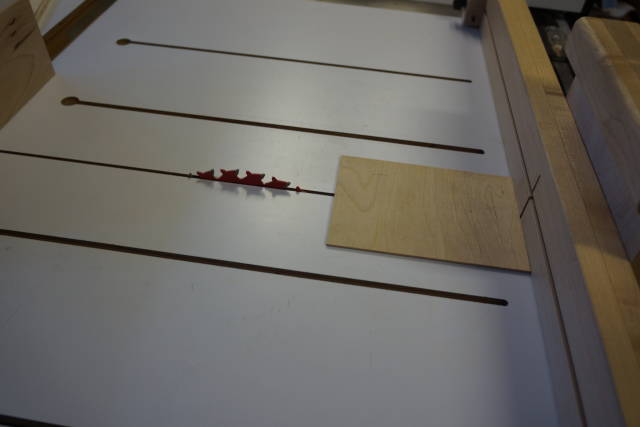
Cut and mitered some 1/8 padauck pieces for the lips
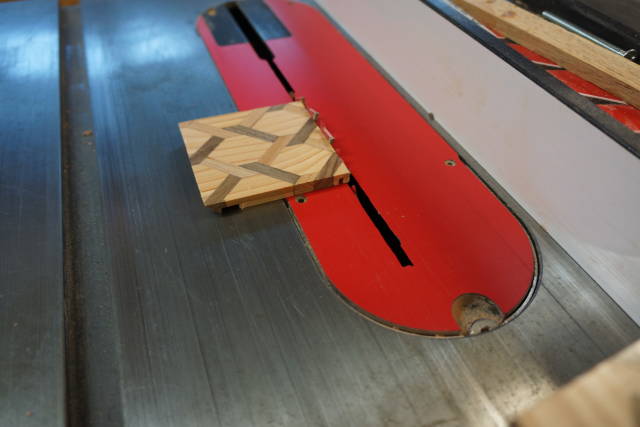
I usually use my bandsaw to cut the separation of the top. Sunday night, with dinner ready I rushed and did it on the table saw. I screw up a little, just enough to upset me quit a bit.
Picture uploading decided not to work anymore. will show that in the comment section…
Abbas, Castro Valley, CA
11 Comments
picture of the screw up:
Abbas, Castro Valley, CA

Great little box Abbas. I’m sure that the small nick can be fixed without showing. I love the pattern.
Mike, an American living in Norway

Beautiful. How about a finished photo with hardware? Are you going to hinge the top or leave put a pull on the lid or something?
Losing fingers since 1969

That’s just sweet Abbas.
Chain link fencing never looked so good!
The early bird gets the worm but its the second mouse that gets the cheese.

The first couple of pics I thought you were making a cutting board, I was thinking “that’s a lot of work for a cutting board…and why is he making it so thin?” Thanks for sharing the process, that is a beautiful looking box with a unique pattern.
Rob, Sault Ste. Marie, Ontario
Thanks Mike. It’s a little harder because the pattern. I will try to figure the weekend. no more rushing.
Brian, Thanks. No hinges. Just the lid on top. If I am successful in fixing somewhat the mistake it will be posted as a project.
Thanks Paul. I am actually quite stress by the end result. All my making.
Thanks Rob. Making a cutting board was an idea I contemplated before stating the project. The pattern would be ruined on the first contact with a knife :). I will be making some cutting board soon though.
Abbas, Castro Valley, CA
That is looking wonderful and thanks for the great pictures of the build process .
This is great inspiration and a tease for getting into box making again but there are too many other things on the list .
I always enjoy your posts because they are so detailed and well explained with pictures .
Klaus
Thanks Kiefer!
Abbas, Castro Valley, CA
Thanks Bently.
You never left things, you are just doing different things :)
Abbas, Castro Valley, CA
Great job with the details on the build.
This turned out quite nice.
Thanks for posting
Thanks John!
Abbas, Castro Valley, CA