


Share your craft projects
Make new craft buddies
Ask craft questions
Blog your craft journey

lanwater
2132 posts
and
35 followers
in over 12 years
in over 12 years
Learning veneer #1: Learning Veneer Hamering- First Baby steps
This is
part 1
in a
8 part
series:
Learning veneer
First a big Thanks to Paul.
Paul has been mentoring me in veneering through long distance learning; emails that is.
Two great videos, among many, I enjoyed watching:
https://woodworkingweb.com/entries/159-hammer-veneering
http://woodtreks.com/learn-how-hammer-veneers-hand-tools-inlay-marquetry-hide-glue/1493/
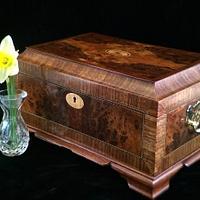
Paul sent me some pictures of his veneer box and suggested I build one similar to organize the veneer I purchase from Lee Valley. He also suggested I veneer my box to practice. I thinks it’s a fun idea.
You can see pictures of the box here: https://woodworkingweb.com/topics/190-need-construction-ideas
Before delving into veneer hammering I read many blogs and watch many videos. All I have seen is a small piece demonstrations usually on a flat surface.
Everything I say in this blog is my own interpretation of all the information I have seen. Since I am an absolute beginner don’t give it much value.
My biggest worry was, and still is, the gel time of hot hide glue.
My glue is heated to 145 degree Fahrenheit and my open time (before the glue start gelling) is less than 1 minute. Not much for a beginner like me.
From all the reading I gathered few tips:
- Heat the working piece
- Dilute the glue a little ( lose a little strength).
- Wet and use a hot iron to reactivate (keep it liquid) the glue.
-Add a little salt to the glue: 3 to 5% by weight to get longer open time.
-Can’t use liquid hide as it looses that initial tack that keeps the veneer on the board.
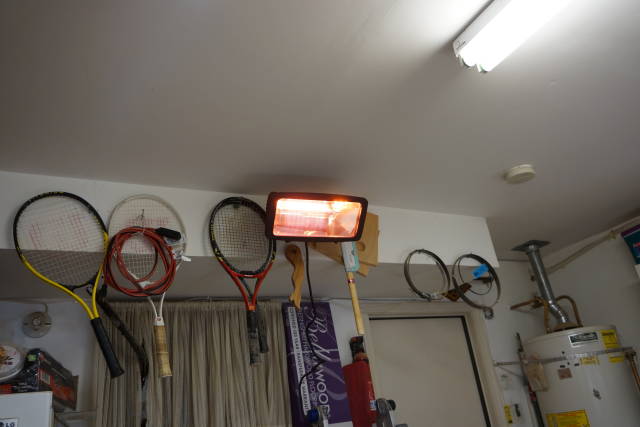
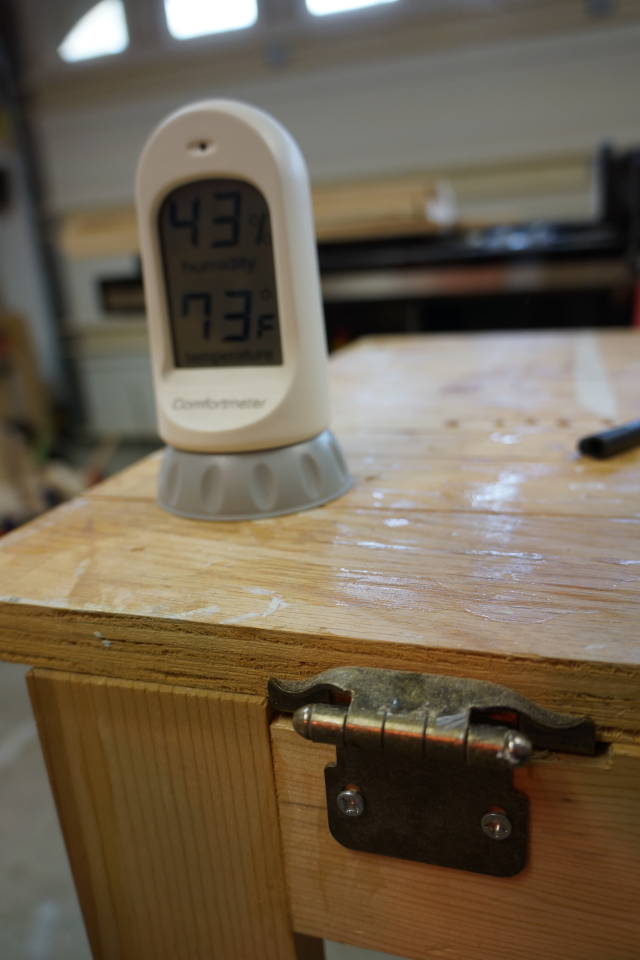
So I got an infrared space heater and heated the shop to about 73 degrees
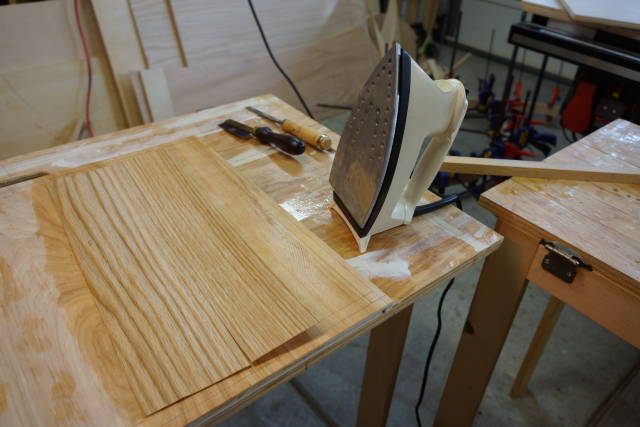
I also hijacked an old iron from my wife
I have not tried the salt method yet but I do have a small batch in the refrigerator that I prepared today with 3% salt.
I will be experimenting with next weekend.
About 50 square feet of veneer of all kind:

Space heater
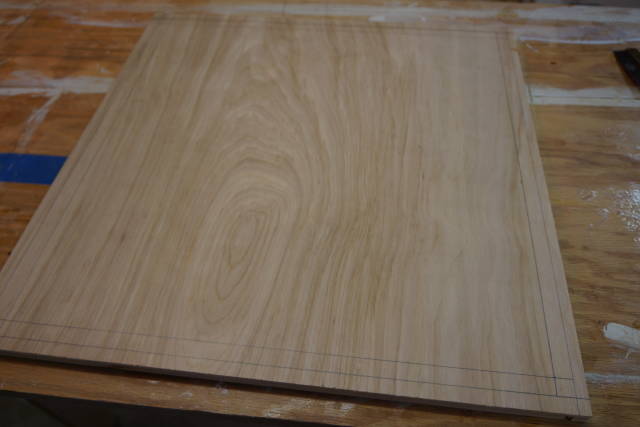
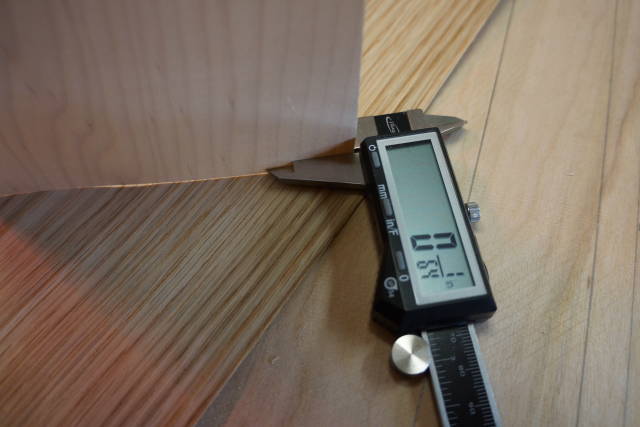
Since the box of veneer has a variety of veneer, some with different thickness, I made sure that the pieces I am about to use are of the same thickness. I chose all the pieces I don’t like for this so I don’t feel bad if I screw up.
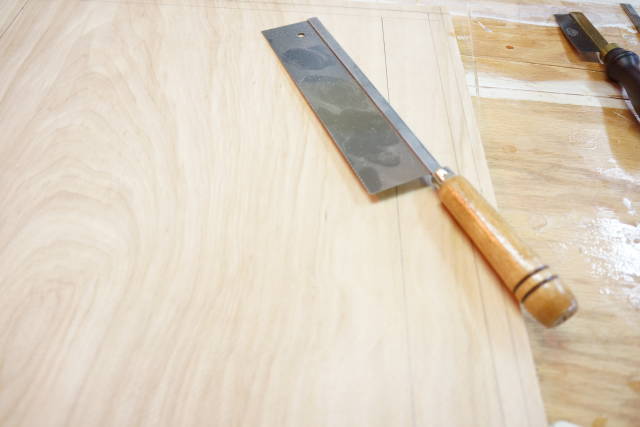
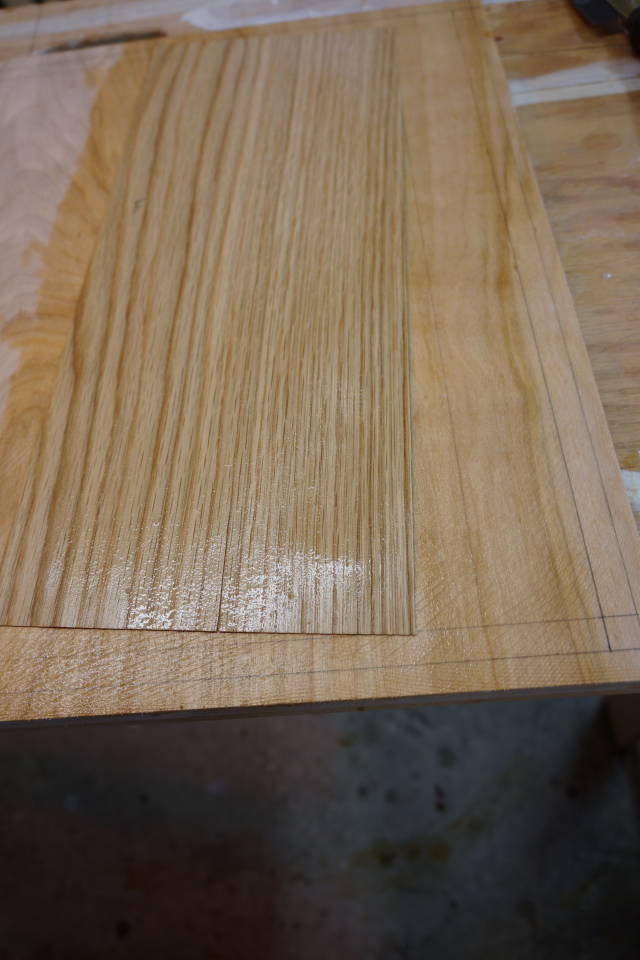
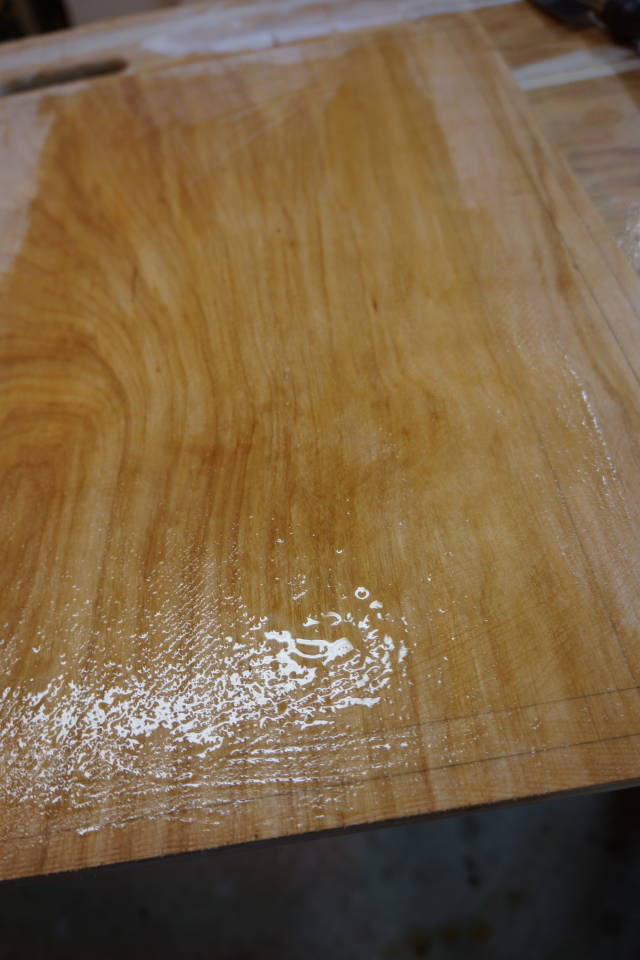
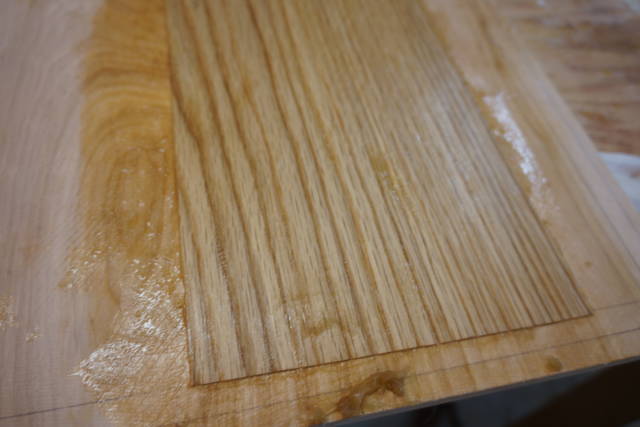
I don’t have a toothing plane so I use a tenon saw to scratch the surface.
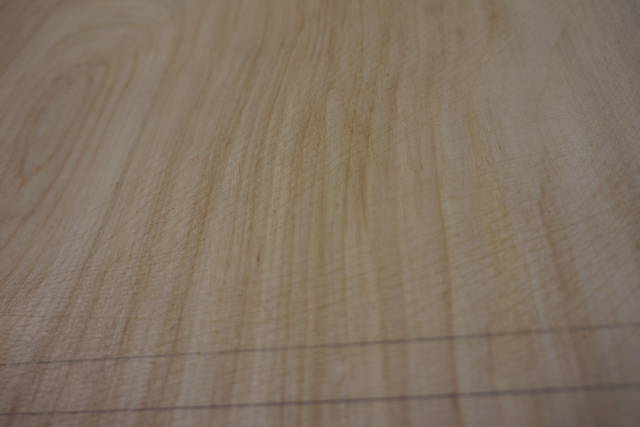
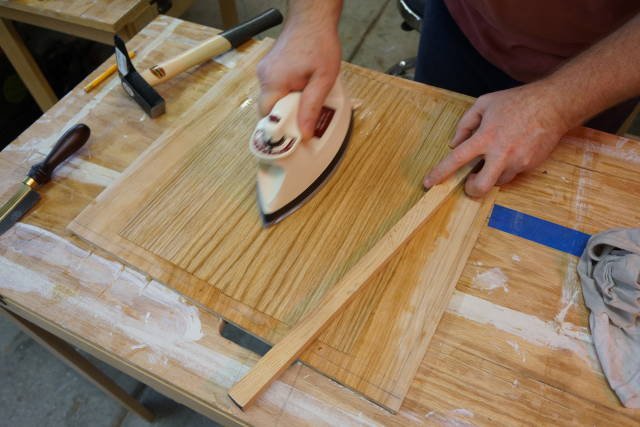
Both the veneer and the base plywood have been wet with worm water (saw that in a video) and ironed.

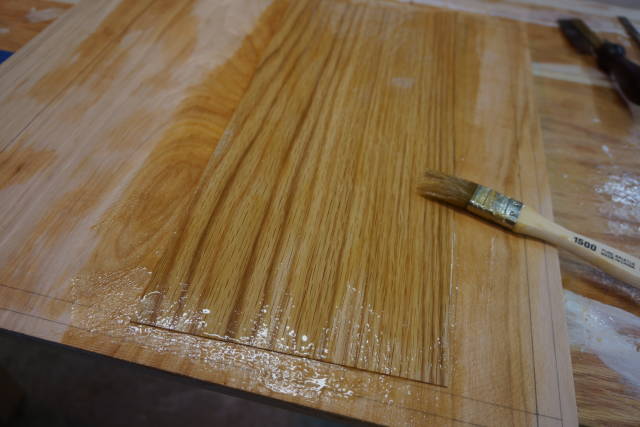
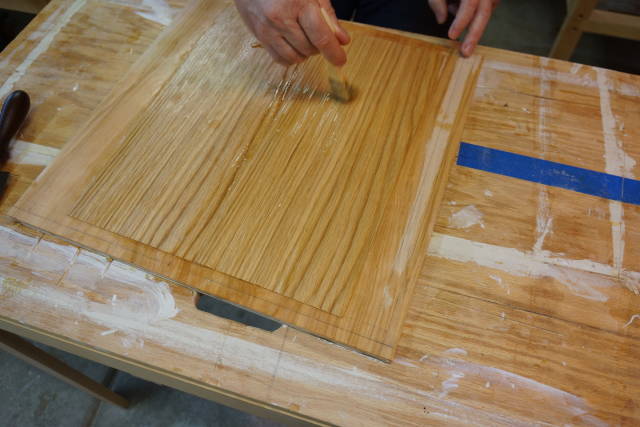
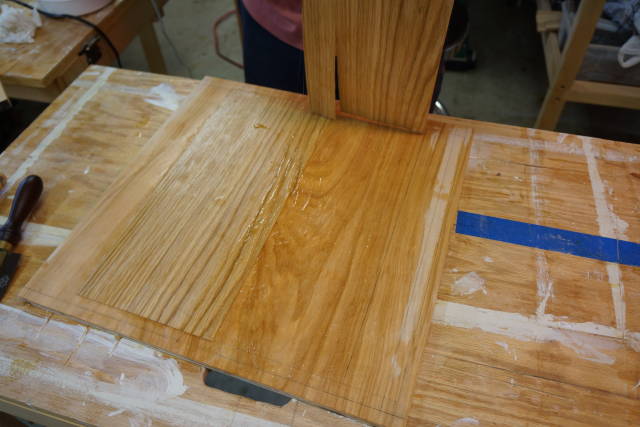
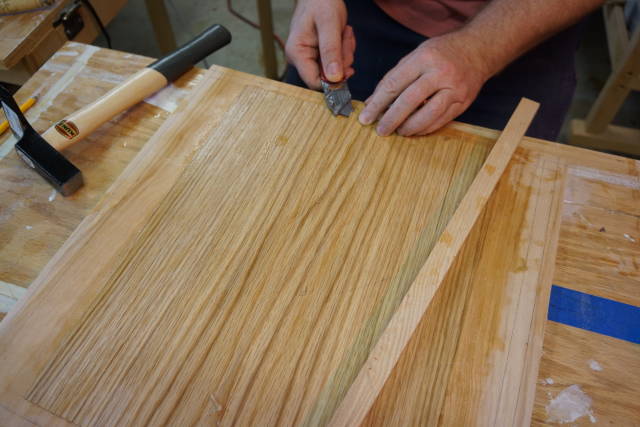
Hot hide glue bushed on the ply.
Veneer good face down and more glue
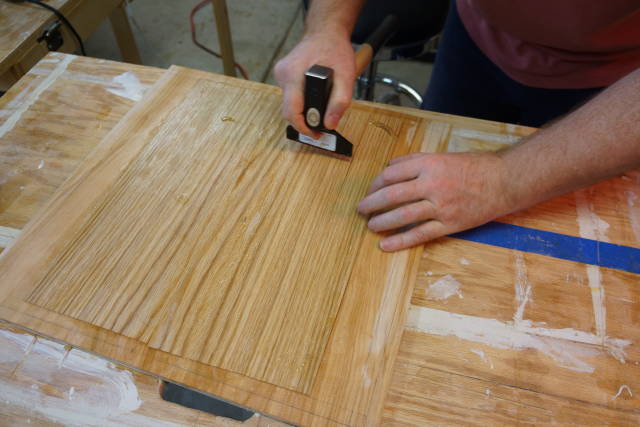
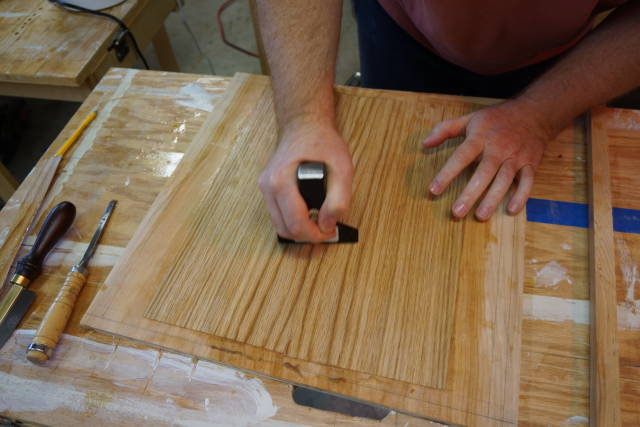
Flip so the good face is up and hammer
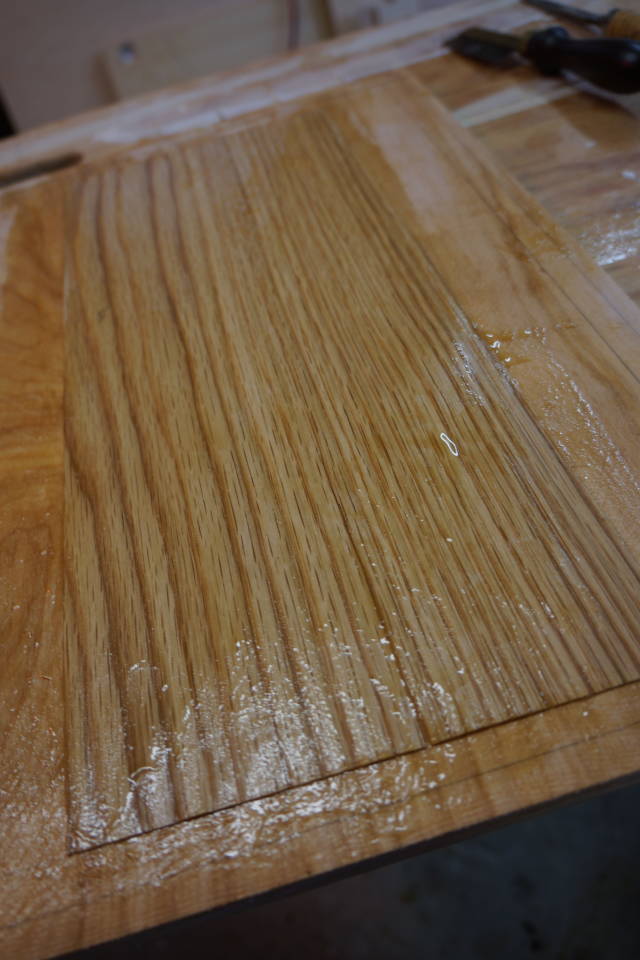
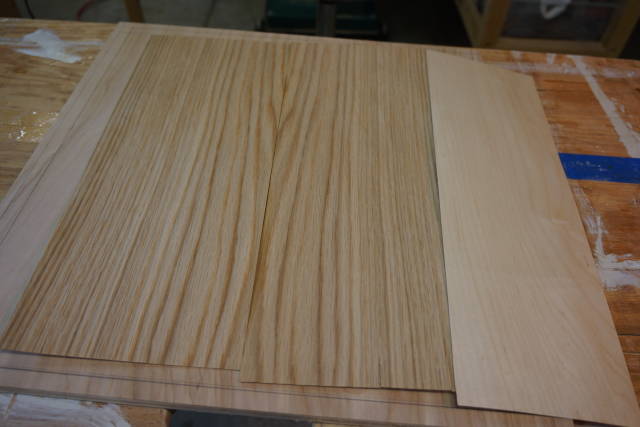
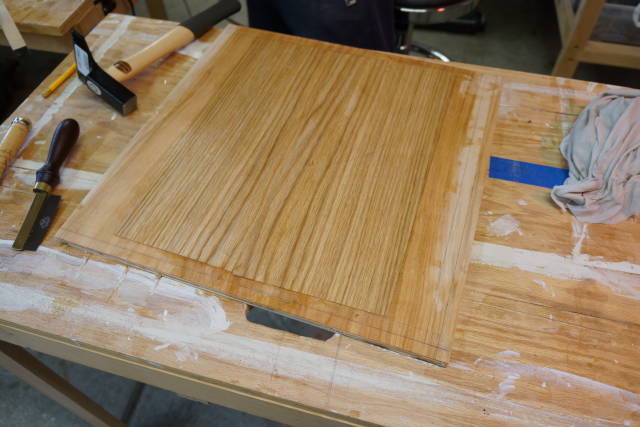
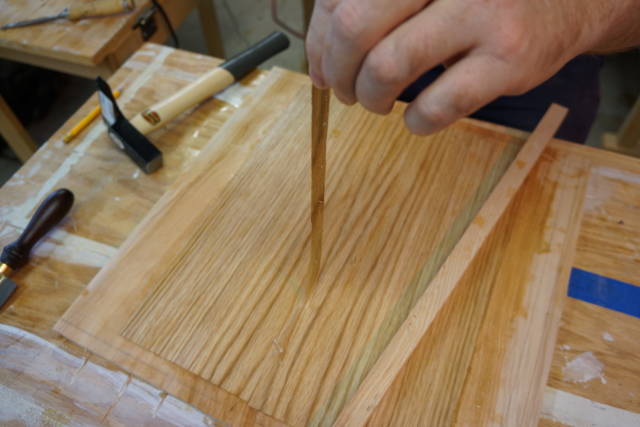
Now the adjoining veneer ( split just by lifting it…)
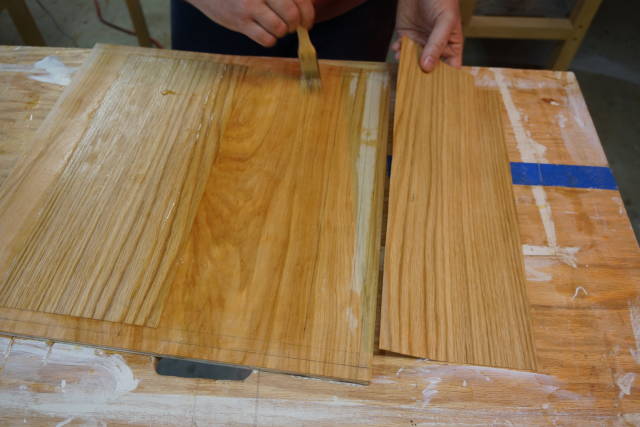
Overlapped and same process
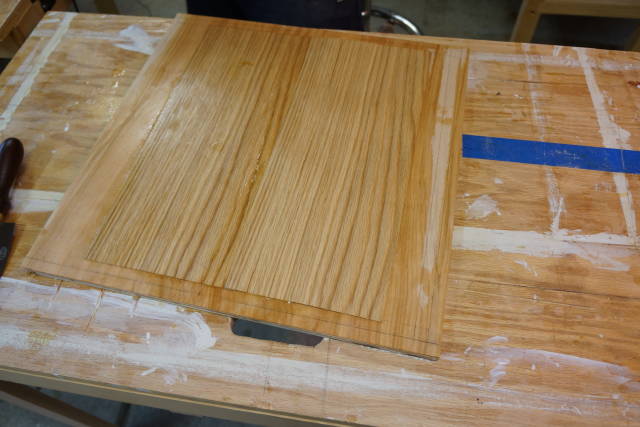
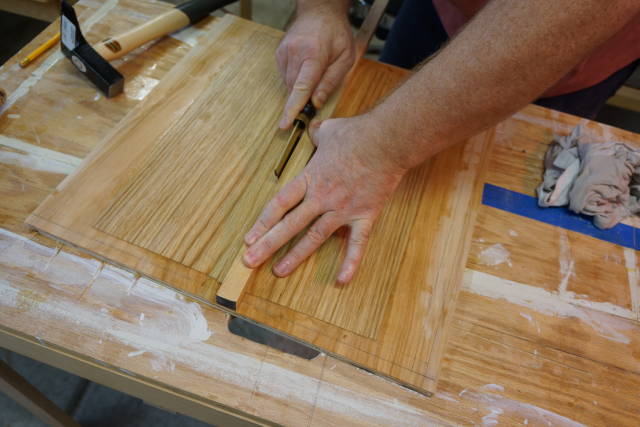
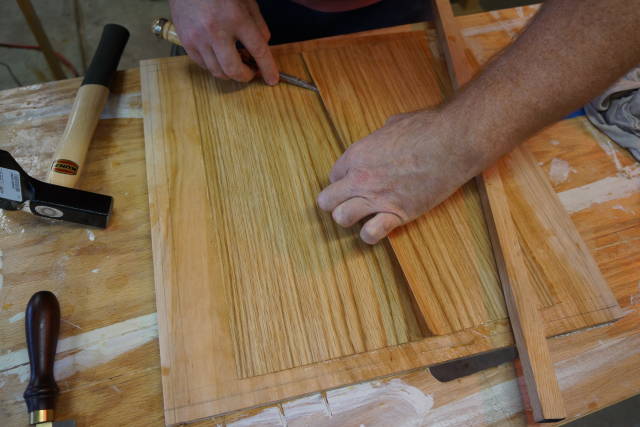
Cut along the overlap to create a continuous joint. Note I screwed up here a bit. I don’t think I cut through both veneer all the way through.


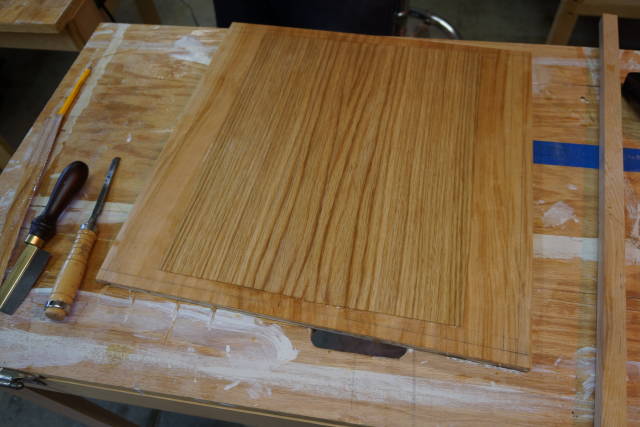
For first time I am pretty excited. I definitely need to practice quite a bit more. I also need to learn how to handle the thin veneer as not to break it every time I move it.
Please don’t hesitate to comment with ideas, advise and your own experience.
Abbas, Castro Valley, CA
11 Comments

That came out perfect Abbas. I am also pretty new at this, but it is my understanding that the real purpose of toothing is get the surface level rather than to provide a better glue bond. If you believe this as I do, then it isn’t necessary to tooth plywood which is already flat. There might be different opinions on this, but my glue-ups have gone very well without the toothing on both ply and MDF. I would tooth if I were using solid wood instead as total flatness is far from guaranteed even after planing. I am also thinking that another way to tooth a surface wether ply or solid would be to run it through your drum sander with 80 grit on it with one pass sideways and one pass lengthwise. A lot easier and faster than doing it by hand, and I would think, more accurate too.
I won’t be surprised if you are wary of my opinions here as I am far from well experienced with either veneers or veneering, but I thought it might give you something to think about and maybe experiment with. It’s always great to save time and work, especially on big projects.
Mike, an American living in Norway

Very well done for a first try Abbas. Mike is right about not really needing to tooth flat surfaces like plywood and MDF but Patrick says that it does add to the bonding process as well so it’s not a bad idea.
A couple of points I would add.
1) You shouldn’t be diluting the glue and diluting it doesn’t weaken it. Water content affects the heat holding ability and the consistency. For hammer veneering you do want to retain as much heat as possible and you do want a thin layer ….. but the water content that gives you those characteristics is the right consistency for general glueing as well. The strength is determined by the gram strength of the material you bought.
2) I’d stay away from the salted mix. I think you have already found that you don’t need the extra time. Adding salt is moving toward a liquid hide glue and that, for hammer veneering isn’t good. The reason that LHG won’t work isn’t exactly about initial tack although that is partly right. HHG cures in two distinct stages. First by cooling where it gains impressive initial tack and then by drying. LHG has only the drying stage. Essential to hammer veneering is the sealing action at the edges caused by the cooling to gel that only comes with HHG. This seal prevents air from getting under the veneer and creates the vacuum that presses the veneer. Don’t fear gel time. It is your friend in hammer veneering.
I hope I haven’t overstated what you already knew here but this is the most important concept in the process. :-)
3) Heat management is key in my opinion. I think I know the video where you got the ironing with water first from and it’s a good video …… but it isn’t usually necessary. I think he does it
a) to flatten the veneer immediately prior to bonding it and
b) to heat the surface. That’s a good idea on large areas as the heated surface will give you a bit more time (a better approach than salt). Another element of heat management comes from an observation I have made using several home made and commercial hammers. The cast iron ones work better (for me) and I think it is because they take the heat away better, therefore encouraging gelling at the edges where you want it. I could be wrong but that makes sense to me. So warm surface, cool hammer.
4) Don’t worry if it’s not perfect the first time, although yours seems to have gone really, really well. If you have areas that are poorly bonded or edges that just won’t stick down ……. let them cool (and lose some moisture) for a while and then iron them down. Remember that the glue only needs to be 140 degrees. To hot an iron will burn the glue and ruin everything.
Sorry about being long winded here. ……. Just want to help
The early bird gets the worm but its the second mouse that gets the cheese.
Thanks Mike. I was under the impression that toothing will improve the bon as it creates more area to grab on.
This said, less work is better and if it works for you it should work for me. I will try that on the next panel.
Thanks Paul! I appreciate the detailed explanations.
I am really worried for wider / longer veneer hammering. 16" was manageable 60" will be a problem for me. I will have to think about smaller sections maybe…
But first I have a panel that’s almost half way through and 4 more to go.
I definitely need a lot of practice. So I shall practice.
Abbas, Castro Valley, CA
Paul, I am re-reading you comment again now that I have a quiet moment.
I think the vacuum press action makes sense.
Abbas, Castro Valley, CA

“Warm surface, cool hammer”.
Also a keen observation on marital bliss. LOL
Some excellent information here. Now that the flat surface has been proved of concept, it’s time to make a sample on the curve, since that is where this project is going. Or does the veneer get applied before bending the substrate?
Losing fingers since 1969
Like anything I involves learning but you got a good mentor so just listen to Paul and his good advice and you will be well on your way and produce the results that you are looking for without the frustration of trial and error .
Klaus
Thanks Brian.
If I attempt that veneer on the coffee table now it will be quite a disaster. I need a lot more practice.
Thanks Klaus! He is a great mentor for sure.
Abbas, Castro Valley, CA
Thanks Bently!
As for the lessons… I will always be the student between you and Paul-:)
Abbas, Castro Valley, CA
I will make it to Vegas Bently. Spring or summer. The last time I went there during christmas I felt my ears were falling off:)
Abbas, Castro Valley, CA
Abbas,
Veneer is the ticket to some spectacular projects, and it looks like you’re on the right track to getting it down pat. There are numerous ways to glue veneer to substrate, but none quite as rewarding, I think, as using hide glue and the hammer. I now find myself using more and more hide glue and really love the stuff. You’re doing great.
Roger
Thanks Roger!
Abbas, Castro Valley, CA