


Share your craft projects
Make new craft buddies
Ask craft questions
Blog your craft journey
kiefer
470 posts
and
61 followers
in over 12 years
in over 12 years
More from kiefer


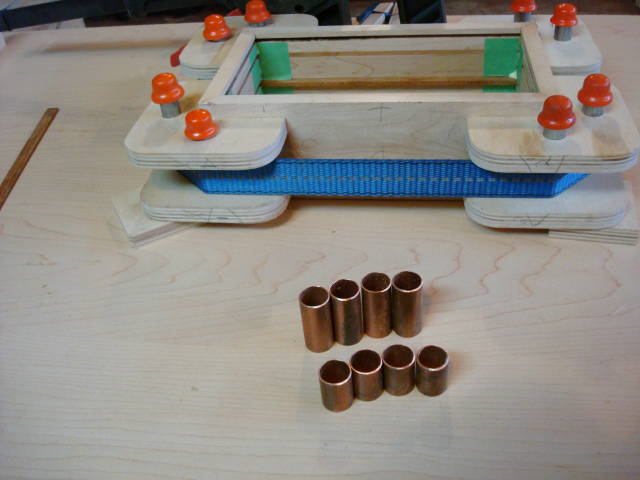
BOX CLAMP


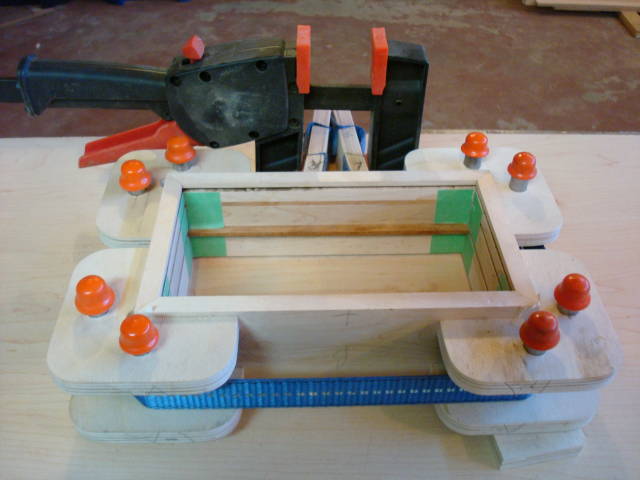
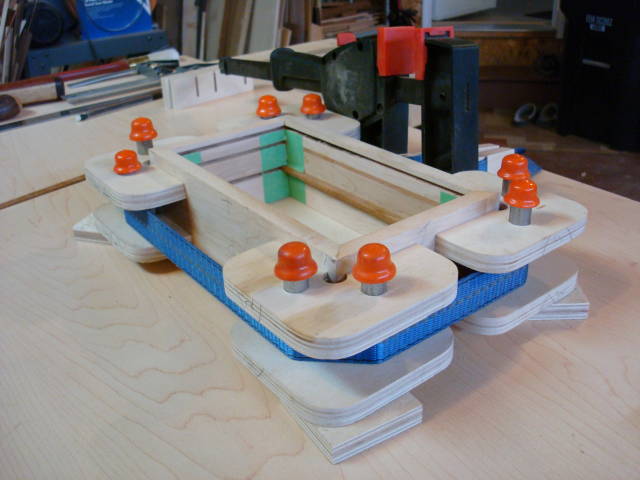
This clamping system has been on my mind for some time and yesterday I set out to put it into reality as I started a box and thought I put an end to the frustration of clamping a box and still get the odd box that is out of square and have to rework it .
This clamp or clamping jig is a breeze to make and also minimal in cost aside from the Bessey clamp which I will use for other things anyway .
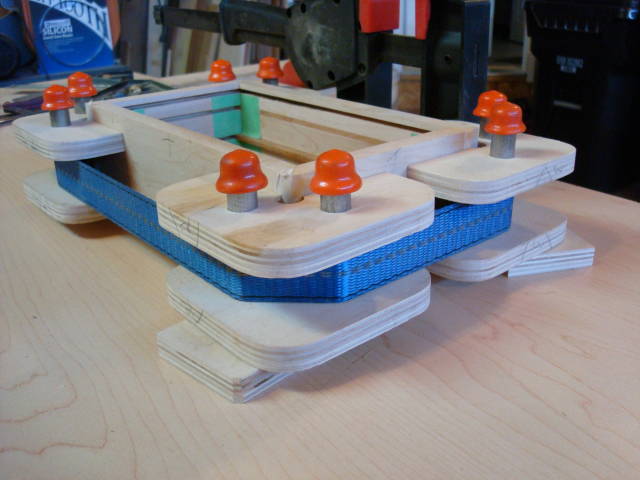
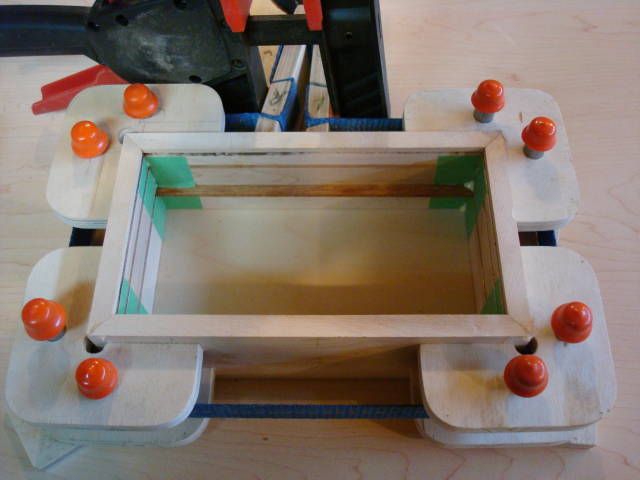
The design idea has several criteria which are simplicity, low cost ,accuracy ,visibility of the corners during clamping and smooth and accurate operation and no damage to the corners, I think I have met that goal .
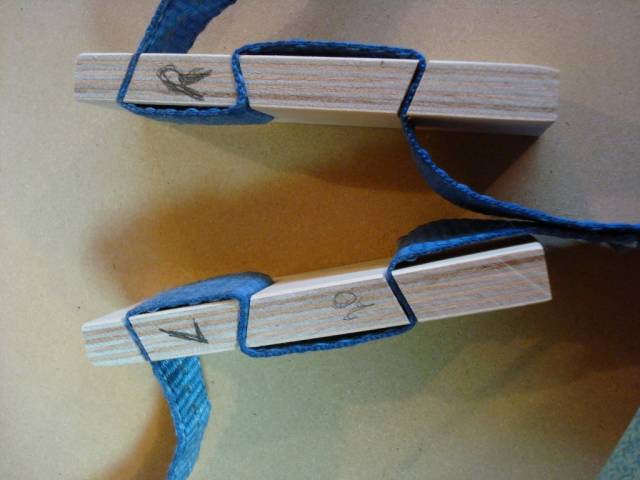
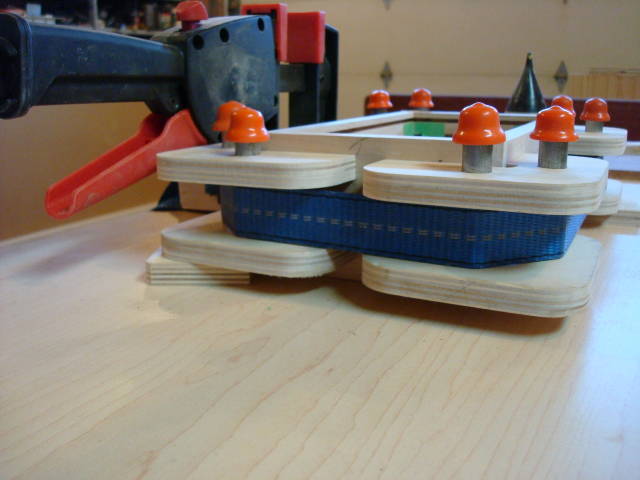
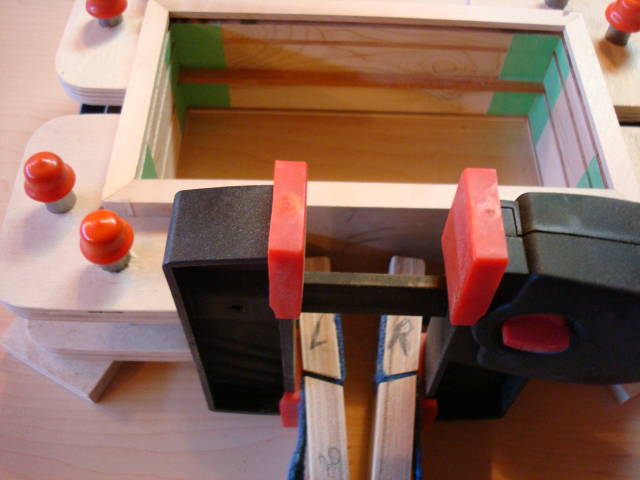
I started with some plywood squares cut perfectly square and pinned two of them face to face and laid out the three hole locations and set up the drill press with a stop block to ensure all the holes where in the same location on all four corner pieces . This was followed by cutting out the right angle piece which contacts the box , the cuts were made with my table saw sled and have to be a perfect 90 DEG.
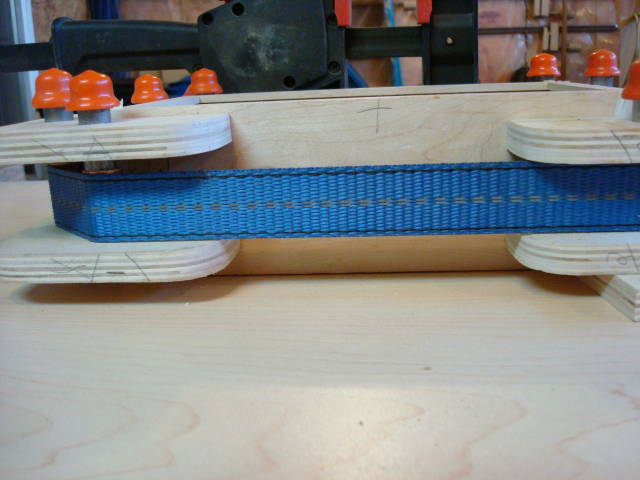
The steel pins are made from a piece of drill rod and the copper spacer sleeves are 1/2” copper pipe cut to lenght .
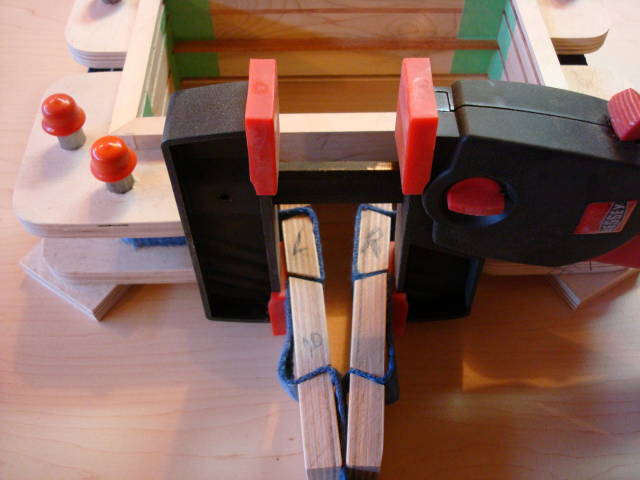
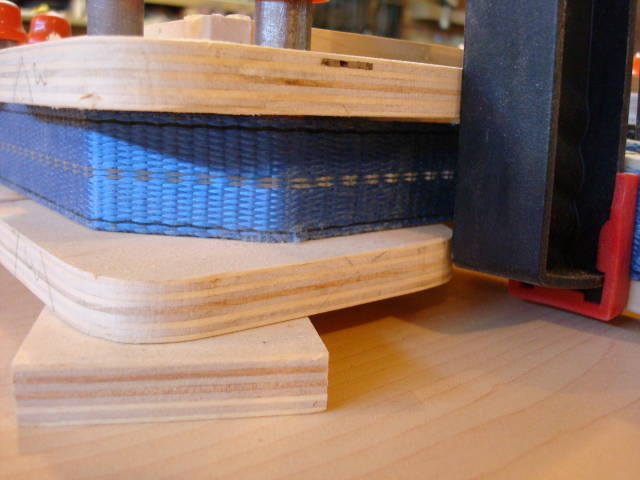
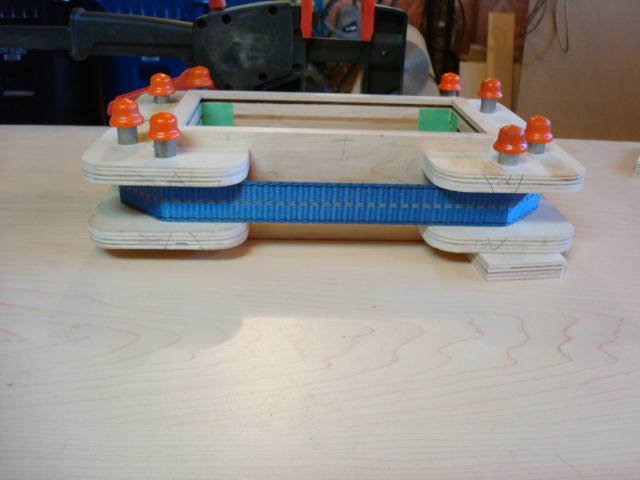
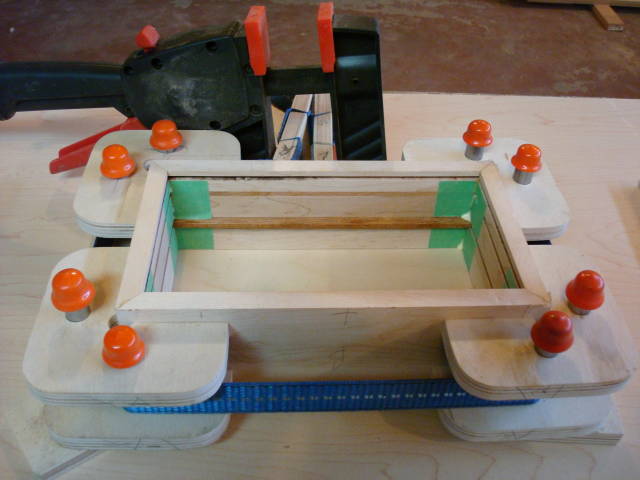
The copper sleeves serve a dual purpose as spacers and also as rollers to let the strap slide smoothly as clamping pressure is applied
The strap is nylon from a hold down strap and the clamping arms are again made from Baltic birch ply .
This clamp can be used on a multitude of box designs by altering the corner shape to accommodate dovetails or finger joints etc.
The box that I am making was cut on the sled also and I did a blog and video you can see here
and I also did a video that shows the clamp in action and shows more of the clamp build and the clamping process .
https://www.youtube.com/watch?v=snywVd9ue5s&list=UUsteD2P2LMAOvukugjpIgbw
I included some random pictures also and hope you find this interesting and enjoy the video .
Any questions and comments are always appreciated .
Klaus
10 Comments

I am wondering how you always come up with better ways to do things.
This one will be very handy.
Thanks for sharing.
Abbas, Castro Valley, CA
I forgot to say: The video makes t very easy to see how it works.
In fact I watch the video before reading the text:)
Abbas, Castro Valley, CA
lanwater
Thanks for taking a look at this and the video.
I find that making a video is a much better way to explain and get an idea across but much more time consuming .
But the clamp works well and better than I expected using it the first time .
Klaus

Klaus,
This looks like a brilliant idea! I’ve got Merle band clamps (which I would not recommend) and they’re nearly impossible to use. This looks much more forgiving with the webbing (mine is metal — too stiff to manipulate). I need to hit a hot spot to watch the video. Thanks for sharing this.
L/W
“Those who would give up essential Liberty, to purchase a little temporary Safety, deserve neither Liberty nor Safety.” Benjamin Franklin

I have never found a miter clamp, whether shop-made or store bought that I like as much as your ingenious design Klaus. I just want you to know that I very much appreciate you sharing your excellent woodworking solutions with us. I will for sure be making this one. I might change the bolt clamp tops to look a little more like mushrooms though.
Mike, an American living in Norway

this turned out really good, having something that works for getting your boxes just right is priceless, thanks for the video, i always enjoy seeing things built from a video.
"the grizz" [''''']

Nice job. I just put that on my short list. Appreciate you taking the time to document it so well.
Cruiser

Nobody builds a better mousetrap than you, Klaus. Very ingenious. The copper sleeves are a great idea.
Losing fingers since 1969

Awesome! Thanks for sharing Klaus.
Keith "Shin" Schindler

Excellent idea and build you certainly achieved your goals.
woodworking classes, custom furniture maker
More from kiefer