


Share your craft projects
Make new craft buddies
Ask craft questions
Blog your craft journey

lanwater
2161 posts
and
36 followers
in almost 12 years
in almost 12 years
Marocan Pattern Build #2: Glue Up
This is
part 2
in a
2 part
series:
Marocan Pattern Build
-
Intro and Stock preparation
-
Glue Up
- Intro and Stock preparation
- Glue Up
In part one of this blog I went through making the stock of the pattern and sliced it into squares.
This blog is the glue up of the pattern
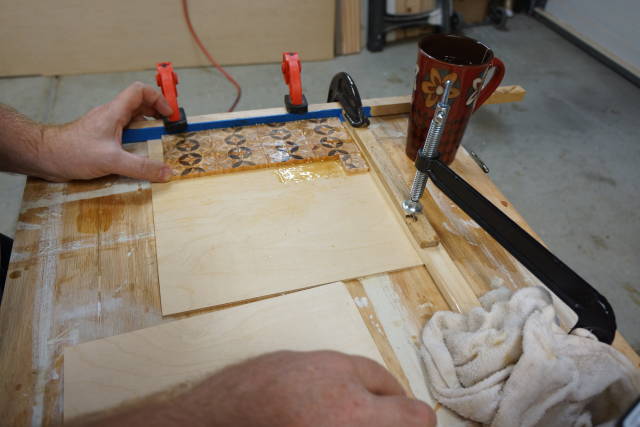
Hide glue was the best For this glue up due to the number of pieces and the difficulties I would face in trying to clamp all these tiny pieces together. With HHG I just rub it a little and hold it in place briefly.
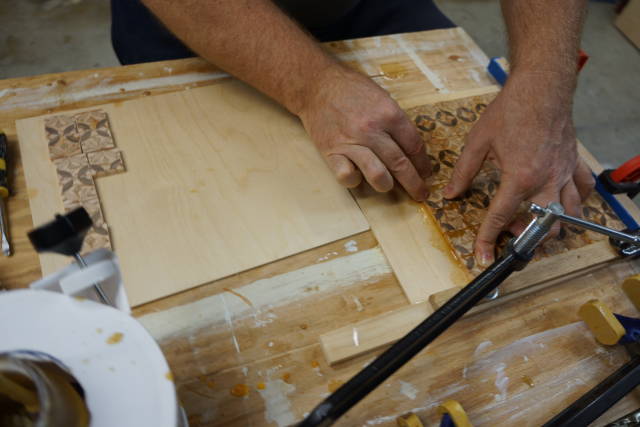
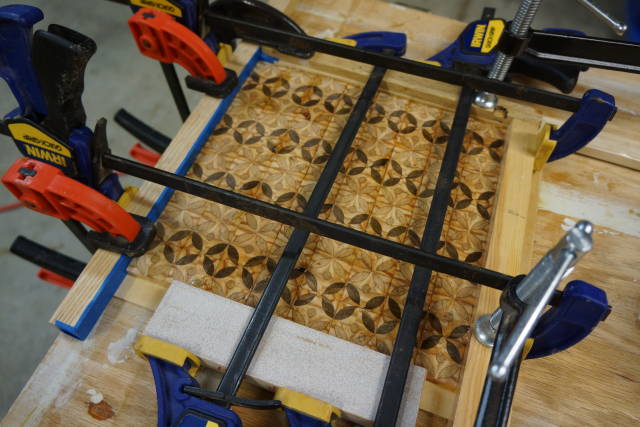
I arranged all the pieces as they should be in the end result.
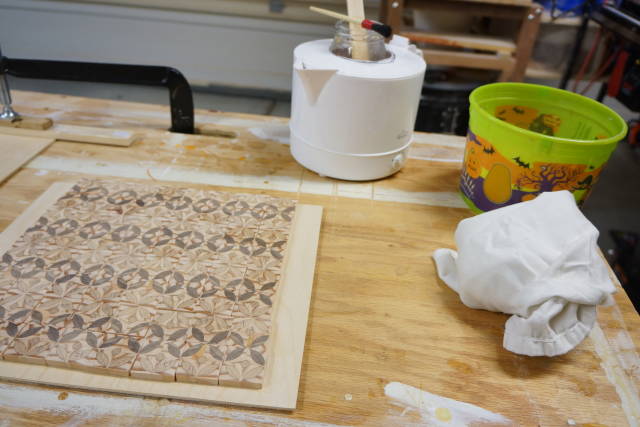
Because of the thickness of the pieces I decided to add a 1/8 inch backer plywood piece.
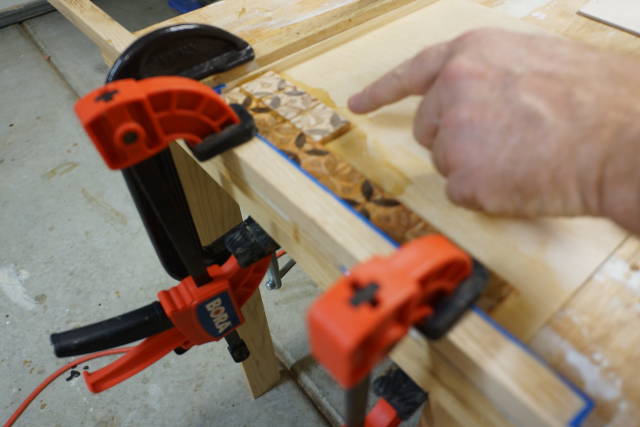
Added 2 fences to help me in aligning things correctly

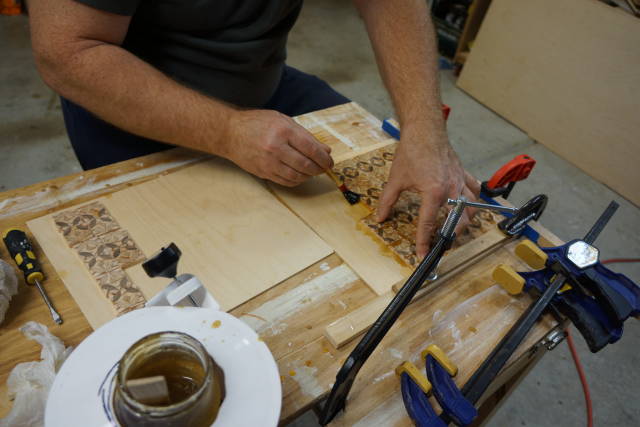
From there it went pretty quick
For those of you who have been following this thread:
https://woodworkingweb.com/topics/178-gotta-love-hot-hide-glue-a-small-shop-mishap
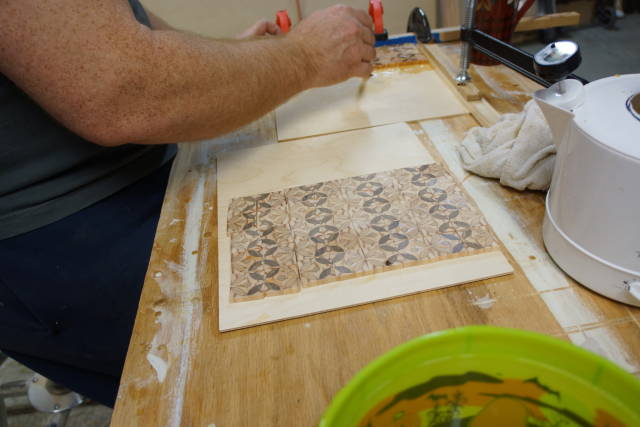
You will notice that I changed my hide glue pot a little under Paul’s guidance.
It helped quite a bit in speeding up the glue up. I firmly believe that HHG has a place in my shop.
I will use it on many projects.
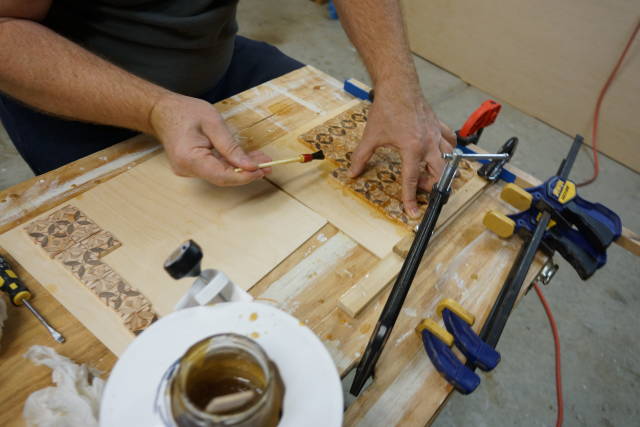
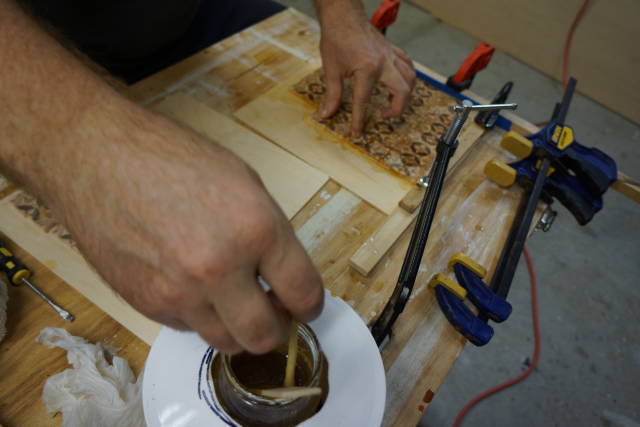
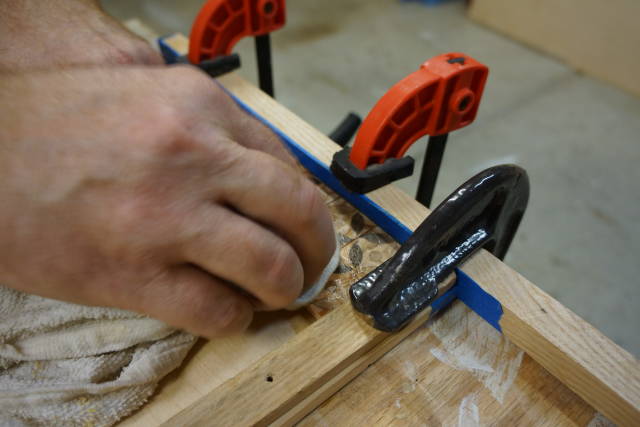
I decided to add some clamps before I left it to dry. Very little clamping pressure, almost none.
Just to make sure nothing moves.
Abbas, Castro Valley, CA
11 Comments

I loved this project Abbas. Thanks for sharing it. I will have to give that a try sometime. Looking forward to seeing the completed project posted. I’m also glad to see you are using hhg. Prepare to become addicted to it!
Mike, an American living in Norway

Great looking pattern Abbas. That old PVA glue bottle will be getting less and less use as you get used to HHG. I hardly ever use it anymore.
It’s interesting to see how different people approach this kind of thing. I would have stack cut veneer in the various shapes and yet our results would have been
the same. Proof that there is more than one right way to do most things.
The early bird gets the worm but its the second mouse that gets the cheese.
Wow! That is really something!
Jeff
Thanks Mike. Don’t use the same wood combo I used. Walnut and cherry are fine but Douglas fir overpower the cherry on the end grain due to the thick rings. That’s one thing I did not account for. Maple which I original intended to use would have work much, much better.
That yellow glue was sitting on the shelf along with a titebond II extend. The titebond II extend went bad as it sedimented and remixing did not help. So I decided to use the yellow one so I don’t feel bad about wasting it.
As my older one is approaching college, I am trying to spend less. I am not fund of college loans. I think they sink the student for many years as they are engaging life.
Thanks Jeff!
Abbas, Castro Valley, CA

This is looking great. I can’t wait to see the end result.
Losing fingers since 1969
Very cool lanwater, that’s a lot of tedious work.
You have quite the imagination to be able to foresee that design,
not to mention a lot of patience as well. :)
Looking forward to your next installment!
Thanks Brian!
A lot of tedious work is right Bently.
It helps me get away from the daily routine at work. Thanks!
Abbas, Castro Valley, CA

Very nice. It reminds me of the Middle East. The glue up looks painstakingly meticulous. Your eyes must be getting sore at times. Keep up the great work.
CHRIS, Charlottetown PEI Canada. Anytime you can repurpose, reuse, or recycle, everyone wins!
Thanks Thorreain. My eyes are almost ruined from long hours reading and computer activities:)
I am not sure why the call it Moroccan pattern. It does not look like their usual mosaics. But it would fit in that “renaissance” period where the moors and the ottomans expanded outward.
Abbas, Castro Valley, CA

Splendid work. Good blog. Almost felt like I was there with you.
BBM
Thanks Martyn.
Actually you where here with me; through your work and blogs:)
Abbas, Castro Valley, CA