


Share your craft projects
Make new craft buddies
Ask craft questions
Blog your craft journey

Mike40
1074 posts
and
35 followers
in almost 12 years
in almost 12 years
CHRISTMAS GIFT BASKETS #7: Sanding and Gluing
This is
part 7
in a
8 part
series:
CHRISTMAS GIFT BASKETS
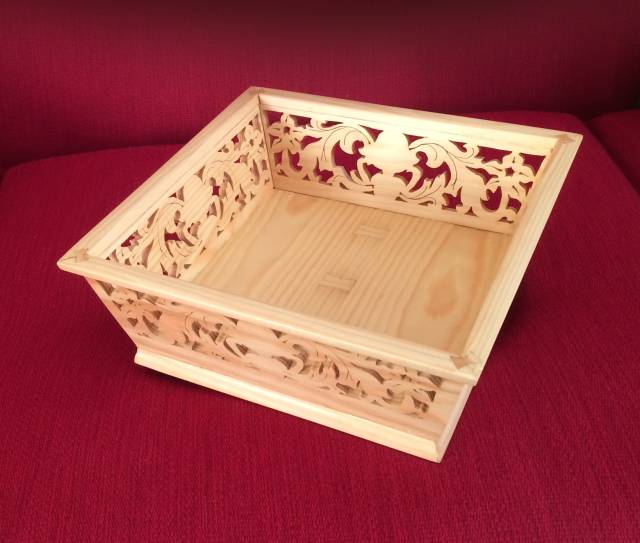
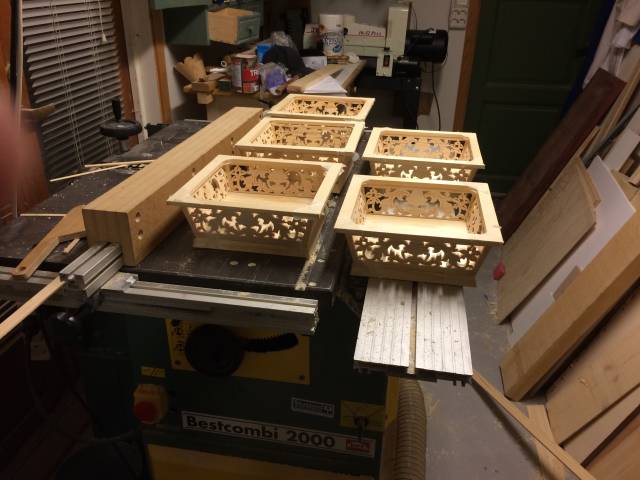
This project is almost finished. If I’m lucky the three main components of the baskets will be glued together tomorrow. Here’s what was done in preparation for that today.
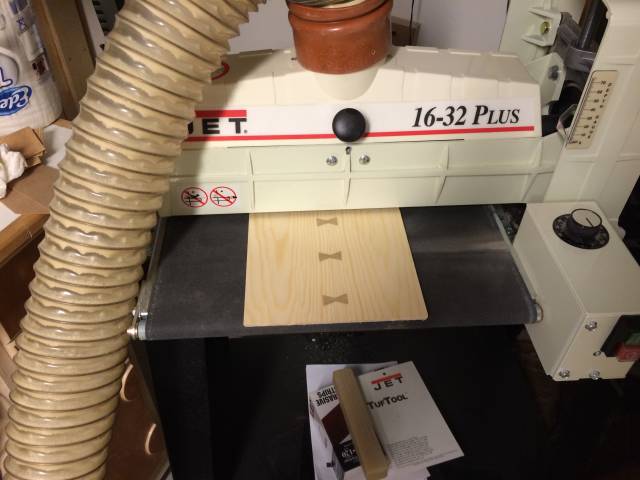
Sanding
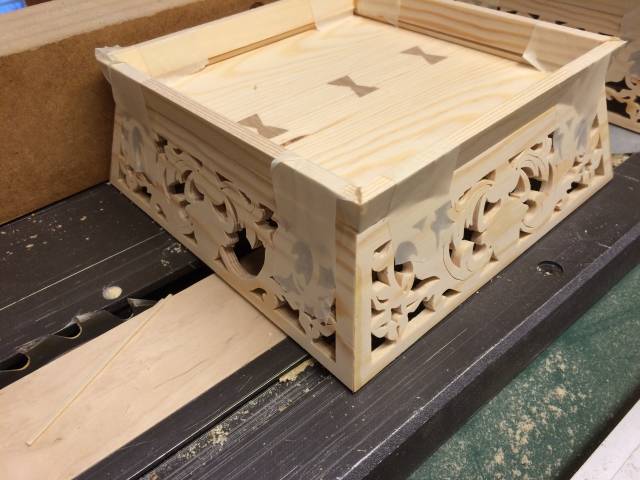
Nobody really cares about sanding. I’m just using the opportunity to brag about using my new drum sander today. The bow-ties for the bottoms were cut and glued in yesterday and I used a block plane to level them to the surface. Now it’s time for sanding and I’m using my drum sander for a project for the first time. Very easy to do. I was surprised that I could put the workpieces through several times without adjusting the drum height. I learned that in a video, but seeing is believing. I already love this machine! I also put the sides through the sander to get the blood off and to get them to a more consistent thickness. *see below
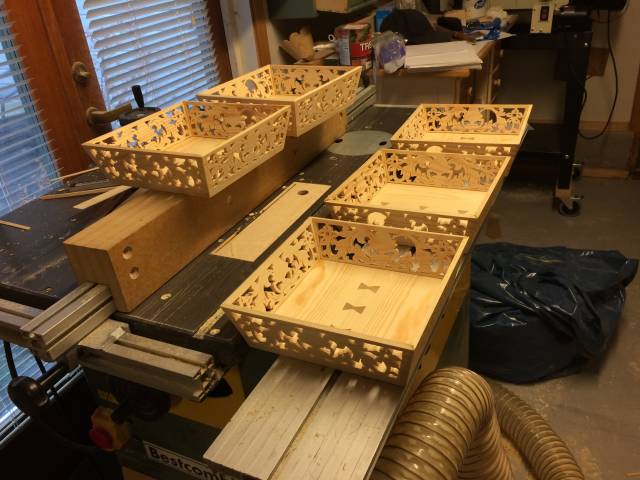
Gluing the sides and bottom
It was good to see a product beginning to emerge. I just taped the sides at the corners on the faces as shown, flipped the sides and slapped some hot hide glue into the miter cuts. It’s a good idea to tape from top to bottom along the joints as the sloping angle otherwise makes it difficult to get the joint together after gluing . see below
Final cutting and gluing of the foot moldings or whatever they are
I had already cut these to width and also ripped the top edges with a 15 deg. angle (thats the surface that will be glued to the basket bottom), then a miter was cut on one end as shown in an earlier installment. I waited until the baskets were glued up so I could take the final measurement of these pieces right from the basket to insure accuracy. The miters on the uncut end were marked and cut, again on the angled fence, but this time the foot moldings were turned around so I could cut the remaining 45 deg. miter on the right side of the fence. It was done that way because my miter saw is can only be operated with the right hand. After that the the foot moldings were taped together at the miter joints on their face side, then flipped and glued. this went surprising well. I slapped some tape on the corners after gluing just to insure they stayed in place. After getting the foot pieces glued up I taped them onto the bottom of the baskets temporarily to make sure they would remain square as the glued set. You can see how I did this see below
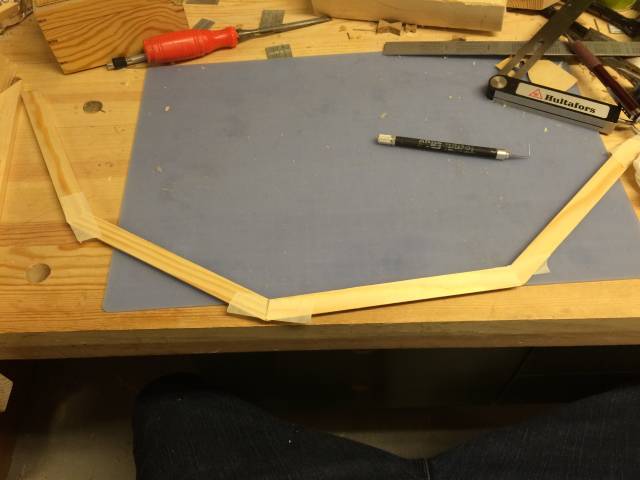
Final cutting and gluing of Top rims
Pretty much the same routine for the top rims. These are just a simple 45 deg. miter, so I removed the angle auxiliary fence, measure the still uncut ends against the top edge of the baskets, marked the miter and cut on my miter saw. I didn’t feel it necessary to tape the top rims to the basket as they will be planed to conform to baskets before gluing, so small variances shouldn’t be a problem.
Tomorrow’s work
The corners of the top rims have to be cut out to for the bow-ties which will be glued in tomorrow. After that some flattening work on the top and bottom edges of the baskets, and also top and bottom edges of the feet. This will insure good glue joints for the rims and feet and also that the basket will sit flat.
Sorry I didn’t take as many photos as I originally intended, but I had to get a lot done today, so I could glue everything together tomorrow, and being a little rushed I forgot some. Thanks for reading.
Mike, an American living in Norway
4 Comments

Congratulation on you new Ferrari:) I have the same exact model.
I take mine for a drive very often and love it.
I am sure you like yours already.
I am going to dust my scroll saw and start learning scroll..ing(?)
Thanks for the great blogs Mike.
Abbas, Castro Valley, CA
Good to hear that you will be doing some scrolling Abbas. I think too many tend to think of scrolling as a separate part of woodworking, but with a little thought we can find plenty of ways to use it with our woodworking projects. One example is that it is a superb machine to do box joints and dovetails with quickly and perfectly. There are plenty of other uses too besides just cutting fretwork. I hope your scroll saw has quick release and tensioning functions for changing blades. That makes like a lot easier and the work goes so much faster when doing fretwork.
Mike, an American living in Norway
Initially I bought the harbor freight on, I think it was around $60. Boy what a waist of money. I used it twice and put it in the recycle bin. That thing was like a horse galloping. I bought the Dewalt DW788. I think it’s pretty good. Very little vibrations.
I am thinking to install a thin top on it. The hole is too big and I am concern small pieces will fall through.
But first learn the basics. I have downloaded some practice patterns for that. I also flattened some left over palette wood. we will see how it goes.
Abbas, Castro Valley, CA
Your Dewalt scroll saw is a very good design and great for any kind of scroll sawing. I think most of us started with the generic saw you got from HF. I had one too from another company here in Norway. You can use a platter, but when I’m sawing small parts I usually just put some masking tape around the blade hole, but an auxiliary table would work well enough too. If you are doing fret work the hole can be a big advantage as it will let the small waste fall right through as you cut. Just a tip that if you are sawing real thin stuff it is hard to control the cut. It can be an advantage to attach it to another piece to make it at least about 1/4" thick.
Mike, an American living in Norway