


Share your craft projects
Make new craft buddies
Ask craft questions
Blog your craft journey

Mike40
1074 posts
and
35 followers
in about 12 years
in about 12 years
A STORAGE SHED FOR MY BBQ GAS GRILL #3: Stretchers and Siding Panels
This is
part 3
in a
10 part
series:
A STORAGE SHED FOR MY BBQ GAS GRILL
-
Sizing the shed
-
Stretchers and Siding Panels
-
Assembling the structure
...
- Sizing the shed
- Stretchers and Siding Panels
- Assembling the structure
...
I am back on the job after celebrating my wife’s 75th birthday yesterday. We are now slightly over 150 years old combined. We have learned a lot over our lifetimes, but much of it is outdated and we are too tired to use the rest. That’s life.
Today’s work
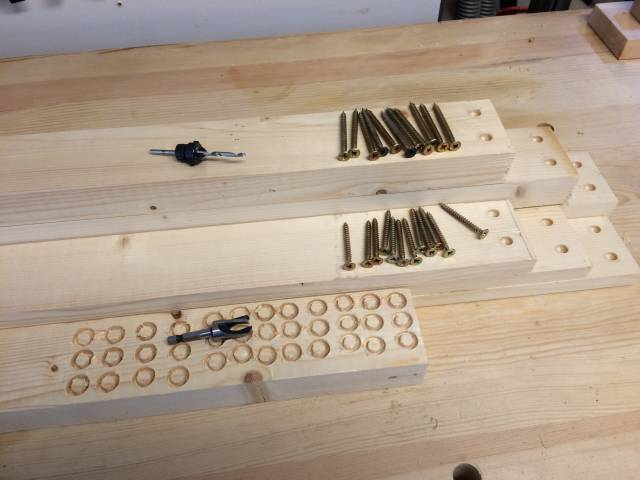
I drilled all the screw holes for the boards (I’ll call them stretchers) that connect the two sides. I used a bit that drills the hole, countersinks it and leaves a hole for a wood plug. You probably have these or have at least seen them. Combined with plug cutters they are very useful. I am plugging the holes to prevent the screws from rusting in our wet climate. You can see all the stuff including the cut plugs (photo below)
I went to our local building suppliers to buy the panelling this morning. They only had the treated kind and it is always stored outdoors (no cover). It was soaking wet as it was raining hard today. I had to cut it up with a handsaw to get it into the car.
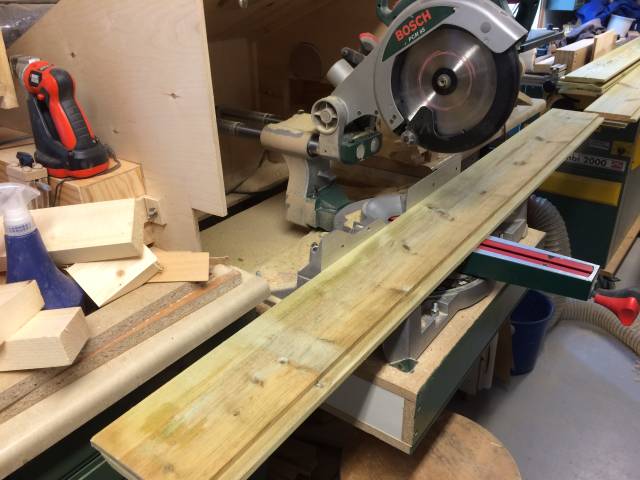
It is the worst quality panelling I’ve ever seen. Of course they always use the worst quality wood to treat, as the punky fast growing wood allows the pressure applied chemicals to penetrate further into the wood. Also tons of knots, but it will be painted and so it shouldn’t look too bad. Here I am cutting it to length on my miter saw (photo below)
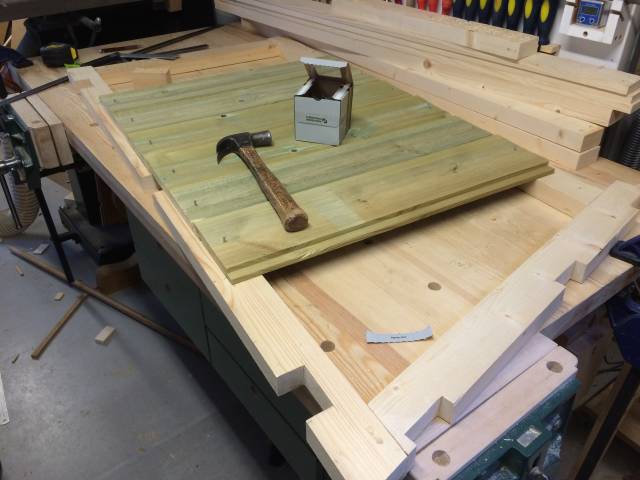
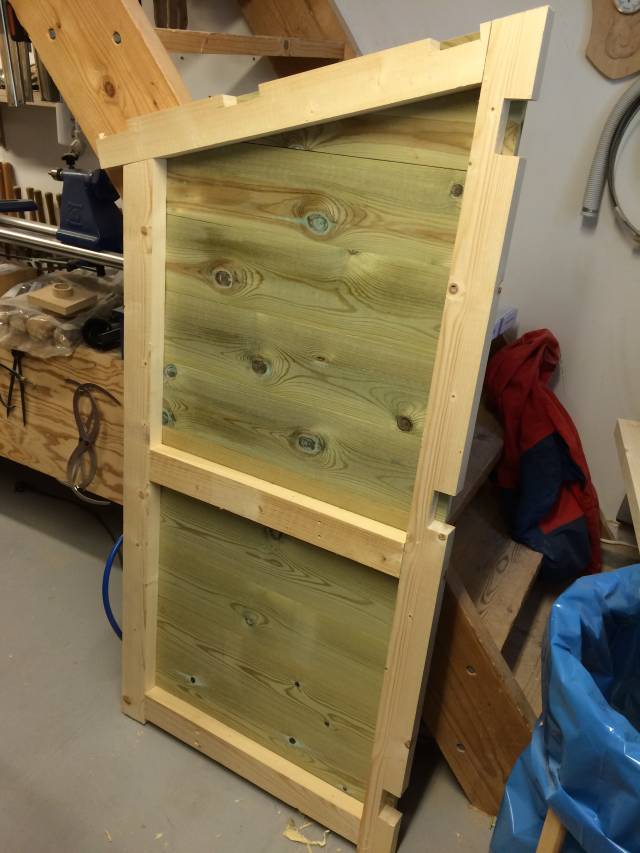
Here I am nailing on the panels. I left about an inch or so on both sides of the uprights so I can put put thin wooden strips there the same thickness as the panelling to cover the cut edges of the panels.
The seams between the panel cut edges and the wooden strips will be covered with trim boards. The advantage is that it will look better from the front when the door is opened and it prevents the front and back cut panel edges from drying out unevenly.
I marked the location of the panels to correspond with the height of the panels on the house. Each panel requires only 1 nail on each end as it holds the next panel in place in the open groove and so on. One nail also allows the panel board to swell and shrink without cracking. (Photo below)
First side complete. (Photo below)
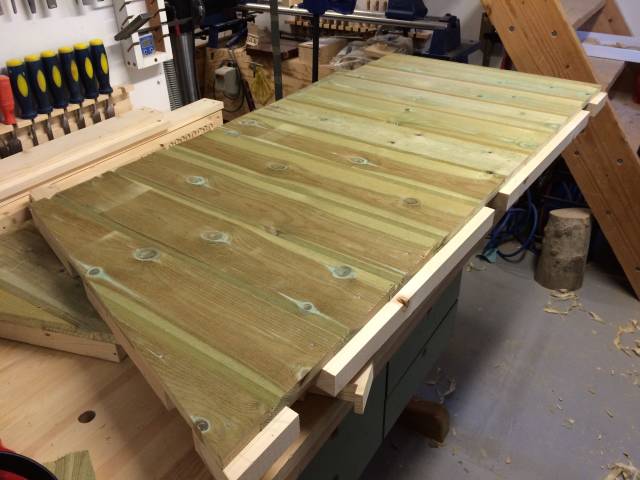
Inside view of the first side. (Photo below)
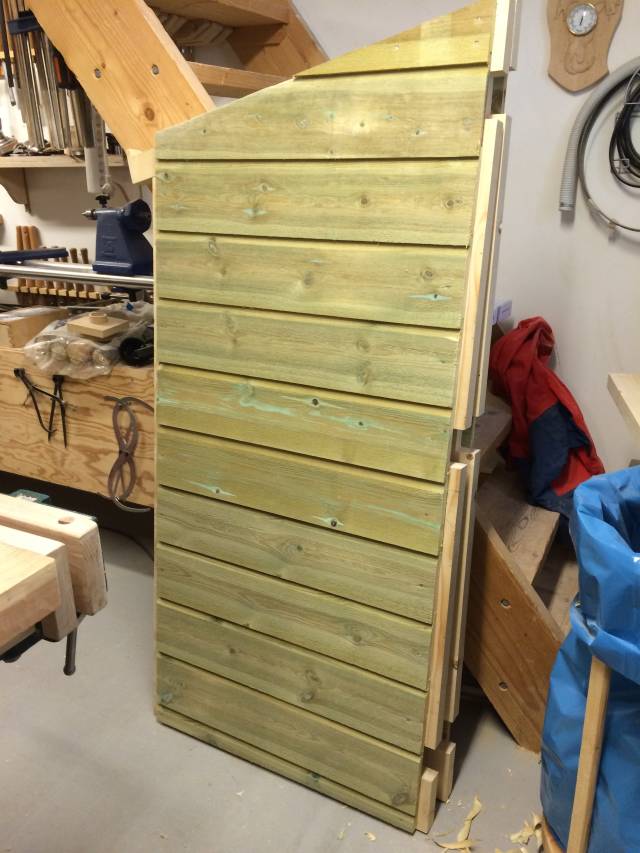
And lastly and outside view of the completed 2nd side (Photo below)
That’s it for today. I’m thinking fast, but working slow. I’m thinking about how I want to do the top now.
Thanks for looking in.
Mike, an American living in Norway
7 Comments

Are tile roofs common there? That’s a great look.
Losing fingers since 1969

Have you ever varnished pressure treated Mike ?
It looks good , Gives a dark green luster on
the wood .

Well Mike, I am younger than you but can’t remember anything learned:)
The plug cutter and the countersink were right there for me when I needed them. A great pair.
The shed is coming out really well. Treated wood should hold better in the element.
Abbas, Castro Valley, CA

Mike,
“We have learned a lot over our lifetimes, but much of it is outdated and we are too tired to use the rest.” While I’m not quite as old as you (my folks are just celebrating their 75th wedding anniversary this year) so I probably don’t know as much, I must say that I do agree!
Your grill cubby is coming along nicely.
L/W
“Those who would give up essential Liberty, to purchase a little temporary Safety, deserve neither Liberty nor Safety.” Benjamin Franklin
Thanks everyone for the kind comments.
Brian Yes, most of the roofs are tiles made from cement and are about an inch thick. There are some style variations. They can be red, black and I’ve also seen green. They have a matt top surface, but glazed tiles can also be purchased at a much higher price.
The glazed ones are best as moss and bird droppings cannot adhere to them, and the tiles stay in pristine condition throughout the years. We don’t have glazed, but I wish we did. I’m not going to use tiles on the grill shed because they would make it too to heavy to move when painting the house.
Moment No, I’ve never tried that. I can imagine it could be nice. The panel boards I’m using will be painted to match the house. The have rough texture on the outside which helps moisture to dry out, so a varnish wouldn’t work too well on that surface anyway.
Mike, an American living in Norway

It’s coming along nicely. How heavy do you think it will end up being? I like the fact you are allowing for shrinking and expanding of the panel wood, it can have a tendency to split badly if it’s nailed in too many places, knowing firsthand and having to redo a shed once.
CHRIS, Charlottetown PEI Canada. Anytime you can repurpose, reuse, or recycle, everyone wins!
Thanks Thorreain. Yes, it’s very important to understand the dynamics of materials used for outdoor projects. I’m not sure of the total weight, but I would guess about 70-80 lbs just off the top of my head. I want to be able to move it easily away from the house wall when we are house painting.
Mike, an American living in Norway