


Share your craft projects
Make new craft buddies
Ask craft questions
Blog your craft journey

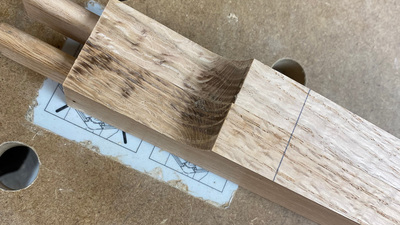
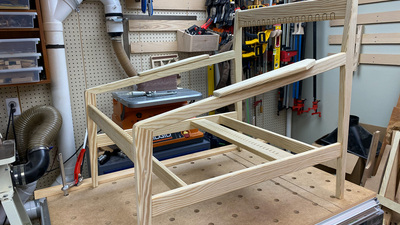
The last bit of joinery remaining are the stretchers between the longer front/back stretchers. Are they really stretchers or do they have a differ...
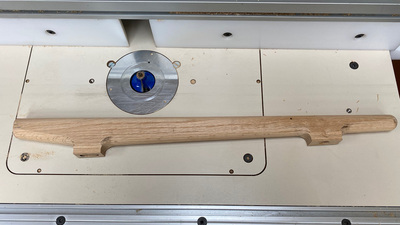
With all the joinery completed on the legs, I could work on rounding over their edges. I went slowly, raising the 1/2" radius bit a little each ti...
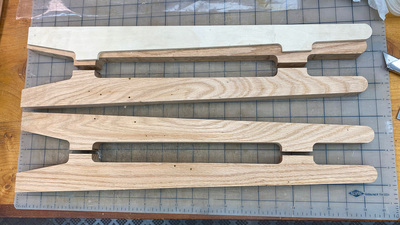
I finally got to switch gears and do some work on the legs/support for the cabinet. Some of the rough shaping I had done a while back, but didn't ...
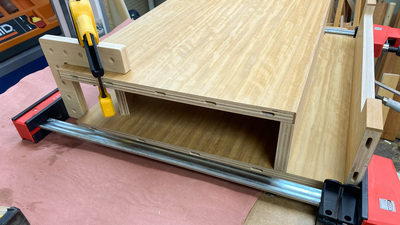
As a final sub-assembly, I glued the bottom and the fixed shelf together. Here, I used some clamping squares to keep the front edges in the same p...
After completing all the boring sanding of the individual panels, I started to glue-up some sub-assemblies. Breaking-up the assembly into multipl...
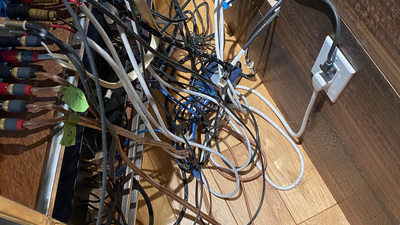
Pulling back the curtain reveals a hideous sight. Strewn cables, dust bunnies, an ethernet switch, missing wall plates, etc. Some really nasty st...
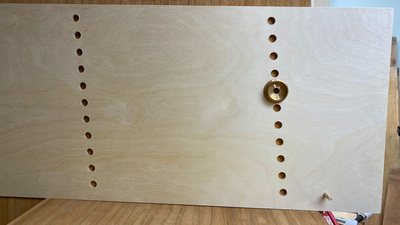
The adjustable shelves will rest on the usual shelf pins. All of the shelves will be the same size with indents on the underside to index the shel...
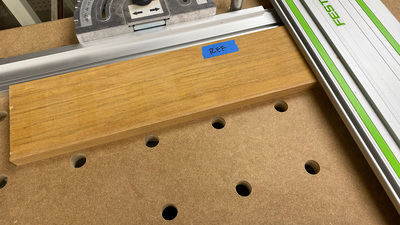
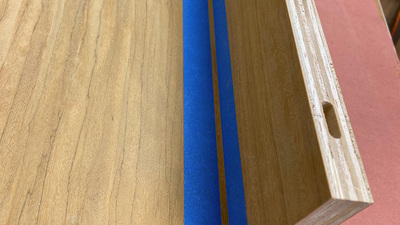
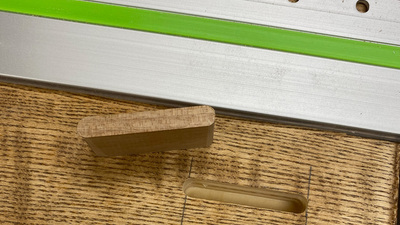
I found that the izombe is a little fragile on crosscuts with some chipping/flaking, even with the tracksaw on the MFT. I assumed (but didn't conf...
With oversized lengths of veneer cut an jointed, I started work on joining the veneer pieces together in pairs to get the width needed. I'd need 1...
I needed a few things before I could start veneering the panels:
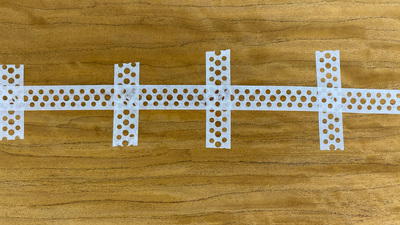
• A jig to joint the edges of the veneer
• A vacuum bag for the panels
• Some plat...
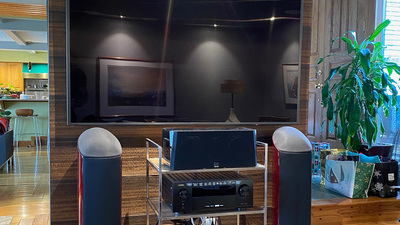
A number of years ago, I turned this narrow wall into a home for the TV, components, and speakers. I didn't have a cabinet/console that would fit ...
Except not "finished." I should say, it's functional.
I did the test lacing with the chair on the floor. That was a bit hard on my back. I got ...