Share your craft projects
Make new craft buddies
Ask craft questions
Blog your craft journey
Blog Series
Speaker Enclosures
Part 7: First coat of stain
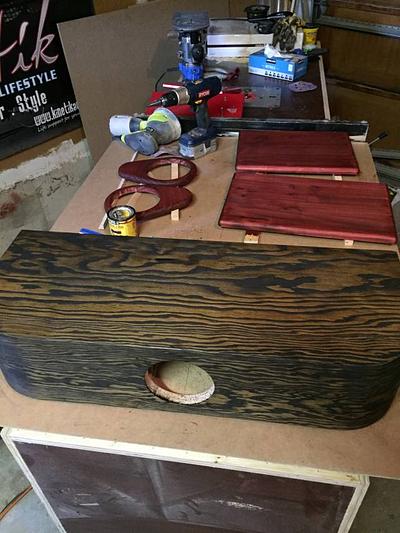
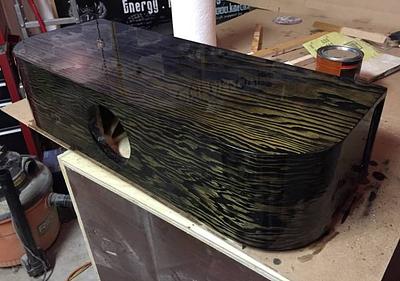
First of many coats, this fit really take a few to get it where I want it with the ebony stain. 1st coat 2nd coat Oh and the Chardonnay panels are ...
Part 9: Complete and wired up
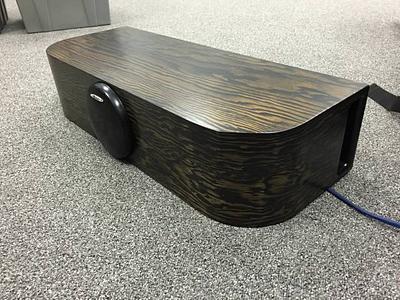
Finally got this thing complete and tested it out. It sounds great and goes a lot lower than I expected.
Lattice boom crane ToysandJoys
Part 1: (one afternoon) Tracks
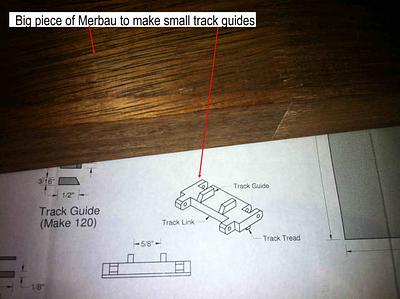
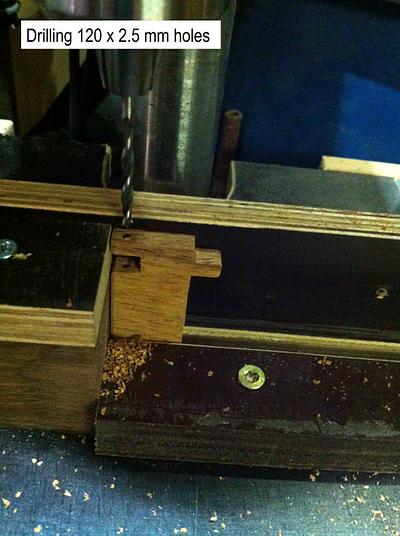
I started with a new T and J project. A lattice boom crane. I first wanted to make a intarsia coon, but the patterns are not yet arrived. Therefore...
Part 2: Tracks continuation
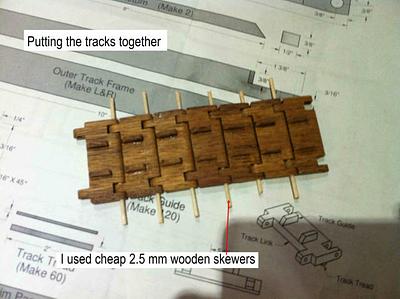
A lot of work is done making all the tracks. Below the pictures. Thanks for watching.
Part 3: Tracks ready
Today I finished the caterpillar tracks. Below the last pictures. Thanks for watching
Chevalet
Part 4: Stand(ard)
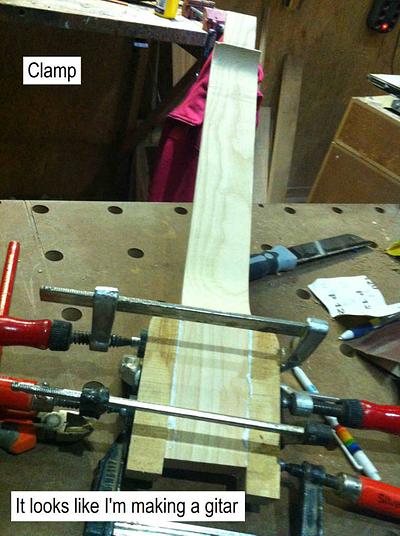
I started building a chevalet. I want to thank Paul (aka shipwright) and Mike for their help. Downloaded the Sketch up drawing made by Paul. Yester...
Part 6: Saw blades
Today I got some different (jigsaw) saw blades. But the intarsia pattern isn’t yet there. Therefore, you have to be patient about my experiences wi...
Wooden Spoon Challenge #2
Part 1: How to make a wooden spoon
First off… I’m not a creative writer, I’m just going to put that out there. Debbie has asked me to put together a tutorial on how I create a wooden...
WoodworkingWeb Awards - Bits & Pieces
Part 1: Announcement
Theme: Bits & Pieces Show us your creations using those meticulously cut “bits and pieces” of wood and your marquetry and/or intarsia technique...
Part 2: And the Winners Are ...
Our 7th WoodworkingWeb awards are over and we ended up with 5 entries. I would like to thank you all who participated by submitting entries or voti...
Cross Cut Sled
Part 1: Cut and stock
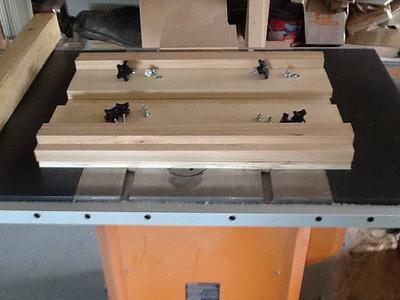
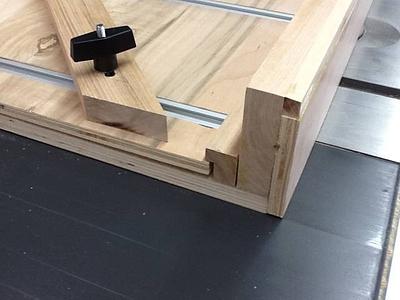
Well I am finally going to build a cross cut sled. I have rounded up the hardware, made a dertimination of size, and glued runners to a piece of fl...
Part 2: Carcass assembly
With returning to town from the summer camping experience the wifey is asking me to get at the coffees (2), table build. I have had the birch racke...
Hydraulic crane (T and J)
Part 2: Hydraulic cylinder
Last week I made two hydraulic cylinders. The cylinders should be able to hold the crane boom in position. Therefor I additional made a “clamping” ...
Part 3: Threaded shaft
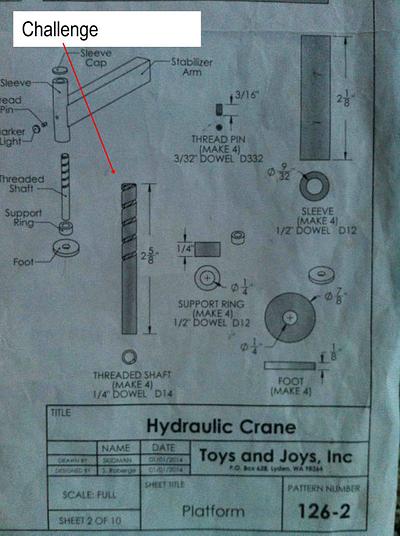
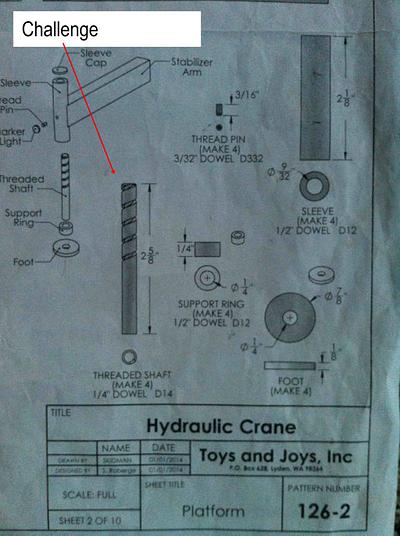
Below pictures from the threaded shaft. Maybe, when you like it, I will make a blog about how it’s made. Thanks for watching.
Part 4: Threaded shaft explained
Yesterday I posted pictures (first two) from the threaded shaft. In this blog you can see how it’s made. Thanks for watching
Wheels
Part 5: Rims part 1
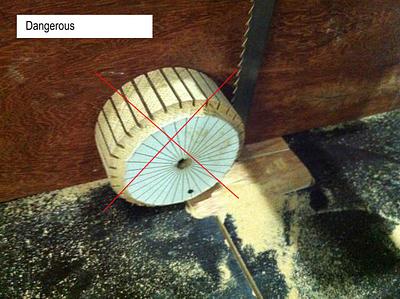
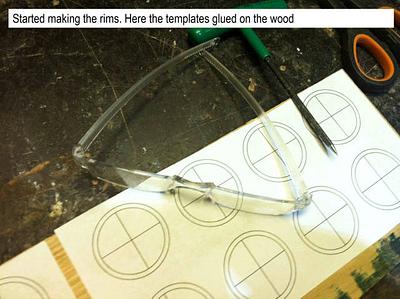
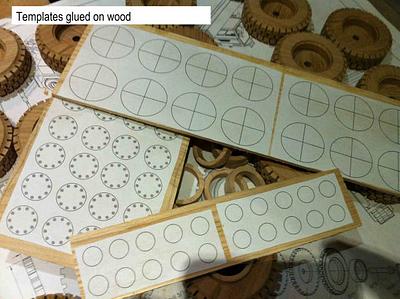
Today I started making the rims. See pictures below, Next time more. Thanks for watching
Part 6: Rims part 2
Below pictures of making the “circle” parts for the rims. Also pictures from how the nuts are made. Thanks for watching
logging trailer
Part 1: homemade logging trailer build
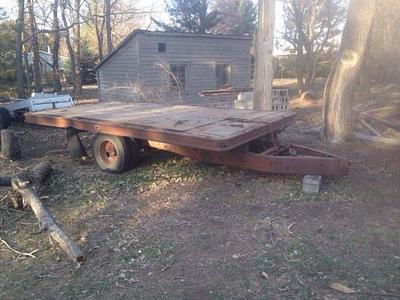
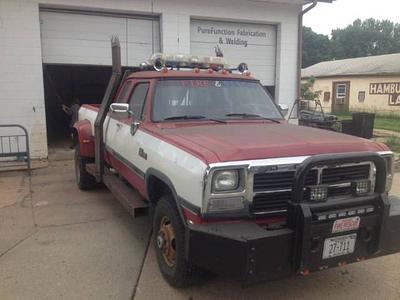
Im starting this blog for my trailer project. I decided to do a trailer build to save wear and tear on my truck box. Ive searched the internet for ...
Part 2: getting started
Part 1 was a general intro. Now i will talk a little bit about my progress so far. I started obviously by choosing a trailer. This being a low budg...
Part 3: tear down progress
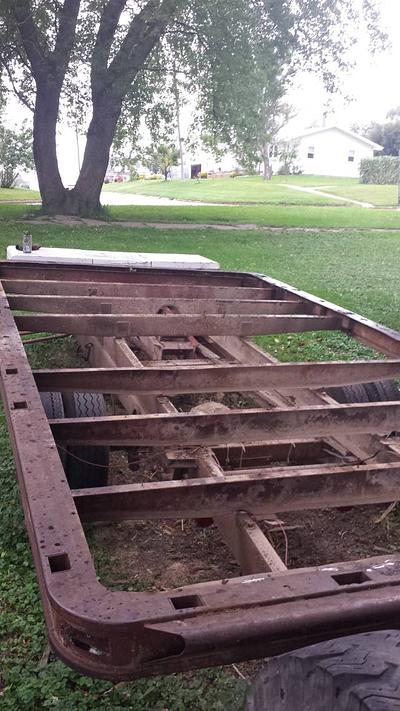
So Got a chance to rip into today. Got metal floor off and keeping it off. Could only register this trailer for 9,999 lbs. The metal floor and the ...
Building Some Chevalets, a Class Action
Part 6: Slow Progress ..... but progress none the less
When I left off last time I said that the “furniture” was done. That wasn’t quite true and it took quite a while to finish the job. Because I will ...
Part 7: Saw Frames, Clamp Springs, and Height Adjustability
Just a bunch of photos from the last few days to bring the project up to date. When I left off I was about to make the saw frames and the clamp spr...
Part 8: More To It Than Just Pretty Chevalets
When I last posted in this blog, I had almost finished the chevys and was feeling about ready for the classes to begin. Well ……. that may have been...


