


Share your craft projects
Make new craft buddies
Ask craft questions
Blog your craft journey

lanwater
2132 posts
and
35 followers
in over 12 years
in over 12 years
Picnic Table #6: The Top
This is
part 6
in a
7 part
series:
Picnic Table
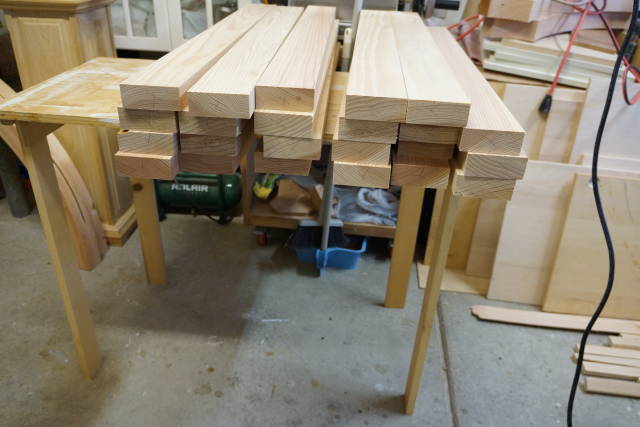
I spent the last 2 weekends working on the top and it is now done.
This blog is a little too long but did not want to brake it into two.
I asked Bently many questions about how best to go buy building the top. I received tremendous amount of advise among witch drawbore to secure the stiles to the rail. Thanks Bently
That is a first for me. I learned quite a bit from this top and will be much better armed for the next one.
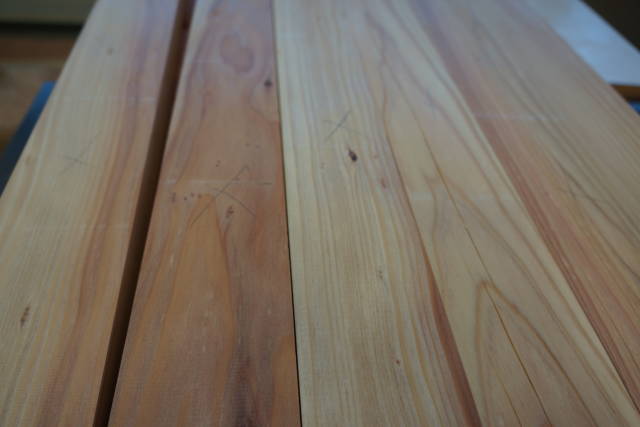
Edit: I did buy 2 pieces of redwood from Lowes 2×12×12 as the douglas fir I had were badly warped an were not enough for the top. The rail used are left over redwood from my pergola.
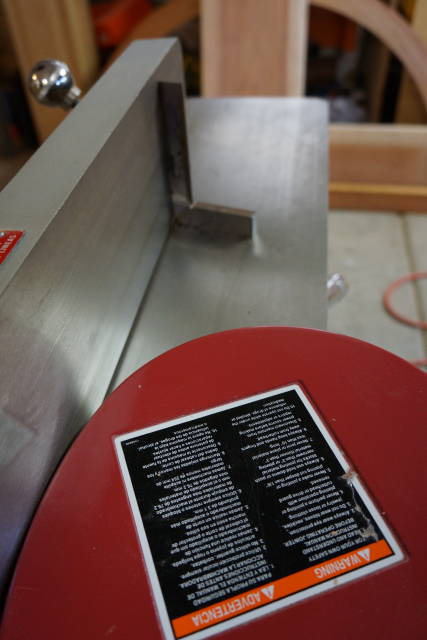
As I always do I start with squaring The tools I will be using:
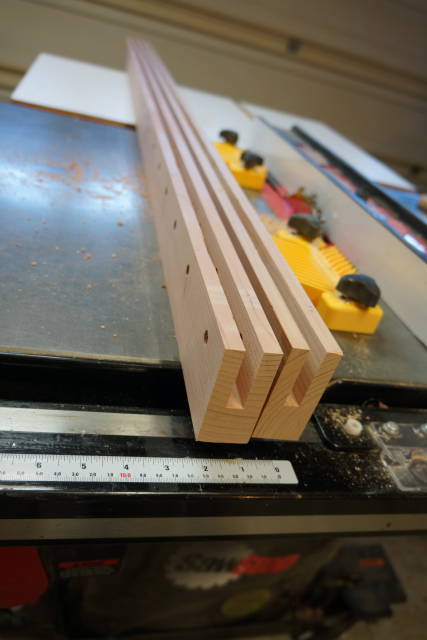
Cut the stiles ( I am not sure about the naming here. Please correct me if needed)
Flattened 1 side and 1 edge on the jointer
Now through the planer to make the other 2 sides parallel and get the right thickness and height
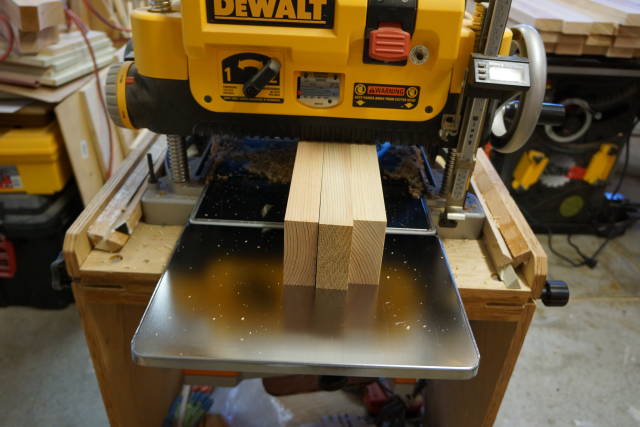
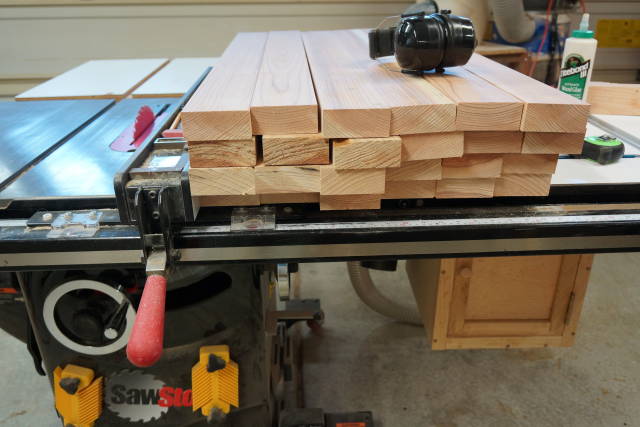
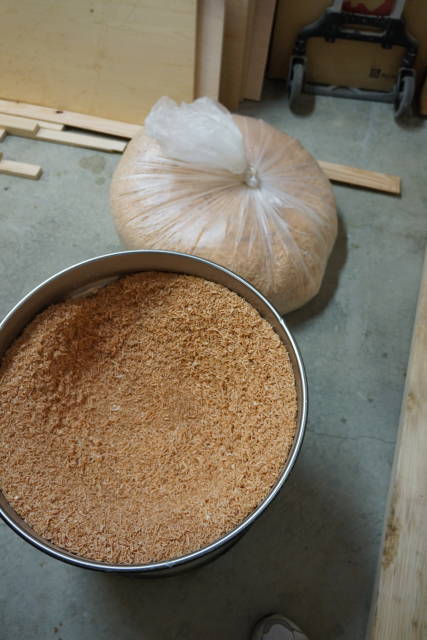
Two bucket of chips later Cut to final size
All ready for the tenons but before cutting one last check
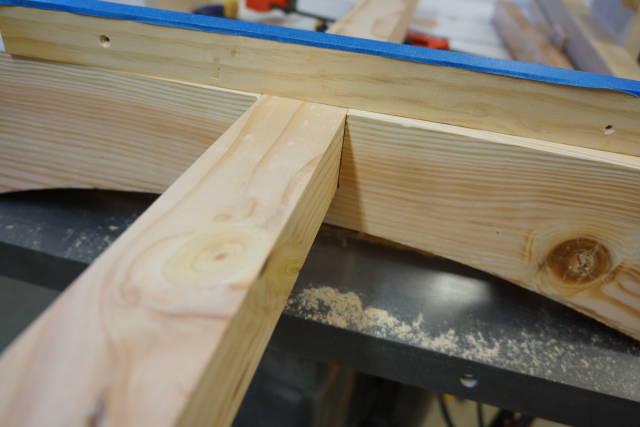
I needed the rail to be ready so I will cut the tenons accordingly.
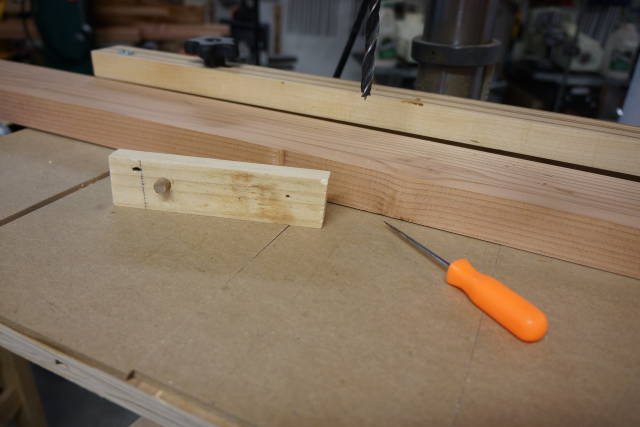
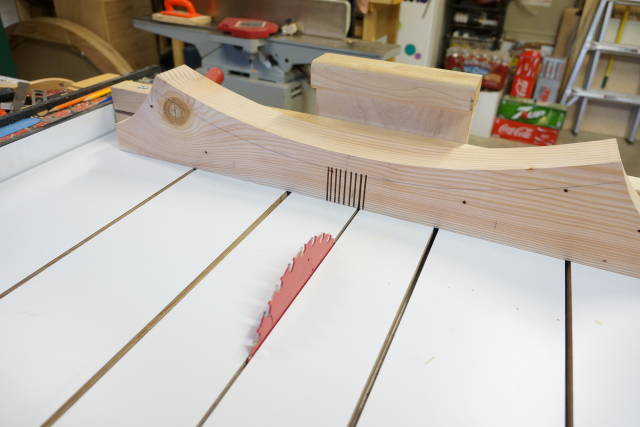
I made a very simple indexing jig to help me position the next hole.

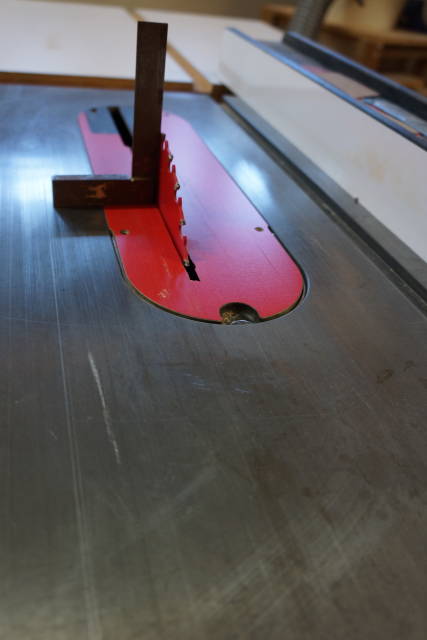
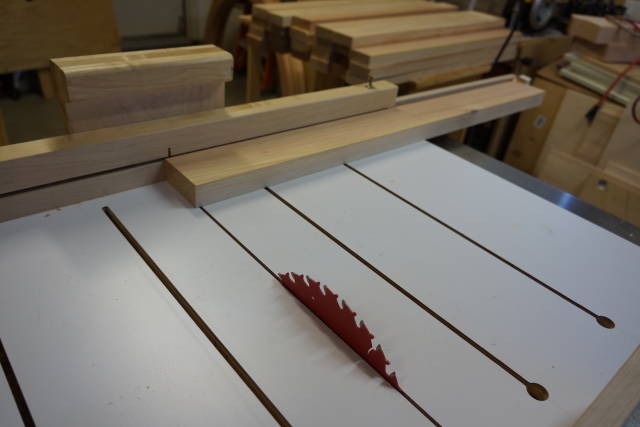
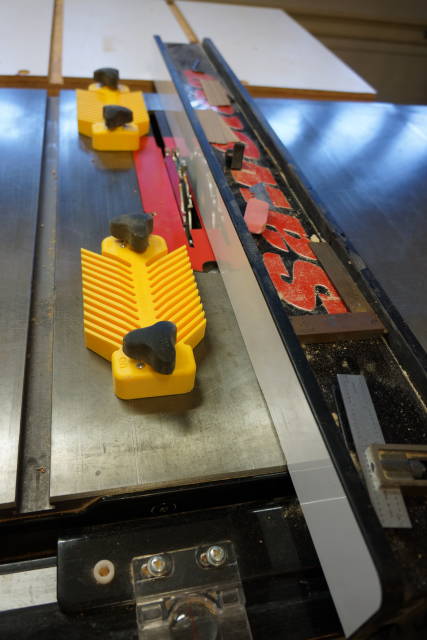
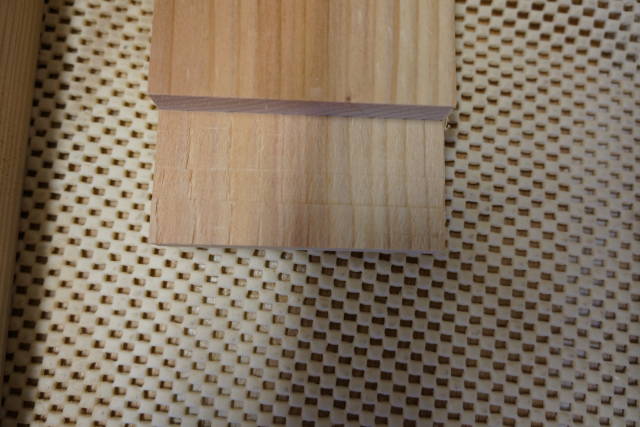
Now that the dowel holes are drilled, I cut the groove on the rail. I decided to used a the table saw and a dado blade
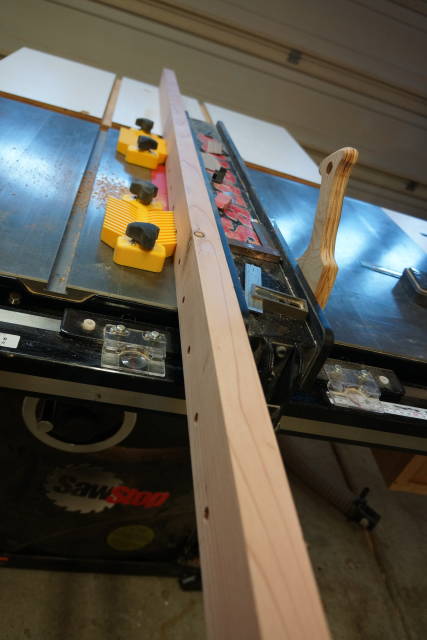
With the rail ready, Now I can cut the tenons to match. Note the tennons were about 1/32" too thick. That allowed me to sand them down so I can get rid of the dado blade tiny grooves. I do not have a block plane yet.
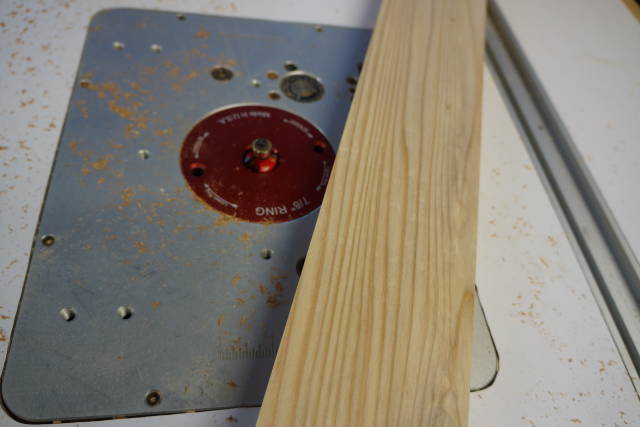
I also took all of them through the router table with a 3/16 round over bit

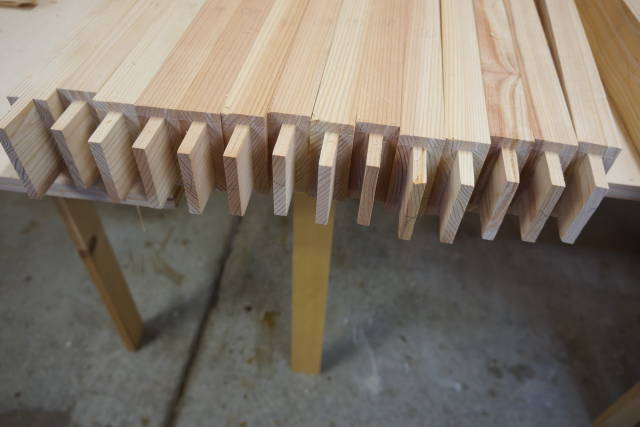
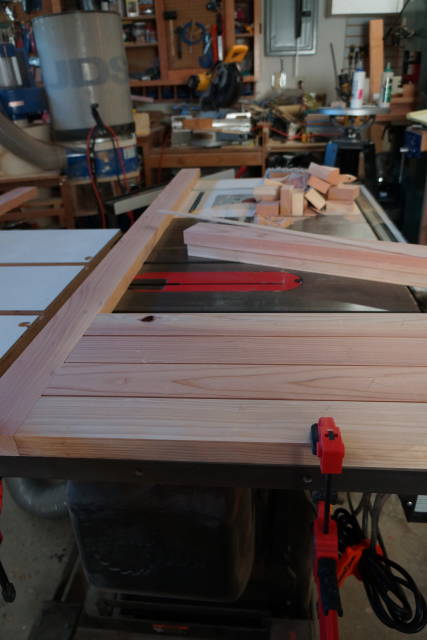
With some 1/8 " spacers to allow for expansion ready, a dry fit.
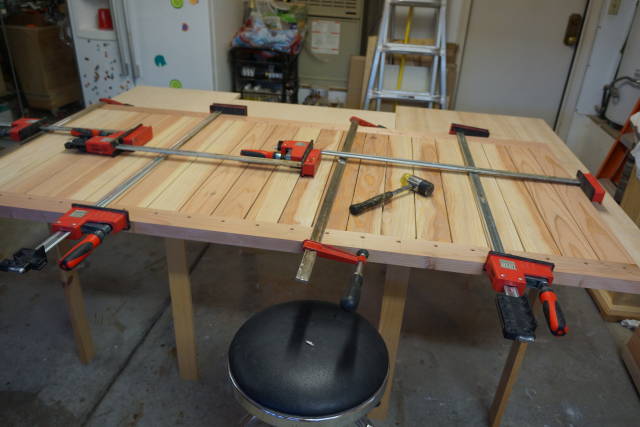
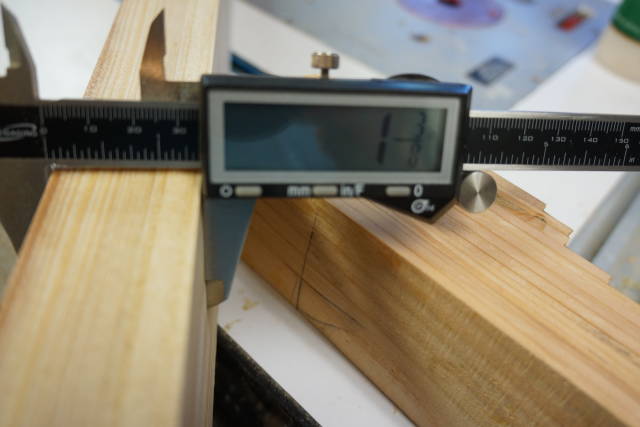
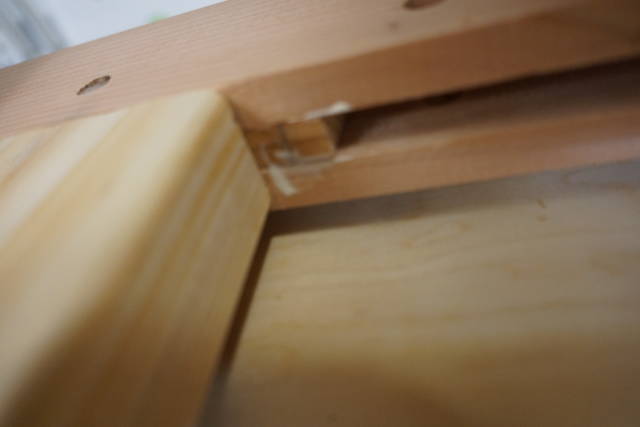
Once it was all clamped I marked where the holes would go on the tenons using the same 3/8 drill bit.
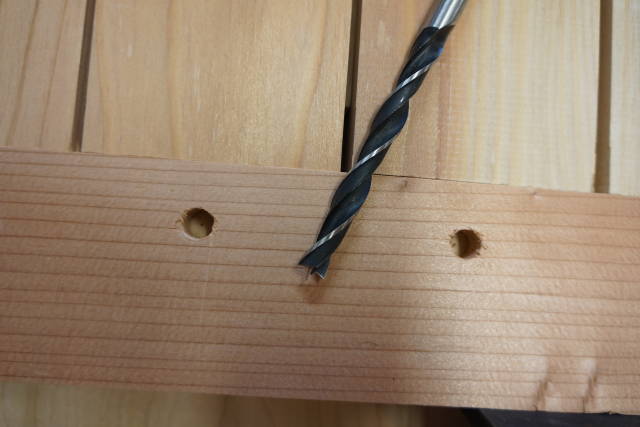
Note the second dot closer to the tenon shoulder. It offset by about 1/16th. That is where the hole will be drilled.
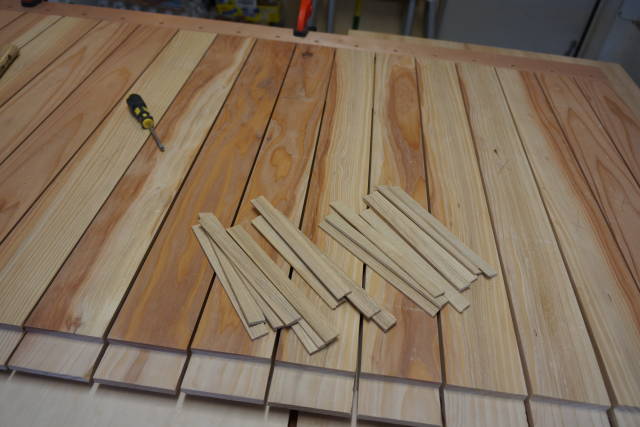
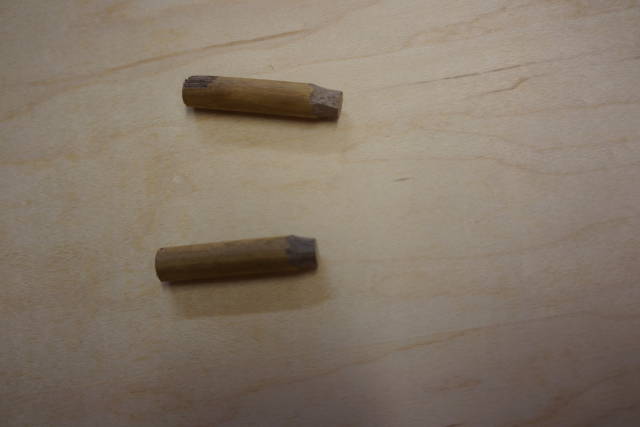
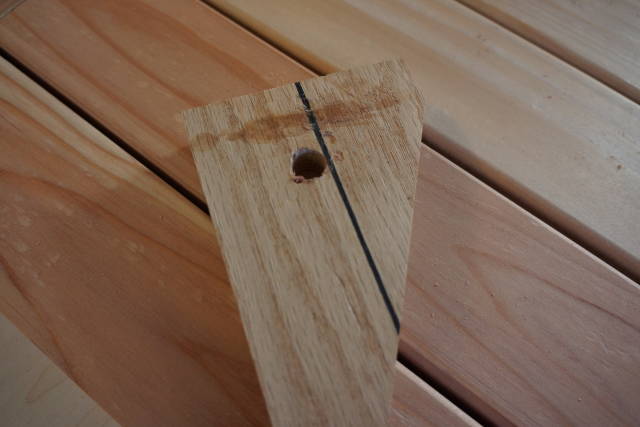
Prepared some dowels and blocks ( I did buy 3/8 dowel rods although I could have made my own)
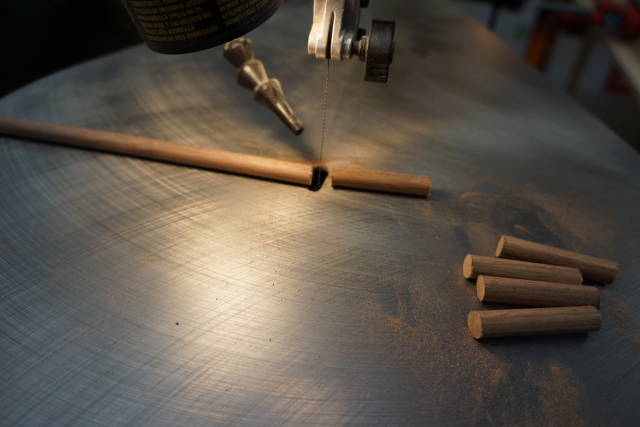
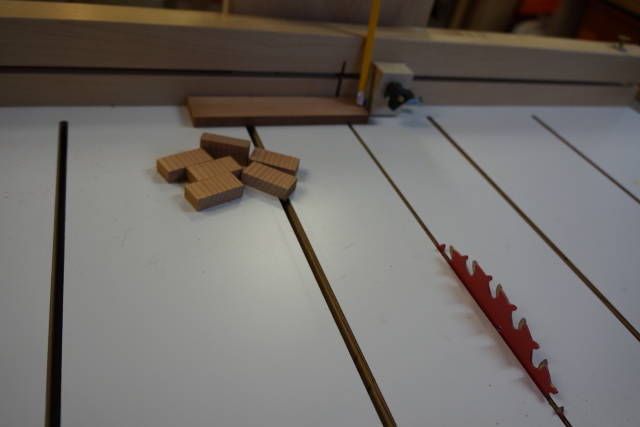
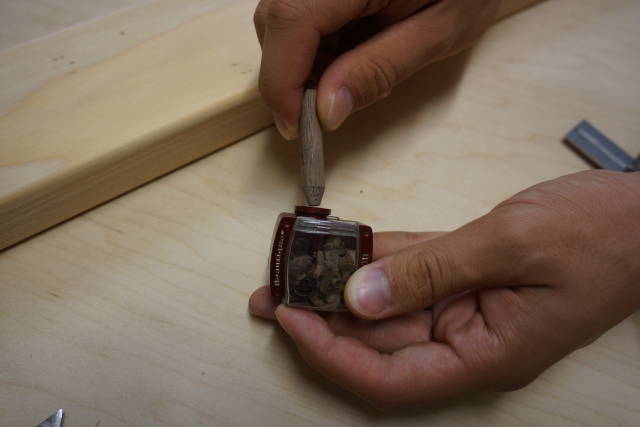
Used a pocket knife to make the pointed part of the dowel. Tedious until my son suggested a “big” pencil sharpener
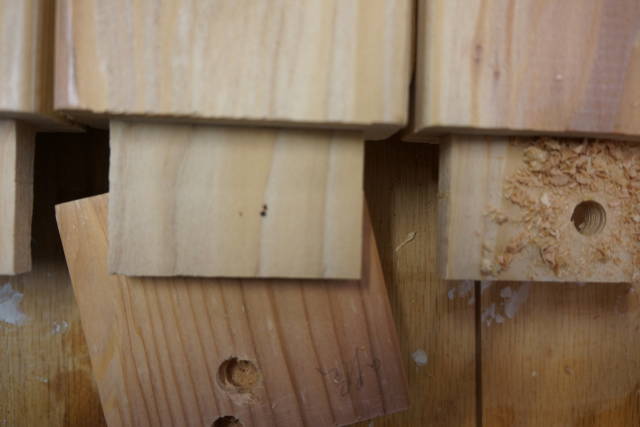
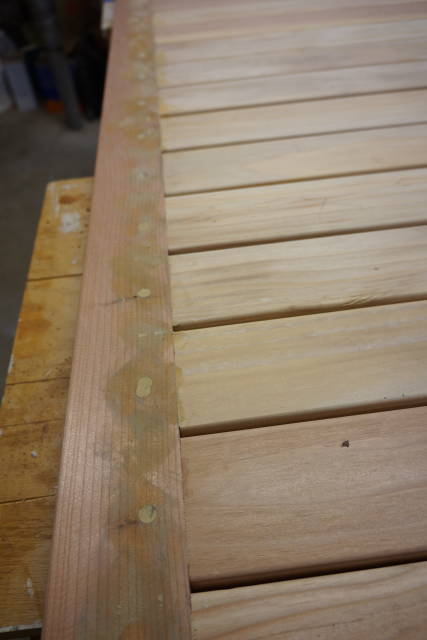
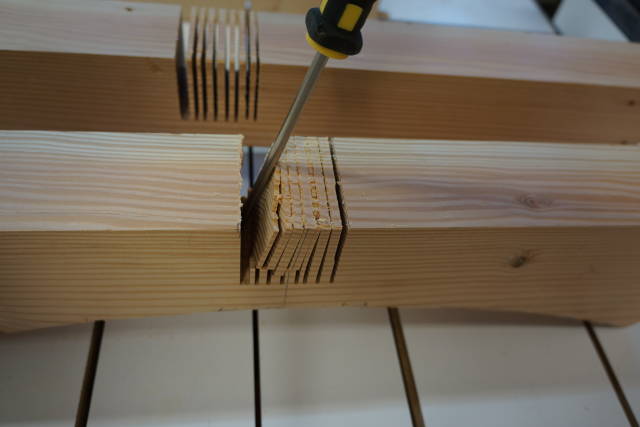
With all the pieces ready I started hammering the dowels. I did apply glue on the cheeks.
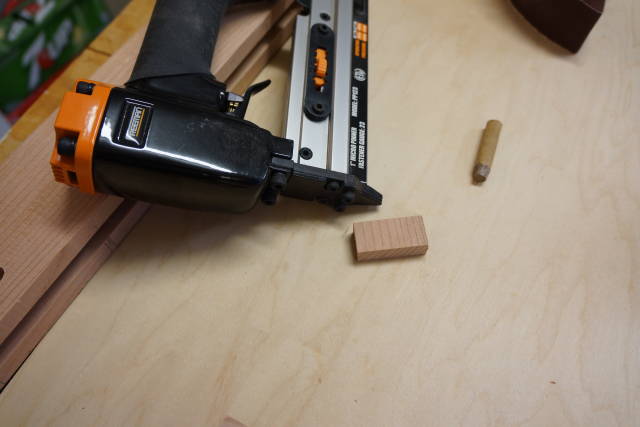
I quickly realized that I am getting some serious tear out on the opposite side. So I made a helper with a 7/16 hole:
All the pins in:
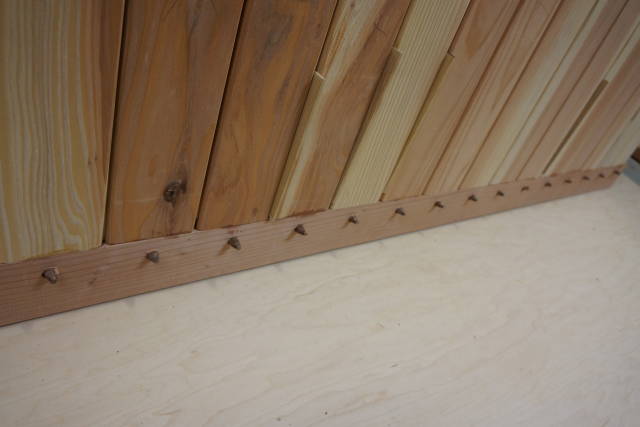
It became apparent tome that the redwood was way too soft and was compressed by the pin on the other side.
Now remember the hole on the rail were drilled on the drill press…
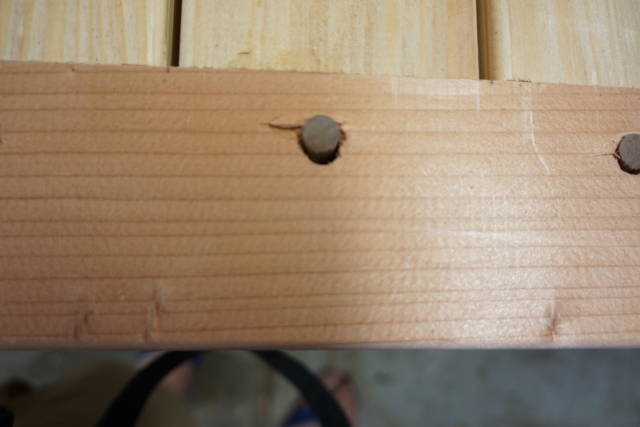
Flush cutting the dowels was much easier with the Japanese saw than my dull flush trim saw.

Abbas, Castro Valley, CA
12 Comments
I could not add more pictures to my post so I continue here:
Wood filler for the elongated drawbore holes. That the second time I use wood filler so excuse the mess
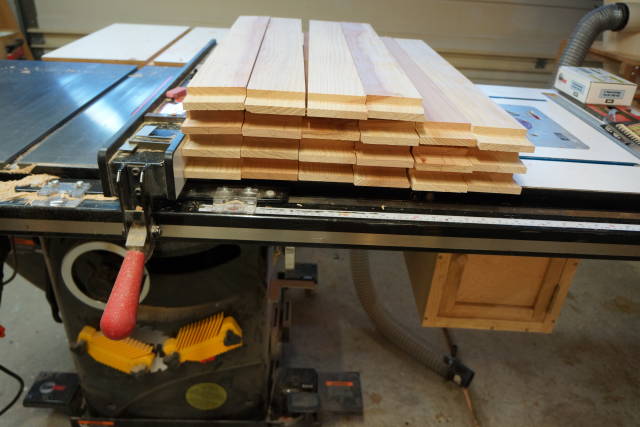
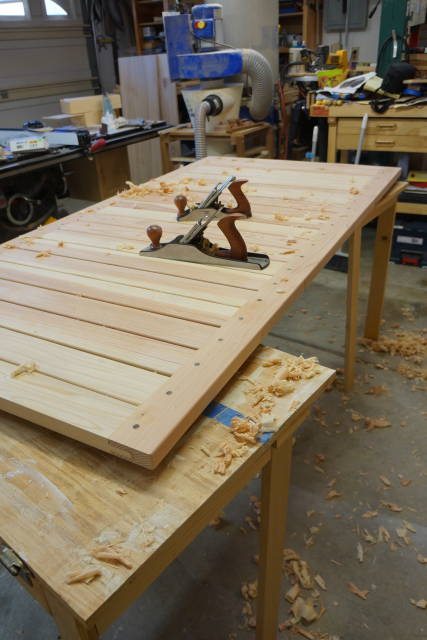
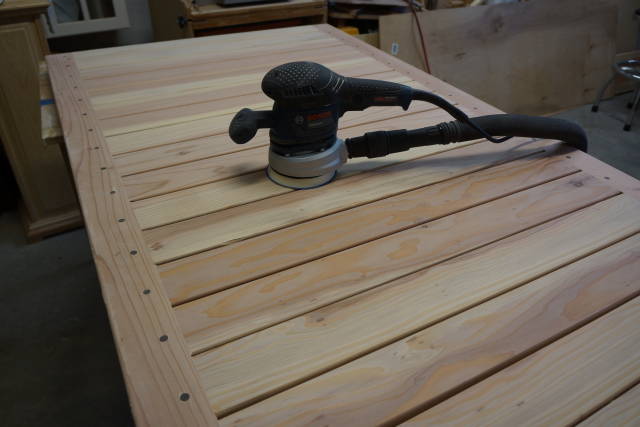
Since the stiles were cut 1 week earlier, some of the cupped. I had to do some flattening and the sander alone was not good enough.
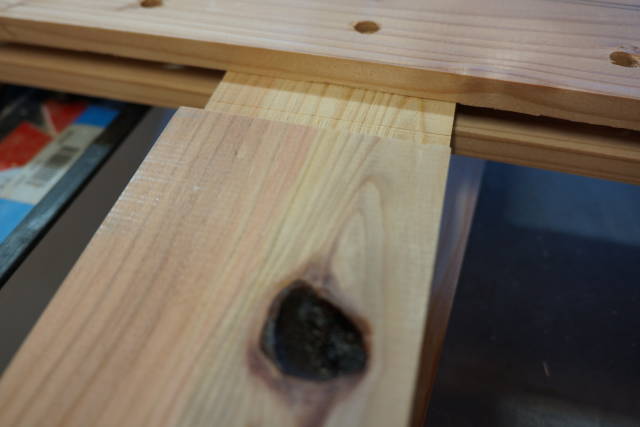
Now I cut a dado in the transition piece for testin:
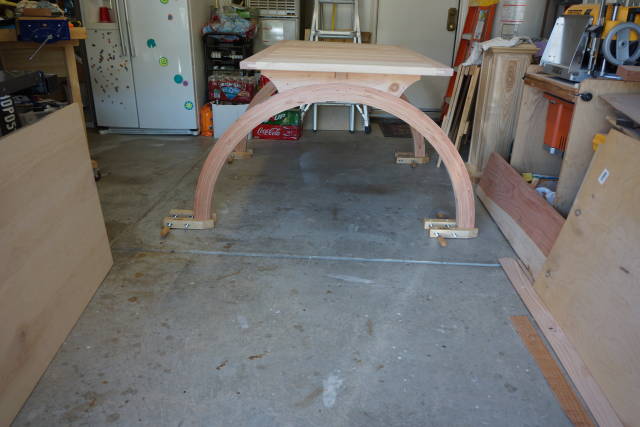
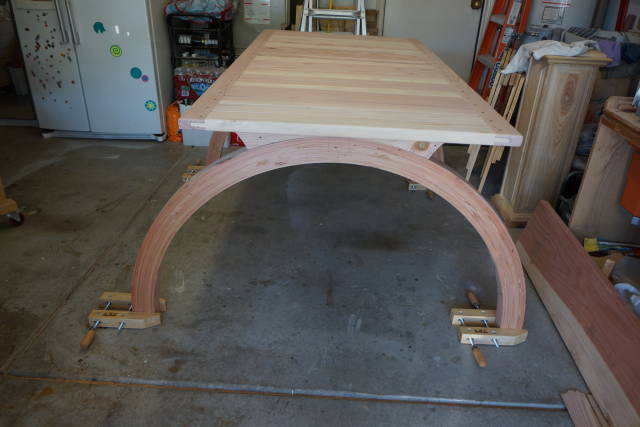
The verdict is I have to lower the table top to 30" from the 34" it is at now.
Will post when the benches are ready. I should be able o start on those next weekend.
Abbas, Castro Valley, CA

Looking good! Too bad about the redwood being a bit too soft for the draw bores, but I don’t think the elongated holes will be all that noticeable in the end. Great job!
Some serious joinery for a picnic table but it sure is turning out nice .
Now for the finale can’t wait .
Thanks David.
The holes might have passed under the radar… But you see the only filler that I have has a tan color:) Totally different from the redwood. My wife said “don’t worry, it’s art, it got contrast!”
The good news I am learning a lot of things and that is priceless to me.
Abbas, Castro Valley, CA
Thanks Kiefer.
You posted as I was typing.
It’s down to the finish line. If I get the weekend to myself I should be able to finish it.
Than come the finish. That part I never liked.
Abbas, Castro Valley, CA

Awesome and I love these write ups that show the details. I have to remember this for the future. Then again, I can just come back here to look if I need to. :-)
Losing fingers since 1969
Thanks Brian!
Bently! Anytime. The grills are getting bored this year.
Abbas, Castro Valley, CA

Great work Ian. You won’t ever regret pinning those top boards. A board heigh of 30" sounds right to me. The design looks very interesting and unique. I’m looking forward to seeing the whole set together.
Mike, an American living in Norway
Thanks Mike,
I am hope you get some time this weekend between the world cup games and try to finish it.
Abbas, Castro Valley, CA
lanwater,
Your table is turning out awesome! I have been following along and want to thank you for taking the time to do such a detailed blog.
Now I’m mad at you!………I made the mistake of showing your work to my wife and guess what?………….She loves that picnic table and thinks I should try my hand at one. Thanks buddy! lol
BTW; when did you say the BBQ was?
Great job and looking forward to your next entry.
John @The Hufford Furniture Group
Thanks Huff,
The BBQ is waiting for a hand signal from my friend Bently. Ask him to hurry up already.
This said if you are in the area ring me up. The BBQ can start pretty quikly :)
Abbas, Castro Valley, CA
I’ve been following the build, but haven’t had time to comment. It does look great!
Where are the band-aids?---Pro Libertate!