


Share your craft projects
Make new craft buddies
Ask craft questions
Blog your craft journey

lanwater
2132 posts
and
35 followers
in over 12 years
in over 12 years
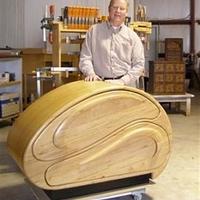
Picnic Table #5: Legs Cleanup
This is
part 5
in a
7 part
series:
Picnic Table
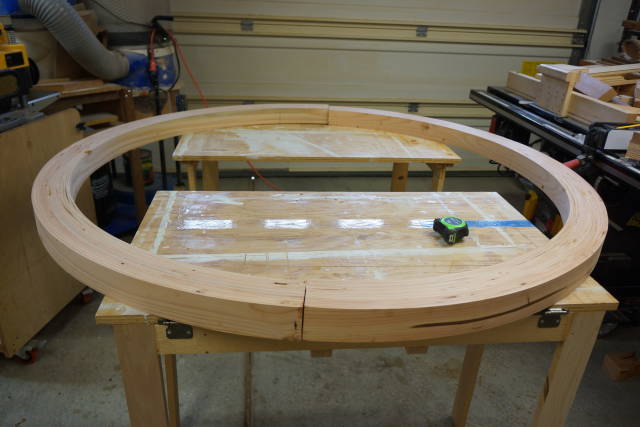
The previous segment of this blog we ended with two arches. One had a lot of creep and the other not so much.
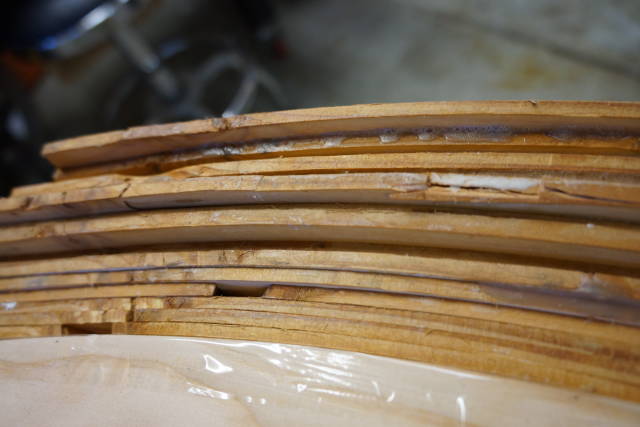
I have never cleaned any arched piece that big. Again it is heavy and curved (:
Dry run on the jointer with 2 rollers was not good.
I needed to figure a way to flatten one face before I could take it to the planer.
I bombarded Bently with questions who was so nice as to offer help and tips. Thanks Bently!
He suggested drum sander. Why did I forget my drum sander? The most used tool after the tablesaw…
Well no luck… The maximum clearance on my drum sander turned out to be 3" that 1" short of the needed clearance.
why 4 not 3.5"? well I got so much creep on the first leg.
I could have driven to Vegas and use Bently’s Sander and have fun at the same time… That was enticing.
I thought I will make a router sled and clean them that way. Well I did not have a single surface flat that is at least 52" wide.
So I resigned myself to making the jointer route work.
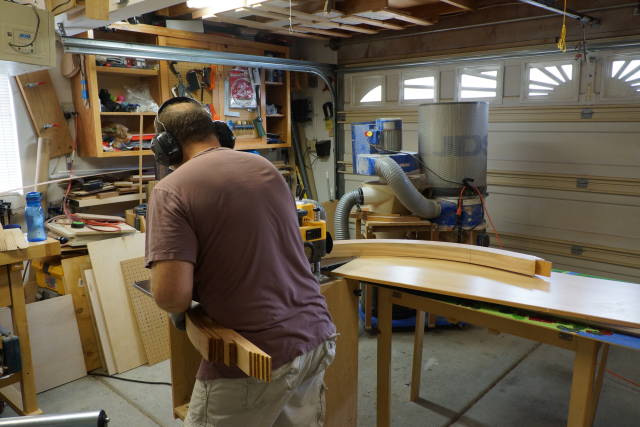
I used my foldable tables with some padding to get the right height. Low and behold, it worked.
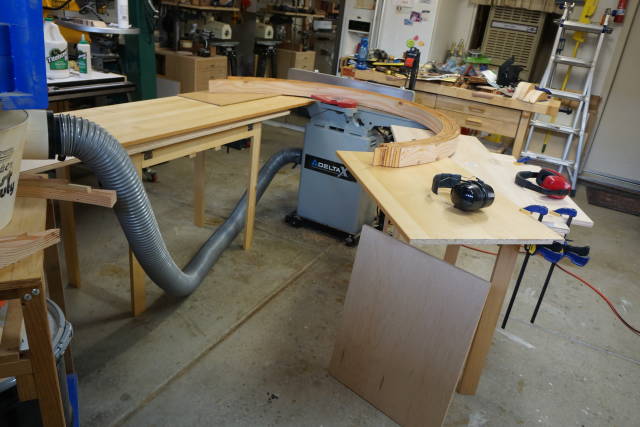
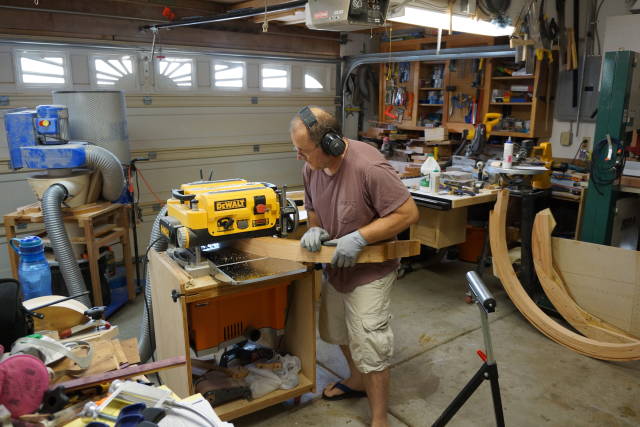
Same thing on the planer and I was elated.
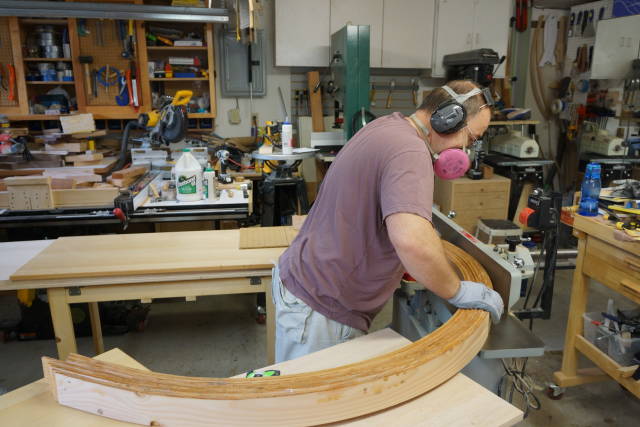
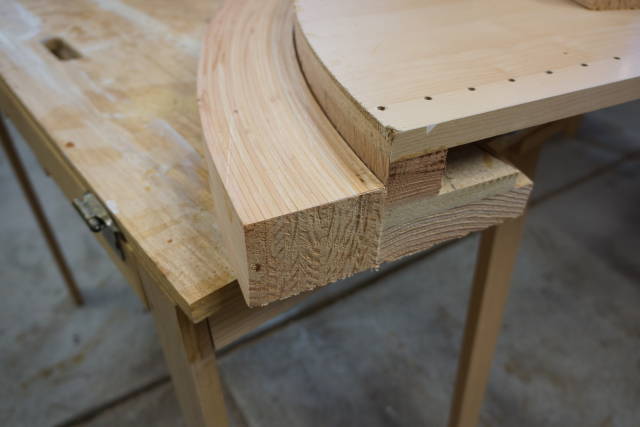
Trimming the led to size on the tablesaw or bandsaw was not feasible for me, even if I built a special sled for the job. I would have to hold it vertical. I have seen it done on shorter arches. I figure I can use my form to guide me through the cut.
Since my form was overhanging on the ends, the first step would be to trim the form ends.
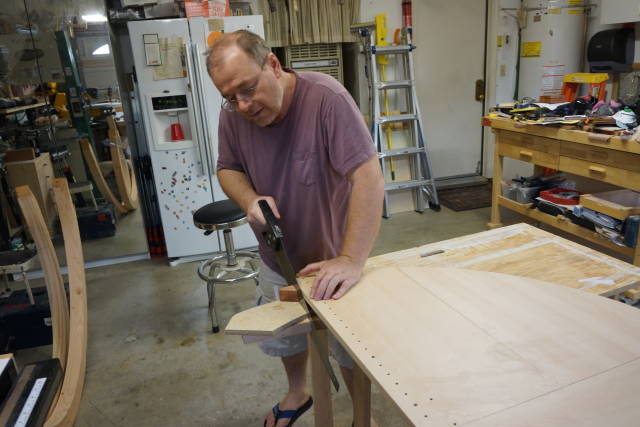
I then had a flat and strait edge to use as a guide to cut the legs.
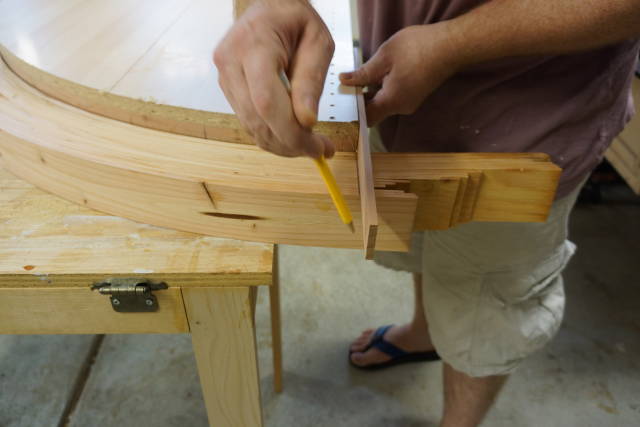
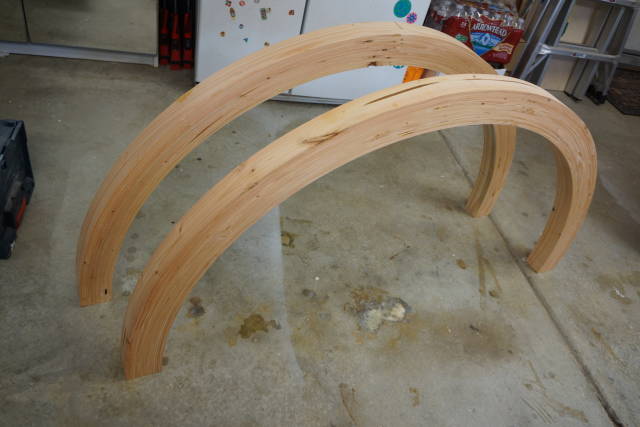
I did use my left hand to make sure the handsaw stayed perpendicular to the leg
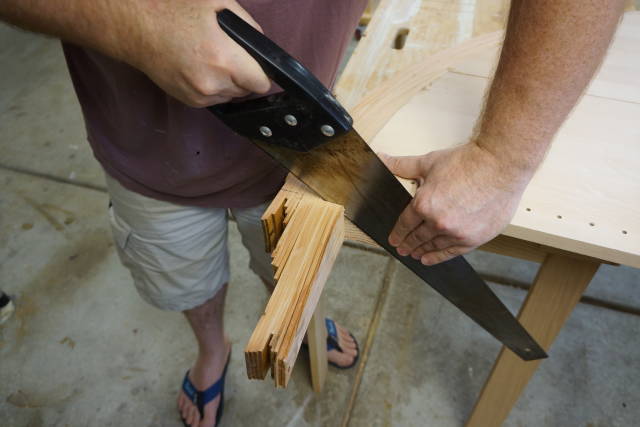
Et voila two legs!
I started with an empty dust bucket and it got full and started filling the filter catch bucket of my dust collector.
Next installment is the transition piece where the top will be attached to.
But first need the weekend to do some work in the shop :)
Abbas, Castro Valley, CA
10 Comments

That’s a great progress, Ian. Great timing for the Awards :)
Really like the “et voila” end result.
Martin Sojka, Maker of Craftisian
Sounds like you’ve had a battle Ian! I would never have tried cleaning those up on the jointer (I don’t have that kind of courage). I would have grabbed a hand plane. Those are tools I have recently fallen in love with. My meager collection of two has now grown to seven, but that’s another story. I would definitely have used a plane to get one flat edge on the beam.
I have a couple of questions…First, couldn’t you have cut the laminates on the TS? I realize the 5.5" thickness is too deep for a single pass, but making one cut then flipping the board and finishing the cut might have been easier in my mind. At least you would have had a larger table and fence surface. Of course, I don’t own a band saw so I’m thinking of how I would do it with what I have. Considering it even more, if 8’ was too difficult on the TS I probably would have cut the 8’ pieces into 5’ and 3’ sections then staggered the joints during the glue up.
I’m not knocking your method, just curious.
Second, is that a giant mirror in your shop?
Where are the band-aids?---Pro Libertate!
Me too; totally impressed!
Great job of working through each situation with the tools you have and achieving great results.
I’m really enjoying following along with your build.
John @The Hufford Furniture Group

Ian – Just read through the five parts so far, and I’m hooked. Great job overcoming the obstacles in your way. Really fantastic. Can’t wait to see the next steps and your final table!

In the end, perseverance and ultimately perfection. Excellent work.
I would have trimmed the edges on the table saw. A couple of light passes would bring it more or less square, then a final pass to trim it. I once cut a snare drum in half on the table saw. I rolled it right across the blade while holding it against the fence. It came out surprisingly good.
Losing fingers since 1969
Thanks Martin. That moment was a huge relief :)
Monty: I hesitated for a few day before going to the jointer. When I did I set both in-feed and out-feed fences coplanar (no cut took place)and run few times. I then set the in-feed bed to 1/32 just to get a feel, then 1/16 and when I felt confident I could push the arches through without too much pain I set is for 3/16 until I got close to the final size then decrease it again so I don’t get tear out.
The table saw was my first choice but I only have to rollers and my attached out-feed table is not adequate for that king of weight so I discounted it.
Splitting the 8’ piece and staggering the laminate is a great idea. Where were you when I need help LOL. I need to try that to see what effect it has on the bending. This is all new to me at least in this kind of size.
*Please comment away. That is the kind of comment I am looking for. This kind of input helps me improve and that is what I am after. “nice work” is good but your comment is much more valuable to me. Thanks!
*
Bently! Thanks for your help. You gave me a lot of great tips. My next project after I clear the deck will be adjustable occasional table with height adjustment. I need those. The ply I used to prop up the height kept moving.
Huff, David: Thanks! I think this was the most interesting part. It made me sweat and got me scared. The rest is just a breadboard table top. Hopefully I can pull that the weekend.
Brian: Thanks!
That thought crossed my mind but I abstained since I don’t have a flat face to run it against the fence.
I saw one of my favorite furniture builder build a sled and set the piece it perpendicular to the table. That made the face parallel to the blade and run it the way you describe it. I chickened out :)
I also thought about the jigsaw but I though It will be the same issue, I don’t have a flat reference.
I am sure my inexperience held me back quite a bit .
Abbas, Castro Valley, CA
HAHA! I know what you mean Ian. I would have chickened out with the jointer method! I’m glad it worked out for you though. I can also understand the reasoning for not using the TS. That is a hell of a lot of weight to control without adequate infeed and outfeed support. I could only imagine what a blade jam would be like if the saw didn’t have the power to overcome it. I don’t see why staggering the laminate wouldn’t work, but it’s not like I have a lot of experience at this stuff LOL. As far as where I was when you needed help…I was probably outside cooking on the grill and didn’t hear the phone ring ;)
Hey, if I don’t understand why or how someone did something, I’m going to ask. I was trying to picture how I would do the same thing with what I have. Funny thing is, now that I have had some time to consider it, I would have used the circular saw and a fence to cut the laminates, flipping the board to get all the way through.They wouldn’t have been pretty, but the planer would have taken care of that.
The important thing is, the legs are done, you learned something, taught something, and still have all your fingers!
Where are the band-aids?---Pro Libertate!
That turned out real nice judging by the pictures .
Great job of thinking it through and working with what you got .
Some years ago I worked in a stair shop and our forms where simply a plywood base with length of 2×4 screwed to it and a piece of waxed hardboard fastened to the 2×4 to smooth the the curve .
another trick that I have used over the years to reduce springback is to put dowels in the lamination before it is removed from the form .
If your floor is nice and flat you could use a router sled setup to clean up the faces of the laminations .
Well it’s too late for all this and your way of doing it got the result you were shooting for .
Thanks for the excellent blog series ,I am enjoying it !
Thanks Kiefer!
That’s a cool trick about the dowel, never run into it before.
The garage concrete floor is all over the place.
Abbas, Castro Valley, CA

Great work! After planing, these legs look just wonderful Ian. Fun to watch this table coming together.
Mike, an American living in Norway