


Share your craft projects
Make new craft buddies
Ask craft questions
Blog your craft journey

shipwright
2073 posts
and
113 followers
in over 12 years
in over 12 years
Marquetry Cutting Styles #5: Repeating Patterns
This is
part 5
in a
5 part
series:
Marquetry Cutting Styles
I was doing a piece by piece experiment recently with an eye to a new project I had in mind and thought it would make an appropriate addition to this blog series. I have touched on piece by piece or classic style already I know but this is a little different application.
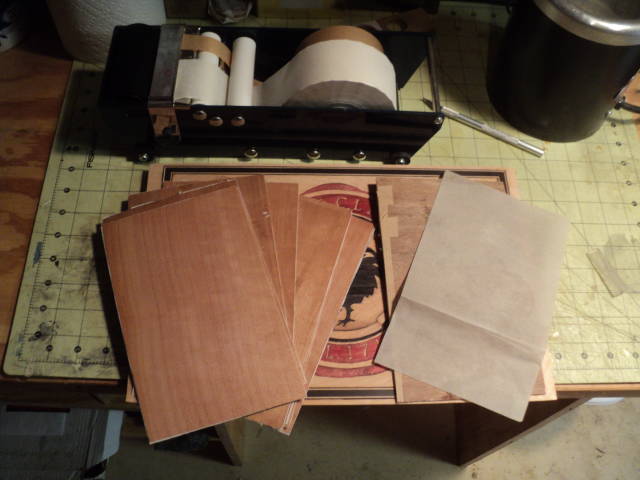
My project requires about 48” of guilloche about 2” high. (I am using one of the free patterns from craftsmanspace.com.) To get the length I need I will require around 30 repetitions of the basic pattern. I assembled packets of eight layers each of Cherry and Holly and one of only four layers of Zircote. Cutting four pattern segments in Cherry and eight in Zircote will give me 32 pieces of each. The Holly is doubled in the pattern so I will need to cut eight segments, each eight layers deep.
This is the Cherry packet about to be assembled. On the left are the eight pieces of veneer and on the right is the 1/8” plywood backer and a sheet of grease paper. The grease paper goes next to the backer and then each piece of veneer gets individually taped on top.
When the last veneer is taped on (one short tab of tape on each edge), the edges are taped with one long piece each.
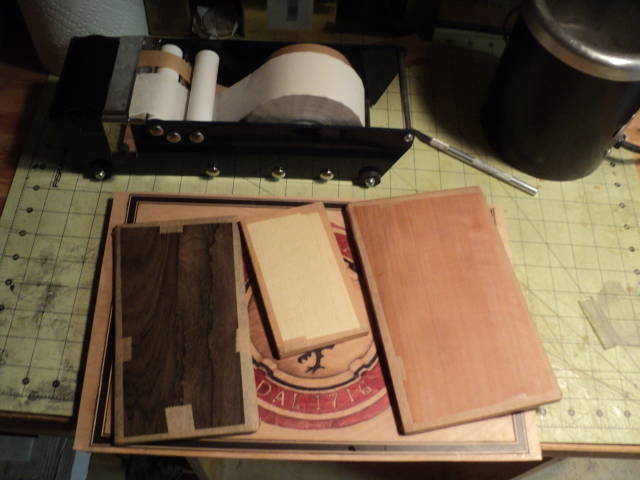
Here are the three packets, all assembled.
Next, pieces of the guilloche pattern are cut out and fitted on the packets.
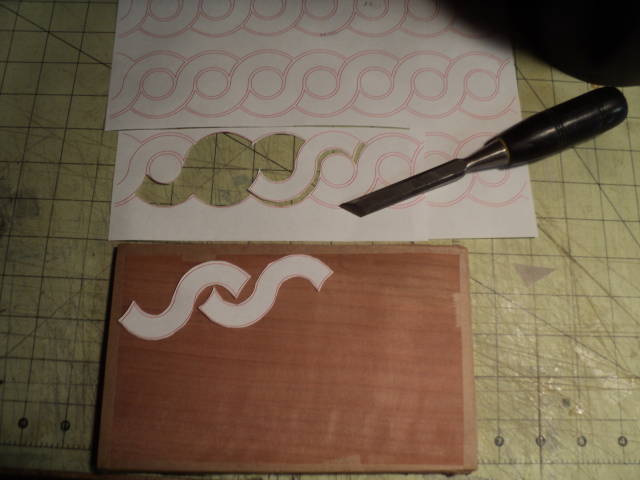
The grain orientation is marked on one pattern piece, to be glued on first.
The pieces of pattern are glued on the packets with hot hide glue.

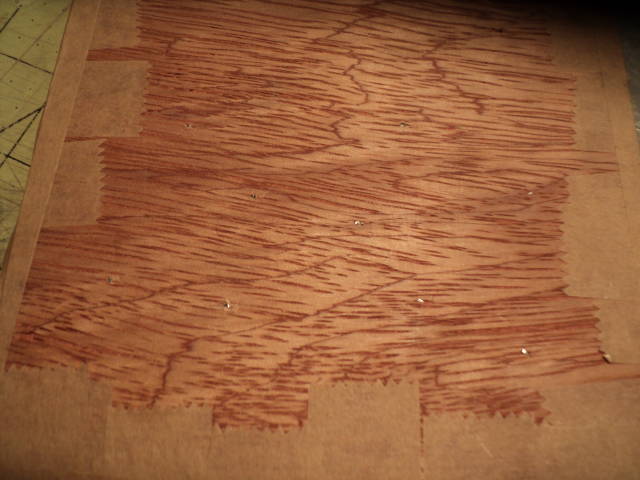
Then the packet is tightened and reinforced by adding strategically placed veneer nails.
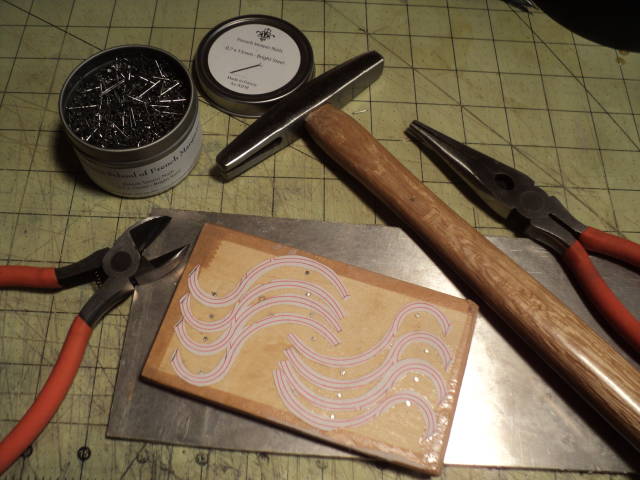
These tiny nails are driven through, cut off and riveted on the back. The riveted over end should be very small so as not to interfere with the blade.
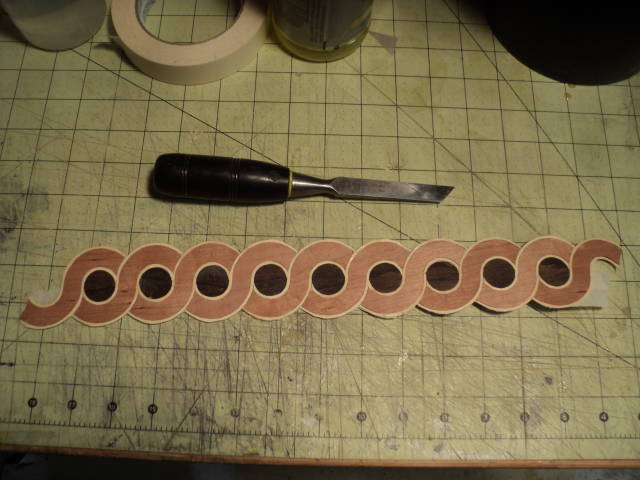
The great thing about this style is that after cutting one piece of pattern I have eight pieces of my guilloche. The top one is white because it has the pattern on it and you can see the backer and grease paper on the left.
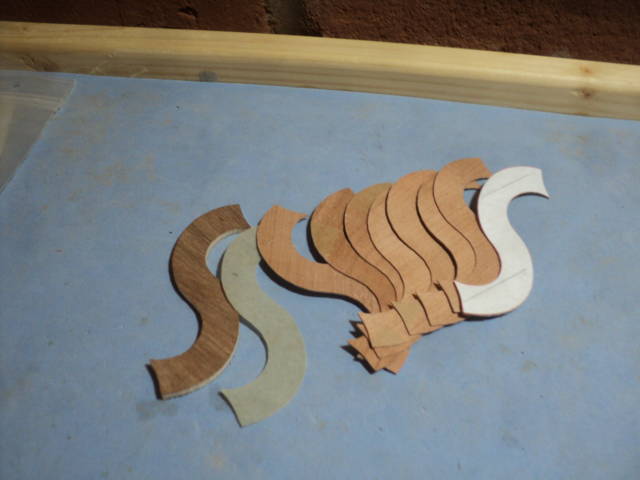
It takes almost no time to cut all the pieces.
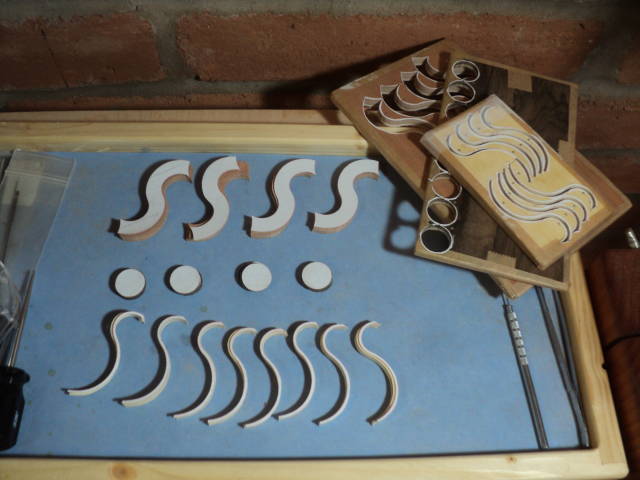
This is a dry fit on tape to check how I’m doing. I will be doing some sand shading before final assembly and I will orient all those little circles better then as well.
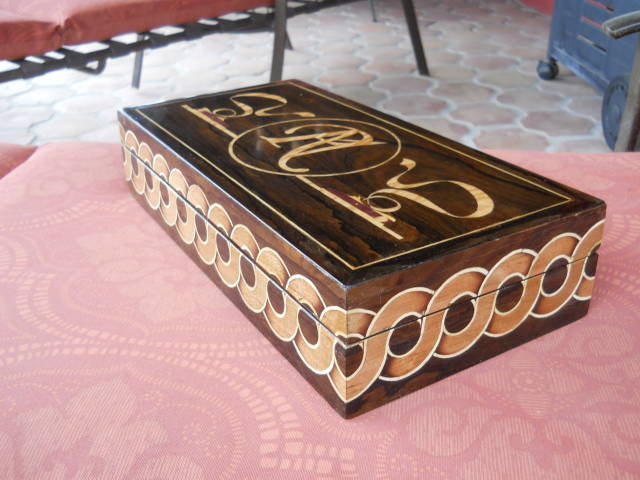
The final product became the sides of my plane box.
Note: This was done a couple of years after the project featured in my “Classic Style” segment and the packet making techniques are much better as is the cutting.
Thanks for looking in.
Paul
The early bird gets the worm but its the second mouse that gets the cheese.
3 Comments
Wow! Lots to learn! I’ll be starting off simple for sure! Thanks for all these great blogs Paul.
Anna

Looks perfect to me and all the more impressive since it is classic style.
Mike, an American living in Norway

Your skills are amazing, I have been following your job and I just love it.
Thanks for sharing, maybe one day I can produce such a beautiful work.
Regards