


Share your craft projects
Make new craft buddies
Ask craft questions
Blog your craft journey

lanwater
2132 posts
and
35 followers
in over 12 years
in over 12 years
Coffe Table #2: Cutting the Template
This is
part 2
in a
6 part
series:
Coffe Table
In this installment of the blog I will be cutting the template. The rib cage will depend on it.
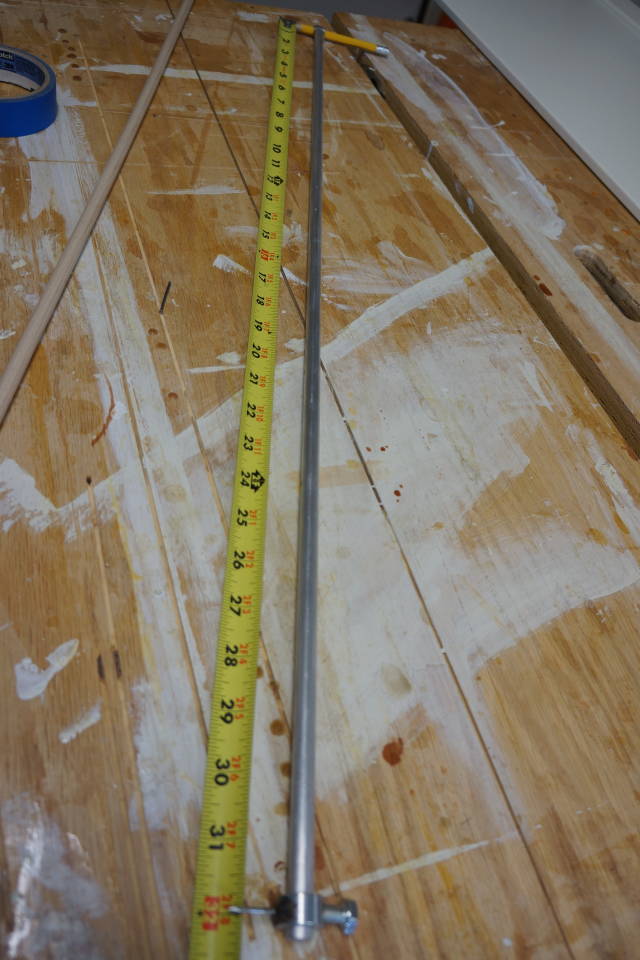
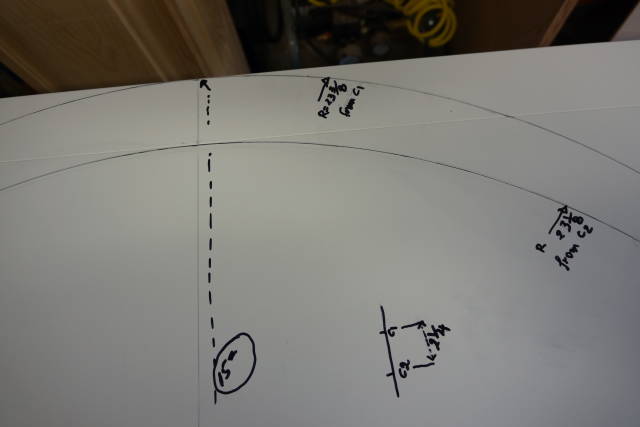
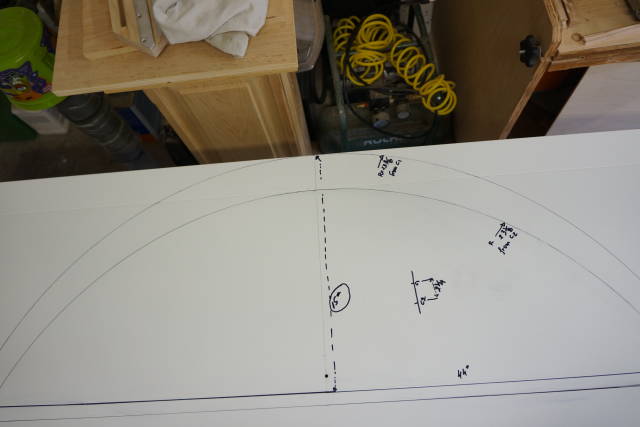
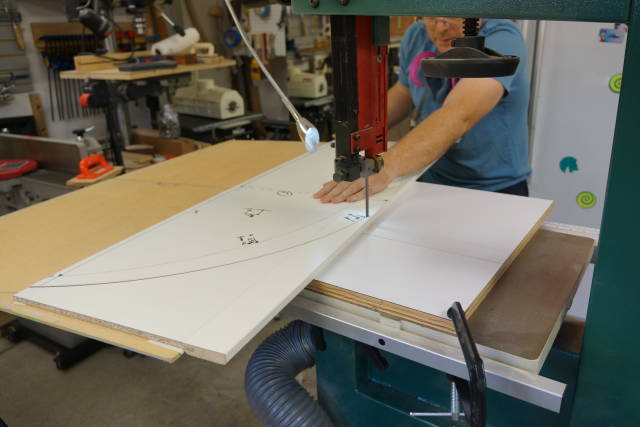
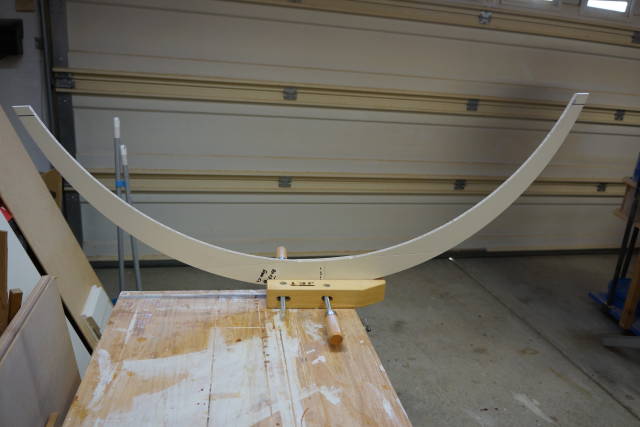
I used my home made beam compass to layout my arcs
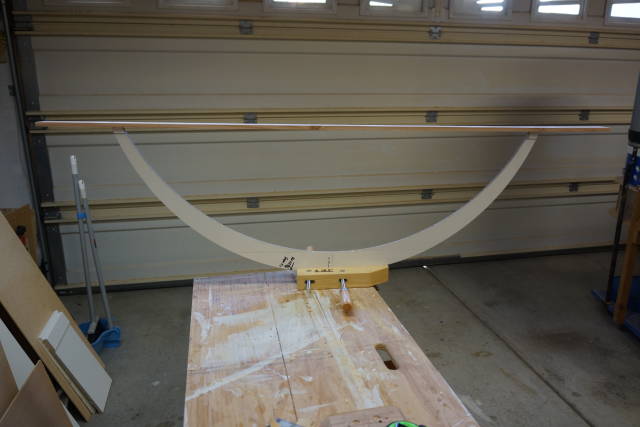
I am using an old Ikea closet door for template. That’s the longest 1/2 MDF I have
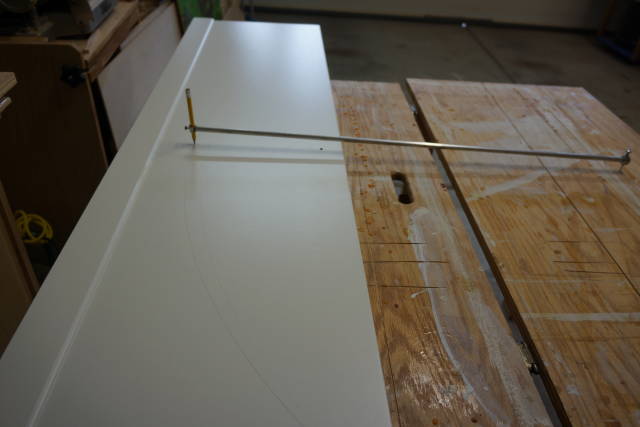
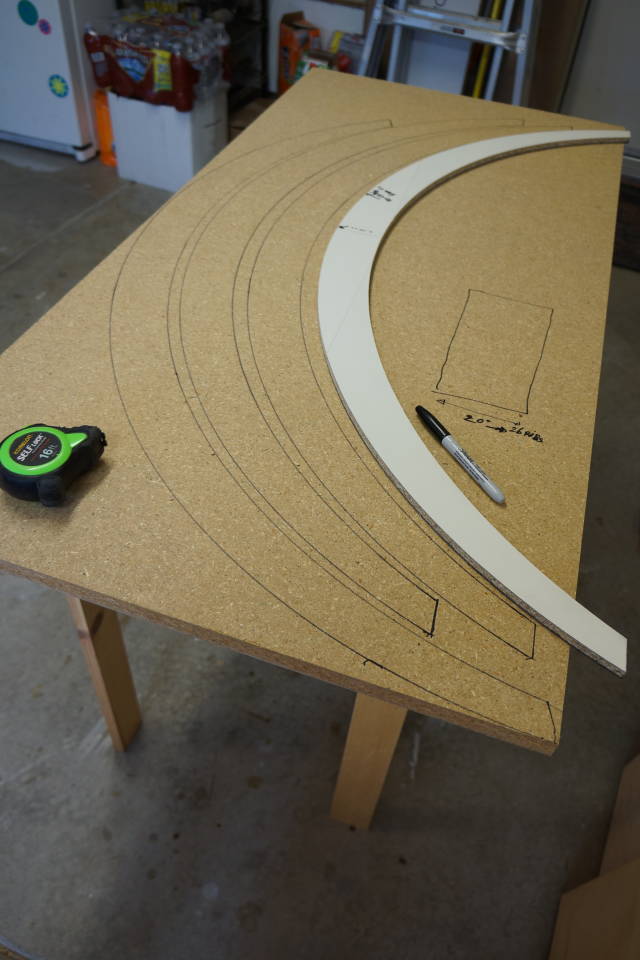
We need 2 important lines:
-The center line
and
-The perpendicular line that will intersect the arches to determine the height at 15"
I also needed to cut the arcs on the band saw using my circle cutting jig.
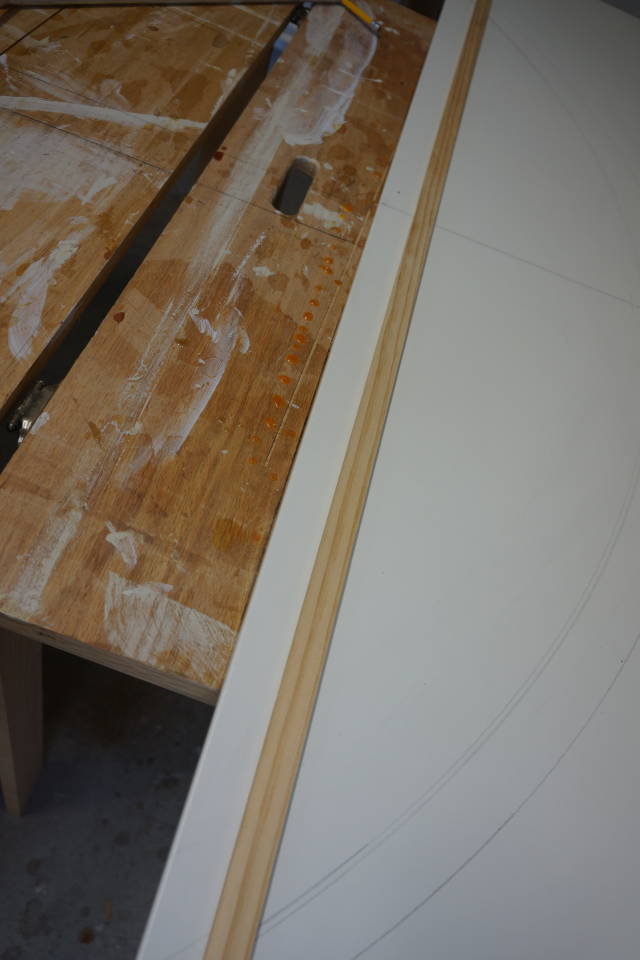
Since the centers are located off the MDF board I need to attach the MDF board onto a larger carrier piece. And old Thomas the tank engine was very useful here :)
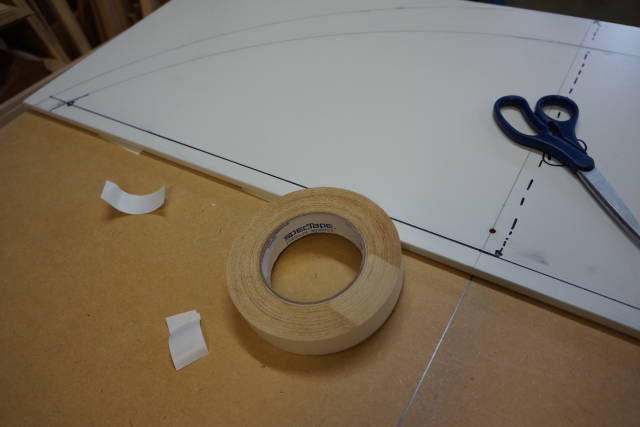
Please note that I also trimmed the end of the door that are not needed so that it will be easier to maneuver on the band saw.
I also enlisted the help of my son to assist in hold the board since it is rather large and exceed the band saw table a bit. He also to took some pictures

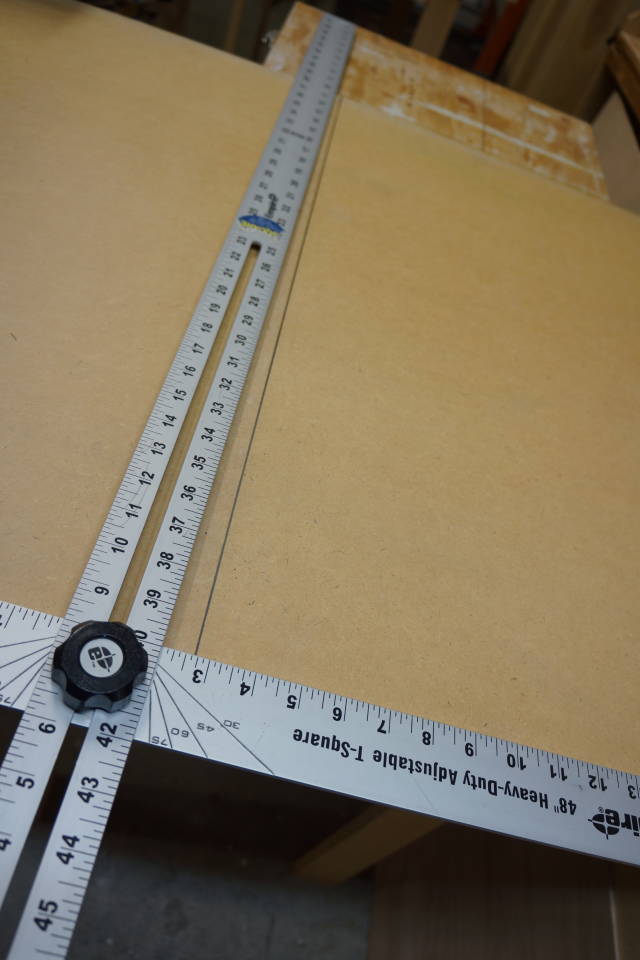
I drew a line perpendicular to the edge of the carrier board somewhere close to the middle
Then I attached the MDF “door” onto the carrier with double sided tape making sure the center line on the door matches the line on the carrier board
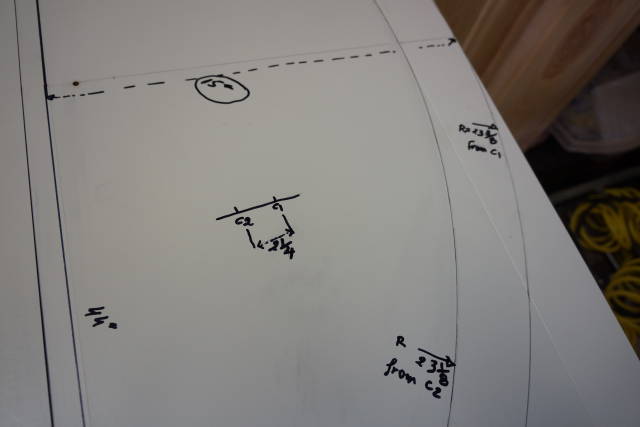
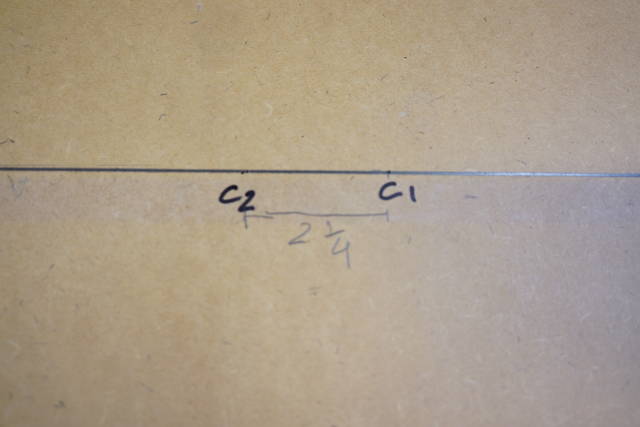
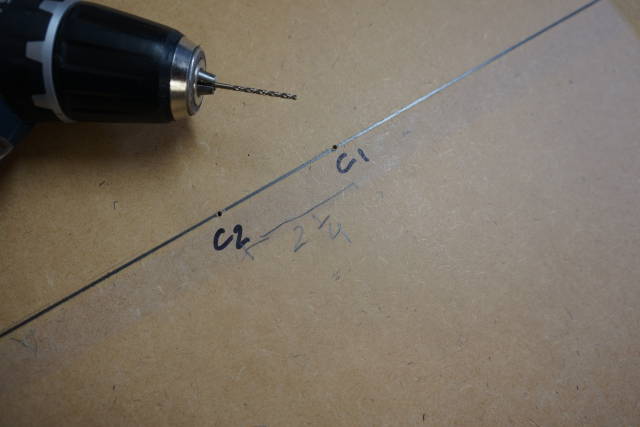
I located C1 and C2, the center of the two arches and drill 1/16 holes. Those holes will be used on the circle cutting jig for the center pin.
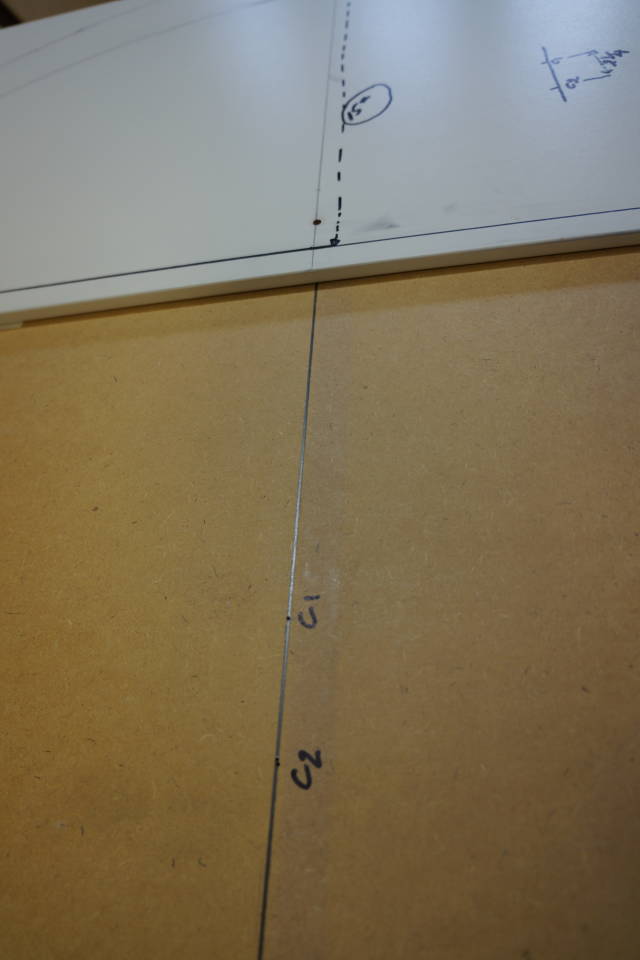

Notice I still have 2 line markings at the template ends were the line intersected the arcs. it will be used for trimming later.
I did not realize Ikea sells paper… The might be a problem during pattern routing. I will have to remember to take it easy and not apply too much pressure against the bearing.(which I should not do anyway)

I trimmed the ends of the template with my long sled. the cut was along the left over marking. It should not be a disaster if the marking were not perfectly aligned s. Close enough is good.

Abbas, Castro Valley, CA
8 Comments

Sweeeet!
CHRIS, Charlottetown PEI Canada. Anytime you can repurpose, reuse, or recycle, everyone wins!
I think that cutting the template this way is easier for me than trying to shape it on a spindle sander or with a spoke shave.
With a circle jig it’s ready to be used. No sanding.
The main thing is a steady cut, no back an forth and the right blade for the radius at hand.
Abbas, Castro Valley, CA

I’m following along. This looks like quite an undertaking, but we know you can do it!
L/W
“Those who would give up essential Liberty, to purchase a little temporary Safety, deserve neither Liberty nor Safety.” Benjamin Franklin
Thanks L/W.
I dread the moment where I have to lay the veneer on:).
I am trying to learn fast.
Abbas, Castro Valley, CA

If you’re worried about the “paper” during pattern routing, which is a very reasonable concern in my opinion, maybe you should edge band the template. That will make for a firmer surface to ride the bearing against.
Losing fingers since 1969
That’s a good idea Brian.
I did cut the ribs already.
I cut very close to the line on the bandsaw and then I took it nice and easy especially in that area. Very little pressure on the bearing.
Overall they all came out fine. I am sure toward the last few pieces there are some small irregularities but I am not too concerned about them since they will be covered with 2 layers of plywood before I ay the veneer.
Abbas, Castro Valley, CA
That 2 layers should smooth out any rough cutting for sure.
Losing fingers since 1969
Yup!
The only problem is I did not find the 1/8 ply at the depot yesterday… I will try Lowes on sunday after the black friday crowds go to sleep:)
Abbas, Castro Valley, CA