


Share your craft projects
Make new craft buddies
Ask craft questions
Blog your craft journey

lanwater
2132 posts
and
35 followers
in over 12 years
in over 12 years
Coffe Table #3: Cutting the ribs
This is
part 3
in a
6 part
series:
Coffe Table
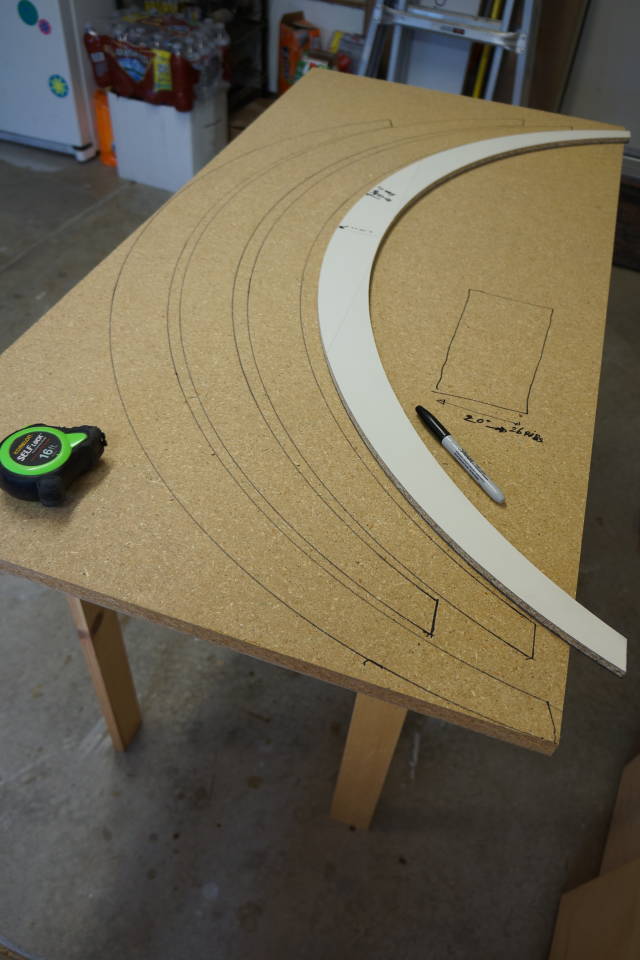
In the previous blog in this series, we left of with the template ready.
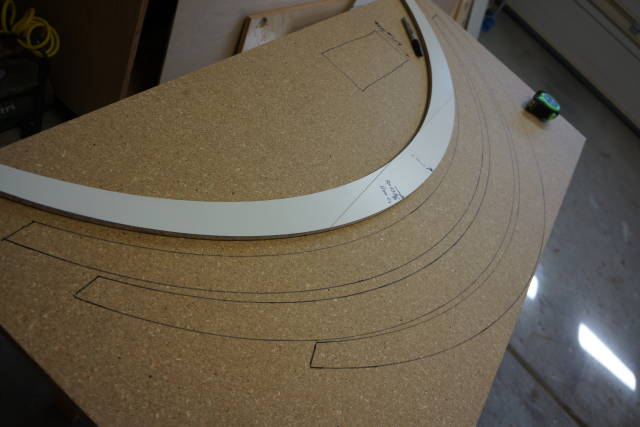
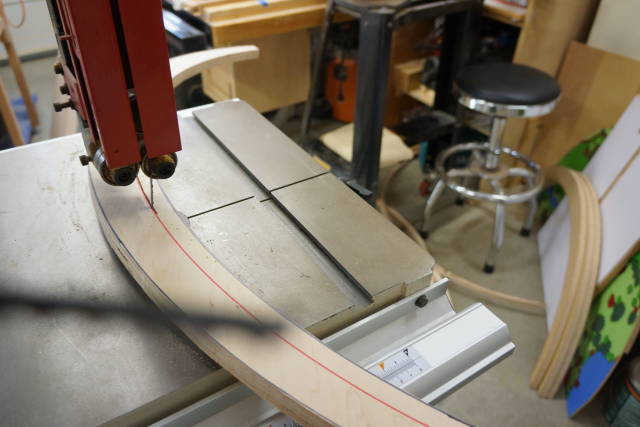
Once I had the template it just a matter of tracing the pattern and the proceed to the bandsaw.
I had some plywood pieces I had roughly cut to size for another project. I decided to use these pieces to make space.
I also had an old piece of MDF I badly wanted to get rid off.
I had some difficulty carrying some of the bigger pieces of plywood to the band saw. That resulted in the mess you see on the floor. I also had trouble bending as my back was hurting a little.
I did try the jigsaw but it was more awkward and slower.
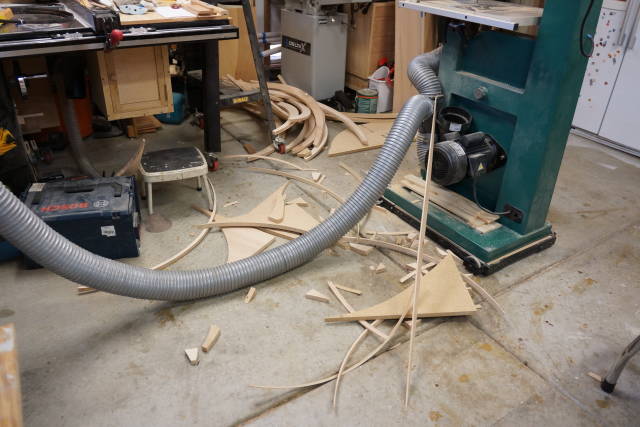
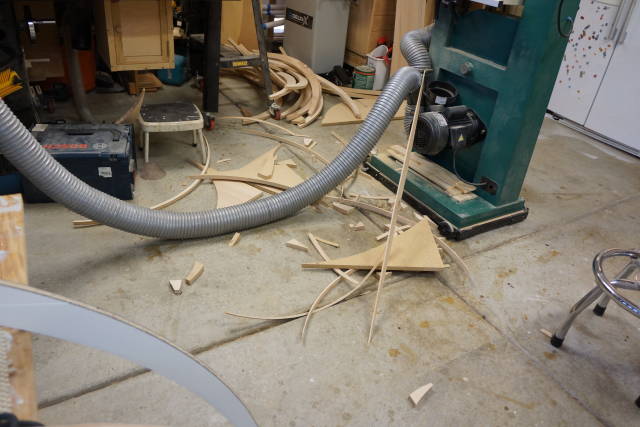
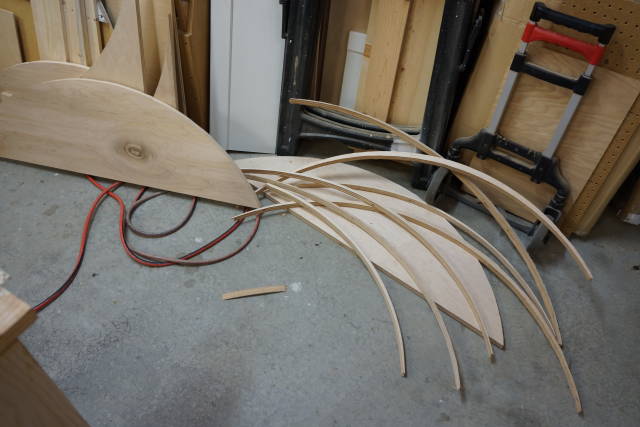
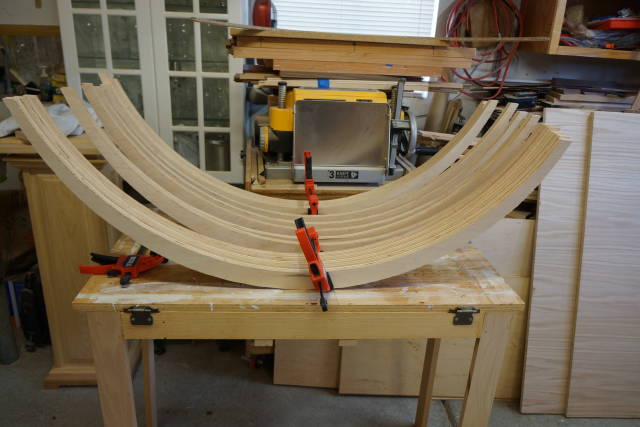
All cut. Close to the line. 16 ribs.
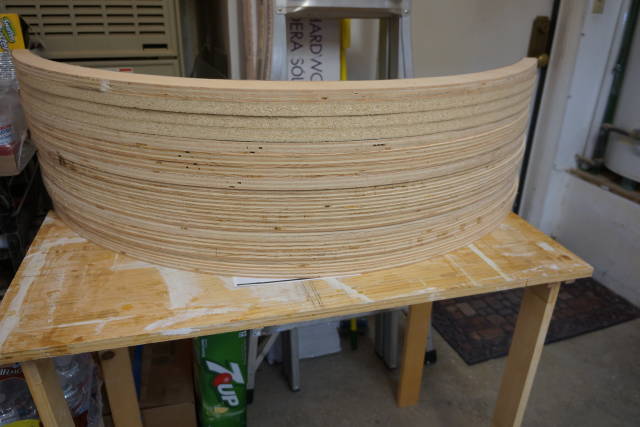
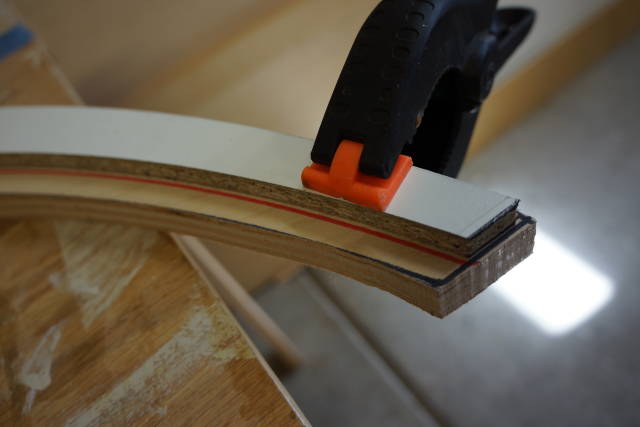
Looking at the stack I decided a re-cut was in order… I feel the taper should be more pronounced to account for the extra 2 pieces of plywood: 1/4 and 1/8 that’s 3/8 on each face for a total of 3/4".
As it is right now the bottom thickest part of the rib stands proud of 2" With the ply it will be 2 3/4 and tip of the rib would be about 2". Much too thick for my taste.
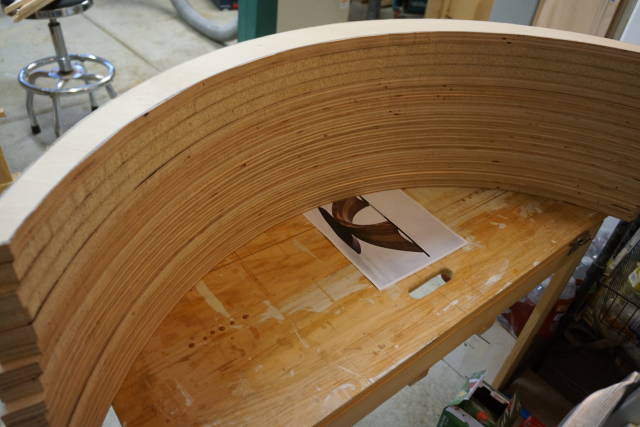
I decided to adjust the template (re-cut) and cut all the ribs slimmer.
I re-attached the templte to the ply substrate and recut it on the circle jig jast as in the previous blog.
My band saw blade decided to quit.
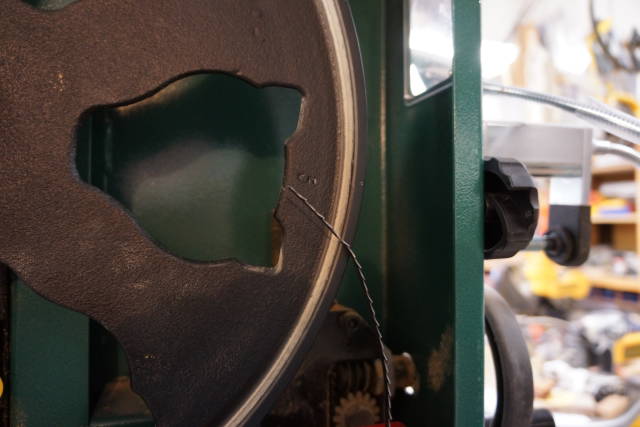
Replaced the blade and finished all the cuts.
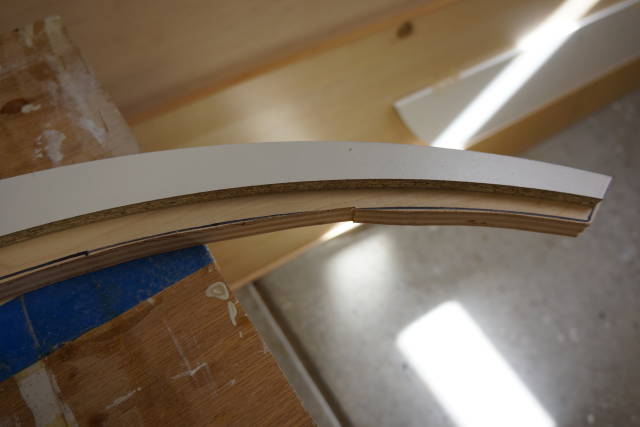
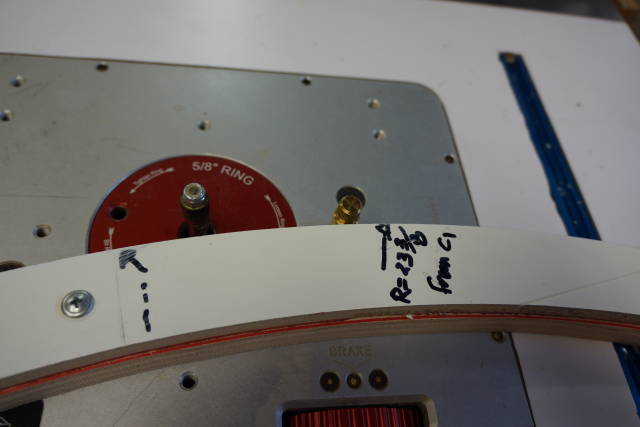
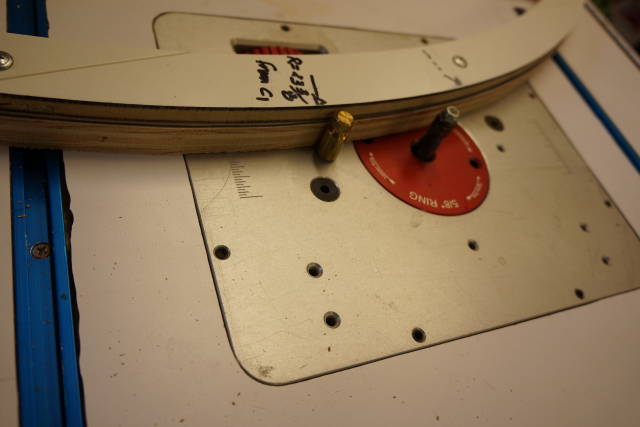
Finally, pattern routing:
I used 4 screws to attach the template. The screw hloe will not be visible anyway. Double sided tape will have taken much much longer. Remember 16 ribs to route.
4 screws may seem excessive to some but the template was not really solid. 4 screws to make sure it does not move slightly back and forth .
Please notice the starting pin on the router.
I did a lot of pattern routing without the starting pin in previous projects. But because of the number of ribs and because I wanted t do it all, the starting ping helped me greatly when it got repetitive.
Also because my fingers where holding a narrow piece, they were close to the bit; albeit the nut/bearing part only.
I wanted to ensure a controlled start all the time. The pin help tremendously in that regard.
Abbas, Castro Valley, CA
4 Comments

Looks like you’ve got your sleeves rolled up for this one. Glad you’ve got the balls to do it, I will follow it with interest.
It’s an interesting project Rennners.
I got to learn a bunch of new stuff. The rib cage is the easy part.
When the time will come to veneer I will probably be missing in action :)
Abbas, Castro Valley, CA

Changing the taper was a really good move Abbas as it looks just right now. So far you are doing a great job on this challenging project and i think the hammer veneering will go well too. I suggest you keep a warm iron handy when you do it in case any small bubbles appear after each part of the hammer veneering is finished.
Mike, an American living in Norway
Thanks Mike.
Every time I heat up the HHG I also turn on the iron. It has been a life saver a couple of times :)
Abbas, Castro Valley, CA