


Share your craft projects
Make new craft buddies
Ask craft questions
Blog your craft journey

Mike40
1074 posts
and
35 followers
in about 12 years
in about 12 years
MAKING A WOODEN GEARED CLOCK #1: Getting started, day 1
This is
part 1
in a
9 part
series:
MAKING A WOODEN GEARED CLOCK
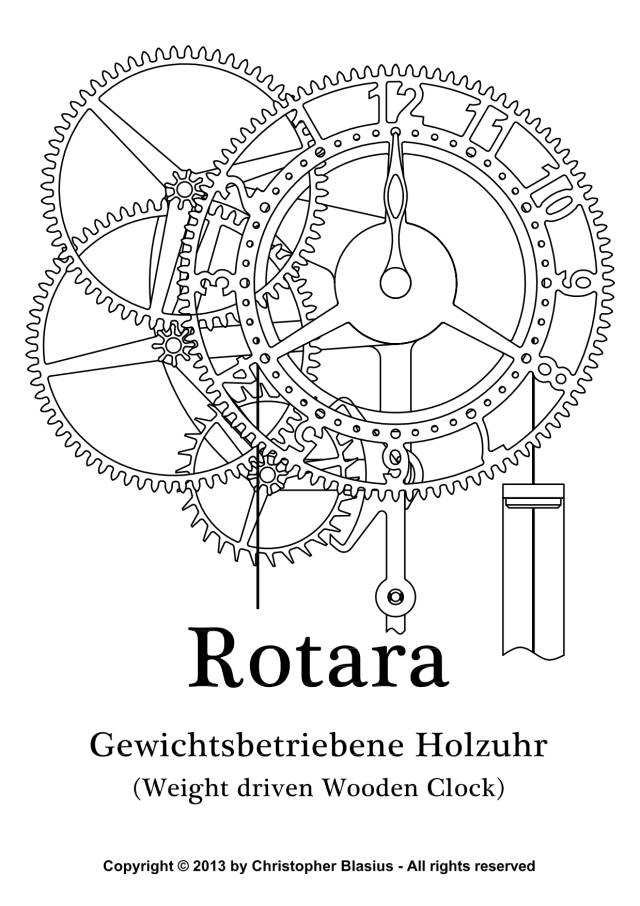
I have been wanting to make a wooden geared clock for some time now and I finally got around to buying some plans for one. I bought them from a German named Christopher Blasius from his website Holzmechanik (wood mechanic).
Reducing the fear factor
I wanted to blog the build for fun and for those who have been thinking about building a wooden clock and who would be interested in seeing what is involved and how difficult it might be. This isn’t a tutorial, but I will do my best to document how I produce the parts, including any errors I’m sure to make along the way.
Even though this is my first wooden geared clock, after seeing several posted and many videos and some websites offering plans, I have become aware that no advanced skills are necessary to make the very simple plan I have selected to get started.
Materials used
The clock will be made mainly from Baltic birch ply and some brass rods for axles, some lead weights (buckshot?) and some threaded rod. Most wooden gear clock aficionados prefer to use solid wood gears and frames as it looks much better than plywood, but solid hardwoods can warp so much care has to be taken with moisture content, wood grain direction, etc. while plywood is not subject to this problem and therefore lets you concentrate on just cutting out, drilling and gluing the various components. That should be enough of a challenge for a first clock as far as I’m concerned.
First component : Winding wheel – 5 parts
This part which turns the other wheels (gears) is driven by a cylindrical weight at one end and a handle at the other. The handle is pulled down to ‘wind’ the clock, that is to pull the weight on the other end to it’s highest point to start the action over again. This component seemed like a good part to start with to get a little practice with my scrollsaw before cutting out the the more difficult gears.
Getting started
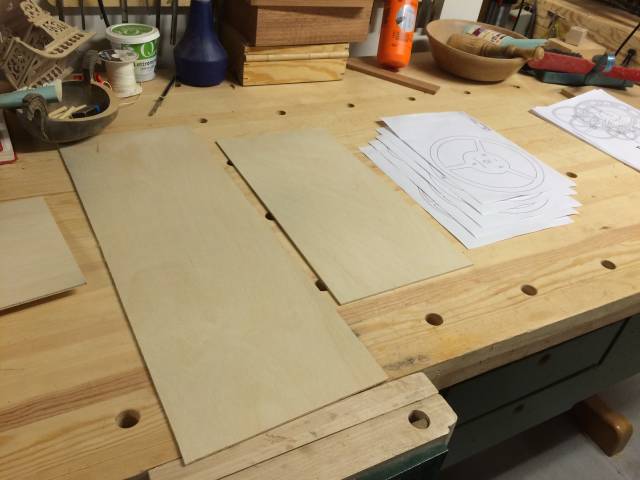
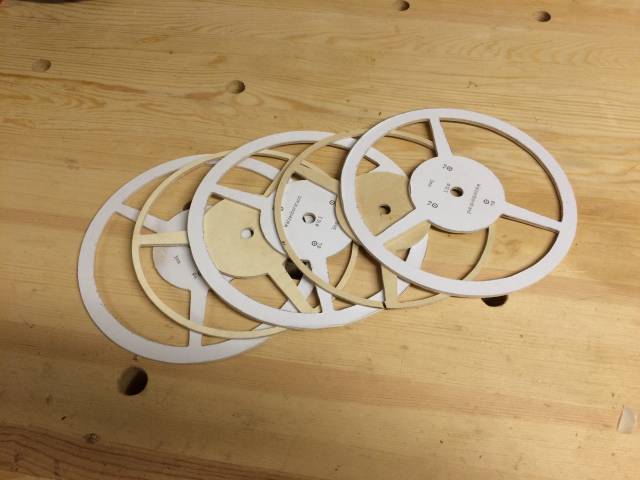
My first problem. Each of the 5 required winding wheel parts calls for 3mm ply and I could only get 4mm thickness. I was able to reduce each side of the 4mm ply by 0.5mm on each side using 120 grit sand paper on my drum sander. So here is the ply and patterns ready to go. I then used spray adhesive to attach the patterns and then cut the workpieces on my miter saw. see below
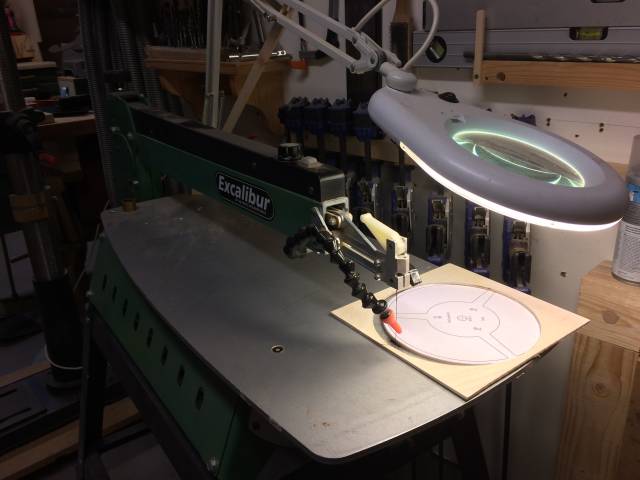
Scroll sawing the pattern
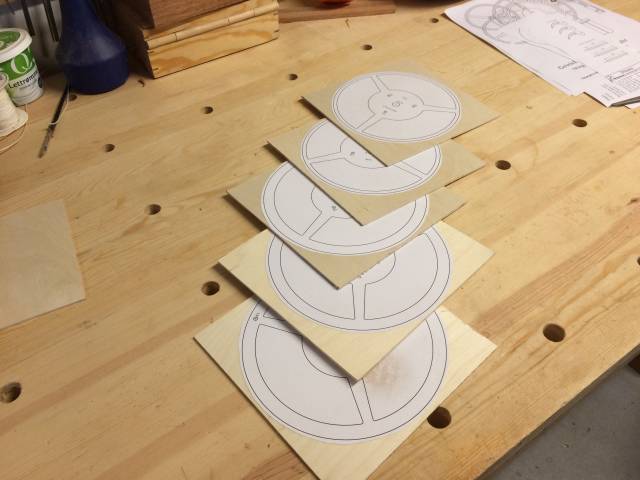
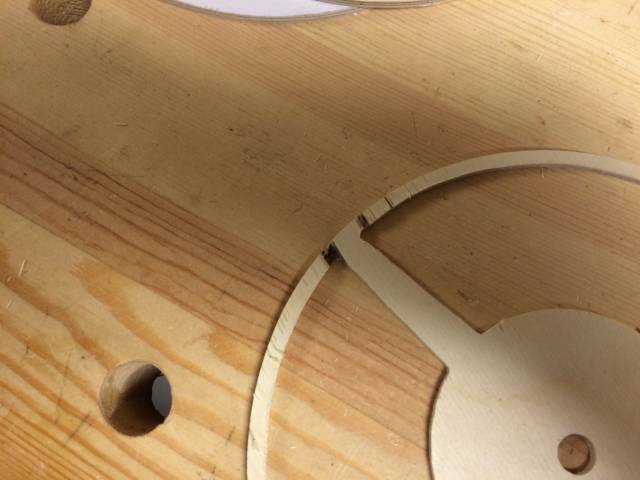
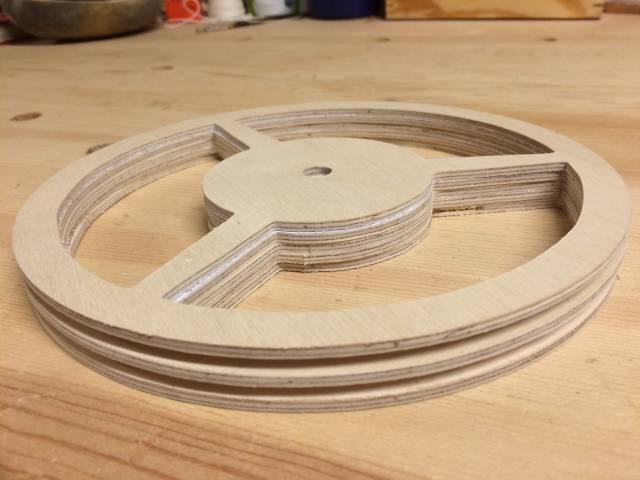
I haven’t used my scroll saw much lately, so I was pretty rusty at the start, but I got a lot better and faster after awhile and everything went well except for the first one which I managed to mess up a little and it even separated on the outer rim. I think I can repair it fairly easy, so no big deal. I got all 5 parts done and I put them together to show you how it will look after glue-up. As you can see there are 2 tracks for the string to run on. The handle on one end and the weight on the other.
It would have been a lot faster and a bit more accurate to glue the 5 wheels together while centering them with a drill bit and then cutting out the inside spaces all at one time. This was suggested by the designer, but I did them individually to get some cutting practice, which I’m glad I did. You can see I got some tear out out on the back of the inner wheels. Paul (Shipwright) suggested to cover the back side with paper to prevent that. A good idea. see below
That’s it for day 1. I am doing the work sequence in an order to suit myself. I can make whatever components I want and then assemble them at the end. There are still 4 more components that will be part of the winding wheel, but with different ply thicknesses.
I am using a lot of different tools, but this clock can be built with a bandsaw and a saber saw for example, although a disk sander is also very handy trimming outside gear edges to perfection.
Thanks for joining in and I hope you find it a worthwhile read.
Mike, an American living in Norway
8 Comments
Thanks Adam. We hobby woodworkers have the luxury of making whatever takes our fancy.
Mike, an American living in Norway

This is very interesting. Looking forward to this blog.
Losing fingers since 1969
Thanks for following along Brian.
Mike, an American living in Norway

I will be following mike.
I bought a plan from Clayton Boyer and cut few gears.
I had decided then that my scroll sawing skills needed a lot of attention. They still need that to this day:)
Abbas, Castro Valley, CA

Have fun with it Mike. I have built some from kits. As I say have fun.
-Madts.
Tor and Odin are the greatest of gods.
Thanks Abbas and Madts. My scroll sawing was pretty rusty when I began, but it’s more about cutting technique than dexterity with this stuff. I got some tips from youtube videos (Ronald Walters) on ways to keep the cutting simple for gear teeth and that helped to begin with. After awhile I felt more comfortable and did it differently.
Mike, an American living in Norway

Awesome! I’m not much on scroll work, but this looks interesting. I really like your lighted magnifier. I’m gonna have to hunt one of those down.
Keith "Shin" Schindler
Perfeito o trabalho, gostei muito, onde eu consigo um projeto deste ?