


Share your craft projects
Make new craft buddies
Ask craft questions
Blog your craft journey

shipwright
2073 posts
and
113 followers
in over 12 years
in over 12 years
The V8 Wedge Powered Workbench #6: Mounting the Wagons and Cosmetic Top
This is
part 6
in a
8 part
series:
The V8 Wedge Powered Workbench
...
-
Assembling the Interlaid Legs
-
Mounting the Wagons and Cosmetic Top
-
Installing the Leg Vice and Finishing Up
...
- Assembling the Interlaid Legs
- Mounting the Wagons and Cosmetic Top
- Installing the Leg Vice and Finishing Up
As a boat builder I worked with epoxy A LOT… so for me it was a no brainer that the vices would be loose fitted and fixed in place with epoxy. This gives both the best possible fit and the strongest grip you’re going to find. That doesn’t mean that it’s the only way. Epoxy has a learning curve and I wouldn’t want to recommend it to someone who wasn’t comfortable and confident with it. The option would be using your normal glue and carefully fitting the plywood around the vices and gluing them in layer by layer as you assembled the plywood top. Then once all assembled you might,if you wished, drill some 3/4" holes down the sides of the vice rails, half in the vice body and half in the table top. Gluing dowels in these would make for a very solidly installed vice.
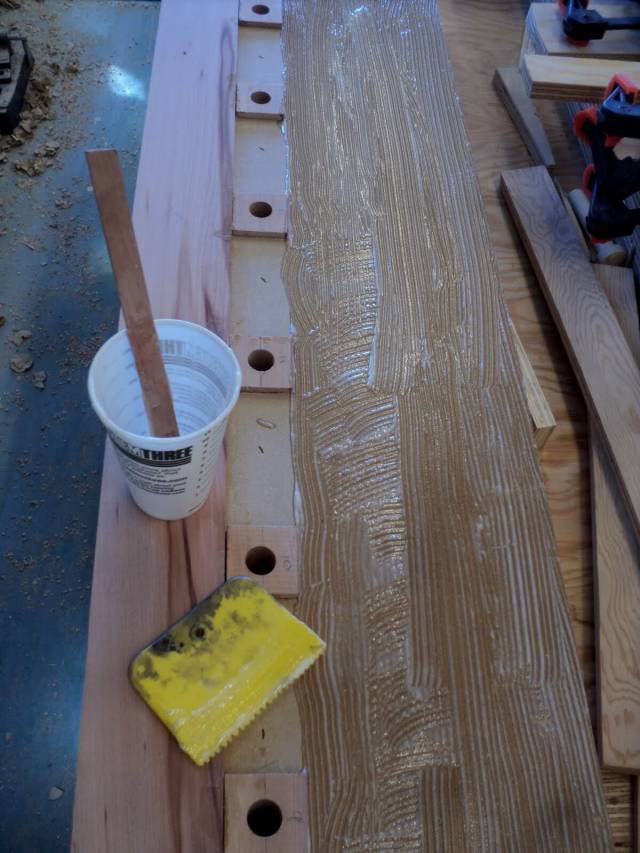
Here’s the epoxy method. The bottom is first puttied with well thickened epoxy and after that is set a looser mix is poured in the top and allowed to flow into all the little gaps. It will actually have a better mechanical bond if your cuts were wavy than if they were clean and straight. When this is cured they are as good as welded in.
You will notice that the end board is glued on at the same time. This was necessary to dam the epoxy in. The dog hole inserts are getting their first use.
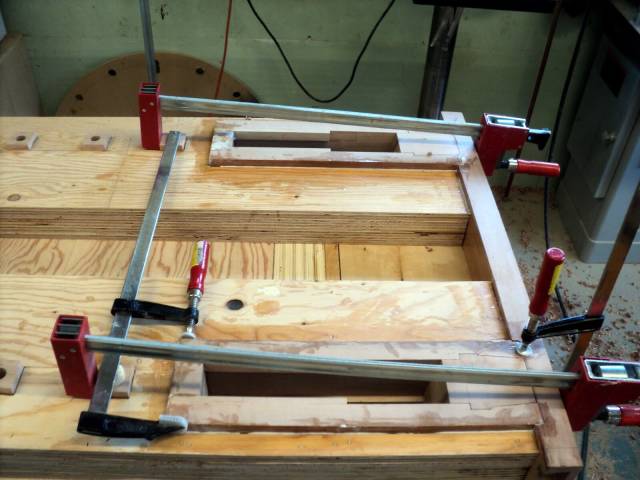
Since the wagon vices are self contained inserts, that’s all there is to installing them. You could do the same thing in any existing bench.
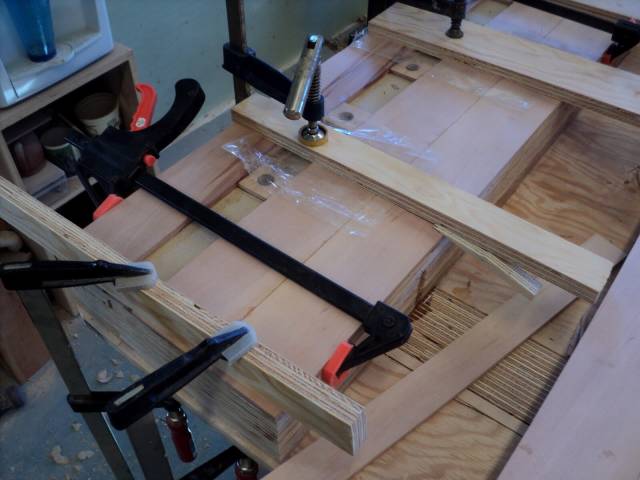
Now, at last we’re ready to bolt the top to the legs. At this point a decision must be made. If you want to be able to break it down into two pieces, be careful not to glue the top to the legs and that includes the hole by the leg vice.
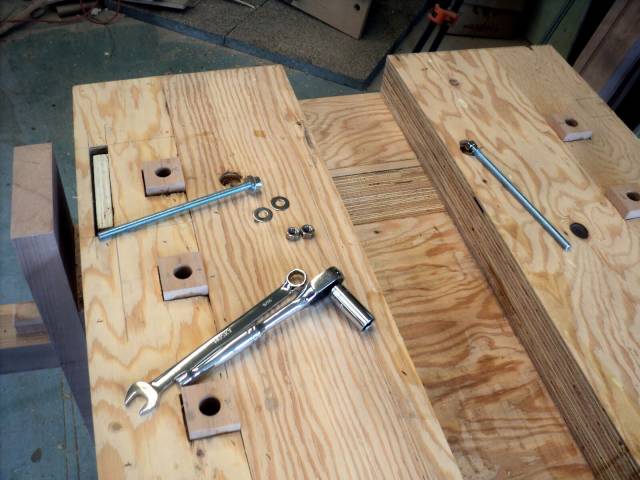
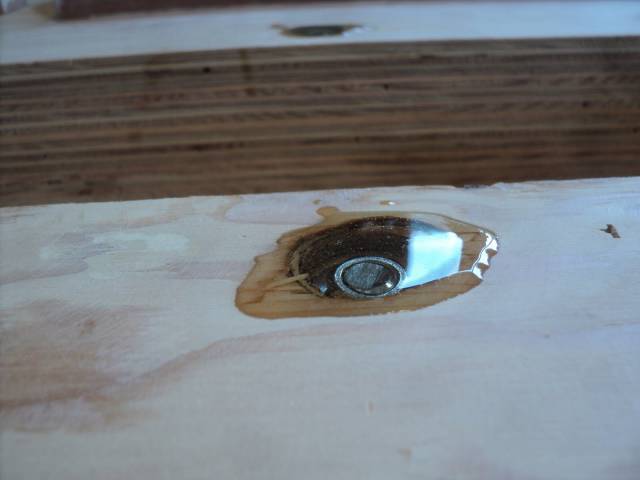
I chose to leave the option of partial dis-assembly open. That means I have to lock the the nuts into the top as they won’t ever be accessible again. To this end I epoxied the bolts and nuts into the bench top and left the washers and nuts exposed under the top leg beams.
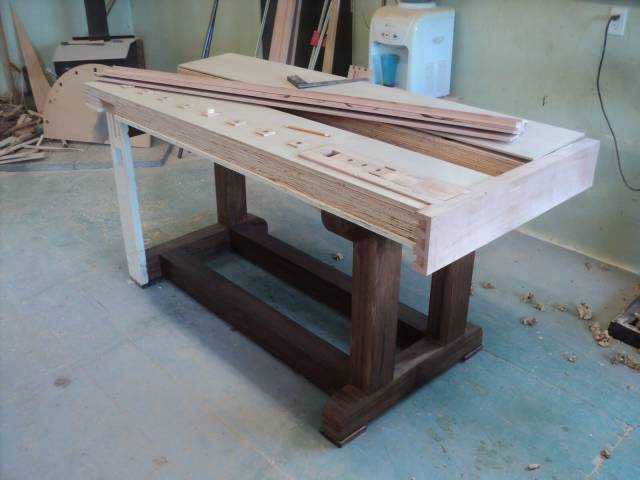
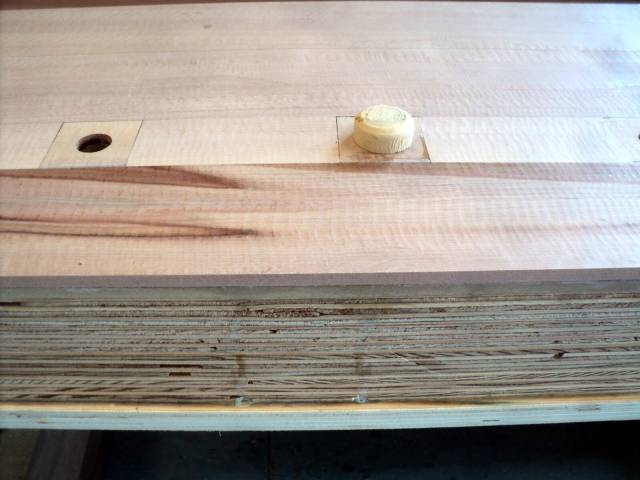
The next part of the top is a bit of a departure from my original plans, like the veneer. I had left 1/2" of room on top of the plywood for a hardwood top, Then I started thinking that the hardwood certainly didn’t need to be that thick and thinner hardwood stock would be less likely to present swelling problems. The resulting solution that I chose was to glue down a layer of 1/4 MDF and then a layer of 1/4" arbutus on top of that. If I were building a strictly utilitarian bench, I would go with 1/2"MDF and skip the hardwood.
Again I chose epoxy to glue the thin arbutus because it doesn’t require extensive clamping and doesn’t curl the thin wood like water based glues do. You could use other glues but you would have more clamping to do.
I always separate my cauls, blocks or clamps from epoxy joints with plastic film.
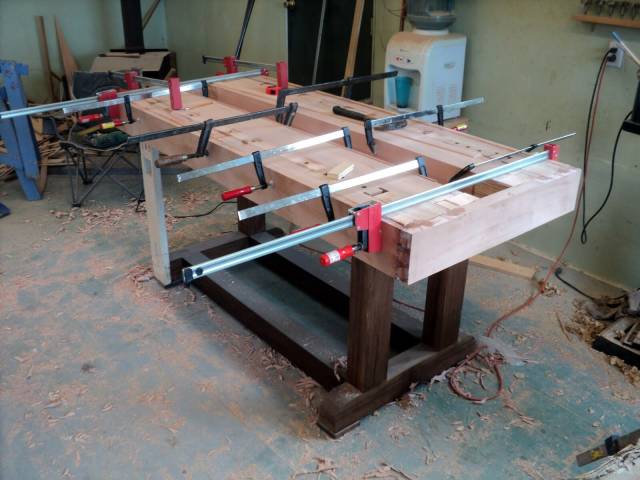
All glued up, the top is given a preliminary planing, just to even the surface with the inserts prior to adding the sides.
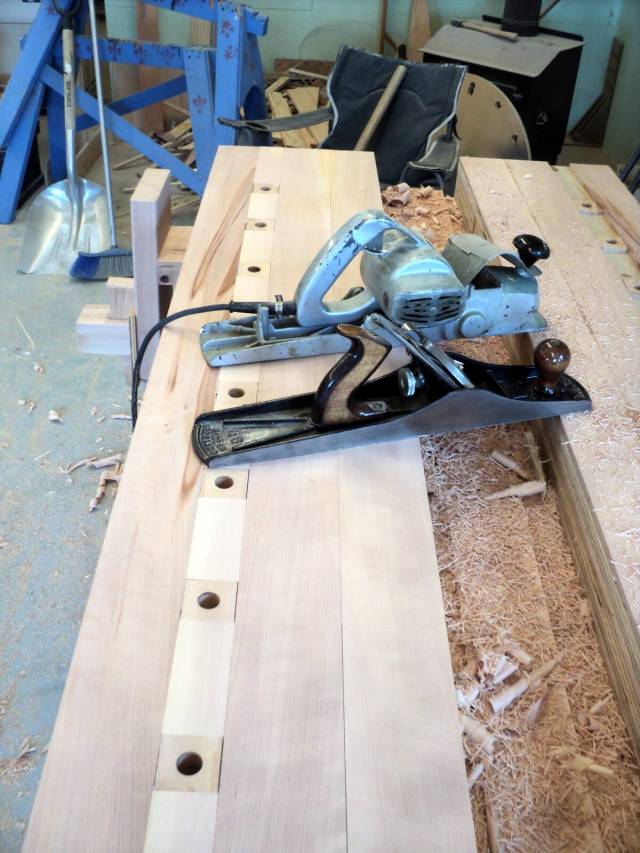
The edge is given a final flattening and readied for gluing the side boards.
…And finally the sides, left end and the trough liners are glued in. Again, my choice was epoxy but it needn’t be.
That’s all for today. I should be able to finish up next time.
Thanks for looking in.
As always questions, comments and critiques are welcome.
Paul
The early bird gets the worm but its the second mouse that gets the cheese.
4 Comments

That’s a great blog series Paul.
Which epoxy do you use?
Abbas, Castro Valley, CA
My preference in the past has been Industrial Formulators of Canada (cold cure and S1 in particular). They have been absorbed by System Three so now I use one of theirs that is similar. Any real (not fast cure) epoxy will do this job pretty well.
Edit: I checked. For this job I used Silvertip Laminating Resin because I had it around.
The early bird gets the worm but its the second mouse that gets the cheese.
Thanks!
Abbas, Castro Valley, CA

Looking good
Wheaties