


Share your craft projects
Make new craft buddies
Ask craft questions
Blog your craft journey

This is not a step by step blog but just a bunch of picture for my buffet build. I did not systematically take pictures to have a complete blog wri...
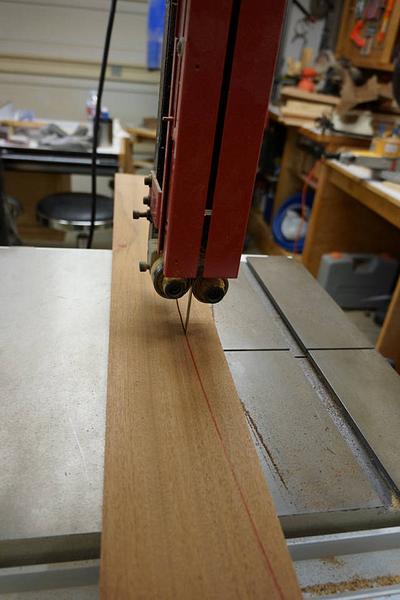
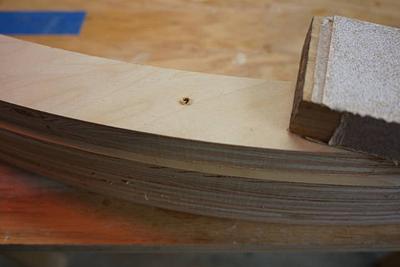
In the 5th installment of this blog I glued up the 1/4 inch Ply. Now it’s time to install the 1/8 ply. I finally found a local source for bendy Ply...
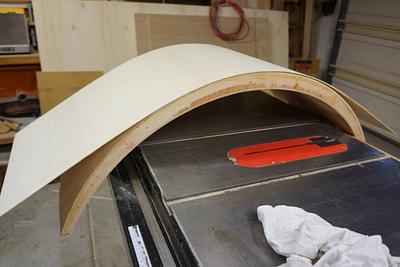
In my last blog on the coffee table, I had the rib cage all glued up. Right after that was done I moved to install the 1/4 inch plywood. This blog ...
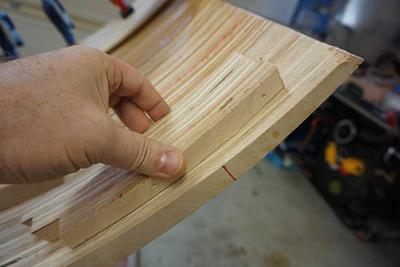
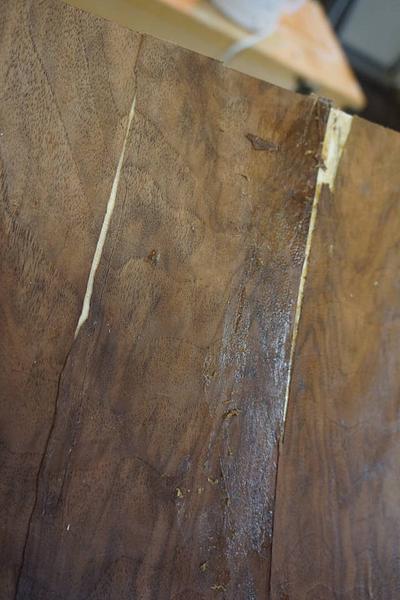
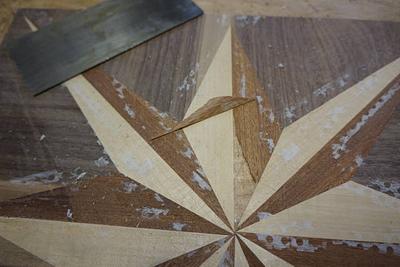
The top, I thought should be better that the rest. I decided to attempt a compass star; I think that’s what it’s called. I took my last piece of 1/...
In the last blog I was facing bubbles and a slew of problems. pictures of some problems below: I decided to rip it apart to find out the root cause...
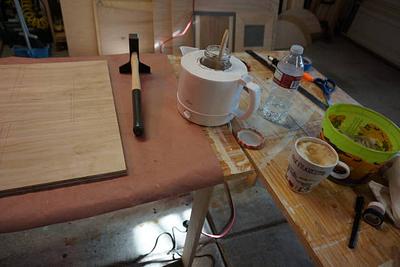
I got some shop time last weekend and decided to do some more veneering. While working on my last panel for the veneer box, I messed up with the sc...
In the previous installment of this blog, I left off with the ribs cut and pattern routed. It is time to glue them up. I decided that the first 5 r...

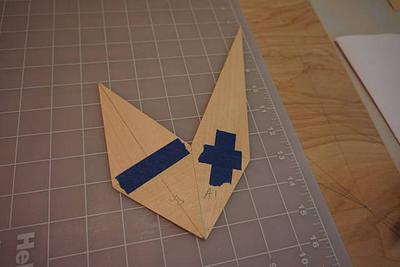
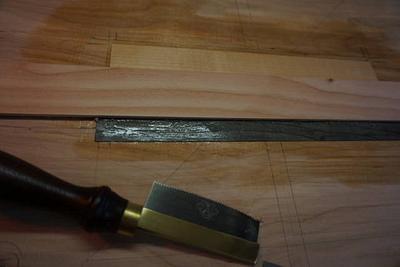
I feel I am getting a little better at it. I noticed my miter were problematic because of the way I was using the veneer saw /scalpel to do the cut...
In the previous blog in this series, we left of with the template ready. Once I had the template it just a matter of tracing the pattern and the pr...
I practiced some more today with panel #3. I chose to do similar pattern as panel #2 since I had so much trouble with veneer curling and gaping mit...
While the turkey was baking in the oven, I thought I have few hour to kill. I decided to practice some more veneering. I just cooked a new batch of...
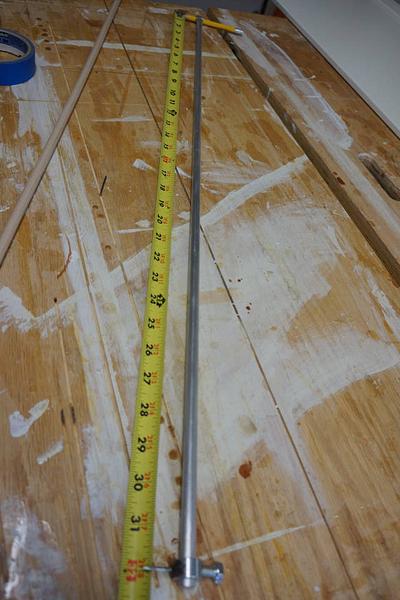
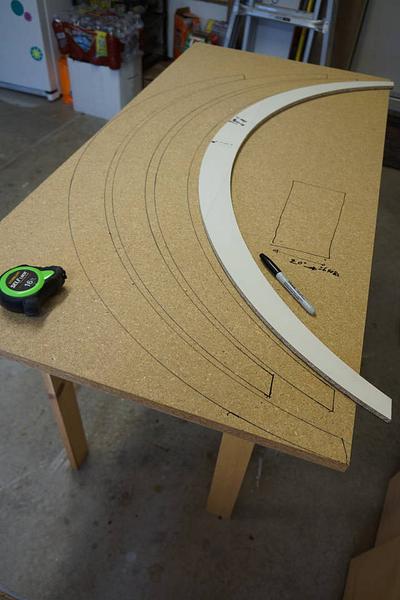
In this installment of the blog I will be cutting the template. The rib cage will depend on it. I used my home made beam compass to layout my arcs ...