


Share your craft projects
Make new craft buddies
Ask craft questions
Blog your craft journey
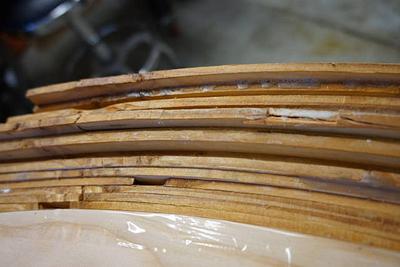

The previous segment of this blog we ended with two arches. One had a lot of creep and the other not so much. I have never cleaned any arched piece...
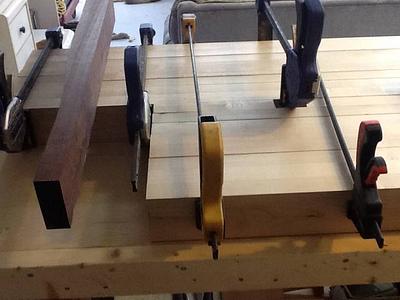

With the legs already cut to length its time to glue them up. I have the joinery drawn out on the top roughly so that after cutting the boards the ...
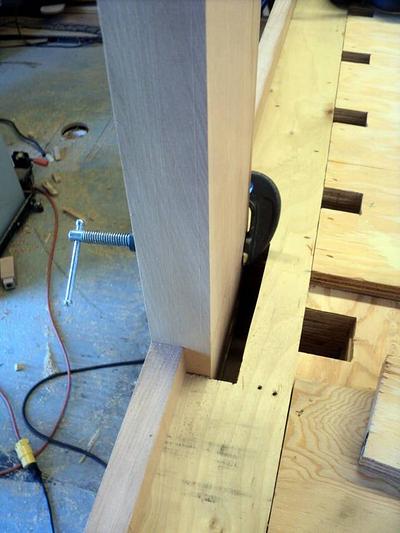

Ok, lets get into the leg assemblies. This is one of the really interesting parts of my bench. The leg assemblies end up as perfectly fitted finger...

I’ve got a lot of pictures. Did I mention I love this joinery? Here are a few that set up the assembly.
Again pretty self explanatory, ask question...

Cutting the legs turned out to be one of the most troublesome parts of the project, and the part where I made the most mistakes.
My original plan ...

The final woodworking step was attaching the legs to the case.
As with everything else, I used dowels. The front legs were straightforward. I used...

Making a couple of Legs for an Island. The granite top will hang over for sitting.
I had to use water base paint...yuck.... The brass is from a s...


Had a bunch of 1x4’s lying around so decided to make a mini saw/workbench.
No particular plan – I've got a rough idea in my head of how I want it ...

[IMG_8742.jpeg]
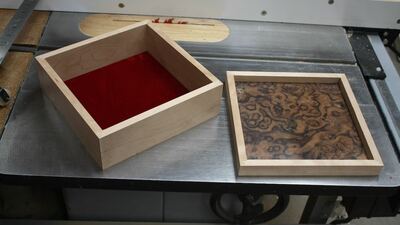
With the box glue-up dry, time to create the lid by sawing open the box.
I installed a thin kerf rip blade and set the cut depth ...

as promised I played with QA legs today and added some bling.
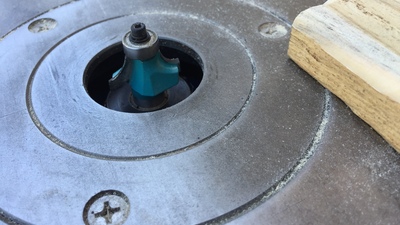
First up was a radius profile of the outside.
Once I had the right height all the le...
So,
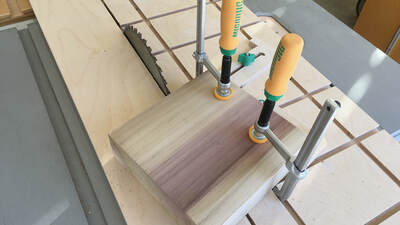
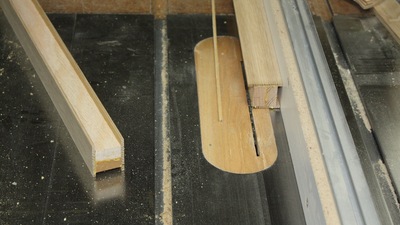
Same process for the legs, I'll skip by fast.
Trim the excess, leaving about 1/16"....
[IMG_8988.jpeg]
... for the router with a flush trim bi...