


Share your craft projects
Make new craft buddies
Ask craft questions
Blog your craft journey

lanwater
2132 posts
and
35 followers
in about 12 years
in about 12 years
Picnic Table #7: Finishing Up
This is
part 7
in a
7 part
series:
Picnic Table
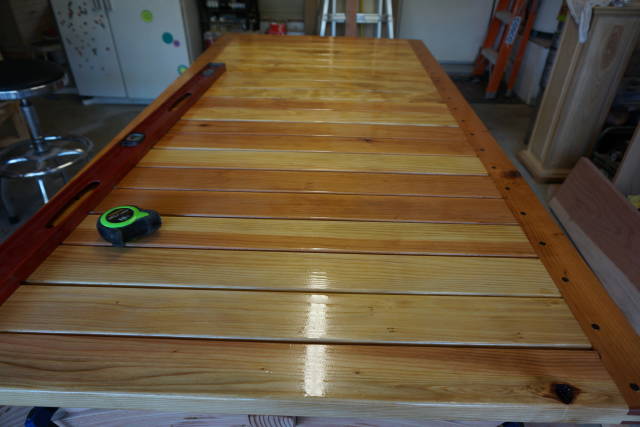
At the end of blog #6 we left off with the top done.
Here is the top with a couple of coats of spar urethane.
I looked at many finish for outdoor and read many review and posts.
I looked at Cabot timber oil and Epifane that keep popping up. They all need to be refreshed every year or two.
I decided to use the spar urethane I have on hand. The painter used it on the front door and there is plenty left.
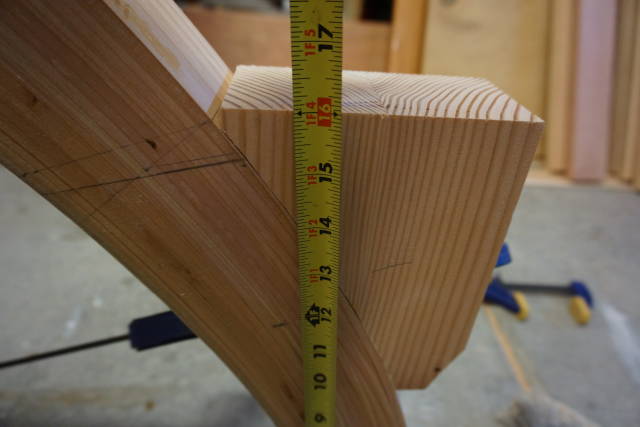
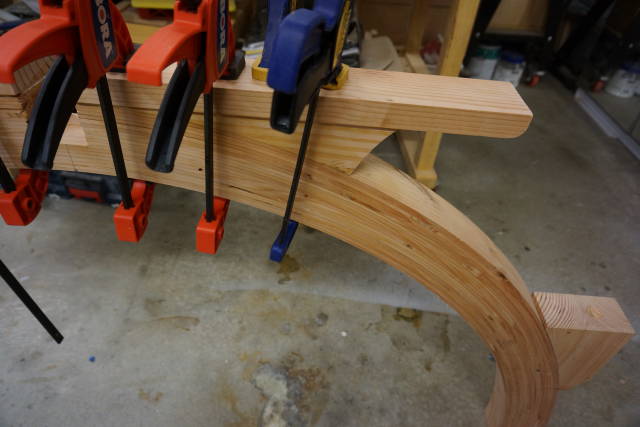
With the top done, I turned my attention to the height of the table. As I mentioned in the previous blog, it is too high.
I need to bring it down to around 30". I gained 2" by reducing the height of the transition piece that sit between the legs and the top.
I also cut the legs. I now have 30.5".
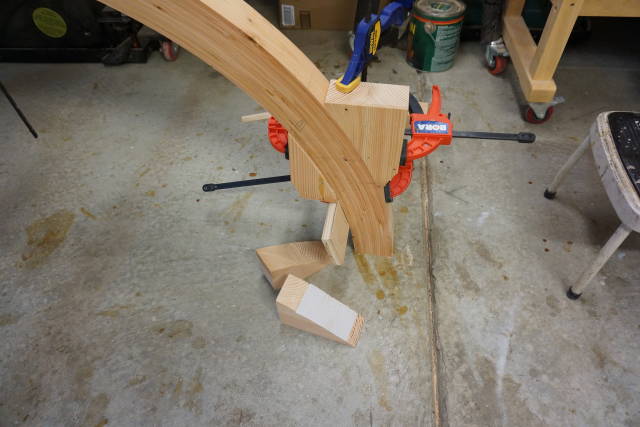
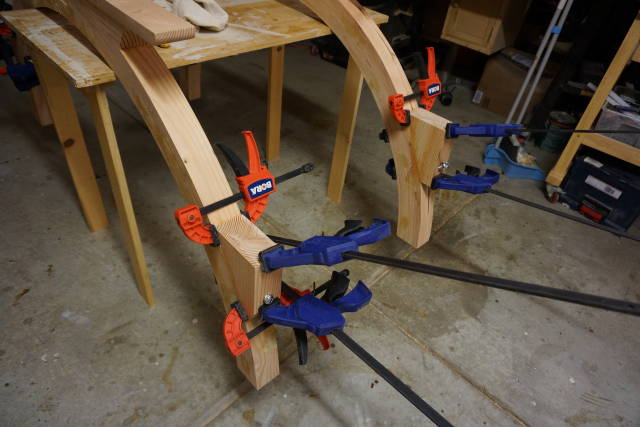
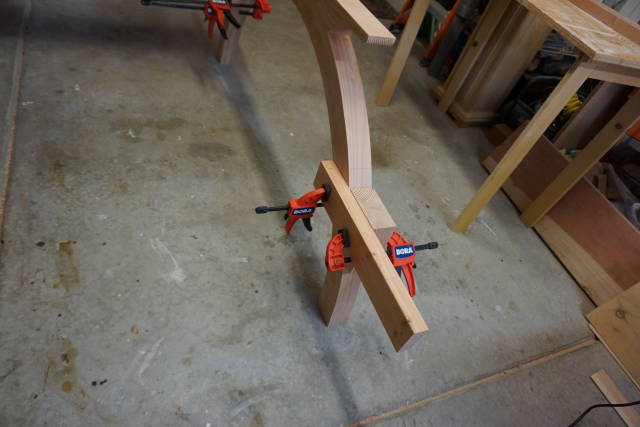
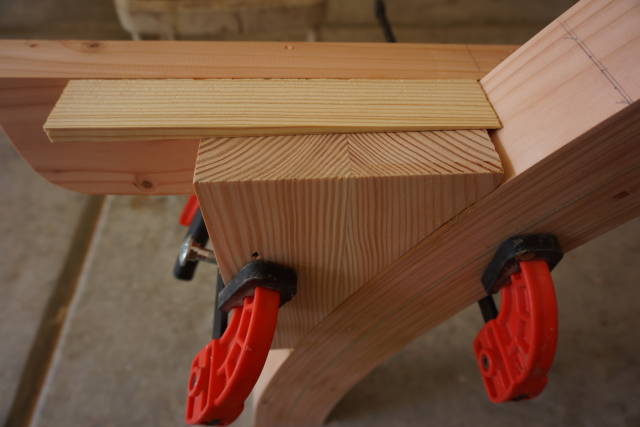
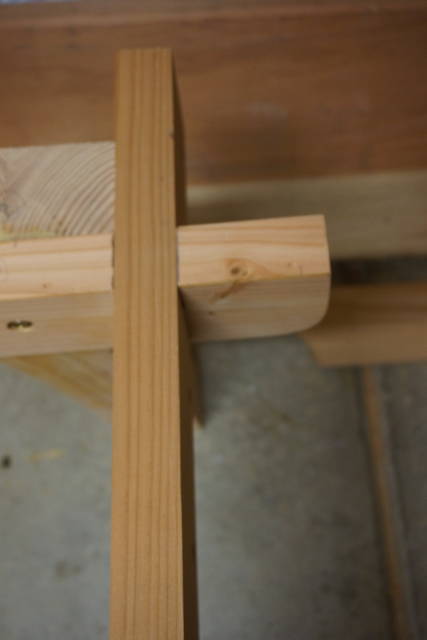
To make sure the transition piece conforms to the leg curvature, I affixed 80 grit PSA sand paper to the leg and rubbed it back and fourth until it was a good fit.
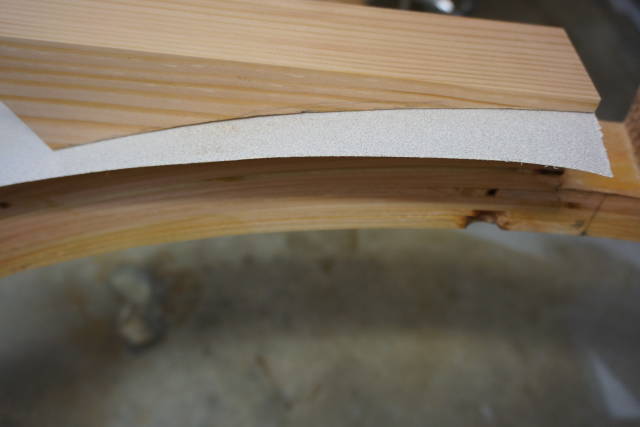
the clamps in the above picture are just to prevent the piece from sliding down.
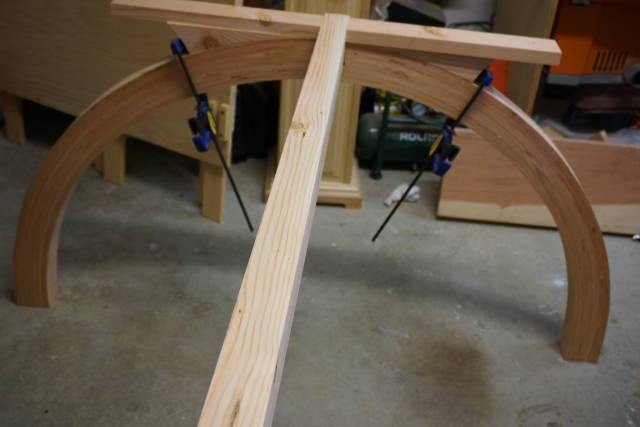
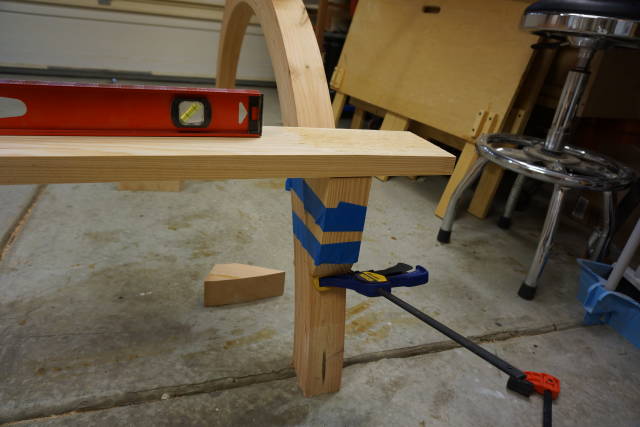
With the transition pieces done I started working on the block that will help hold the bench. The bench will be sitting at 16" from the ground.
I used the same method with the psa sand paper to make the block fit.
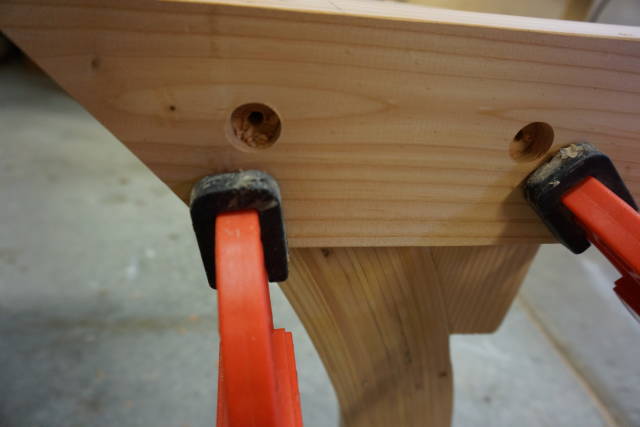
I had hard time trying to clamp those blocks to the curved led. The minute I apply a little pressure, they slide.
Finally I opted with one clamp under the block to support it and painter tape.
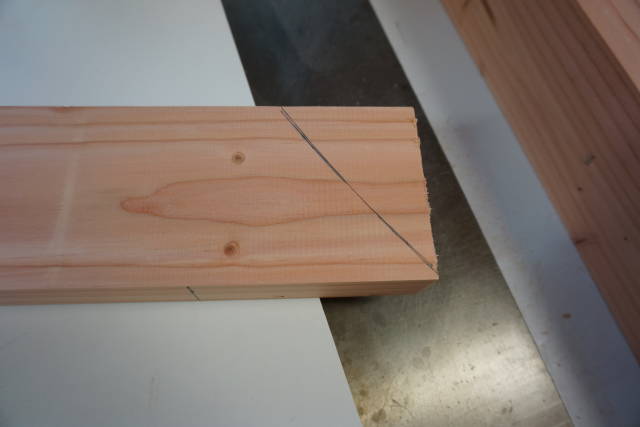
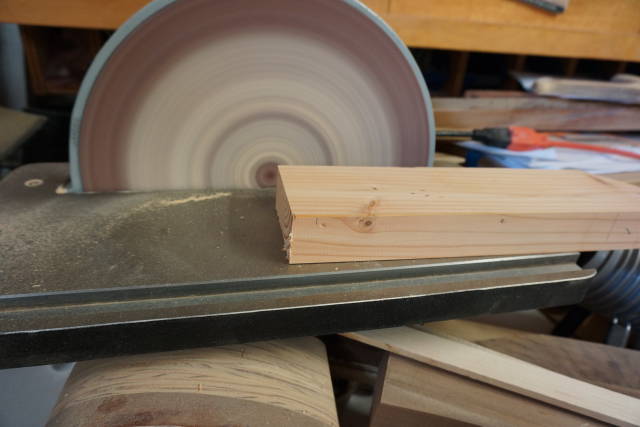
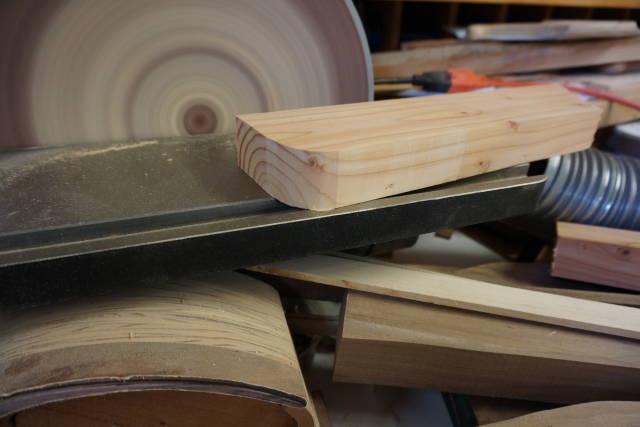
with the block in the right position I drill the holes for the bolts.
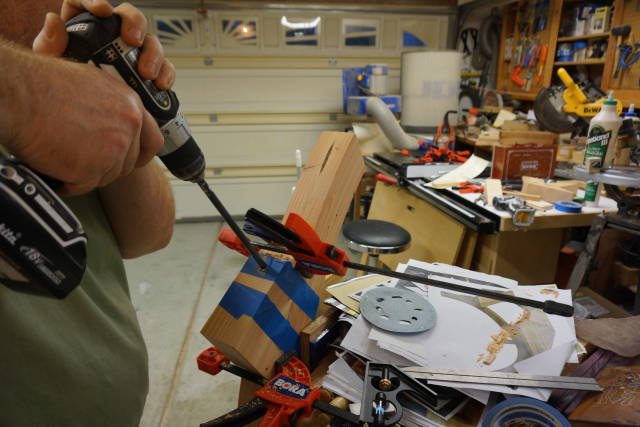
With the bolt there was no more sliding and I could clamp easily.
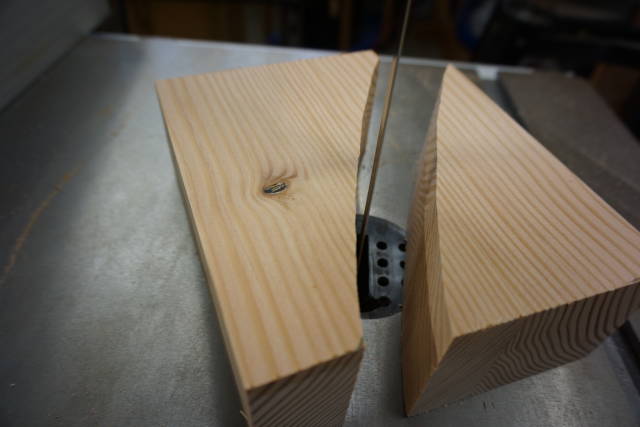
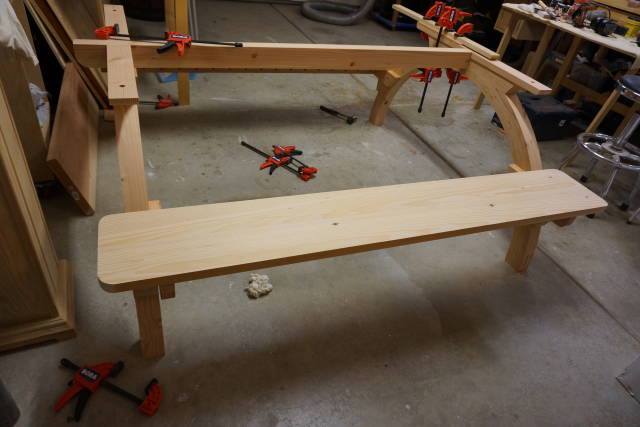
The next step was to prepare the bench top.
I used biscuits to join together 2 pieces of 2×6 that yielded 10.5" for the bench width.
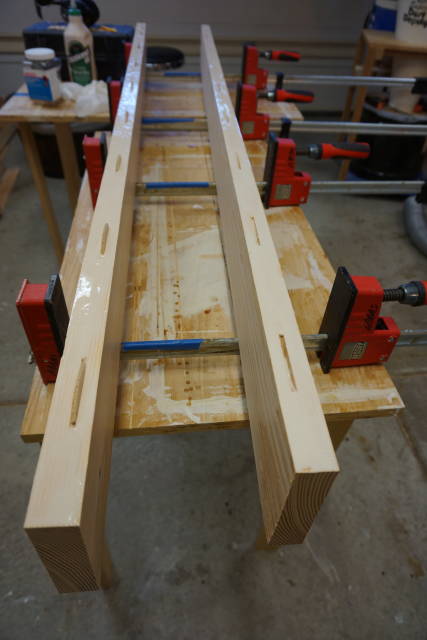
While the glue was drying, I also took this opportunity to glue the top supports.
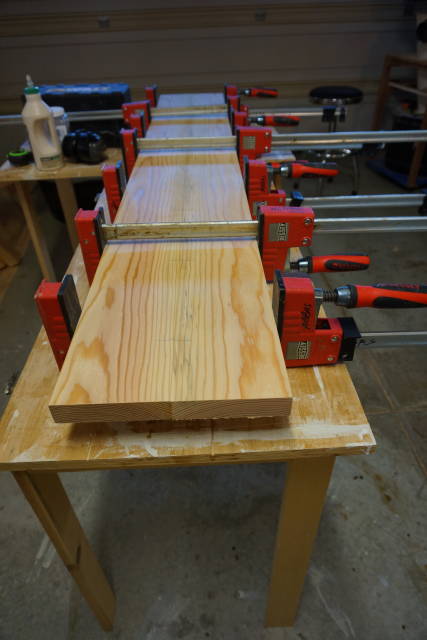
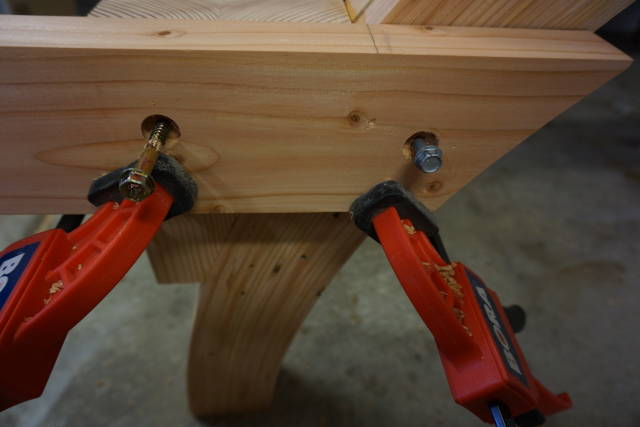
The last thing left was the bench support.
You will notice the bench won’t be sitting flat. I decided to incline the bench forward for comfort and to prevent water from sitting there.
I used lag bolts to attach the bench support to the legs and the blog.
,
All the pieces are now ready for the final assembly. But first I am going to sand and pre-finish some parts that will not receive any glue.
This ends this series of blogs. The next post will be the finish project.
Abbas, Castro Valley, CA
11 Comments

Beautiful work. I can’t wait to see the finished product. Good idea with sticking the sandpaper to the leg to make the support a perfect
Losing fingers since 1969
Your table is really turning out great. Thanks for all the details. Looking forward to the finished product.
John @The Hufford Furniture Group
Almost done and looking good !
Should be a good entry in the *Curved contest *with the great blog explaining the build in great detail .
Klaus

Looking good so far. Hurry I want to see the finished produc,t but not so fast as you could win the curvy thing.
Tor and Odin are the greatest of gods.
Thanks Guys!
I started the finishing today but since varnish takes for every to dry….
Abbas, Castro Valley, CA
Thanks Bently!
If I show you the picture of the dining table my wife wants you will probably have a good laugh and which me luck!
Abbas, Castro Valley, CA
Looking good Ian! That’s turning into one fine looking table!
Where are the band-aids?---Pro Libertate!
Thanks Monty!
Abbas, Castro Valley, CA

Excellent work and blog Abbas. It must feel good to be near the finish when everything has gone so well despite all the challenges met and overcome. I’m looking forward to your project post.
Mike, an American living in Norway
Thanks Mike.
I feel good and relieved I got to the end.
Abbas, Castro Valley, CA
As mentioned above, all appreciate, as do I the detail your blog contains. Makes us feel as if we were there but without the sweat. Wonderful idea, excellent outcome and the pride in workmanship shines through. Well done.