


Share your craft projects
Make new craft buddies
Ask craft questions
Blog your craft journey

shipwright
2073 posts
and
112 followers
in almost 12 years
in almost 12 years
Open Apron Nesting Tables #3: Assembly and Finishing Up
This is
part 3
in a
3 part
series:
Open Apron Nesting Tables
-
Ebonizing and Burl Matching
-
Assembly and Finishing Up
- Ebonizing and Burl Matching
- Assembly and Finishing Up
I can heave a sigh of relief now. The client just came and picked up the tables this afternoon and she loved them. Like all of us, I am never really completely satisfied and always see flaws but she was thrilled and we’re talking about her next idea now.
Back to the build. There’s nothing really earth shattering about how this was done but maybe some details are interesting enough for a few photos. I’ll just post the photos with a few comments and answer any questions they bring up. OK?
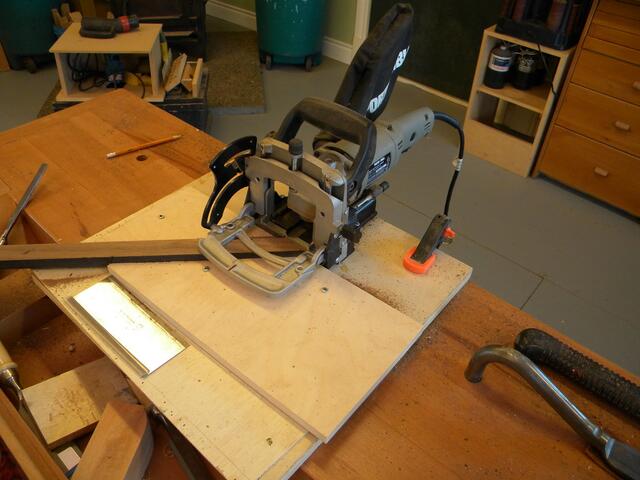
Glue-up.
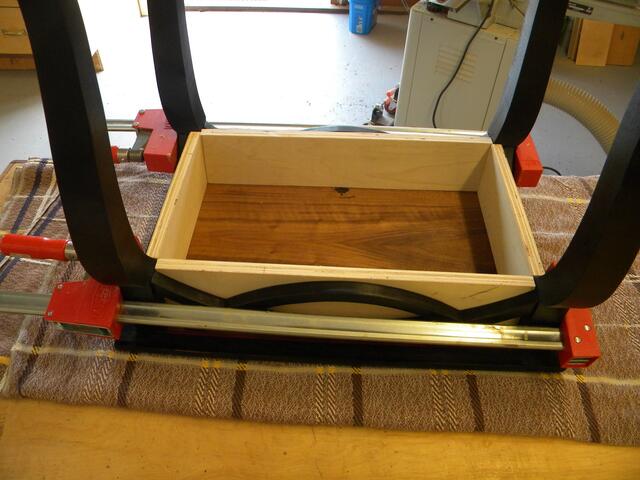
I put a biscuit in each corner ….. just to be sure.
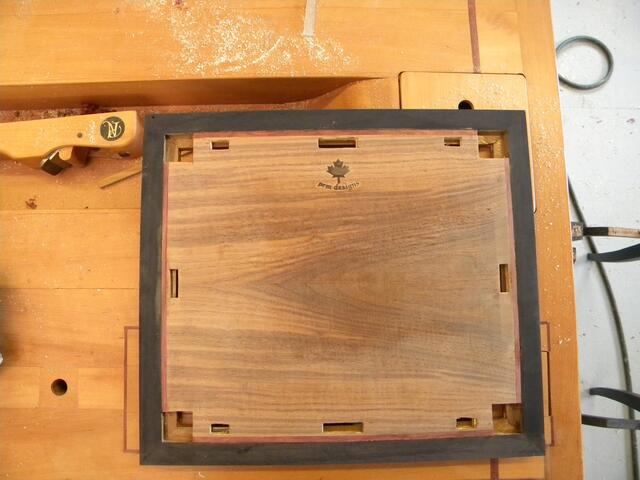
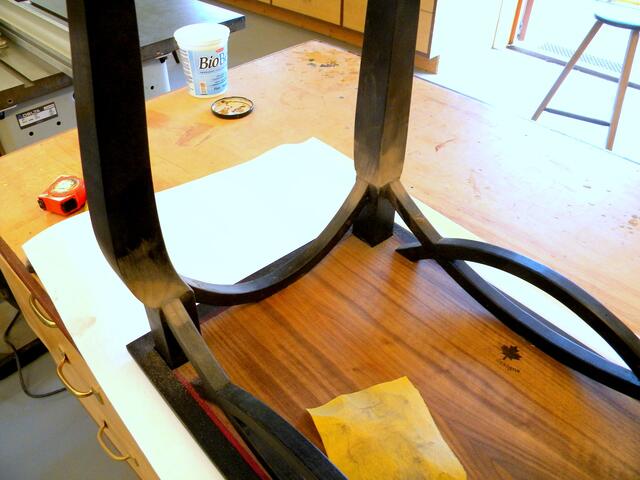
Finished bottom with Walnut veneer and Purpleheart trim.
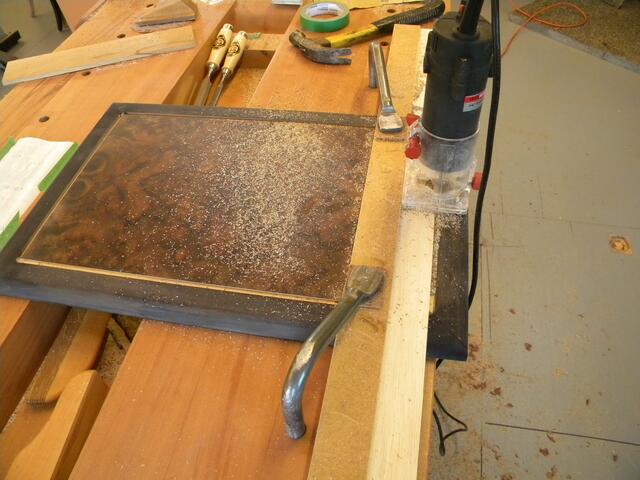
Routing for top trim band.
Temporary “aprons” to check square alignment and support the open aprons for the big squeeze.
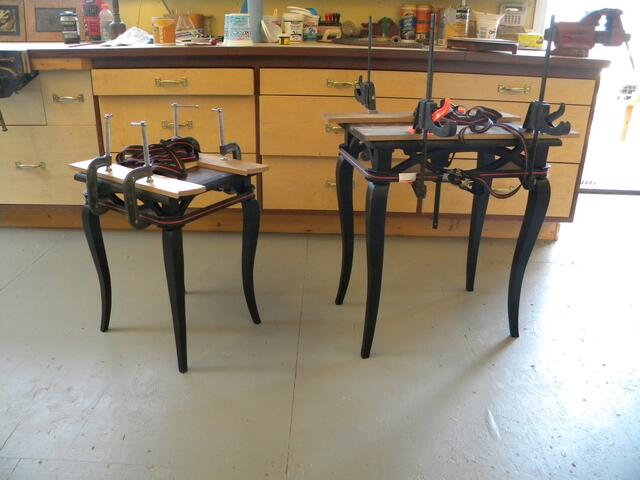
A little final fairing of the transitions.
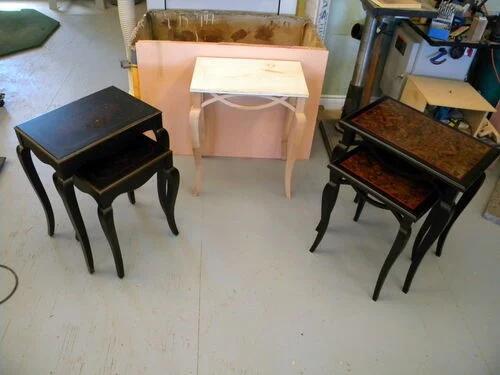
And we’re done! This is a photo of the client’s original tables, my prototype mock-up, and the finished tables.
Thanks for looking in. All questions, comments and critiques are welcome.
Paul
The early bird gets the worm but its the second mouse that gets the cheese.
6 Comments

Pretty clear photo blog.
Thanks!
Abbas, Castro Valley, CA

Paul,
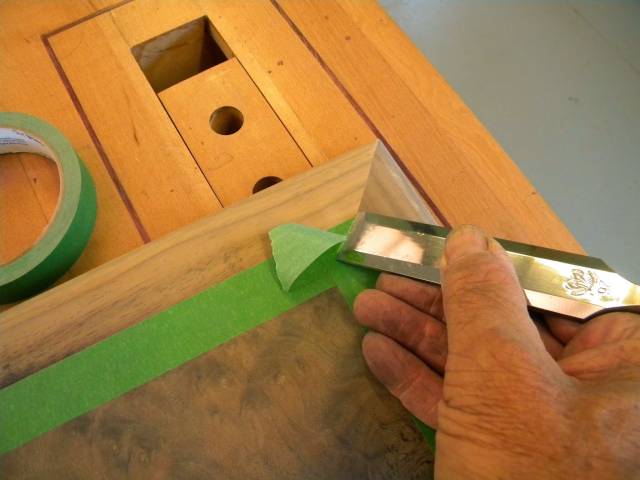
Thanks for all the photos. Just one question: In the two photos that follow “Routing for top trim band,” the walnut looks ebonized in the first photo but not in the second. Is that just an illusion? Or did you ebonize after the purpleheart band was inserted? (That almost sounds like a song . . . big panama with a purple hat band! LOL)
“Those who would give up essential Liberty, to purchase a little temporary Safety, deserve neither Liberty nor Safety.” Benjamin Franklin
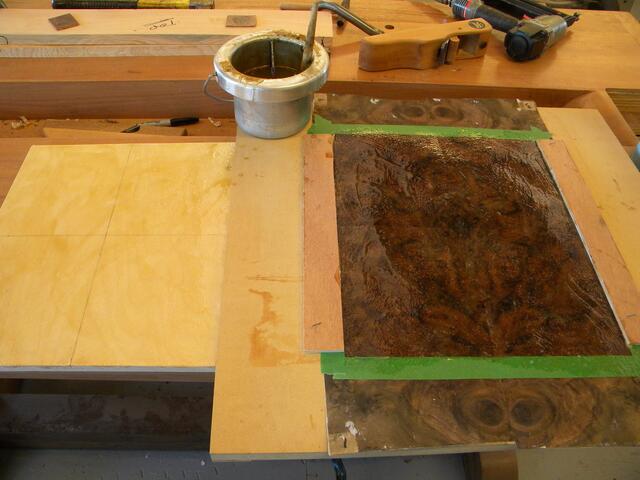
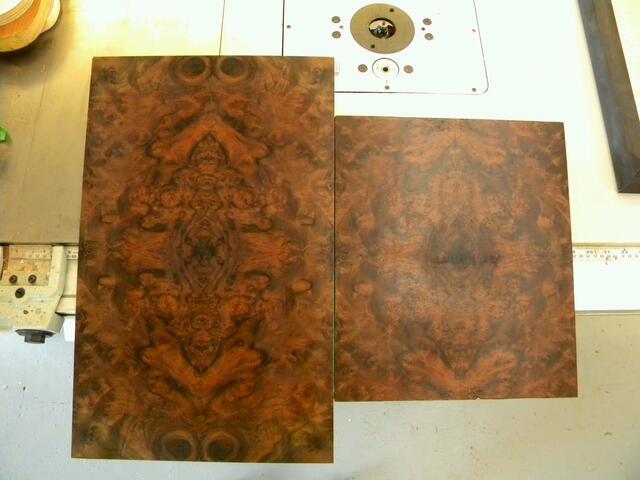
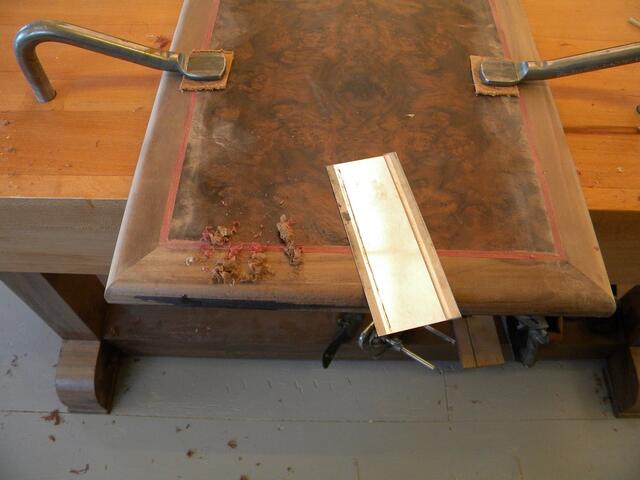
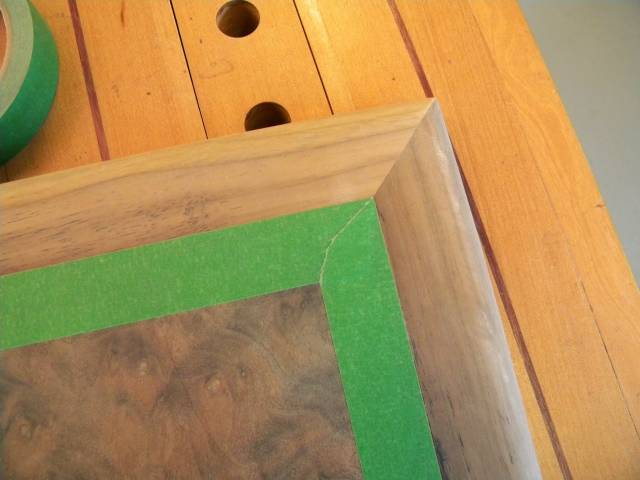
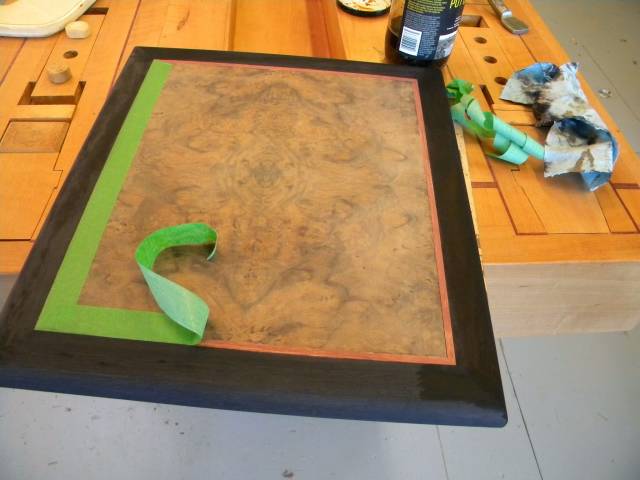
The first photo is the small table. It was ebonized first but still needed to be masked and touched up after scraping. The second photo is the larger table which was ebonized after the banding was installed. The tricky part is that Purpleheart also reacts with the ferrous ions so the masking had to be very accurate. Here are a few bonus pics on that.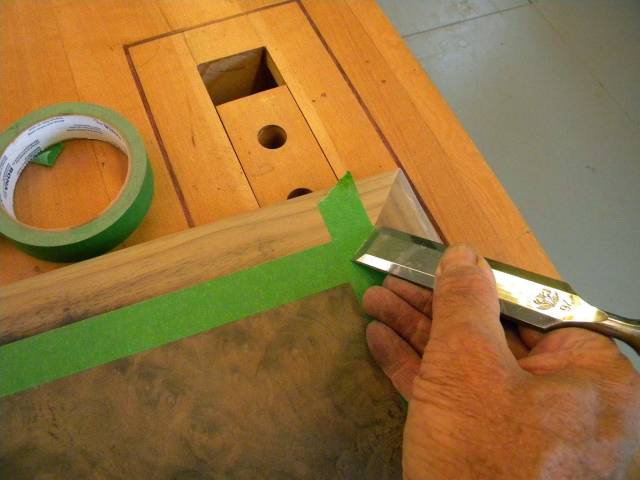
The early bird gets the worm but its the second mouse that gets the cheese.
Paul,
Thanks for clarifying the ebonizing and adding the photos. Does the glue line help to keep it from seeping into the adjacent wood? It seems like it would be really tricky to accomplish. Do you prefer ebonizing before or after glue-up? I can see that both have benefits as well as disadvantages.
.L/W
“Those who would give up essential Liberty, to purchase a little temporary Safety, deserve neither Liberty nor Safety.” Benjamin Franklin
L/W, The first one is easy. Yes, I’m sure the glue line prevents the “creep” of solution below the surface. That means all you have to worry about is the surface itself. I mask carefully as shown and then try to “cut the edge” with my brush just as if the tape wasn’t there. It worked really well, this time. :-)
The second is a little harder. In areas that are difficult to finish, like the apron/leg area on these tables, I like to completely finish before glue-up. With hide glue the clean up is very easy and doesn’t bother the finish. In places like the top I know that I will have to scrape away some of the ebonizing and that will necessarily be the part next to the banding, so I may do it first to get a look at how it will look finished, (a color check) or I may just wait and do it all later. In this case it was one of each.
It is easy to re- ebonize if you sand or scrape through to bare wood as I did on the leg/apron transitions. It will blend perfectly.
The early bird gets the worm but its the second mouse that gets the cheese.
Paul,
Thanks for explaining your methods and your reasoning. It’s very helpful.
L/W
“Those who would give up essential Liberty, to purchase a little temporary Safety, deserve neither Liberty nor Safety.” Benjamin Franklin