


Share your craft projects
Make new craft buddies
Ask craft questions
Blog your craft journey
Blog Series
Restorations

Part 8: Edlund Commercial 5-lb Premier Scale
Found this at Urban Ore for $5 — I bought it because I needed a scale to weigh various wood working projects. For no other reason than to be able t...

Part 9: Millers Falls No 98 T-bevel gauge
Purchased from eBay for $35.71 (broken down as $26.99 + tax & shipping), a 1950’s sliding bevel gauge (T-bevel) made by Millers Falls, tool No 98.
...

Part 10: Eye carving riffler
I have decided that this stone carving riffler is for carving eyes. The two ends combined, one effectively cuts the upper eyelid shape and the othe...
Vises
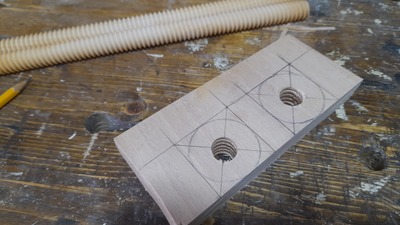
Part 6: Hi Vise - Body
I'm making the body out of an ash 2x4.
so cut to size and square up.
[20230915_162313.jpg]
[20230915_163836.jpg]
Drill and tap the main hole
[20230...
Part 7: Hi Vise - Finish
Make the handles for the fixing screws.
[20231001_160522.jpg]
[20231001_161419.jpg]
Just rasp into shape and add a bit of walnut to the end to hi...

Part 8: Mini Hi-Vise version 2
Well, the mini vice mount Hi-Vice gets pretty much constant use, so it’s time to make a nicer one based on the prototype.
Pretty happy with the ...
Handy Tools
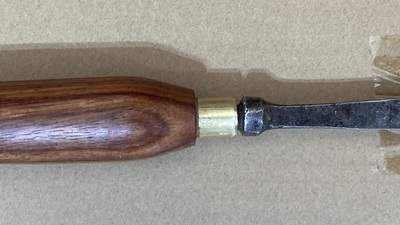
Part 1: Skew carving gouge
While working on the Altai Project Logo carving, I discovered I needed a narrow skew in order to get down into some of the corners. I have a handfu...

Part 2: Handle for LAP engraving tool
I bought a Lost Art Press engraving tool a while back. The short metal handle works fine for putting it into a compass, but for freehand use, it’s ...

Part 3: Sharpening shelf for sharpening carving gouges
A while ago, I read Dave Fisher’s post on his Souped-up Sharpening Shelf and thought that sounded like a great idea to get some consistency in my g...
Replacing a Chair Back Molding

Part 1: Let's do this the hard way -- Designing for the CNC
My sister asked me if I would be interested in repairing the back of a barstool. The stool is metal but has (had) a piece of wood molding on the b...

Part 2: Wood prep and milling on the CNC
A couple of years before my sister asked me to make a new chairback molding. I had collected the trunk of a dead redbud tree from her yard with th...
Traditional Portuguese Rajao

Part 10: Soundboard finished and installed
Fitted the braces and reinforcing ring to the inside of the soundboard.
[IMG_2648.jpeg][IMG_2650.jpeg]
Fitted the soundboard to the body. I suppose...

Part 11: Odds-n-Ends
Taking care of the other details now that the main assembly is complete.
Added the binding at the soundboard. Started out as 1 x 5mm Black Walnut. ...

Shop storage
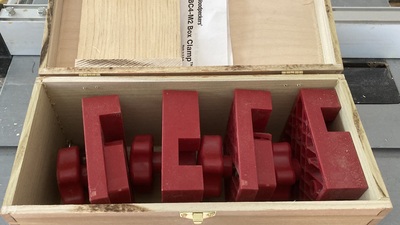
Part 4: Box clamps box
Another storage box, this time from ¼ inch poplar and Baltic birch ply for the top. Treated (this morning) with kakishibu, which darkens with expos...
Part 5: Small parts organizer
[IMG_7711.jpeg]
Just a quick and dirty project to use up some smalls and keep this organized when I’m doing something like this morning’s bench gl...

Part 6: Things fall down 2
My cheap-ass Harbor Freight dust collector has picked up a bit of a vibration. Enough so that last Sunday, it vibrated itself right off the French ...
Shaper Origin

Part 1: Chair Seat
The neighbor restores furniture and sells it at fairs. She picked up some ratty rattan chairs where the webbing was gone.
I said I could make her ...
Jigs

Part 1: Bandsaw Cork Cutting Jig
This is a tutorial on making a simple jig for cutting wine corks in half, along their length.
The jig requires only simple scraps to build and is...
14” Rockwell Bandsaw
Part 1: Initial testing
Before testing I took the covers off. Tires were pretty gummed up. So I grabbed my Red Devil scraper and spun the wheels while holding the scraper ...

Part 2: Replacement trunnion knob
It’s clear in retrospect looking at the initial photos of it in the salvage yard, taken moments after arrival that it was always missing one of the...
MacBeath
Part 1: Introduction
MacBeath is a chain. They sell hardwood lumber, and other things associated with fine furniture (including tools, both hand and power).
I buy lumb...

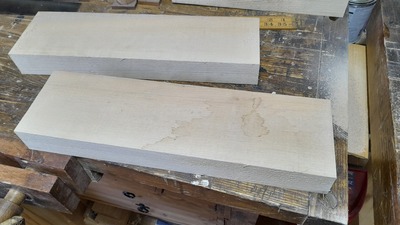
Part 2: White Wenge
Not a typo. White Wenge. Arrived about 3 weeks ago
[IMG_7389.jpeg][IMG_7388.jpeg]

Part 3: Red Zebrawood
Also, not a typo. Red Zebrawood. Just came in.
[IMG_7391.jpeg][IMG_7390.jpeg]
No, I don’t work there. I just go in a lot.
This is interesting but...