


Share your craft projects
Make new craft buddies
Ask craft questions
Blog your craft journey

shipwright
2073 posts
and
113 followers
in over 12 years
in over 12 years
The V8 Wedge Powered Workbench #2: Building the Wagon Vices
This is
part 2
in a
8 part
series:
The V8 Wedge Powered Workbench
-
Some Features and Operational Videos
-
Building the Wagon Vices
-
Building the Plywood Bench Top
...
- Some Features and Operational Videos
- Building the Wagon Vices
- Building the Plywood Bench Top
...
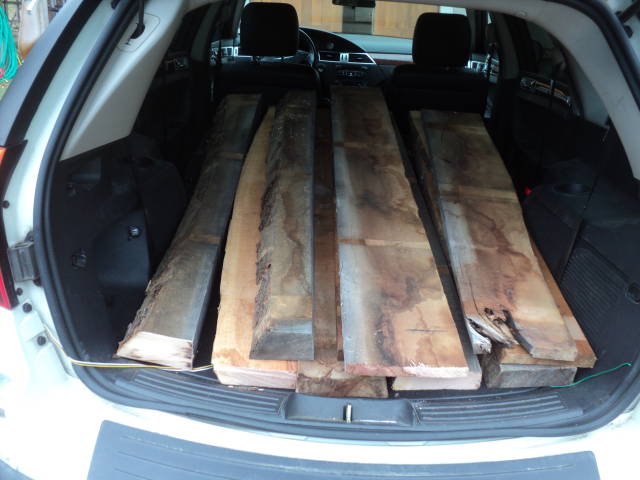
OK, lets get started. I will go through the build process in the same order that I built the bench and as a non-working concept of wedge power would have been a deal breaker, the first job was to build a wagon vice or two to make sure they would work. I was fortunate enough to find a small local mill that would sell me some really nice local arbutus (madrone in USA). This is about 50 fbm and I have about ten left over.
After milling up some nice 1 7/8" stock and a bit of 3" I made up the main pieces. For the sake of getting it done quickly and easily ,the slide tracks for the wagon are just strips added on to the side rails with hot hide glue. The attached sketchup shows it as milled out of a single piece. For what it’s worth, I never changed it because it works just fine.

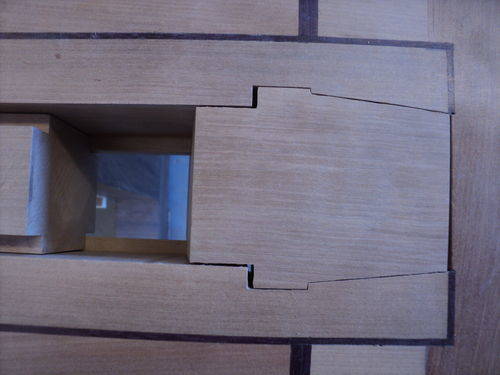
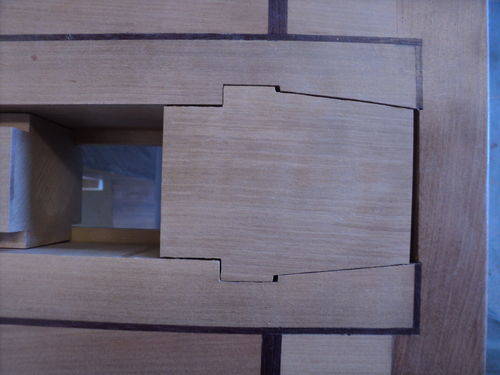
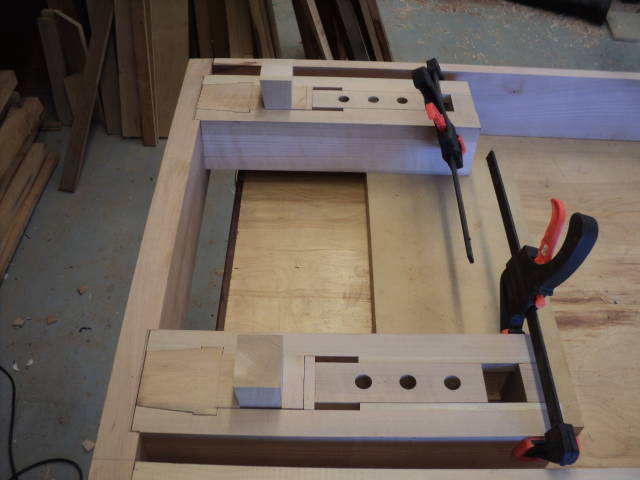
The load bearer here is a modified joint that boatbuilders use to attach headers and jack beams in wooden deck construction. It has great load distributing characteristics and in this iteration I have left a 1/8" space at the front side of each of the “ears” to allow it to move forward and loosen when not under pressure from the wedge. This allows it to pop out very easily but doesn’t compromise it’s load bearing ability. The first photo shows the block in load bearing position and the second in the loosened position, ready to pop out.
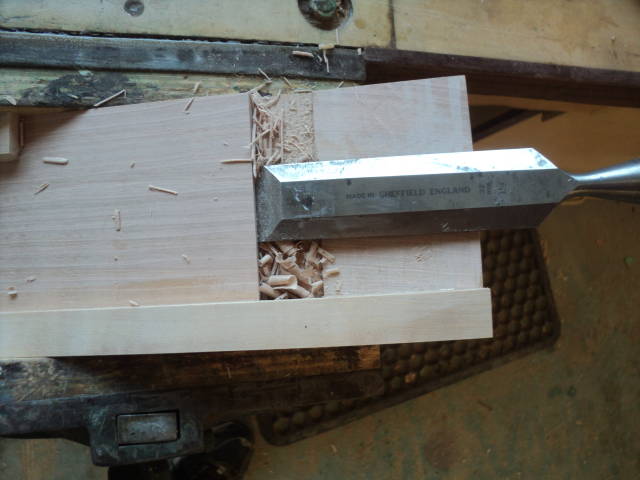
The wedge surfaces were just band sawn and smoothed with a chisel.
The wedges and shims are detailed in the sketchup. The important feature is the angle of the wedge. If too shallow you don’t get enough travel (and it will be really hard to drive out) and if too steep it won’t stay in, ei: it will pop back out. My first intuition was to go for 1/2 " travel in the height of the block. I chose this because I’ve used wedges for years and it looked about right. It turns out that it worked perfectly so I didn’t try any others. That slope expressed as an angle was 8 degrees. Maybe others will work as well. I don’t know because I didn’t try after the first one worked so well.
![]()
So far, with my bench dog holes 6" apart and the three holes in the wagons spaced at 2" intervals, I haven’t found any length that I can’t accommodate with the shims shown, one 1" and one 1/2" each vice.

The final key to this simple little construction is a critical one. It is important that the sides of the vice be unable to spread as the wedge base block is pushed back into its seat. To assure that this was solid I let the vice bodies into the solid back member of the bench.
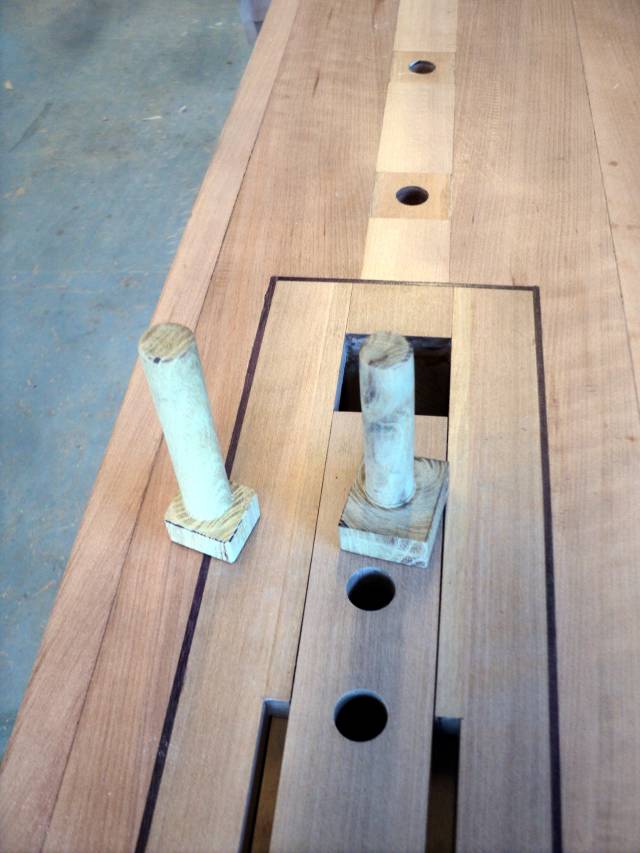
I have made one more little tweak that really helps. It is shown in the video in the first segment of this blog. I made some “eccentric wagon dogs”. Sounds like an application to the Kennel Club is in order I know. What these little guys do is allow you to fine tune the height of the wedge to clear your plane. Here’s a better photo of them.
Here’s the sketchup. You can get all the measurements from it. The only ones that really matter are the angles of the inclined planes. the rest can be modified to suit the size of your bench and the dimensions of your available material.
https://3dwarehouse.sketchup.com/model.html?id=985b3d9d548dcc9252d9fc61873164a1
Because this vice is completely self contained, you don’t need to build it into a new bench during construction. To retro-fit it in any bench, all you need to do is cut out a hole that matches its outer dimensions and drop it in. A little hot hide glue, epoxy or pva will make it a permanent fixture.
That’s it. It’s just too easy.
Next we’ll start cutting up the three sheets of 3/4" plywood (give or take a bit) that make up the entire structure of the bench.
Thanks for looking in
Questions comments and critiques are always welcome.
Paul
The early bird gets the worm but its the second mouse that gets the cheese.
6 Comments

Thanks for the info Paul,very cool.
woodworking classes, custom furniture maker

Yes, thanks for the blog.
I checked madrone lumber, boy it’s expensive in the bay area.
Abbas, Castro Valley, CA
Too bad. Fortunately you don’t need to use it. :-)
The early bird gets the worm but its the second mouse that gets the cheese.
I have been conflicted between plywood and solid lumber for my bench.
I went back and fourth between the two options. I looked at 2×4, ash, maple and a combination of.
because everything has to be stowed at the end of the day to make room for my wife’s car, my bench cannot be too big.
Part of me want to have a traditional bench, the other something functional and not too expensive as college expenses are around the corner. I am leaning more and more toward your design. will see how it goes when I get to woodwork again in a couple of months.
Abbas, Castro Valley, CA

Very interesting , nice job .
Wheaties
I make a lot of laminated table tops from reclaimed lumber, (mostly pallets). I built a glue-up table using the great 12" X 48" X 28.5" table frame from Rockler. I wanted a 16" X 56" top, so I considered all the options for materials. Ended up using high quality 3/4" plywood, glued up 3 pieces thick. Very happy with the stability of this surface. Thought about formica for the top, but the wood was so perfect, I polyurethaned it over a week to give it time to cure between sandings. Everything I glue is a maximum of 12" wide, (12.5" planer), so I use baking parchment paper, (15" wide), to protect the surface while gluing and finishing. Built a shelf under the top to store wooden cross pieces used as hold-downs for gluing. By the way, not having bought lumber in six or seven years, I was amased at the cost of plywood.