


Share your craft projects
Make new craft buddies
Ask craft questions
Blog your craft journey

shipwright
2073 posts
and
113 followers
in over 12 years
in over 12 years
The V8 Wedge Powered Workbench #3: Building the Plywood Bench Top
This is
part 3
in a
8 part
series:
The V8 Wedge Powered Workbench
-
Building the Wagon Vices
-
Building the Plywood Bench Top
-
Fitting the Sides and Ends
...
- Building the Wagon Vices
- Building the Plywood Bench Top
- Fitting the Sides and Ends
...
NOTE: Most of this page can be avoided if you want to just drill your dog holes in the layered plywood. The inserts are the “Cadillac version”.
Part of the plan for this bench from the start was that is was to use inter-laid layers of plywood to make a solid monolithic structure that was absolutely rigid without using any fancy or difficult joinery. Another part was to hide and protect the edge plywood wherever possible for looks, strength and utility. The resulting strategy was to make “dog hole inserts” and lock them into the plywood layers. In order to do this without having to individually cut out 80 separate square holes with a jig saw I set up the first of the inter-lay assemblies.
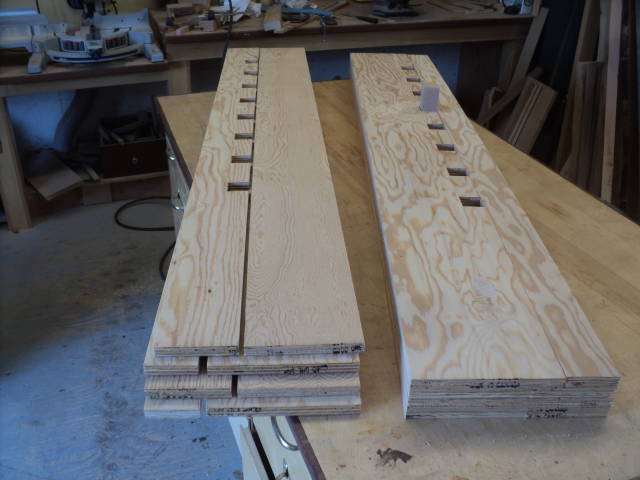
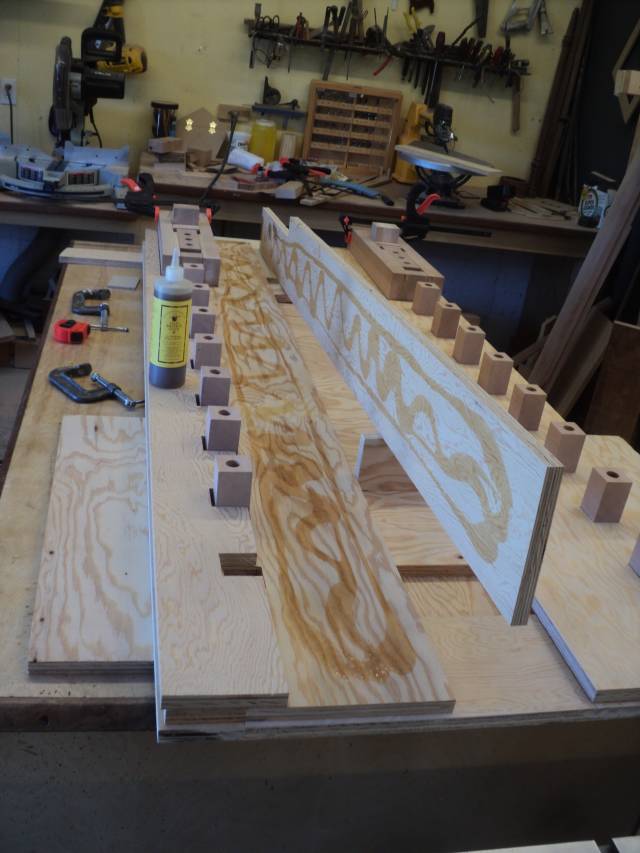
This photo shows two stacks of 3/4" PW that represent the two halves of the bench top. Each stack is divided into two widths at a distance in from the outer edge equal to the distance in of either the inside or the outside of the square dog holes. This will become clearer as we go on. Each half top will be made up of two layers from each stack.
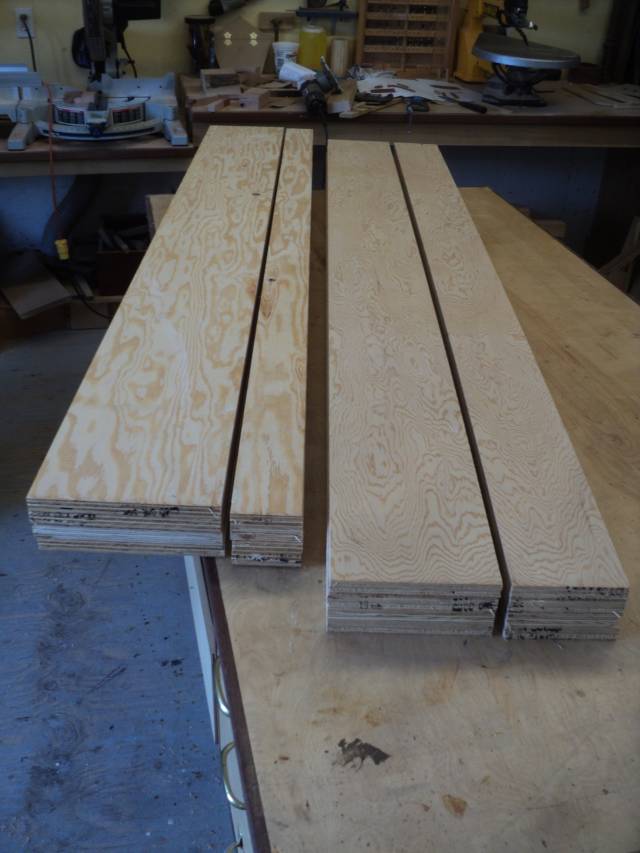
The pieces clamped up here represent the wider pieces from the stack on the left above and the narrower pieces from the stack on the right. Set up like this we can cut all the square dog holes with a skilsaw in very short time. (note: yes I know it’s a Porter Cable but it’s like xerox… right?)
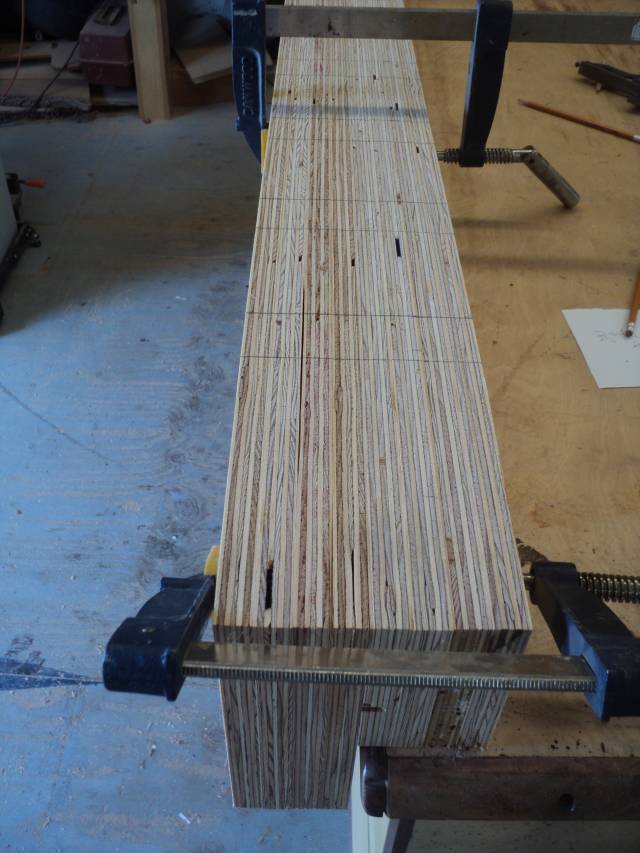
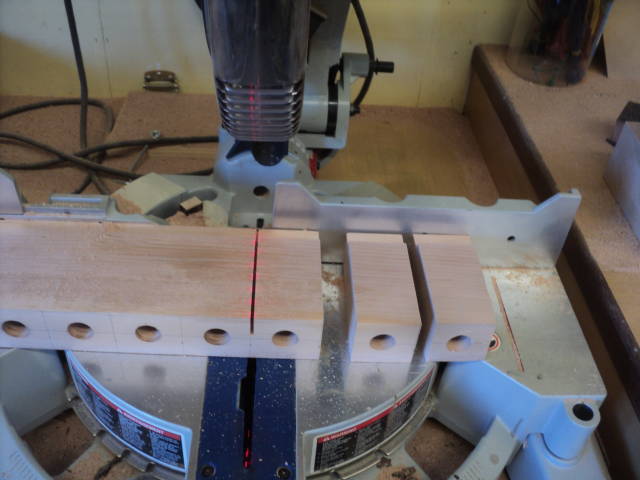
Step #1) Lay out the dog holes on the top and front of the stack.
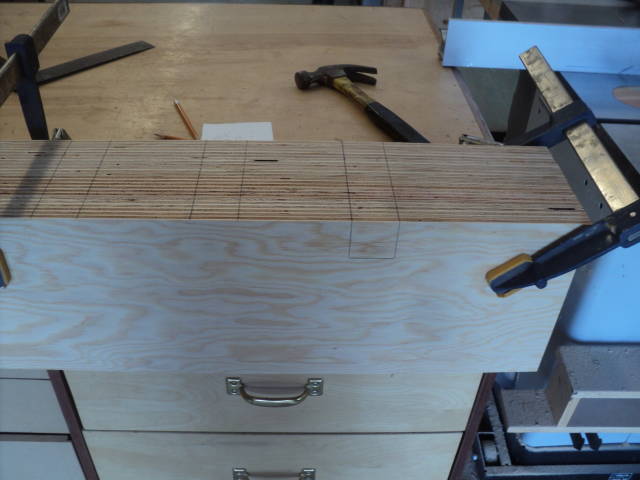
Step #2) Set the depth of the skilsaw and make several cuts.
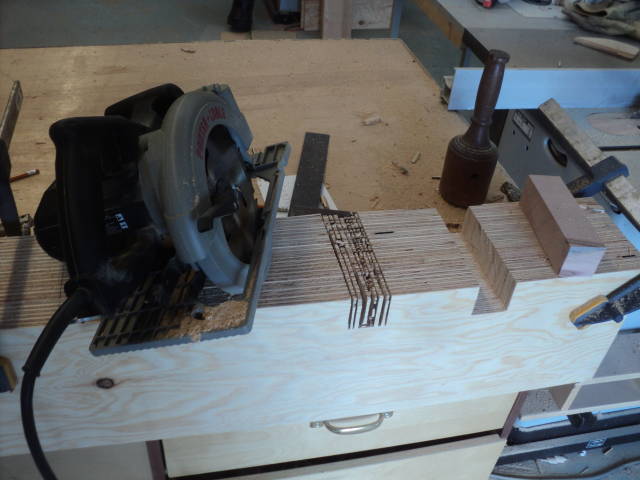
Step #3) Clean it out roughly with a chisel.
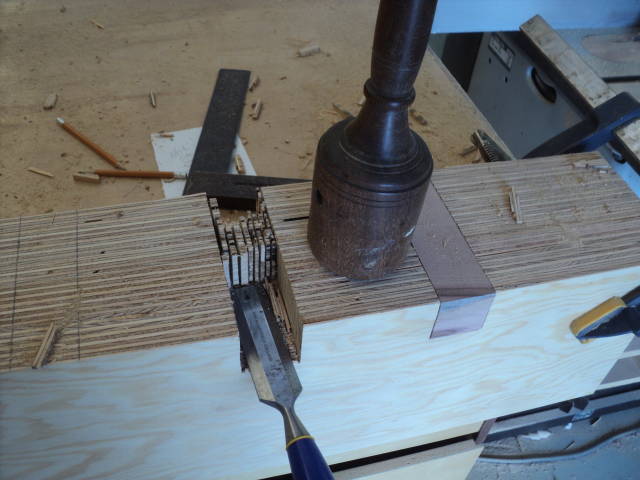
Step#4) When you get to about here…..
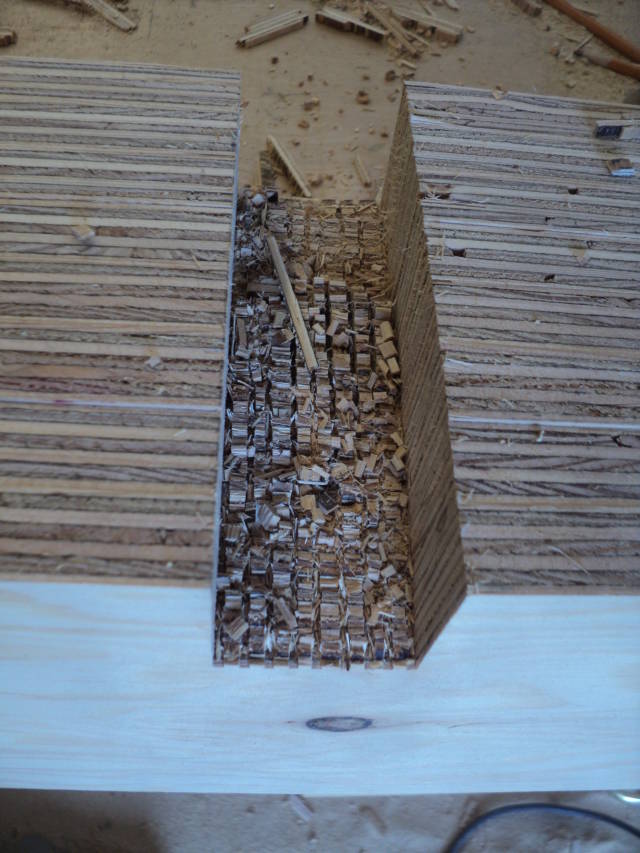
… go back to the skilsaw and work slowly through the rebate with a sideways motion left to right and back to “plane” out the bottom.
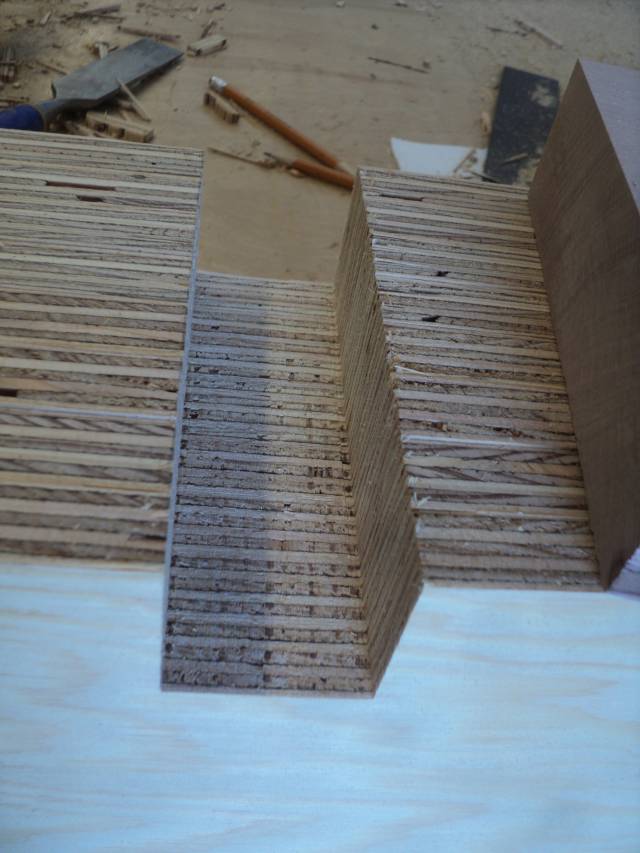
When they’re all done it should look like this. Wasn’t that easier than cutting 80 square holes with a jigsaw?
Now we can inter-lay the pieces for the two half tops like this. The stack on the left is left loose to illustrate the inter-lay better. In each layer the dog hole is entirely cut in one side.
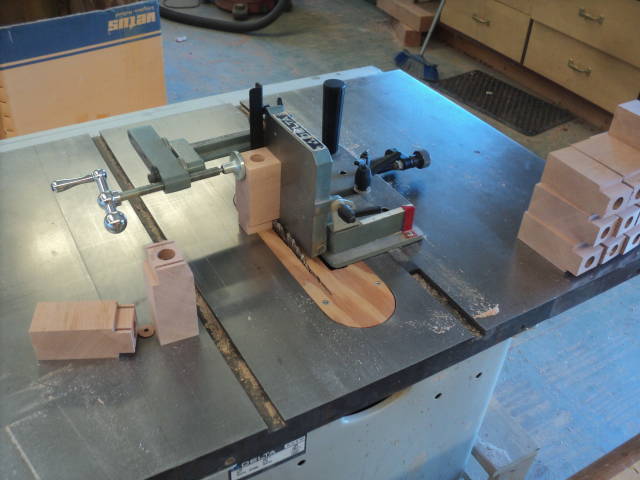
I made up the dog hole inserts in a long piece and then chopped them off. It’s a quick way to get it done.
Cutting the last two rebates.
Next the bottom layer is made up. It is 1/4" bigger all around to fit in a rebate in the edge and end boards.
It also has cutouts in it to locate the tops of the legs and a hole for one of the leg members to lock in at the leg vice corner.
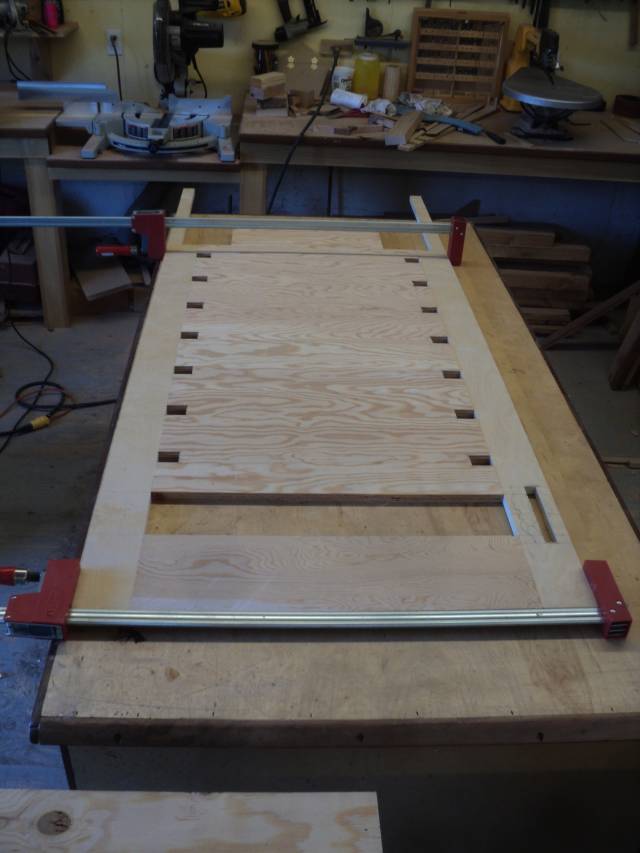
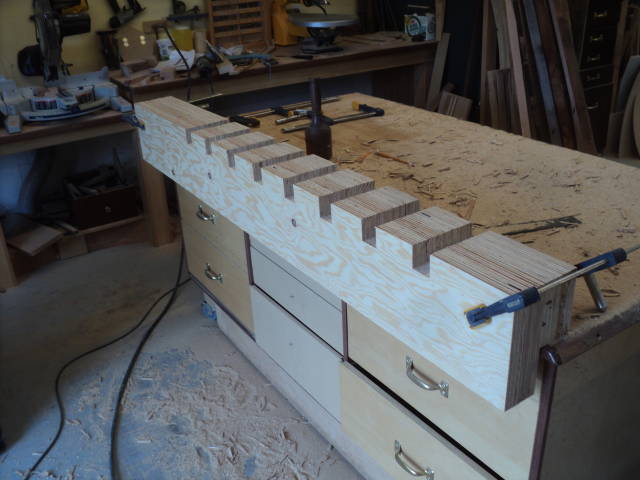
At this point we’re ready for glue-up. If you’re sure everything is perfectly fitted you can install the dog hole inserts and vices and glue them in as you go. I purposely made my vice holes a little sloppy and epoxied them in later for the very best possible grip and fit. The dog holes fit very snugly but I opted to pull them out after glue-up and re-set them later. I was keeping my options open. If I did it again I’d leave them in. Assembly here was liquid hide glue (Old Brown Glue) and air staples but 1 1/2" nails would work just fine.
And here we have two very solid, very flat 12″ × 72″ half bench tops, ready to go.

Sorry this was so long to get so little done but I wanted to be as clear as possible. The work doesn’t take as long as the describing. :-)
Next up: fitting the top frame joints and assembling the top.
Thanks for dropping in.
Questions, comments and critiques are always welcome.
Paul
The early bird gets the worm but its the second mouse that gets the cheese.
3 Comments

Thanks for the build details Paul.
I enjoy reading it again.
Abbas, Castro Valley, CA
Paul,
I’m always impressed with your innovative and functional approach to making things. And, I’m not all that easy to impress. lol I find myself bouncing back and forth between the traditional and the practical; usually opting for the traditional these days (as I’m now older than dirt) versus my younger days when I was very much the practical advocate. Both can work well, but I’m very impressed with your bench. Well done.
Roger

All good.
Mike, an American living in Norway