MontyJ
in almost 12 years
More from MontyJ
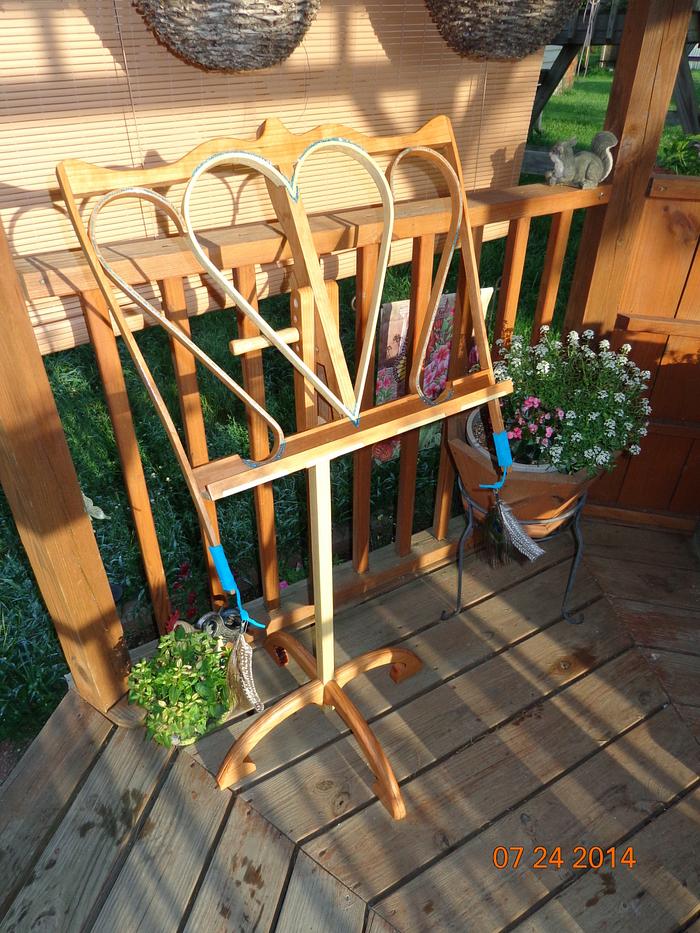
Music stand
The mystery project…revealed!
Entered in the curva-licious contest…
Let’s see if I covered all the bases…
Practical…check
Artsy…check
Practical-artsy…check
Artsy-practical…check
Bends
Cut it? Check
Carve it? Check
Bend it? Check
Sand it? Check
Or…? Check (While swearing a blue streak at it during construction I swear I saw some of the wood curving in fear.)
On with the description…
After seeing Keifer’s back scratcher bending posts I decided to give bending a try, hoping to incorporate it into a project for my youngest daughter. She came to me a couple of months ago with one of my guitars in hand and asked me if I could teach her to play. I’ve never pushed music onto any of my kids. I know how much discipline and practice it takes, and if your heart isn’t in it, you’ll never learn. She seems to have the passion for it, but had a little problem. She had no way to hold her beginner music books while she played.
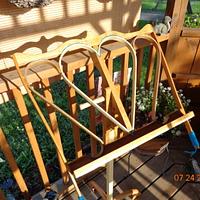
So, armed with Keifers awesome bending information, I decided to build my budding guitar player a music stand:
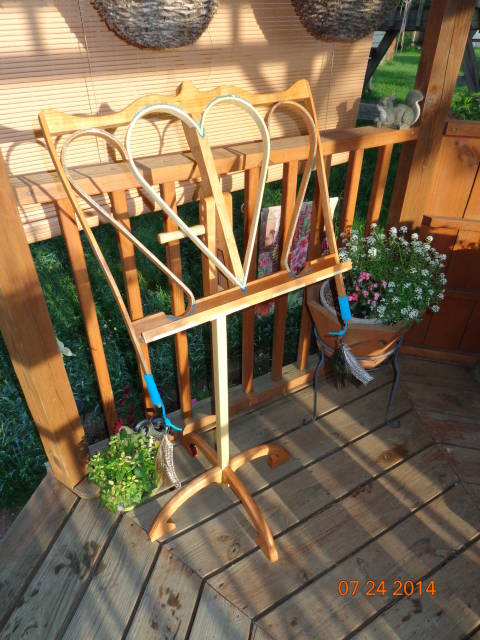
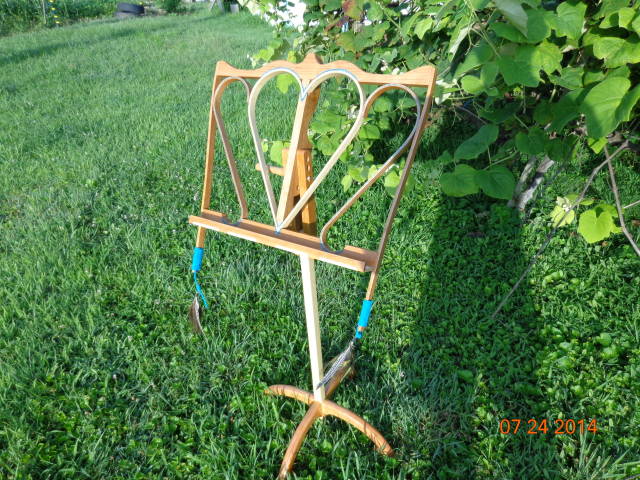
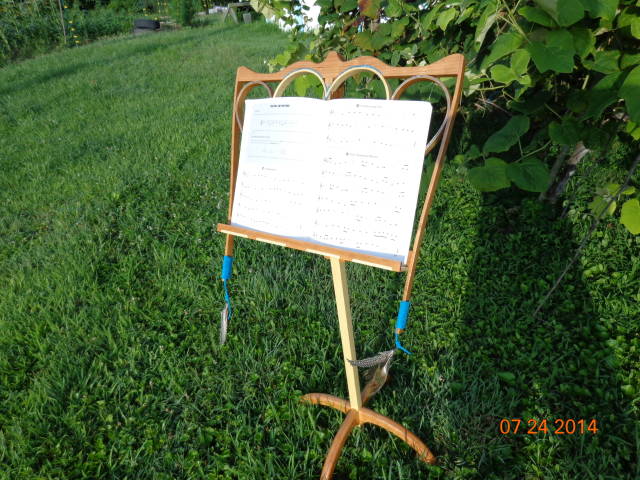
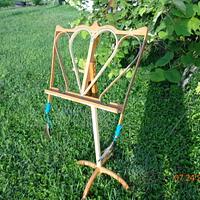
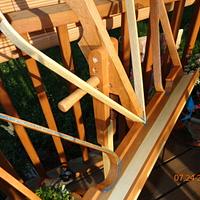
Construction is primarily cherry, the center heart and post are ash, the pivot handle is oak and the tray is aspen. The finish is shellac. The back pivots to three settings.
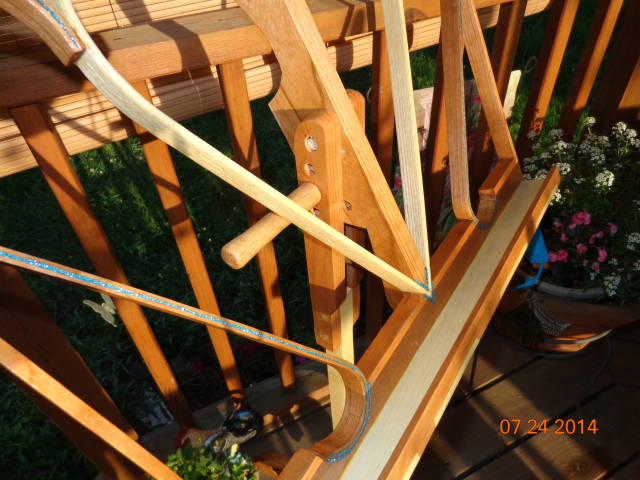
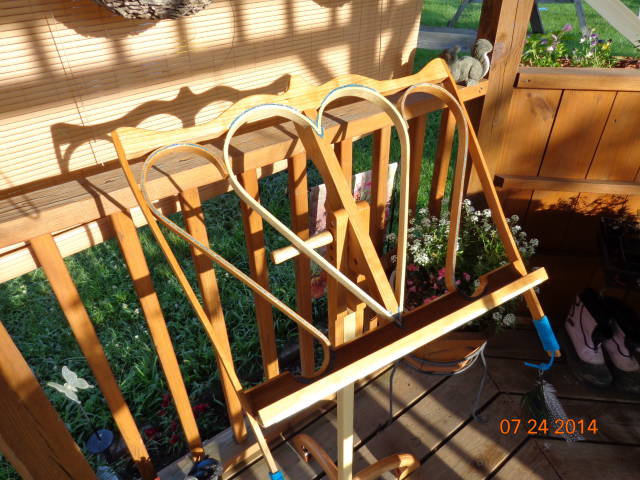
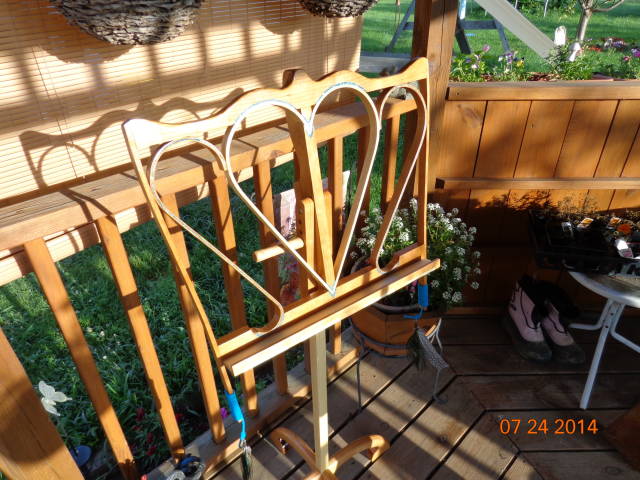
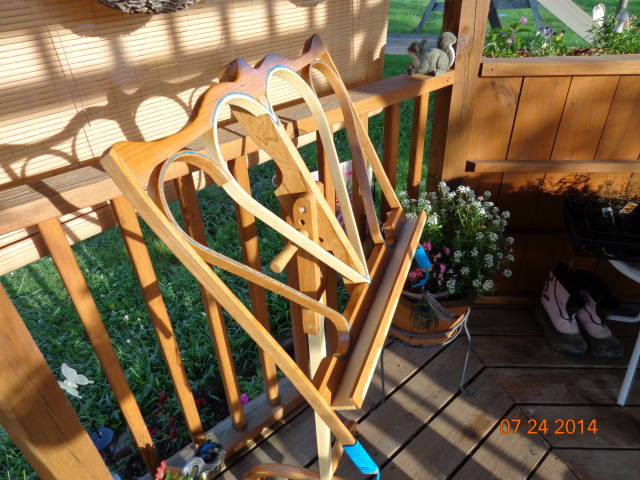
I don’t have a band saw or scroll saw so everything was either cut with a jigsaw, hand carved, or sanded to shape, including the feet.
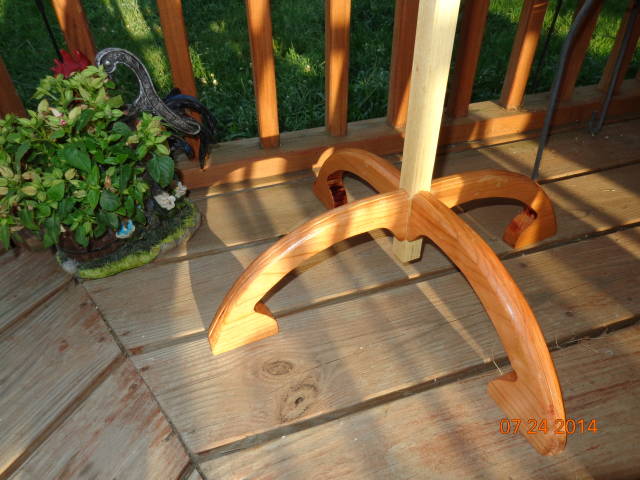
The tray is aspen with a cherry front, which I attached with hand-cut dovetails. I must admit, I’m getting better and better at cutting dovetails. Like playing the guitar, practice makes perfect.
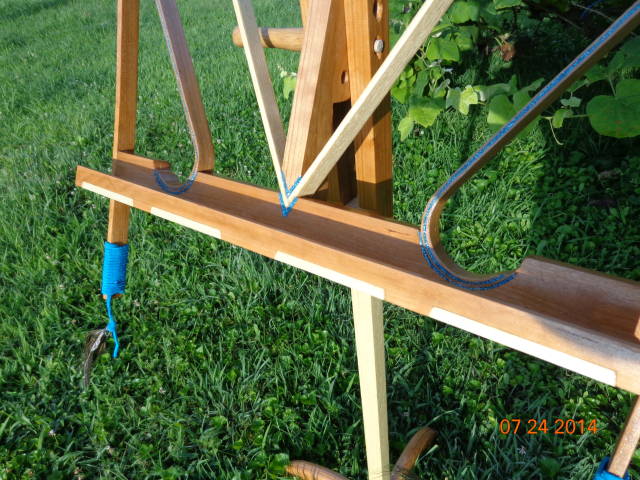
Some other embellishments include hand wrapped leather, which holds two ostrich feathers. Also, thanks to Terry and Ianwater, I learned about using “out of the box” materials for inlay. Using a cheap set of carving knives I bought at Joann Fabrics (my wife’s home away from home), I carefully carved grooves in many of the joints. I then mixed ultra-fine turquoise glitter with a fast setting epoxy (JB-Weld clear) and filled the grooves as a highlight to match the leather.
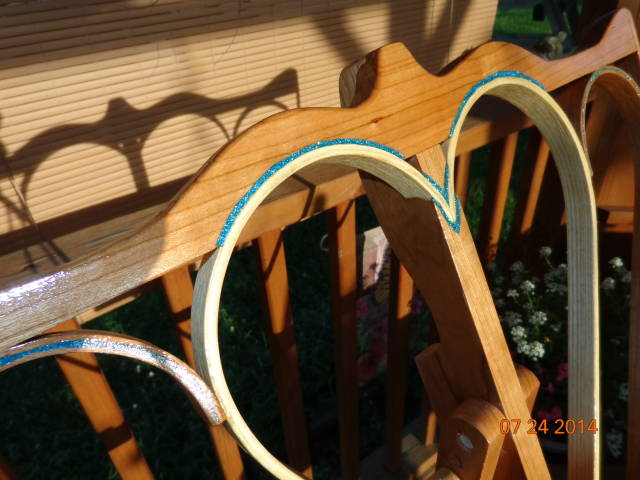
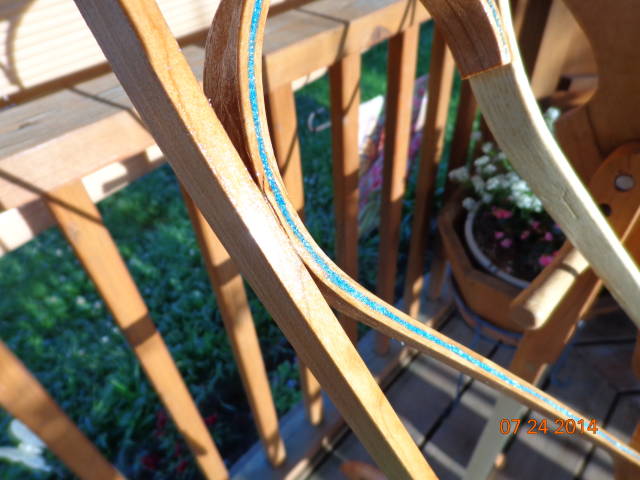
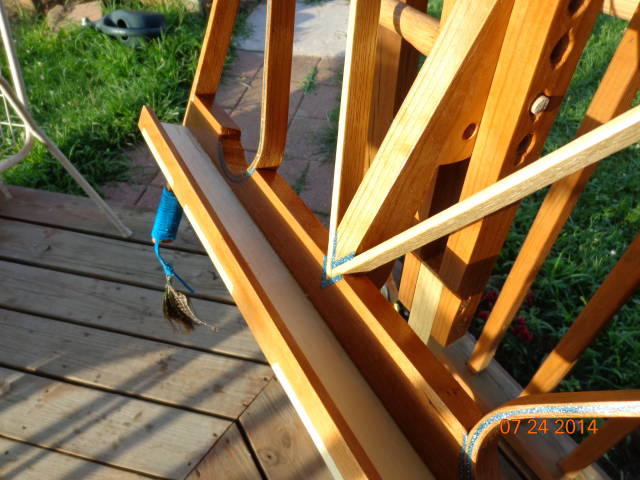
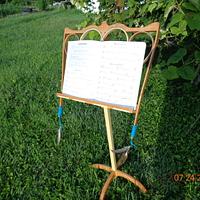
The stand matches the cherry bodied guitar she is using very well.
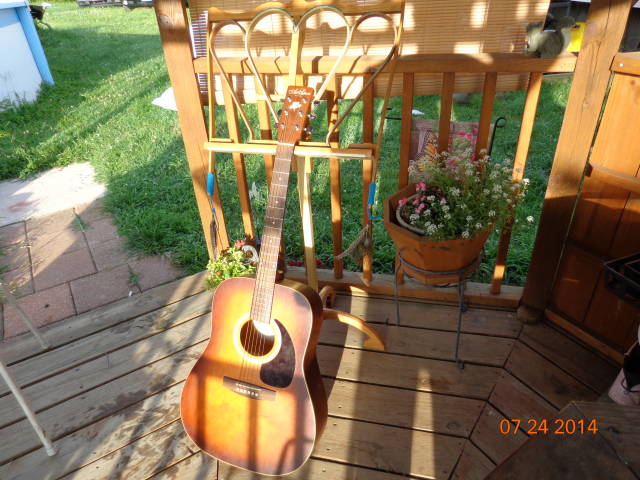
I’ll post a picture of my little guitar player putting it to use later today.
Where are the band-aids?---Pro Libertate!
13 Comments
Forgot to add the ostrich feather…
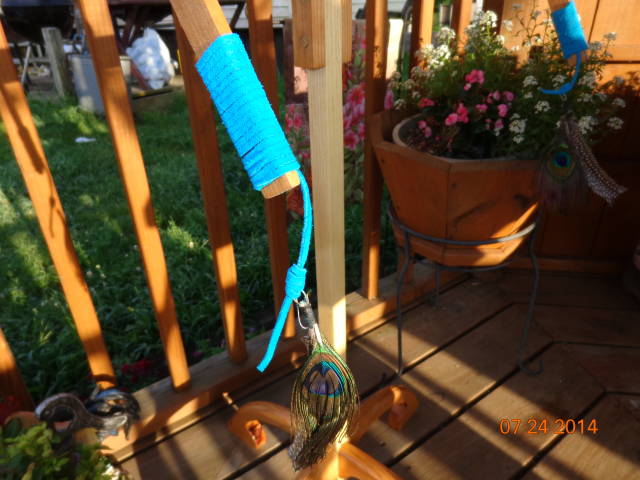
Where are the band-aids?---Pro Libertate!
Your stand is stunning! Great job! Your daughter will love and appreciate it for years to come!
Nice job. The description made me smile.
-- Alec (Friends call me Wolf, no idea why)
Nice work Monty. Lots of curves there for sure.
Mike, an American living in Norway
Thanks folks!
As promised…the inspiration behind the project:
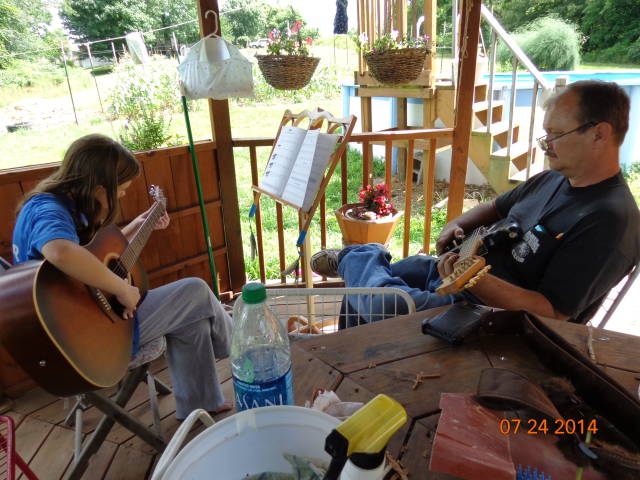
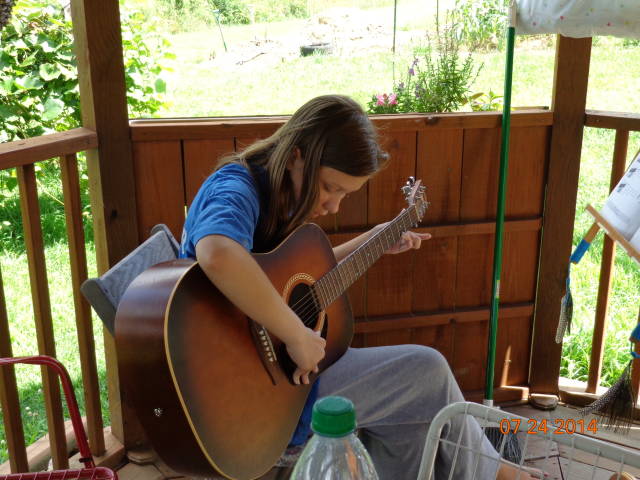
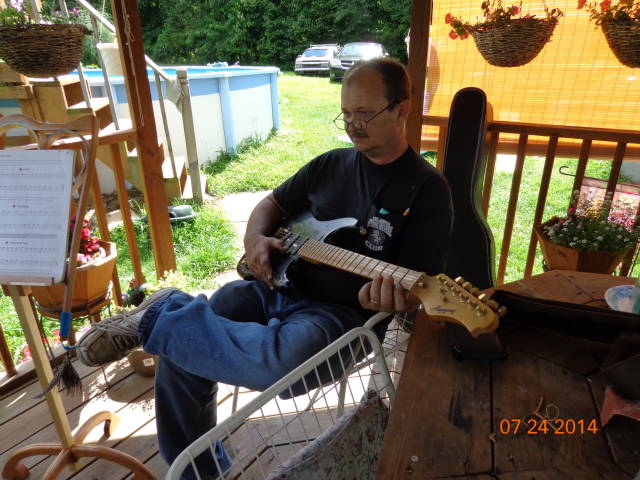
Two points…the guitar is a little big for her, but she manages…and no, the electric is not plugged in. It’s easier to get the lesson across without the amp ;)
Where are the band-aids?---Pro Libertate!
you forgot:
beautiful … check
Now I see what you have done with the bent lamination.
I love the last 2 pictures.
Abbas, Castro Valley, CA
“curving in fear.” <<< haha I should add that to the “tips” list lol
This is stunning… and those last two pix are priceless.
By the way… at the ripe old age of …. “over 50”, I’ve been trying my hand at playing the fiddle… oh how I wish I had something to hold my music ((batting my eyelashes innocently)) ;)
JAGO - just a grandma’s opinion
Love the curves and how you incorporated them in the design.
Well done and well received I see ,the love showes !
Klaus
Thanks y’all! Ian, the bent lamination was the biggest pain. I had no idea how hard it was going to be to get the laminations to come out the same size and shape. I bent all of the pieces the same way, with the same forms. I left them in the forms for 24 hours, but even after that long, they would relax some over time, and at different rates, so no two came out the same. I spent a lot of time re-bending pieces until I had four that were of the correct size and shape after relaxing.
I also discovered that KD ash is wonderful to work with when steam bending. It bends almost like rubber, and holds its shape very well, with only a little spring back after 24 hours. The KD cherry, on the other hand, doesn’t take particularly well to steam bending. It’s prone to cracking and has a very short working time.
MsDebbie, I used to be a sailor, so I have a very broad vocabulary so to speak ;) I had attached sand paper to one of the “S” curves to seat it in the base, got over zealous, and broke the %&$# “S” curve. If my youngest grand daughter would have been there, we would have put on some music and did a happy dance (maybe CCR and Down on the Corner). But as luck would have it, she wasn’t there that day, so I resorted to the only thing I had left ;)
I would love to help you out with a music stand, but until I get a draw knife, spoke shave, and/or a band saw, I’m never doing that again! Call it learning the limitations of the tools you have, and don’t exceed those limitations.
Klaus, incorporating the curves into the design was easy…in my head. In practicality, well…thank God for sand paper!
Where are the band-aids?---Pro Libertate!
That is very beautiful! Please take extra special care during the teen years to make sure it will remain the heirloom it deserves to be!
Losing fingers since 1969
Thanks Brian! It’s in very good hands. She’s 14 years old, but is very responsible and takes very good care of her things. When it’s in her room, she puts her tablet and her cell phone on it, so I know it rates pretty high on her favorite things list LOL!
Where are the band-aids?---Pro Libertate!
It is so beautiful and elegant. It would enspire any musician to play their best. You certainly have great skill. This is a great piece.
CHRIS, Charlottetown PEI Canada. Anytime you can repurpose, reuse, or recycle, everyone wins!
a wonderful build and design.
woodworking classes, custom furniture maker


