


Share your craft projects
Make new craft buddies
Ask craft questions
Blog your craft journey

shipwright
2073 posts
and
112 followers
in almost 12 years
in almost 12 years
Marquetry Cutting Styles #4: Painting in Wood
This is
part 4
in a
5 part
series:
Marquetry Cutting Styles
The “Painting in Wood” style of marquetry cutting dates to early 17th century France and gets its name from the relationship of the typical subject material to the work of the painters of the period. The brightly colored baskets of fruit and flowers typical of many pieces of this period are examples of this style.
In terms of actual cutting, painting in wood is similar to Boulle style in that all colors are stack cut at one time together with the background. The difference is found in the way the packet is assembled and the product that is ultimately created.
In Boulle style you may remember, the packet was assembled of full sheets of each color and the result was several similar motifs with “mix and match” colored elements. This was an efficient use of veneer if the product was to be a geometric or graphic pattern where colors were not critical. Often both the positive and negative motifs were used and no waste at all was left over.
However if the subject matter was color critical as in an object from nature like a plant, flower or animal the Boulle style would produce a lot of waste veneer.
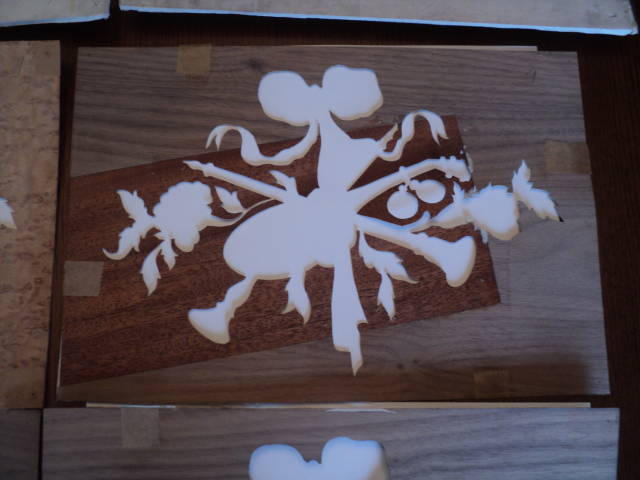
As the typical motifs found in painting in wood pieces are both color critical and often quite large, a more material economical method of packet assembly was needed. The answer was to make the packet layers out of pieced together bits of the required veneers and to fill the unused spaces with a cheap waste veneer, often softwood. Pictures will describe this better than words. I apologize for my picture taking sequence here. I didn’t think to photograph the layers until after the cutting was done but they will show the process just as well.
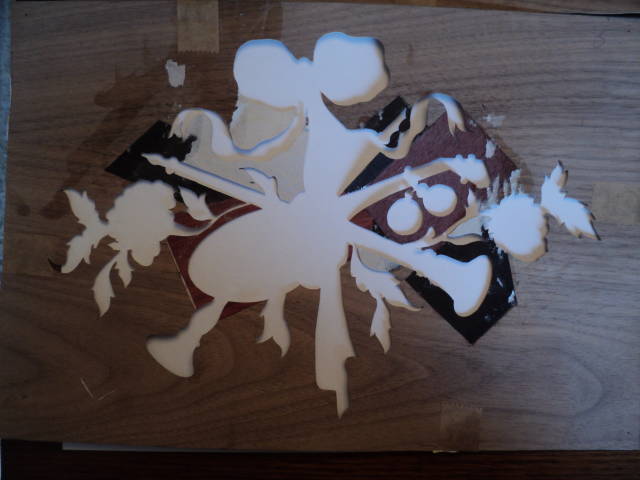
The following are the six layers I used to cut this motif. It is a very tricky process to make sure you have all the colors you want, where you want them, somewhere on one of the layers. I’m very new at this style and I’m sure a more experienced marquetreur would be more efficient but I think you will get the idea.

This photo shows an area of Bloodwood, some Amaranth (Purpleheart) and three small areas of dyed black. The “waste” veneer on all layers is some paper backed Walnut that I have a quite a bit of lying around.
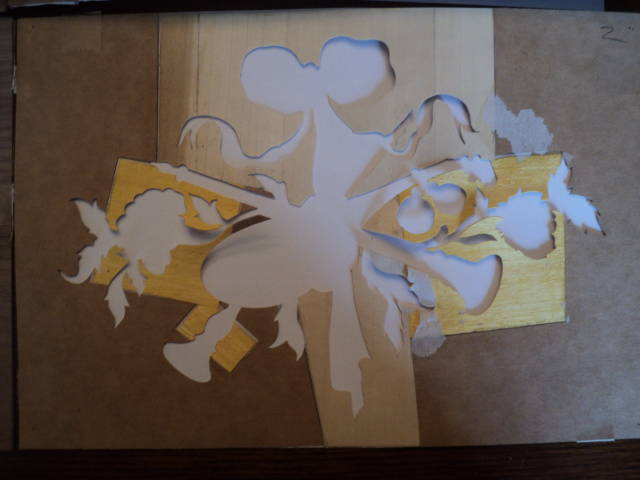
The second shows the dyed yellow that will be the flowers and the Poplar that will be the sash and the bow.
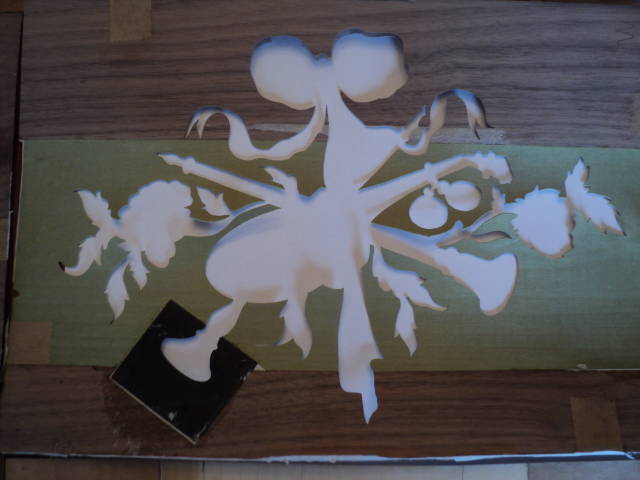
This one has the dyed green for the leaves and some more black.
The last of the black
The Mahogany for the flutes
And finally the Birdseye Maple for the ground.
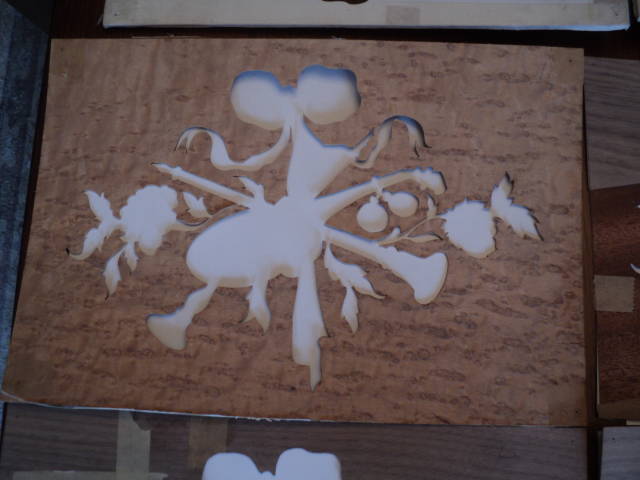
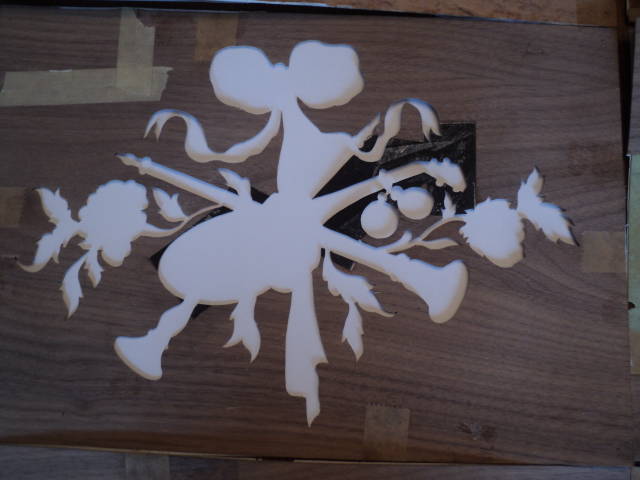
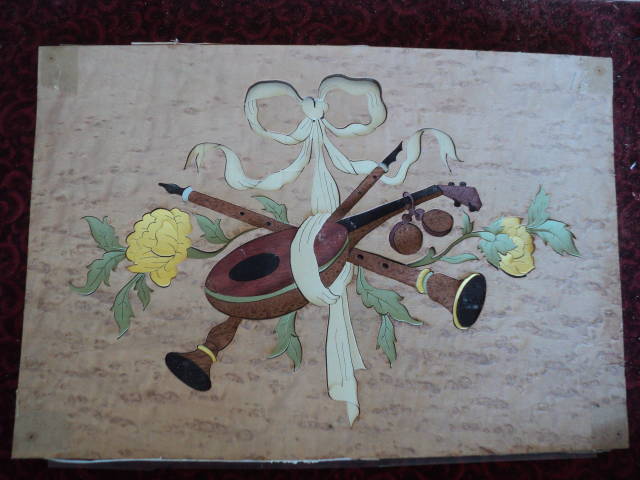
When the cutting is finished, there remains only one motif but with much less waste than if the layers had been solid sheets of each required veneer species. Please excuse this last photo. The pieces are just placed together and some are a bit curled.
That’s one more covered. Thanks for looking.
As always comments, critiques and questions are encouraged.
Paul
The early bird gets the worm but its the second mouse that gets the cheese.
2 Comments

Hi Paul. I like this method and plan to use it on my wizard marquetry. I’m already thinking of how to get more that one copy with it. Something like having two pieces of veneer for each part and stacked in a thicker waster. My thoughts wander……………… a lot.
Mike, an American living in Norway
It’s do-able but multiple copies are better with piece by piece and waste less veneer. ….. of course there are the perfect cuts required…….. :-)
The early bird gets the worm but its the second mouse that gets the cheese.