


Share your craft projects
Make new craft buddies
Ask craft questions
Blog your craft journey

shipwright
2135 posts
and
113 followers
in almost 12 years
in almost 12 years
Simple Jigs and Techniques #5: Modular Veneer Press Build
This is
part 5
in a
6 part
series:
Simple Jigs and Techniques
...
-
Easy DIY Safety Straightedge
-
Modular Veneer Press Build
-
Cheap DIY Veneer Press Screws
...
- Easy DIY Safety Straightedge
- Modular Veneer Press Build
- Cheap DIY Veneer Press Screws
Just a few more pictures and explanations than the project post had room for. The concept is simple and can be adapted in many ways but here is what I did.
First off I selected knot free parts of 8’ construction 2X4’s and ripped them into 1X4’s. Then I laminated them up in half laps so that the result looks like a box joint but is easier to get perfect fit and glue ups. I used PVA glue because I had it around and threw a few staples in to keep things aligned while I quickly laid up the frames.
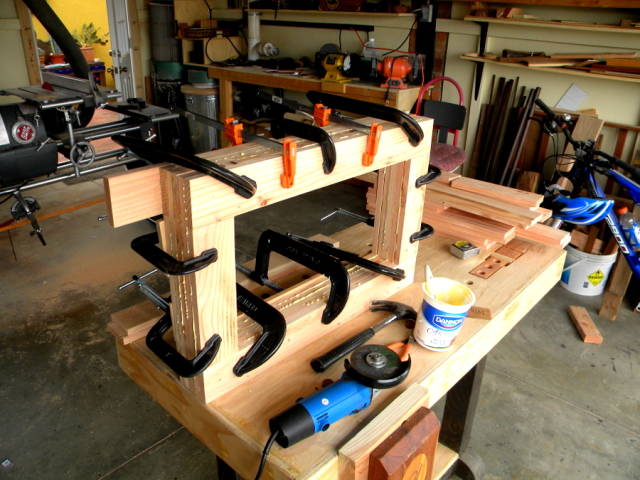
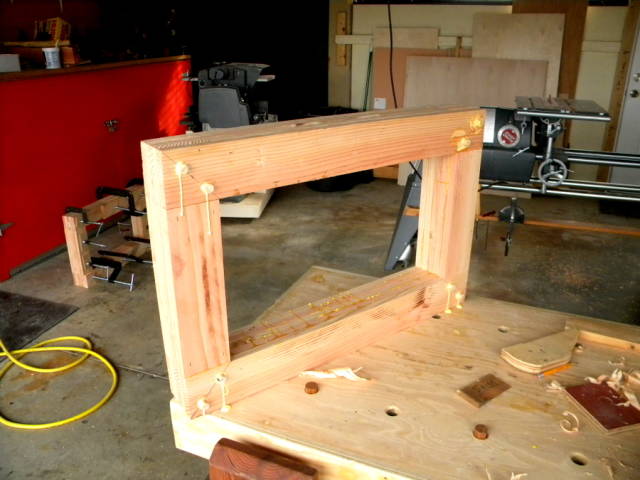
Just for a little added strength I pinned each corner with 1/2" dowels when the clamps came off.
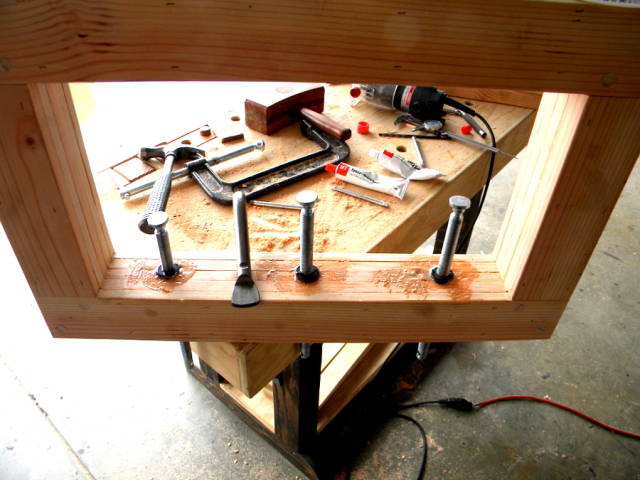
Next I bored holes for the screws…….
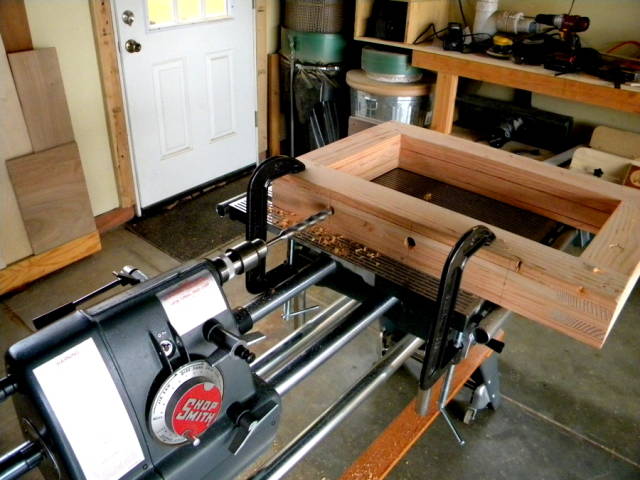
…. and expanded the holes on the inside with a trim router to fit the “nuts” and provide a shoulder for them to work against. This is the one of the old frames but the same was done with the new ones.
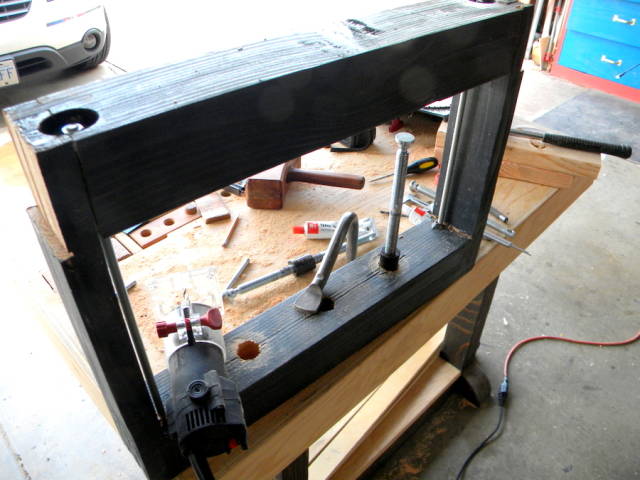
The shop made screws are epoxied in with cheap quick set epoxy. All it does is keep them from falling out. The force is taken on the wood shoulder inside the holes.
Once you have the frames you can make the platen and screw it to the bottom cross members. this is just to keep the pieces together and again has no bearing on the strength of the press. You can use more or fewer frames and can also add a few C clamps around the platens at the outer ends if you like.
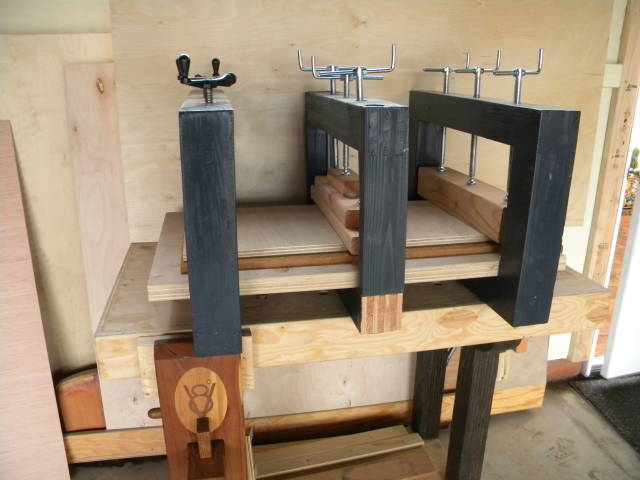
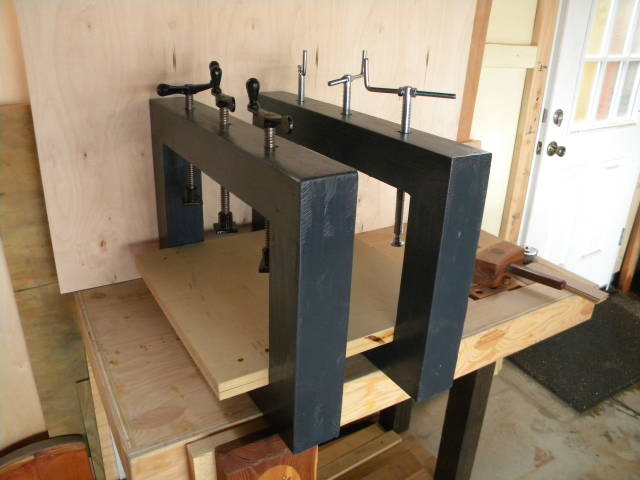
This is a really easy build and makes for a very versatile press. You can use the whole area to glue up a large project or have several smaller items even different thicknesses, pressing at the same time. I use it all the time for flattening veneer, pressing veneer after paper backing, glue ups on assembly boards, actual pressing of marquetry with or without hot cauls, and generally just to keep things flat while they await assembly into a project.
In short, since I’ve had these presses I have come to depend on them an cannot imagine what I would do without them.
I did a blog on how to modify the C clamps here.
Thanks for looking in.
Paul
The early bird gets the worm but its the second mouse that gets the cheese.
5 Comments

Good idea with the half laps. Looks incredibly strong.
Losing fingers since 1969

Thanks for the details Paul.
Abbas, Castro Valley, CA

I especially like the reinforcement rods you put on the ends of the frames. I may incorporate that feature on my press to give it some extra strength. Though my frame is holding together quite well, I can see that the hydraulic jack I use puts a lot of strain on the joints even though they are pegged.
Mike, an American living in Norway
I didn’t put them in the new frames and don’t have them in my big press at home Mike but I didn’t trust the surface area or the construction grade lumber in my first edition of this one so I added them and though a couple of joints did fail, the press never did.
With the surface area and laminated construction on the new frames, I’m completely confident. Remember, hide glue doesn’t require huge pressure.
The early bird gets the worm but its the second mouse that gets the cheese.
Ok, Paul, I will drop the rods. Thanks for saving me the trouble and expense.
Mike, an American living in Norway