


Share your craft projects
Make new craft buddies
Ask craft questions
Blog your craft journey

shipwright
2135 posts
and
113 followers
in almost 12 years
in almost 12 years
Marquetry Jewellery Box #8: Truing Up the Cantilevered Drawers
This is
part 8
in a
17 part
series:
Marquetry Jewellery Box
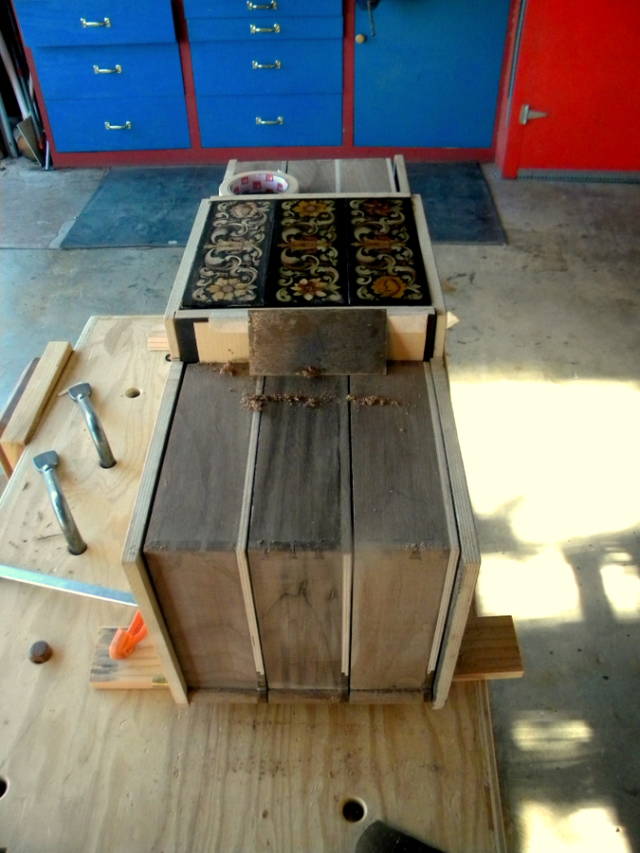
Now that I have the plan in place for the end marquetry there is a little housekeeping to be done with the drawers. The pull out ones in the centre column are straightforward and relatively easy so I have already glued the marquetry to them. The tricky ones are the cantilevered drawers in the side columns.
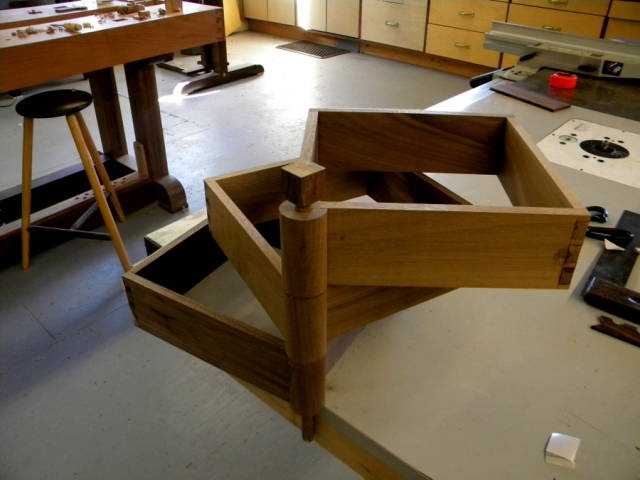
When last seen they looked like this. They were glued up but had no bottoms.
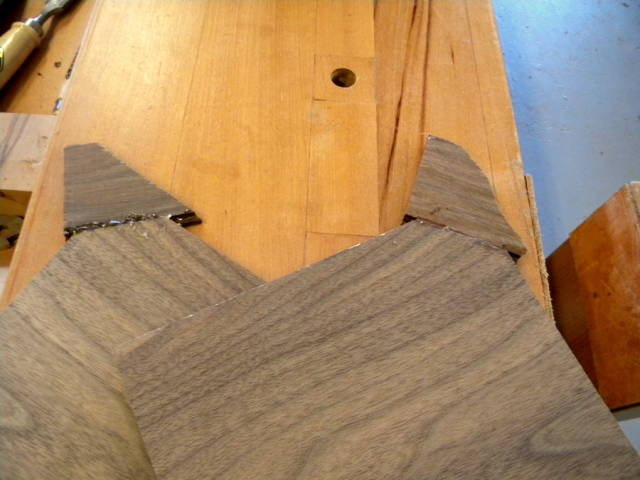
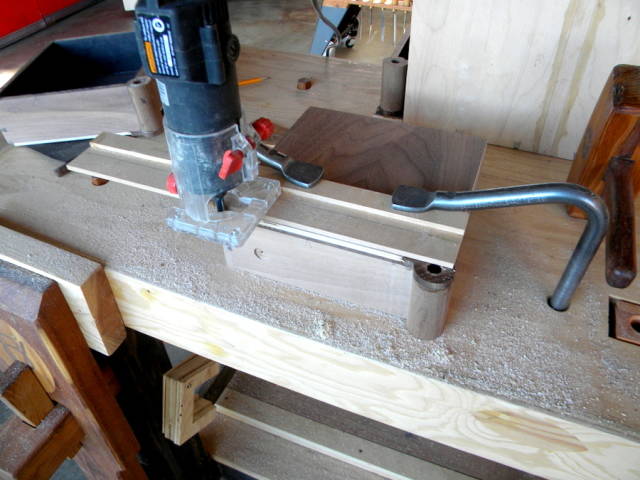
The bottoms will be 1/4" plywood veneered both sides with walnut and ebonized. Because the plywood can’t show on the hinge columns and to strengthen the corner joint I half lapped a piece of queen ebony onto the hinge corner of each,…
glued them on, and trimmed them flush. (Those of you who know my shops will notice that the last one was at my home shop and this one is in my Az. shop)
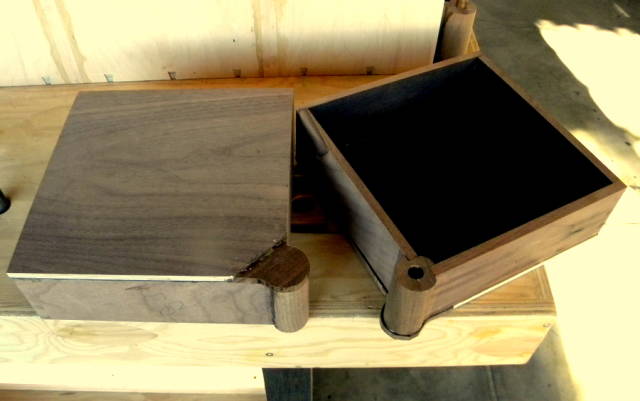
As the two inside edges of the bottoms will be seen when the drawer is opened, I routed a little rebate and inlaid a bit of solid walnut. The two outside edges will be covered with marquetry.
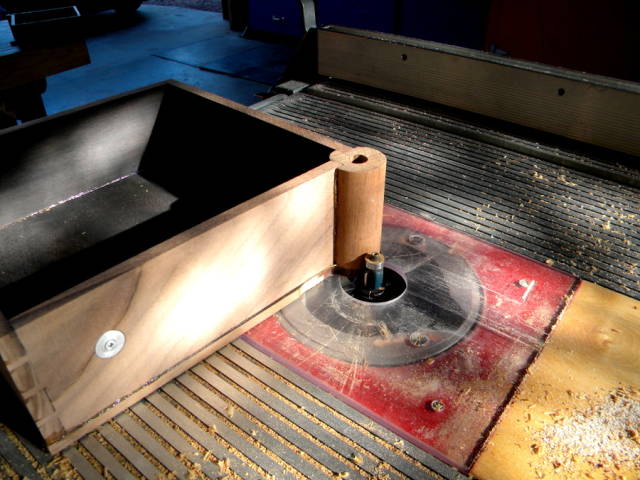
So that brings the construction details up to date. Now for the tricky part. I spent a lot of time trying to tune the cantilevers with my carefully turned ebony hinge pins but in the end the tolerances were just not good enough. I switched to 1/2" brass tubing inserted into the holes in the drawers and 7/16" for the pin. With 1/32" wall the fit makes a perfect brass on brass bearing with much less play.
The cantilevers will make or break the structural side of the project. They must move so smoothly that you can’t stop playing with them. They cannot touch any other part when they swing, and they need to close leaving the front and side panels perfectly planar and with very small cracks because the end marquetry will be a single picture.
…………. That’s why it took so long but ….. I did get ’em done.
Here’s a little video of the resulting hinge action.
Now the rest of the drawer front marquetry pieces can be glued on and I can get started with the end motifs.
It may be a while before the next entry but at least I’m pretty sure there will be a next one. There were moments when ……
Thanks for looking in,
Paul
The early bird gets the worm but its the second mouse that gets the cheese.
7 Comments
Excellent work paul, I was wondering if the dovetails will be a problem when you apply the Marquetry?

I’m always amazed at how you are able to solve these technical problems so well Paul and also your awareness of what is necesarry to make the finished product sing. Great thinking and solution for this particular problem.
Mike, an American living in Norway

You really think about every detail.
-half laping the queen ebony to the ply so it does not show.
-The brass tubing to reduce the play.
Those are fine construction detail I would have not thought.
It’s coming along really well. With the marquetry you shown us last time it will rock.
Abbas, Castro Valley, CA
Thanks guys,
Bob, I thought about that but I just can’t see anything telegraphing through this 1/16" ebony. It’s like steel plate.
The early bird gets the worm but its the second mouse that gets the cheese.

Paul,
You really work quickly for such incredibly detailed work. This will be a masterpiece. (Now I have two of your videos to watch when I get time at a hot spot.)
L/W
“Those who would give up essential Liberty, to purchase a little temporary Safety, deserve neither Liberty nor Safety.” Benjamin Franklin
1/16" Eboney? Is that part of your French connection buy? Very nice.
Yes Bob, 1/16" sawn Gaboon Ebony. Certifiably pre-ban and all. Just don’t ask the price.
:-)
The early bird gets the worm but its the second mouse that gets the cheese.