


Share your craft projects
Make new craft buddies
Ask craft questions
Blog your craft journey

shipwright
2073 posts
and
112 followers
in about 12 years
in about 12 years
Marquetry Jewellery Box #11: Mounting the end motifs
This is
part 11
in a
17 part
series:
Marquetry Jewellery Box
...
-
Ten days of cutting, but the end motifs are done.
-
Mounting the end motifs
-
Bump-out Verticals
...
...
- Ten days of cutting, but the end motifs are done.
- Mounting the end motifs
- Bump-out Verticals
...
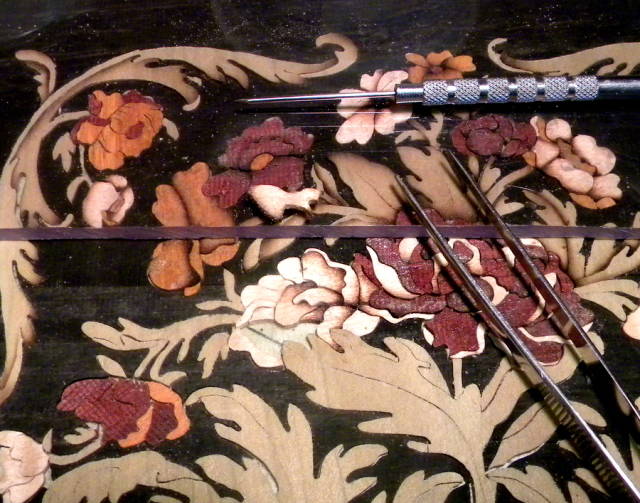
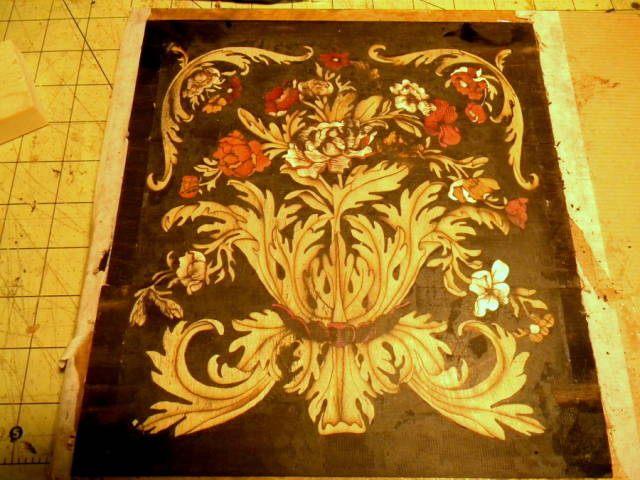
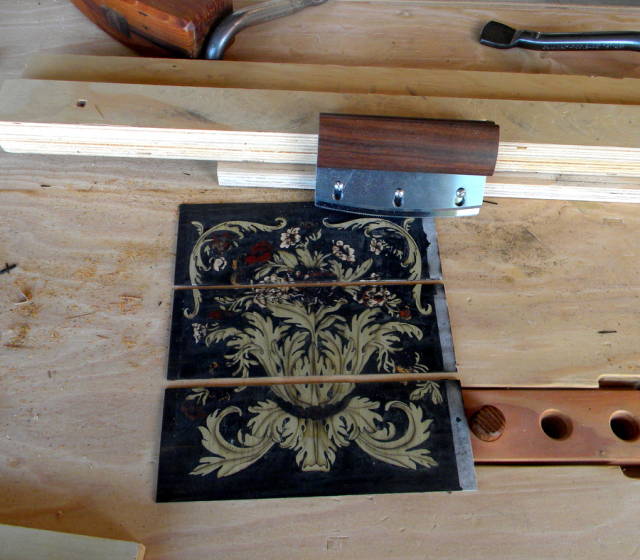
First off, here’s a photo that shows why I like to use self adhesive shelf paper for initial assembly. It allows me to set the piece up with equal kerfs, (painting in wood and Boulle styles) sub in flower colors as explained in the last segment, and see my shading as it progresses. In the photo you can see one of the pieces has been removed and shaded (lying on the plexiglas, top) and you can see the progress of the shading in the motif. The low tack adhesive makes this removal and replacement easy.
When I’m finished shading and I’m happy with the composition, I cover the glue side with masking tape, flip it over and remove the film from the show side.
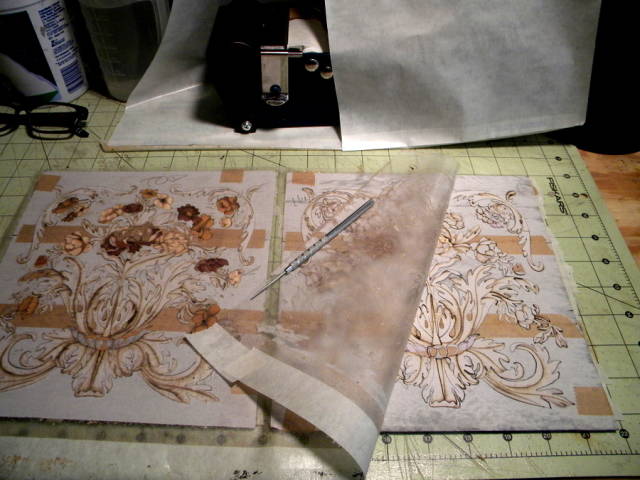
Then I take the whole thing and mount it in one piece on kraft paper with hot hide glue. After pressing (moderate pressure) and letting the glue dry, I remove the tape.
Here the piece has been filled with black mastic. (HHG, fine sawdust, black poster paint powder)
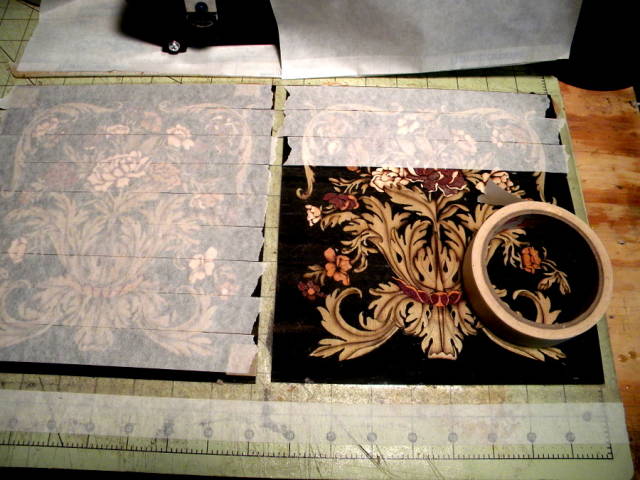
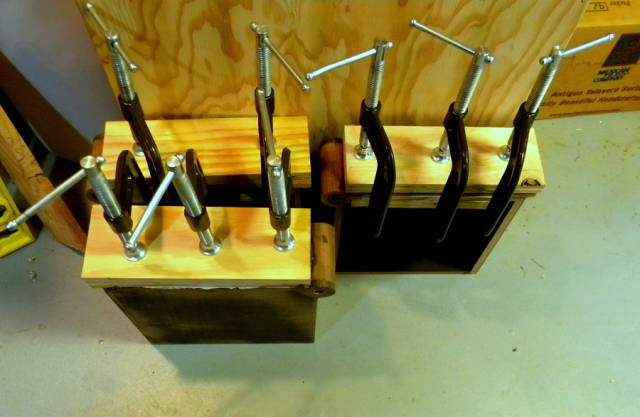
Here comes the scary part. Before I assembled the ebony layer of the packet, I cut the panels for the centre drawers to exact dimension. I then carefully aligned the layers in the packet. Now I have to separate the panels at exactly the lines of division in the ebony layer.
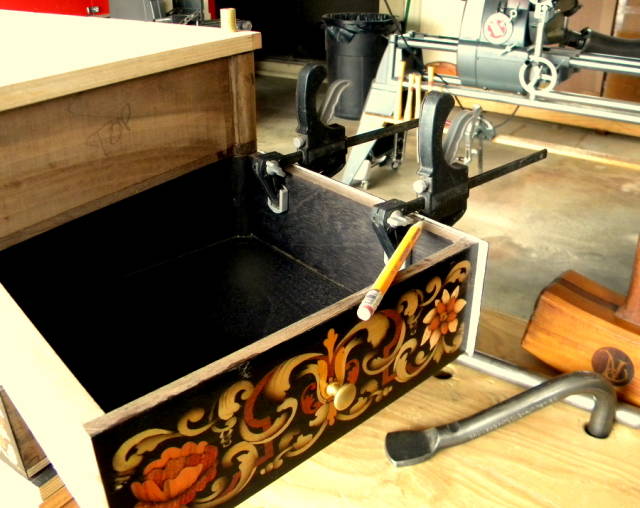
As it turns out, I got the cuts done pretty much as I had hoped and heaved a huge sigh of relief. The relief lasted a few minutes before I realized that the really scary part was next. When you glue these to the substrate, you don’t get to see them so you label and mark everything you can think of, dry fit ten times and then suck it up and apply glue and press them. If you get one upside down (or an eighth of an inch too high or low or left or right, or crooked), there is really no way to fix the problem. ……. hence the mulitple dry fits, marking etc.
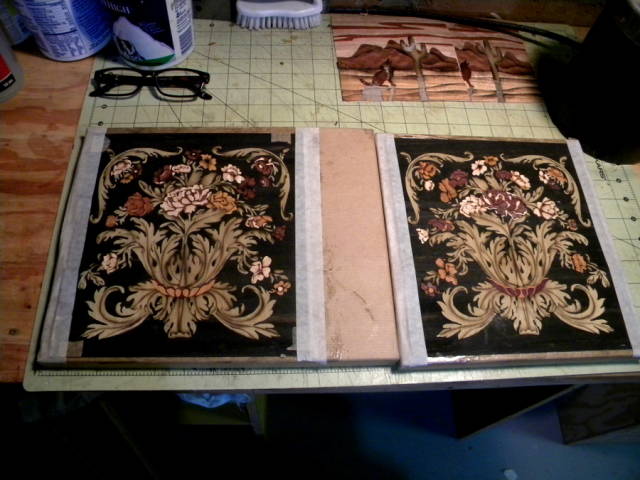
The picture below looks pretty ordinary but represents a night of poor sleep, two actually as I did the other side the next day.
To make a long story short, I got away with it this time. At my age this is firmly in the risk taking field as I seem to make little “slip of the mind” mistakes more often than I used to. But I made it this time so on to the next challenge.
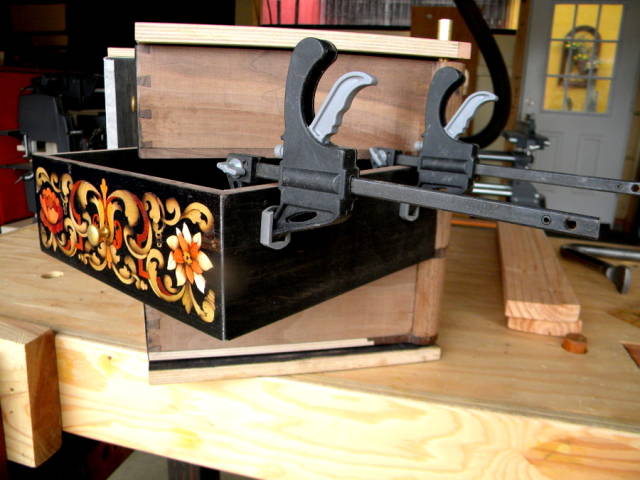
Here’s how they looked all mounted on the drawers and out in the Arizona sun.

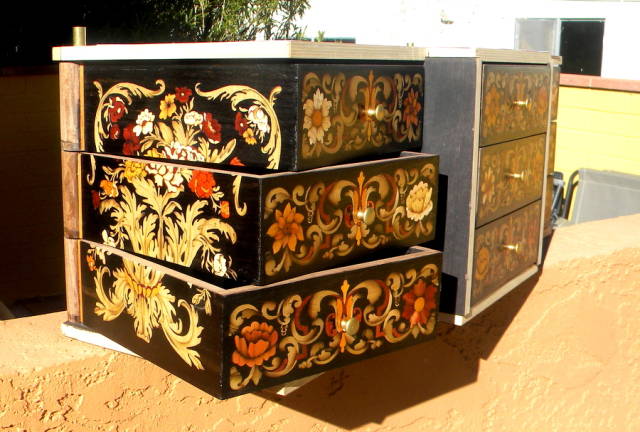
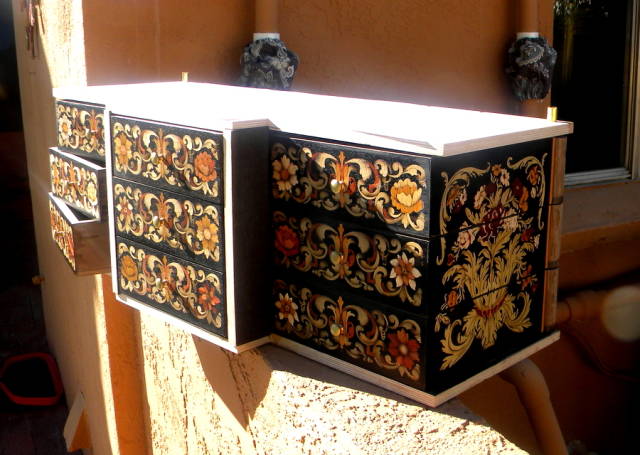
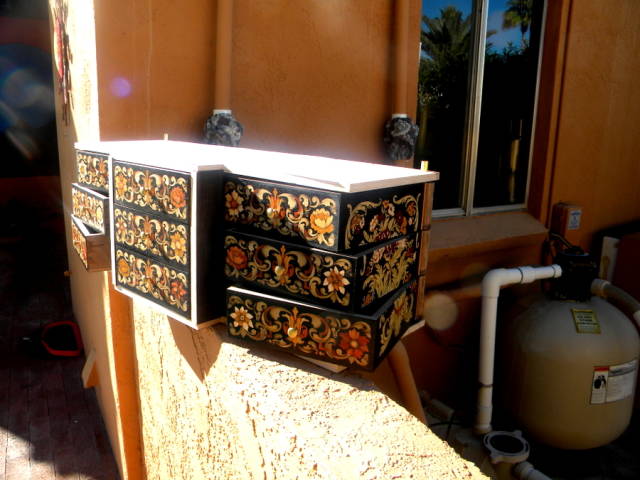
You may notice that the 2" wide “bump out” strip looks a little bare in plain black. Well ………. be patient.
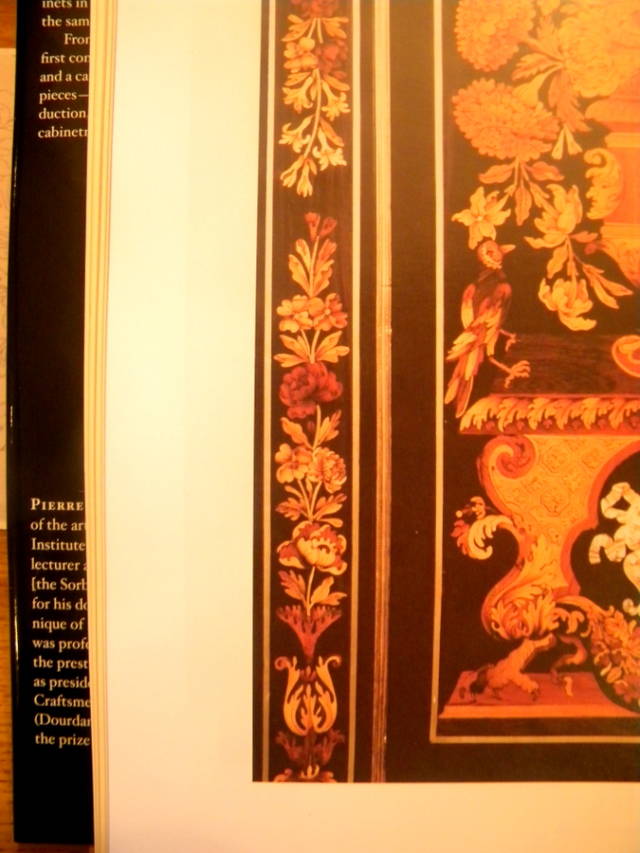
This is a picture of part of a page in “Masterpieces of Marquetry”
With that I’ll sign off for tonight and get a good sleep.
Thanks for looking in.
Paul
The early bird gets the worm but its the second mouse that gets the cheese.
7 Comments
So complicated! All the ‘best stuff’ takes the most effort. Happy new Year, Paul. Stay Calm and Carry On! Love your work.
Might As Well Dance : http://barbsid.blogspot.com/

Very intricate work Paul.
Cutting this fine work is indeed stressful. Many people would not have dare make the cut and opt instead to hang the marquetry on the wall.
Shelf paper, Poster paint and butcher paper are on my list of might come handy supplies.
Does your veneer saw has the teeth beveled on both side like a knife or just one beveled and on flat?
Abbas, Castro Valley, CA
Unbelievable attention to detail. Beautiful.
Thanks for the kind words,
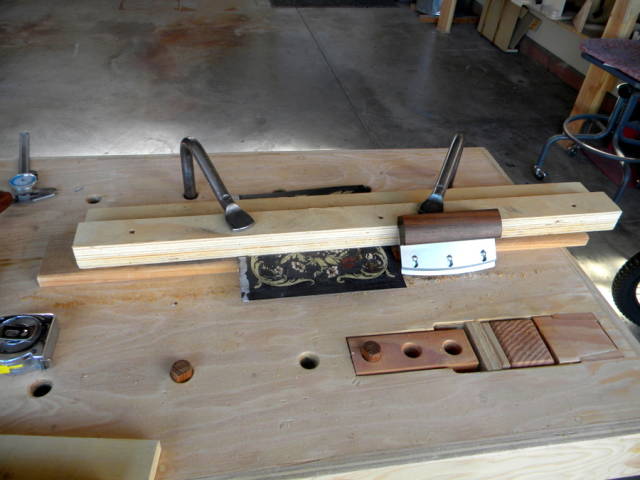
Abbas, the saw is flat on one side and 18 degree beveled on the other. Check it out here.
As for the supplies, the shelf paper I use is a brand called “Contact” and the tempera paint powder is easy to find online but the only place you can get the particular butcher’s paper that works for this is from Patrick Edwards at ASFM. He imports it from France. Select “supplies” from the column on the left and look for French ribbed butcher’s paper.
The early bird gets the worm but its the second mouse that gets the cheese.
Thanks Paul.
I got the answer I have been looking for :)
Abbas, Castro Valley, CA

I still marvel at every step you post. Your skills leave me with a better understanding of how it is done even if it is far beyond my own skill level it makes me want to step up my own game. Thank you very much for taking the time to allow us to follow along, and going into the detail teaching as well as the skills you have to create.
CHRIS, Charlottetown PEI Canada. Anytime you can repurpose, reuse, or recycle, everyone wins!

Awe inspiring work Paul and everything put together perfectly. Sleep well!
Mike, an American living in Norway