


Share your craft projects
Make new craft buddies
Ask craft questions
Blog your craft journey
Blog Series
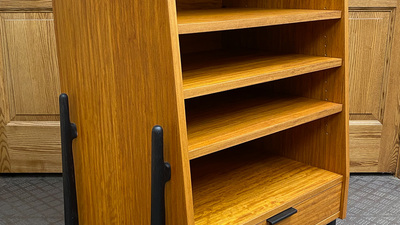
Media Cabinet
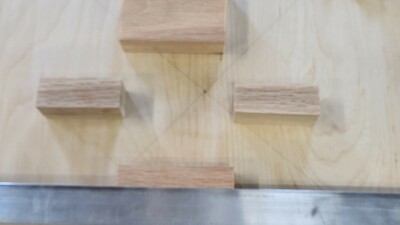
Part 16: Odds and Ends
Here are some progress photos on some miscellaneous bits.
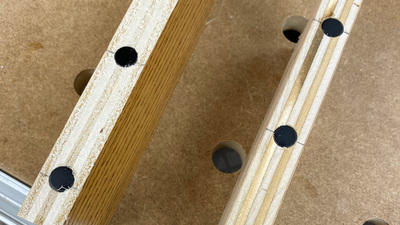
I did do a test with edge-to-edge magnets. They did pretty well self-aligning, and they...
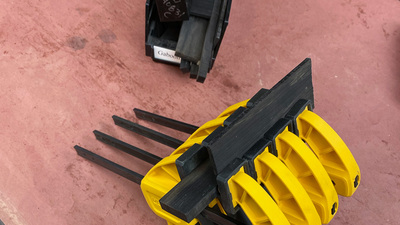
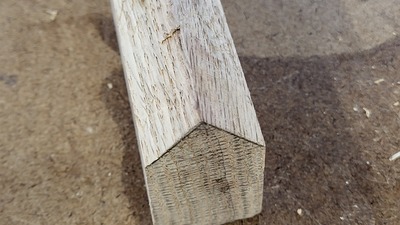
Part 17: Drawer Pull
For the drawer pull, I decided on a simple edge-mounted design. I wanted it to be black to match the legs, and to avoid another round of ebonizing...
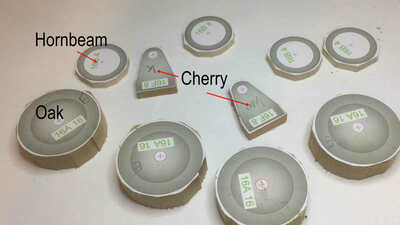
CNNP Sheoak Coasters
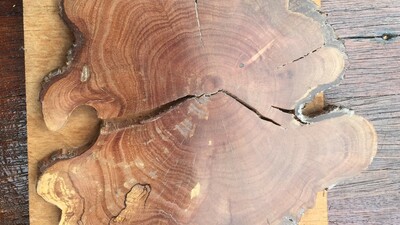
Part 3: Polishing my Wood
Now here is some interesting information for you the interesting indented growth rings are commonly referred to as Hazelwood.
This unusual characte...
Part 4: my attempt to be a "shipwright"
Then look I had disillusionary thoughts after seeing some of shipwrights work I could replicate a table.
Its the same table I attempted to "copy" ...
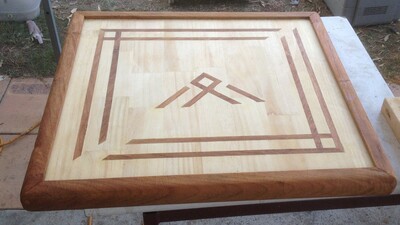
Part 5: CNNP Coaster meet the CBHS Table
OK after making template to use for inserting the She-Oak into the table top I removed the clamps and continued.
[IMG_3153.JPG]
I used a stand off...
Sash Windows - journey into the unknown
Part 9: I knew I should have used oil based paint
Not that it really matters, the hopelessly optimistic completion date of mid October for the windows has been and gone, and there's still a way to ...
Part 10: Glazing Part 1
Back onto the windows at last, got nothing done in December, I am now looking at Easter as a deadline to have them ready to be fitted.
From the ou...
Part 11: Why didn't I think of that before #738 & #739
This weekends first 'why didn't I think of that before moment' came when I was setting up the router to do the beadings and glazing bars.
That was...
Singer Base Desk

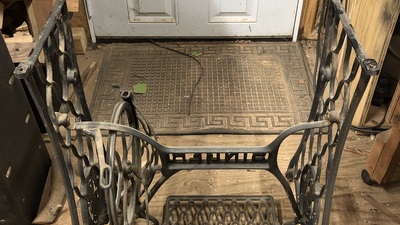
Part 2: Mesquite Top
Needing a small desk for guest area (Airbnb) that is vintage decor. Reclaiming a cast singer treadle for the base.[image.jpg]
During our trip to Te...
Laser basket weave from veneer
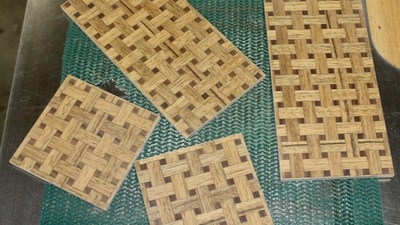
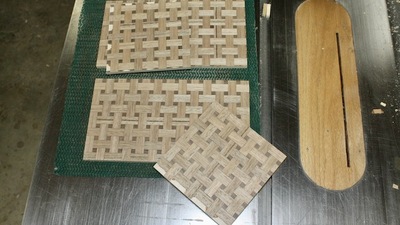
Part 1: Intro Blabbering
[IMG_8902.jpeg]
I did this pattern before as one of my first stabs at cutting veneer with my laser. This time I was going to better document the p...
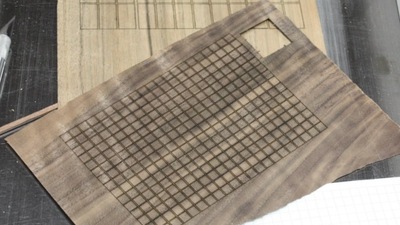
Part 2: Making the cuts
[IMG_8875.jpeg]
For this project, I chose some walnut and Burmese teak. The teak has some great chatoyance, a big color shift as you view it from ...
Part 3: Building the Design
[IMG_8886.jpeg]
Ok, time to decide on how you plan to attach the assembly to something to give it a life.
I use a vacuum bag for veneering. That ...
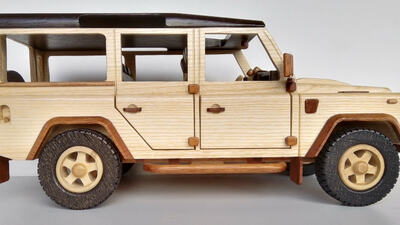
VW BULLY T1 Camper van
Part 18: VW Bulli T1, Wheels
This phoVto serie is about making a VW bully camper van T1
[Image]
The plan for making this model you can find at my website.
Enjoy reading and ...
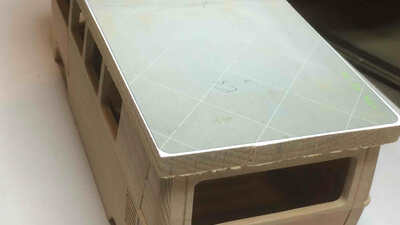
Part 19: VW Bulli T1, Roof
This photo serie is about making a VW bully camper van T1
[Image]
The plan for making this model you can find at my website.
Enjoy reading and k...
Part 20: VW Bulli T1, Pack rack
This photo serie is about making a VW bully camper van T1
[Image]
The plan for making this model you can find at my website.
Enjoy reading and k...
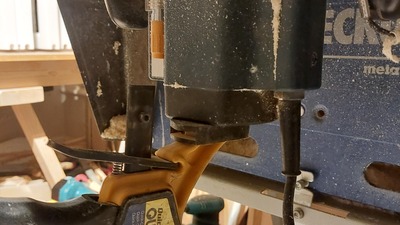
Performax 16/32 Jack Screw Repair
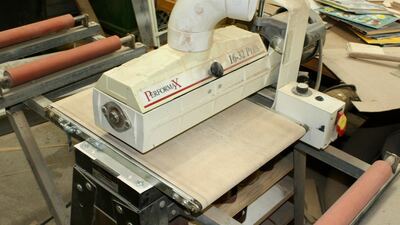
Part 1: Preventative Maintenance
This is my baby, most used tool in the shop behind the table saw.
[IMG_8839.jpeg]
When I first started using it, I was undewhelmed with what it c...
The Journey of a Kayak Build
Part 1: A little about the project
I have wanted to build a Kayak for some time now, and I finally have a shop that I can build in. I have spent a few years reading up on boat buildi...
Part 2: A Little Prep Work
I decided to start off with a little prep for this build and make a few samples.
The Kayak will be built with an Internal frame which consist of f...
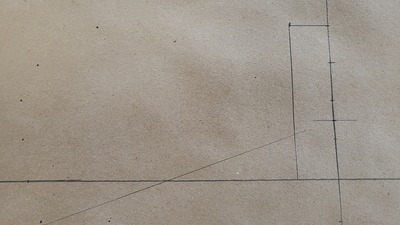
Part 3: The Lofting Process
Definition for those who I lost. Lofting is taking a set of numbers which are included in a Table of Offset. These numbers define the shape of the ...
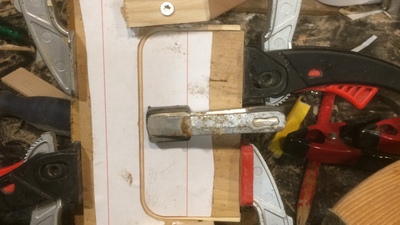
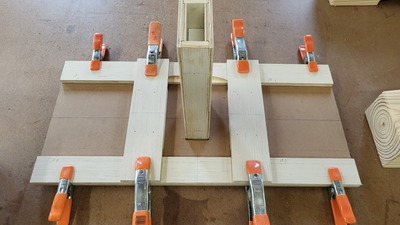
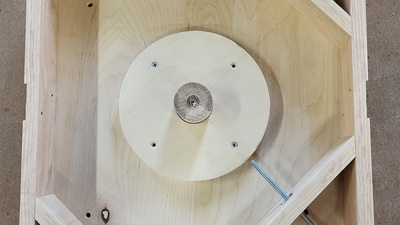
Segment Gluing Jig.
Part 2: The Mechanical Parts
Had to work out some the functions on this build her:
1) A secure verticle post.
2) A bar with a stop block
3) A indexing system
4) A locking syste...
Part 3: Details of a Clamping System
I will back up a bit to start. This is what the bottom of the post looks like.I will be able to lock it in place to the layout line.
[20230815_192...
Part 4: Some finishing touches
Back at it this evening finally, other stuff to be done around the house and errands.
I did a little sanding on the interior pieces and glued up t...