


Share your craft projects
Make new craft buddies
Ask craft questions
Blog your craft journey

shipwright
2073 posts
and
112 followers
in almost 12 years
in almost 12 years
Hide Glue Primer #3: Hammer Veneering
This is
part 3
in a
4 part
series:
Hide Glue Primer
-
A Bigger Glue-up
-
Hammer Veneering
-
Pressing with Hot Cauls
- A Bigger Glue-up
- Hammer Veneering
- Pressing with Hot Cauls
I built a new sliding hatch for Friendship last year to replace the $136 piece of medium bronze acrylic that I sat on the while setting up some rigging…. Crack !!!…. This time I cold molded a curved panel from 3 layers of 1/8” cedar on opposing diagonals and decided to make it appear to be a solid mahogany hatch. This would be difficult to press with either my screw press or clamps and would require substantial jigging to vacuum bag so the obvious answer seemed to be to hammer it. Of course I also was dying to try out my new real (not home made) veneer hammer from Tools for Working Wood and the new glue brushes from the same order. Don’t worry about the hide glue on a boat thing. This was coated in epoxy when finished and will never be soaked for a long period in hot water.
I ask you can veneering be any easier than this?
BTW, I love the new hammer and the brushes are a winner too.
Thanks for looking in.
Paul
The early bird gets the worm but its the second mouse that gets the cheese.
12 Comments

You make it look too easy…
It will take me tons of practice to do that Paul.
I guess one step at the time.
Abbas, Castro Valley, CA

Just to reinforce your argument Paul, it is as easy as it looks. Of course my experience thus far is limited to very small pieces, but I feel confident that it won’t be much more difficult for larger pieces like you are working with in the video. Doing very large pieces might be a little more iffy, but It just takes diligence and keeping at it long enough to squeeze out excess glue/air to create a good vacuum between the substrate and the veneer. I can see that with large surface pieces the glue could cool too quickly causing problems, but it is my understanding that with a clothes iron and some damp cloth between it and the veneer the glue can be reheated so the work can continue. I’m looking forward to trying some larger panels to see if I do them as good a I think I can. Low in skills high in confidence!
Mike, an American living in Norway
Actually Mike, I find that often the problem is that the glue doesn’t cool quickly enough and my initial tack doesn’t stick at first. One of the advantages of a heavier cast iron hammer I find is that it takes the heat away and gels the edges better.
The early bird gets the worm but its the second mouse that gets the cheese.

Very nice Paul. I would like to try this. One problem might be that that hide glue would only dry in the winter time here in South Texas.
I liked the trip blog. Everybody needs to go sailing every now and then. I hope I have one or two more Atlantic crossings in me.
Tor and Odin are the greatest of gods.
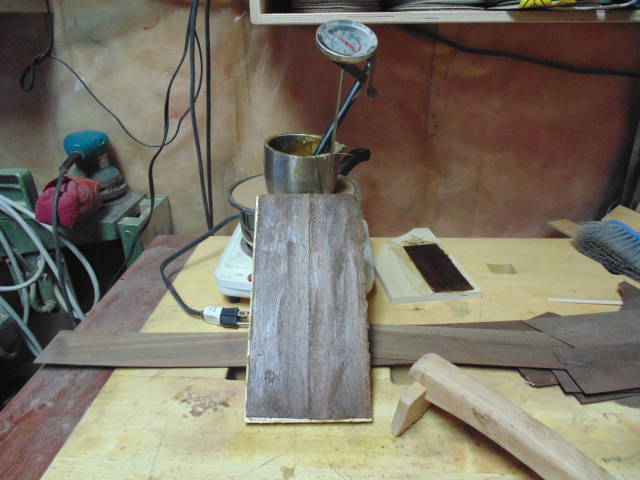
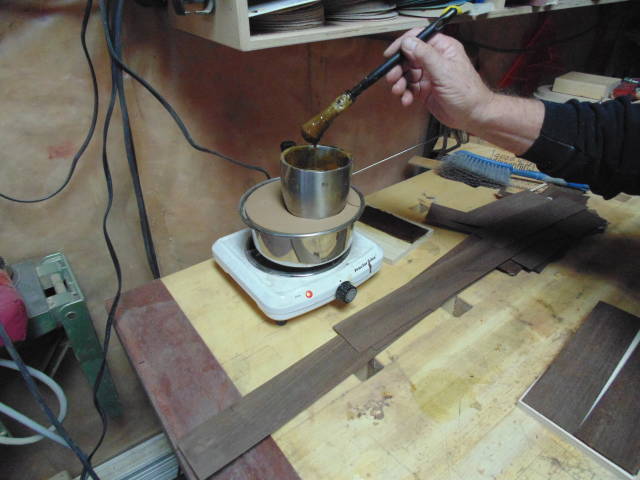
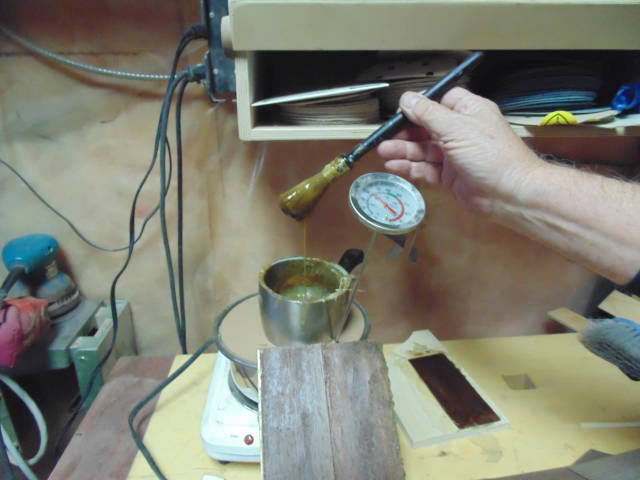
Well I gave it another try tonight and first I increased the heat in my glue pot because the temperature that the thermometer is reading is false .
The glue seems a bit thinner with the higher temperature and runs of the brush in a nice stream and I gave it a try on a sample and it went down fairly good but a little thinner glue would have done better I think .Tomorrow I will take a look at the sample and upload a video that we took of this .
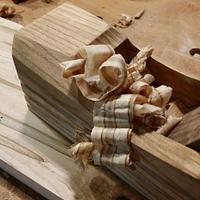
Here are a few pictures for now looks a little messy but that will change with practise I hope .

Funny you mentioned tool for working wood. They are in Brooklyn. I stumbled across their website looking for hold fasts. On their website they invite people to come to their shop. I may just do that and pick up the holdfasts from them directly.
Losing fingers since 1969
Do it Brian. They are good people and have great products. I have several of their tools including two sets of their holdfasts.
The early bird gets the worm but its the second mouse that gets the cheese.
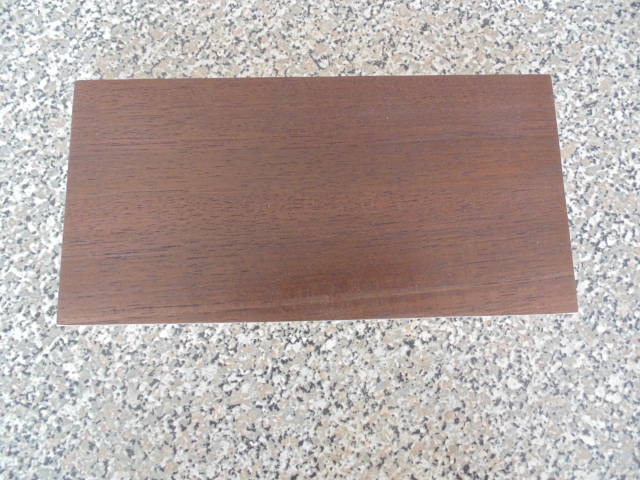
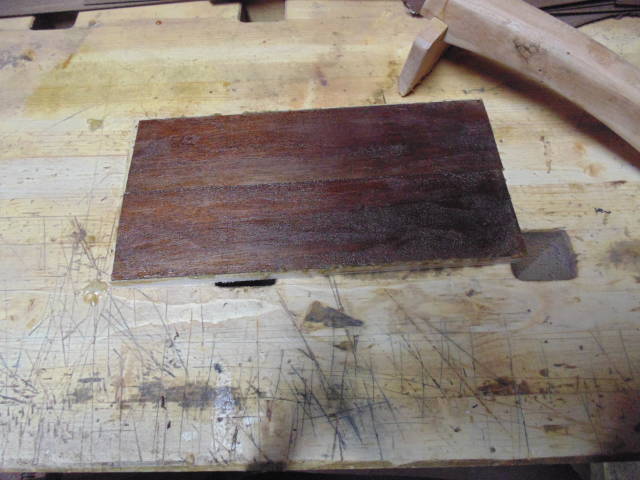
Here is the finished sample board and it turned out well.
The glue worked and the two strips of veneer are tight together and glued down good .
Success .
Just a matter of figuring out the temperature and viscosity .
I’m glad you got it working for you Klaus. If your thermometer was lying to you, there’s the culprit. Even with the right temperature viscosity is critical. “Just right” is almost always thinner than the beginner thinks. It took me a few frustrating tries before I got the hang of it.
Now the fun begins.
The early bird gets the worm but its the second mouse that gets the cheese.

I have the glue pot and glue just have to try it out on something maybe a small veneered box, I have been using Old Brown Glue and love it. I need to get a veneer hammer just thought I would make one.
-- Paul--- Creativity is allowing yourself to make mistakes. Art is knowing which ones to keep. — Scott Adams
Home made ones work well Paul. I’ve used a standard paint scraper with the business edge rounded smooth. That said a real one is so much better
The one I’m using in the video is Two Cherries brand.
The early bird gets the worm but its the second mouse that gets the cheese.
One good tip I got from Patrick Edwards on viscosity for veneering that really helped me was to take your brush out of the glue and let it drip. You should have your brush about a foot above the pot and still get a solid, unbroken stream. Whenever I think my glue is thin enough; it isn’t.