


Share your craft projects
Make new craft buddies
Ask craft questions
Blog your craft journey

shipwright
2073 posts
and
112 followers
in almost 12 years
in almost 12 years
The V8 Wedge Powered Workbench #5: Assembling the Interlaid Legs
This is
part 5
in a
8 part
series:
The V8 Wedge Powered Workbench
...
-
Fitting the Sides and Ends
-
Assembling the Interlaid Legs
-
Mounting the Wagons and Cosmetic Top
...
...
- Fitting the Sides and Ends
- Assembling the Interlaid Legs
- Mounting the Wagons and Cosmetic Top
...
Ok, lets get into the leg assemblies. This is one of the really interesting parts of my bench. The leg assemblies end up as perfectly fitted finger joints with the very best possible glue joint but can be cut and assembled with butt joints and simple fasteners. I used a pneumatic stapler.
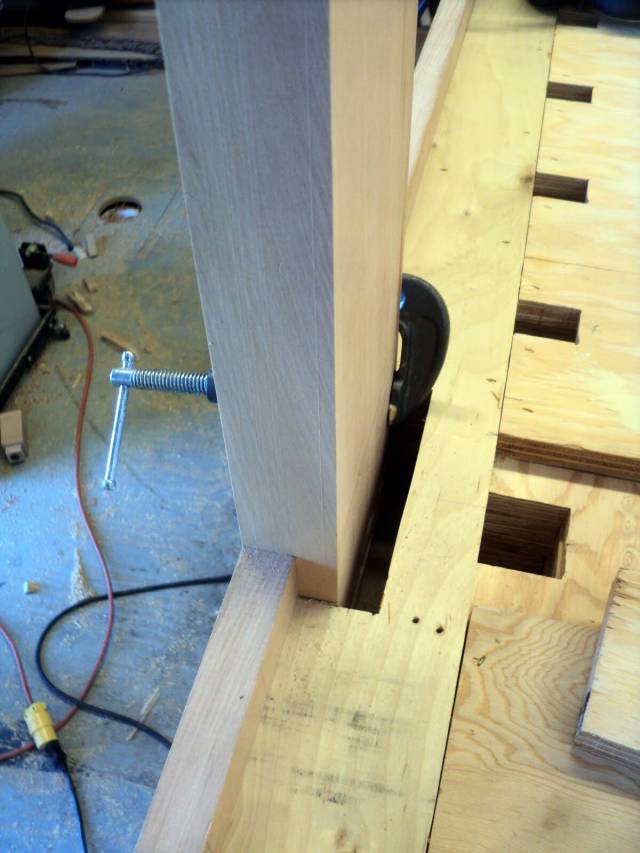
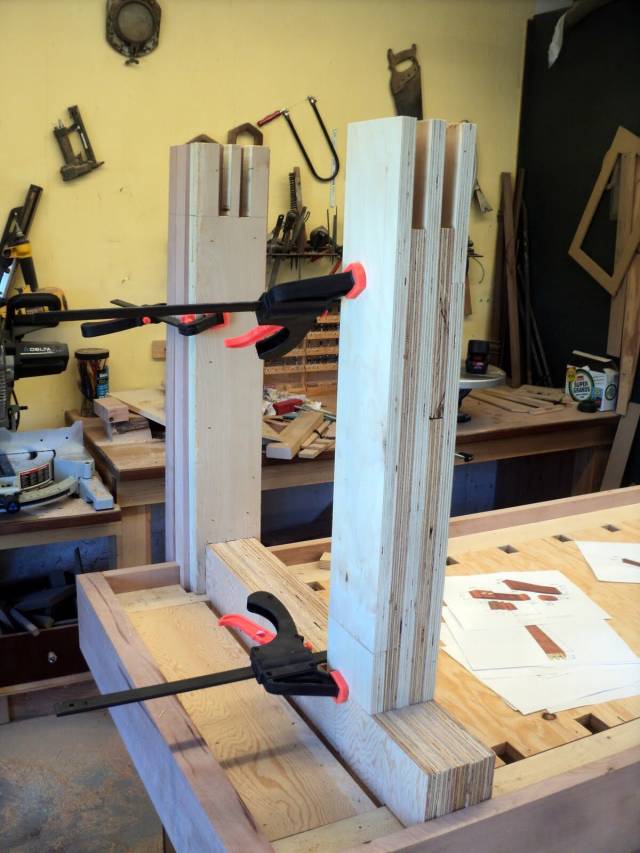
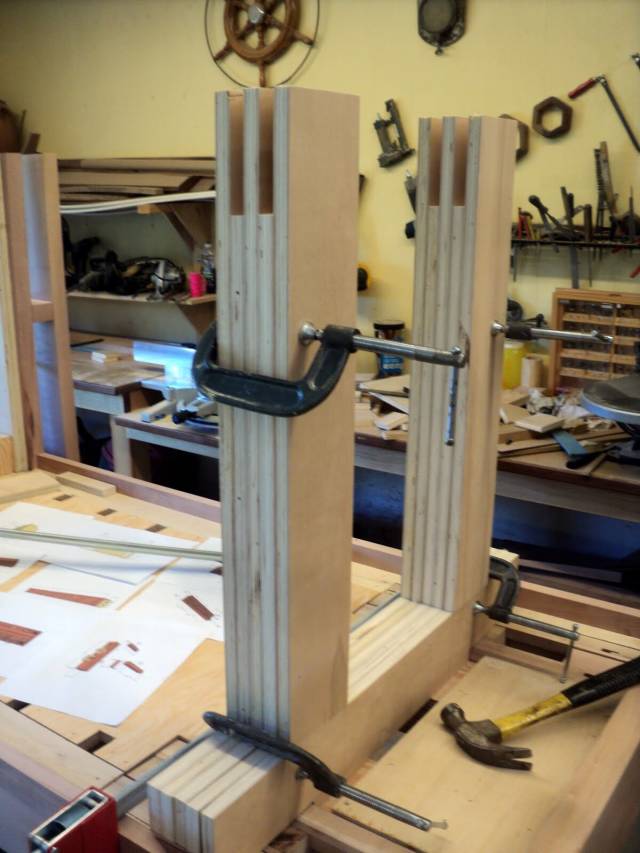
Here I have fitted the inner leg vice piece. It is 1 3/4" X 6" arbutus and is half lapped inside the face board up to one layer into the bench top. It is fitted here to act as a spacer while assembling the plywood leg members for the vice end of the bench. You can see, just inside this piece, that there is a hole that goes right through the top layers. This will be filled by the outer of the two plywood leg layers.
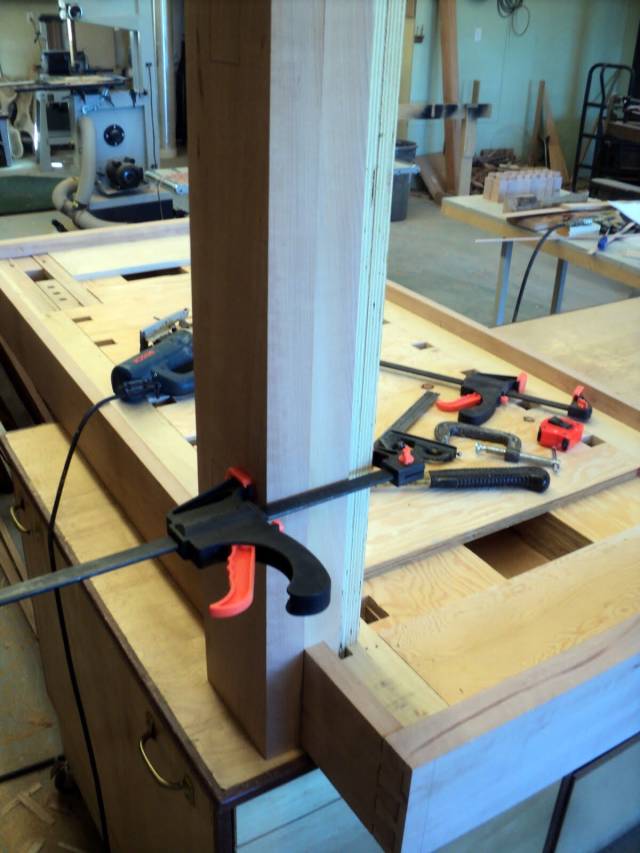
Here the two plywood leg members have been dry fitted. The first in its hole in the tabletop and the second (inner) butted against the bottom.
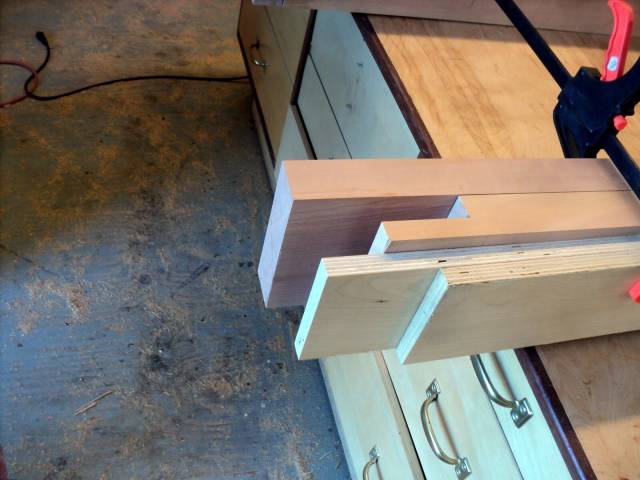
Pulled out for a photo op, the whole leg vice leg joint looks like this. It isn’t that important here how the interlock works as much as that it does interlock in some way to make a rigid base for the vise. The second piece of arbutus on the outside is the movable vice component.
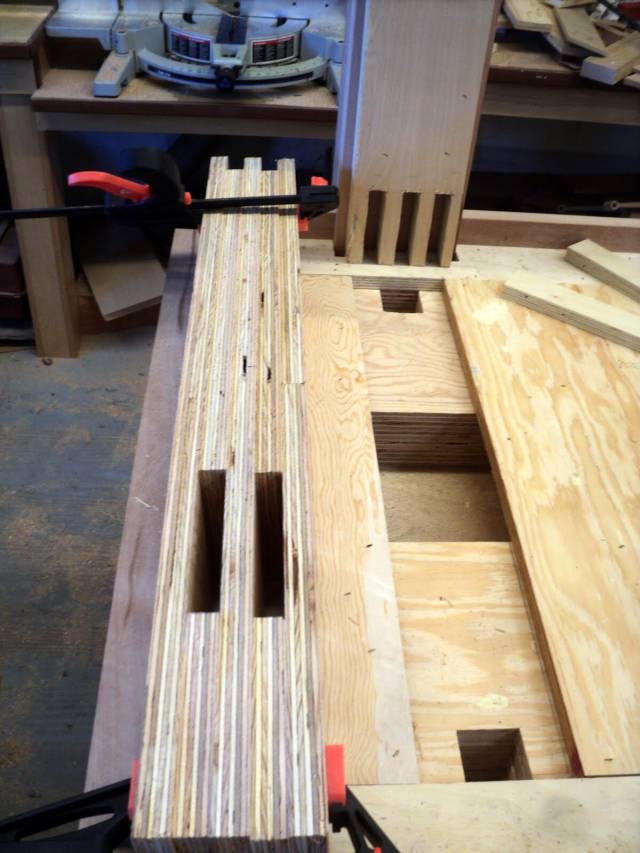
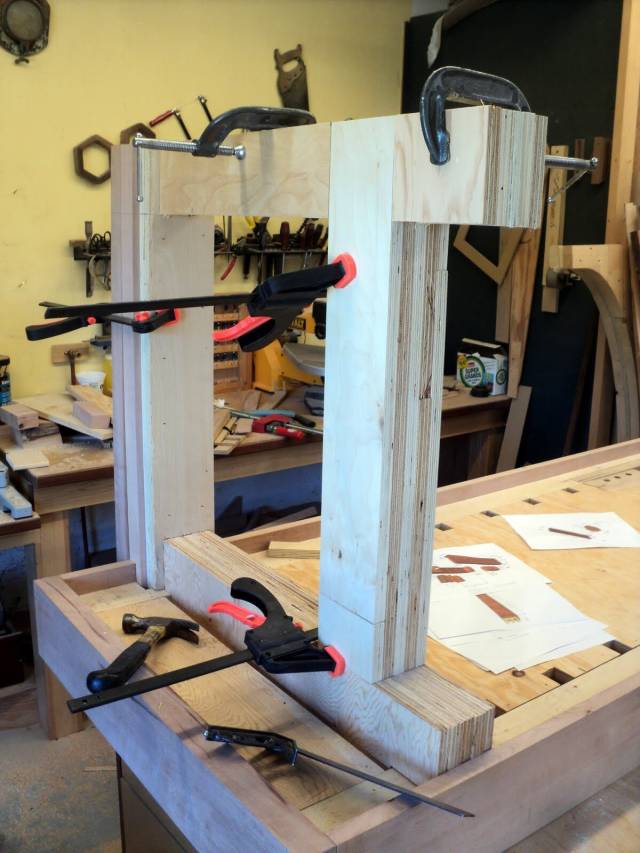
In this photo three recesses have been jig sawn into the 1 1/2" plywood leg member and the five layer top leg beam is laid up beside it…. all dry fits so far.
Now the top beam has been dry fitted and the five layer back leg has been added. You can see that the vice end piece now has jig sawn recesses for the bottom leg beam.
Finally the lower beam has been dry fitted and the leg is complete. The fact that the beam is not completely filling the space left for it in the bottom layer of the top is because at this point I was still planning to “plate” the plywood with 1/2" arbutus to create the solid wood illusion.
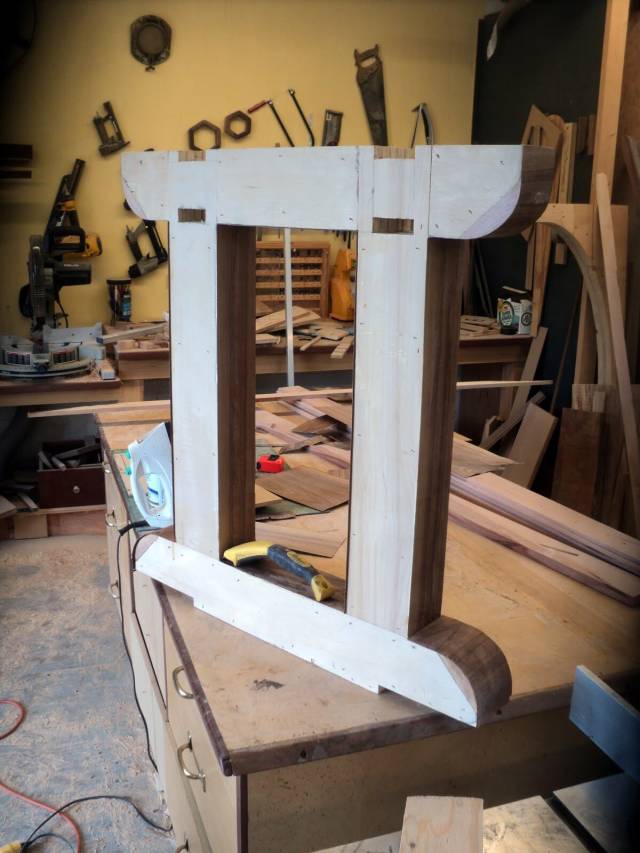
On to the free standing leg. This photo shows one of the alternating layers of the free standing leg. All joints are simple butts.
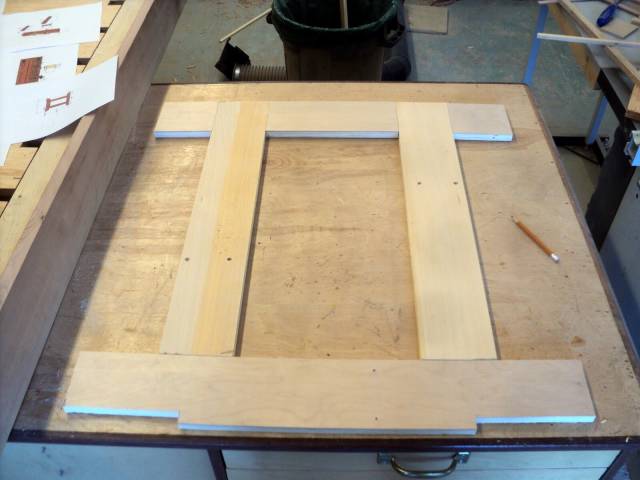
This is the other alternate layer. The joints are reversed here and the verticals run through the top, not the bottom. By alternating these layers the leg can be laid up with staples and glue to form a monolithic structure of immense rigidity and strength. It isn’t even necessary that all pieces be full length. You can, with discretion, use up some short pieces in these leg layups with no loss in strength. It’s very material efficient.
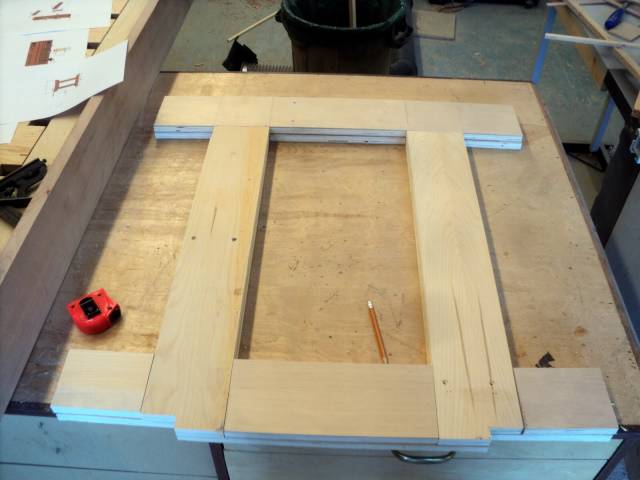
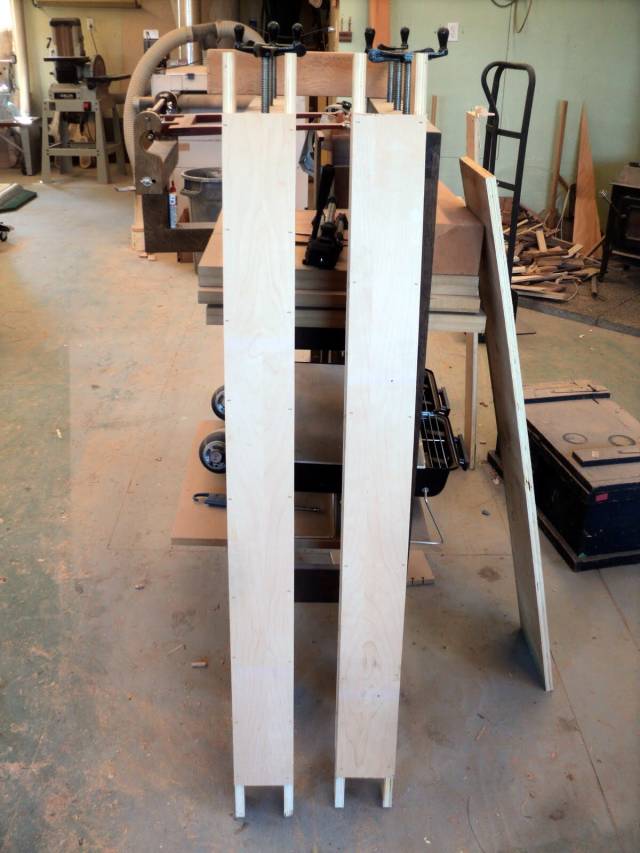
Here the leg is being assembled for a dry fit. It’s easy to see how the layering will work.
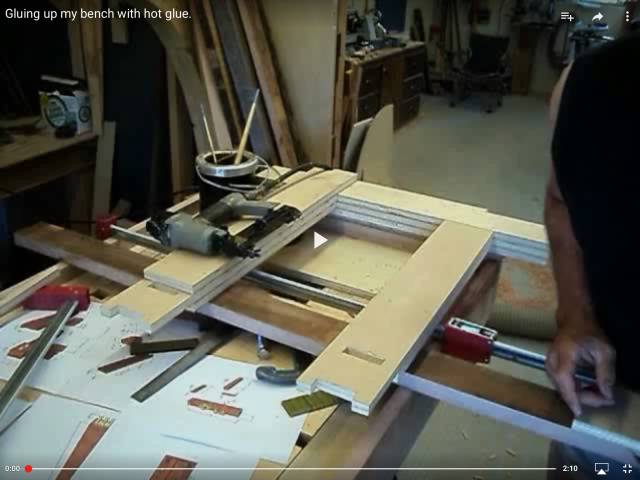
This is a little video of how easy these parts are to assemble. It was actually shot to detail the use of hot glue, hence the dialog.
Last thing before the glue up was to jig saw holes for the stretchers.
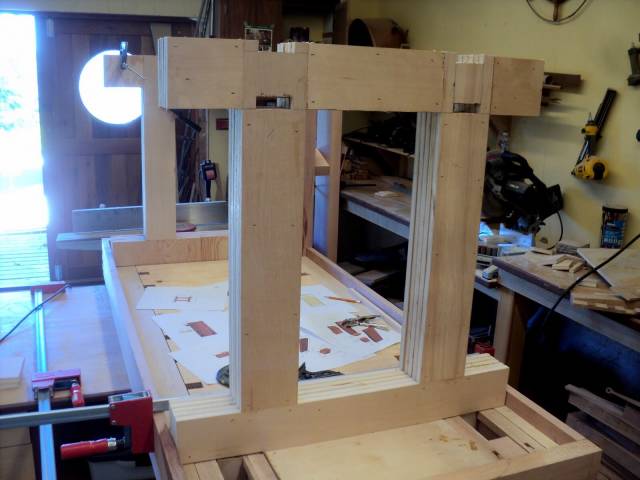
Here are the legs all glued up, sanded and ready to assemble to the stretchers and table.
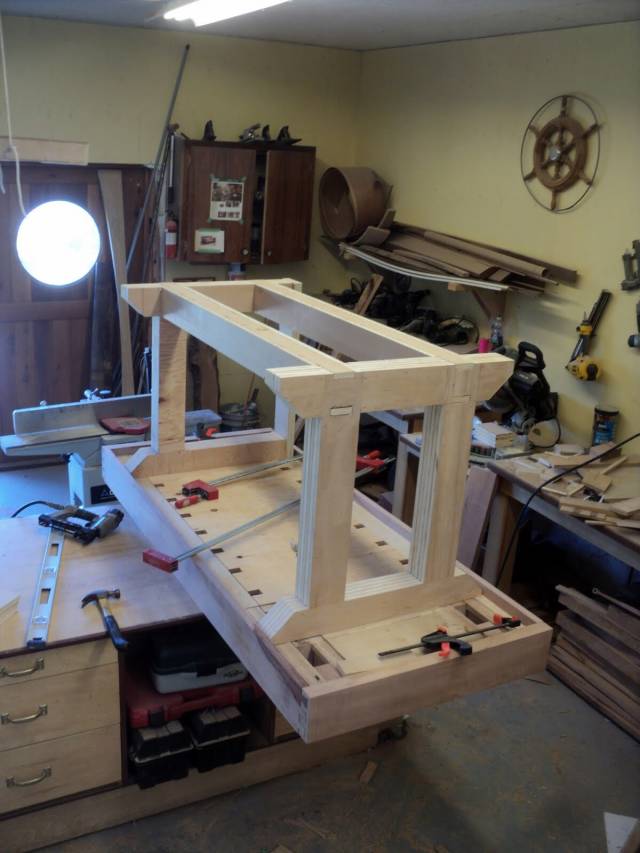
Here are the box beam stretchers…..
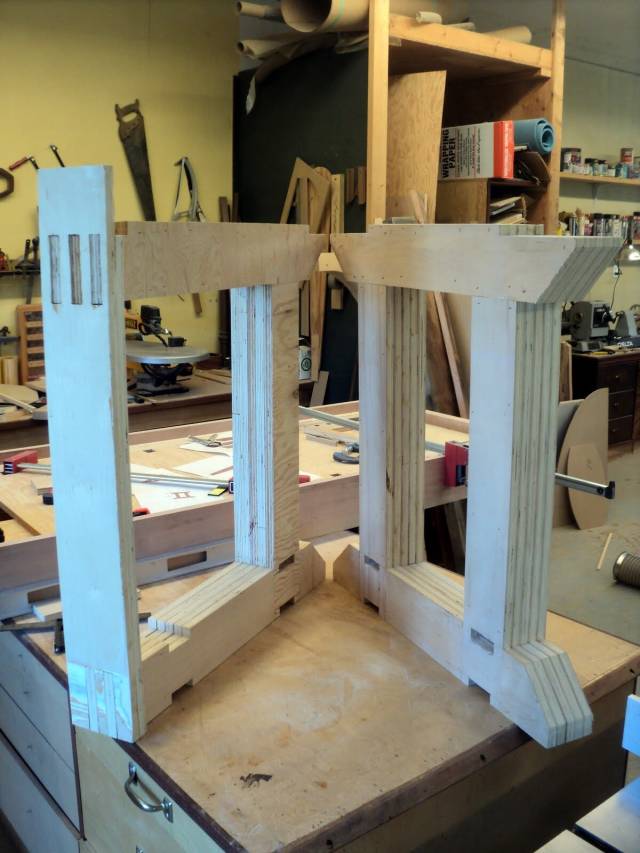
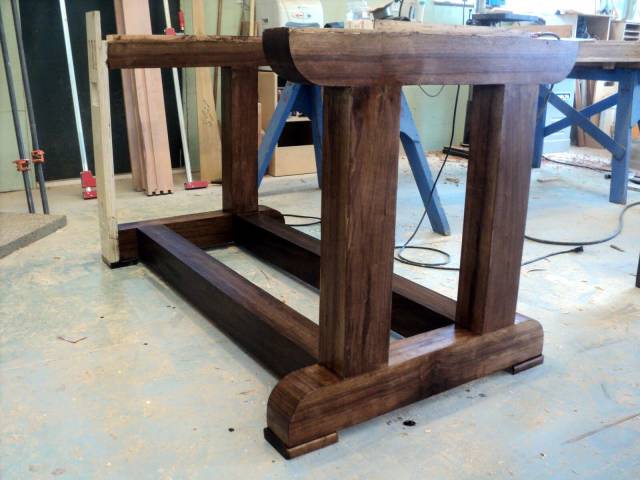
…And here is the whole assembly. This is as far as you need to go to have a solid base for your bench. The rest of what I did was just to make it a little prettier.
Same shot but right side up. The dog hole inserts are installed and glued in here but the vices are just sitting in place.
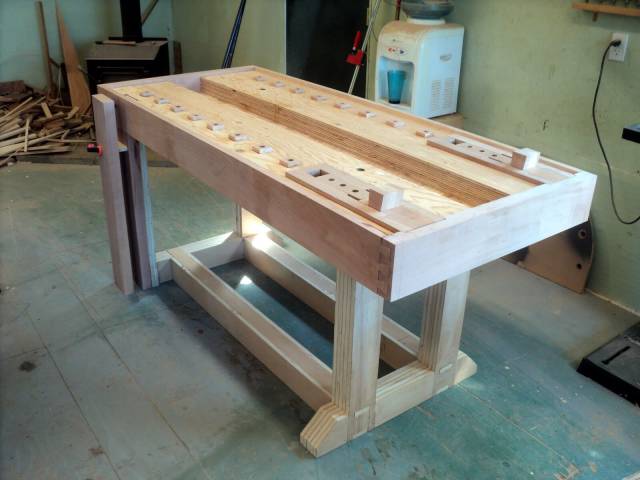
Next I got a little carried away and walnut veneered the legs. The original plan, as I said was to “plate” them with 1/2" arbutus. Hammer veneering it was easier.
and the stretchers.
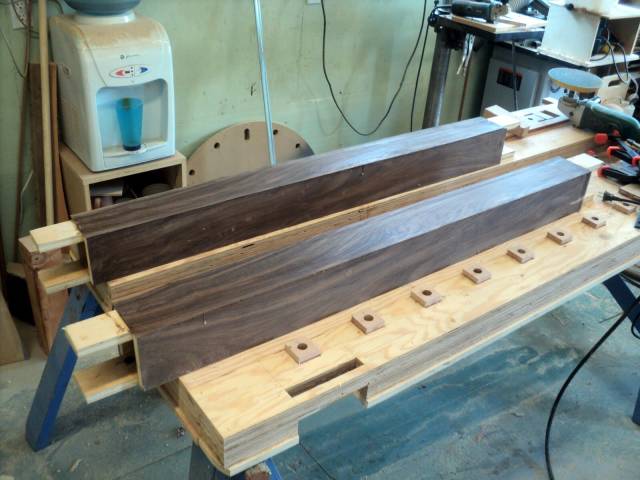
Now I’m just having too much fun. Here the little solid walnut “feet” have been screwed on the bottoms of the legs and a bit of stain applied to accent the grain.
Well that about does it for the legs. Next up will be installing the vices and cosmetic top.
Hope this is understandable.
Thanks for dropping in.
Questions, comments and critiques are, as always, welcome.
Paul
The early bird gets the worm but its the second mouse that gets the cheese.
6 Comments

What a difference the veneer makes.
Certainly looks solid.
Thanks for the blog.
Abbas, Castro Valley, CA
Looks good Paul. I like the layer disign.
BTW I could see the hot hide glue on picture 10.

Great blog. Some really good ideas in there.
Losing fingers since 1969

Very interesting blog . Nice job
Wheaties
Thanks for the kind words.
The part described here may be the best innovation in the whole construction.
The bench is four and a half years old now and is still solid as a rock and it works very well at all it’s functions.
The early bird gets the worm but its the second mouse that gets the cheese.

Bombproof construction and the walnut veneering really dots the i.
Mike, an American living in Norway