


Share your craft projects
Make new craft buddies
Ask craft questions
Blog your craft journey

shipwright
2135 posts
and
113 followers
in almost 12 years
in almost 12 years
Marquetry Jewellery Box #2: Beginnings
This is
part 2
in a
17 part
series:
Marquetry Jewellery Box
I put a lot of thought into what the first project would be for my fine sawn veneer before I decided on this particular idea. I would have to say there was also a lot of “putting it off” involved but once the project had been chosen the next question was where to start.
I wanted the piece to have interest in both decoration and in function (hence the cantilevered drawers) so before anything else I had to make sure the mechanics were sound. Here are a few shots of the hinge components being made up.
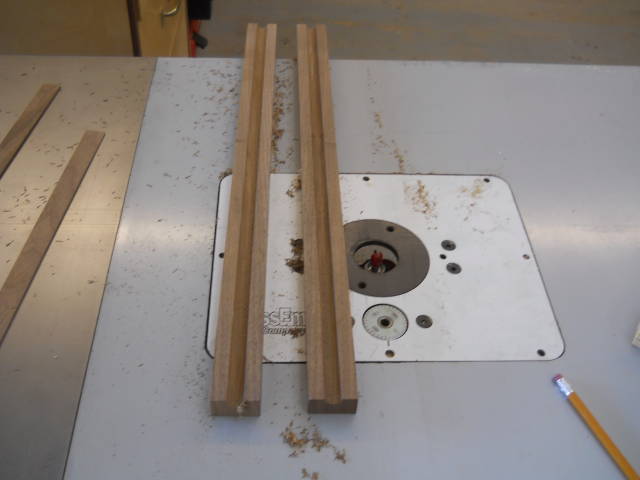

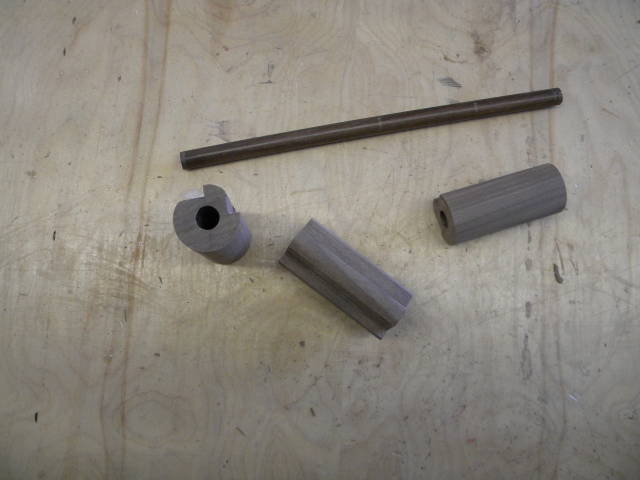

All I wanted to check was that I could make the tolerances between the 1/2" hole and the Queen Ebony shaft close enough to turn freely but not have any play. This was as far as I had to get to see that so I ticked that box and moved on.
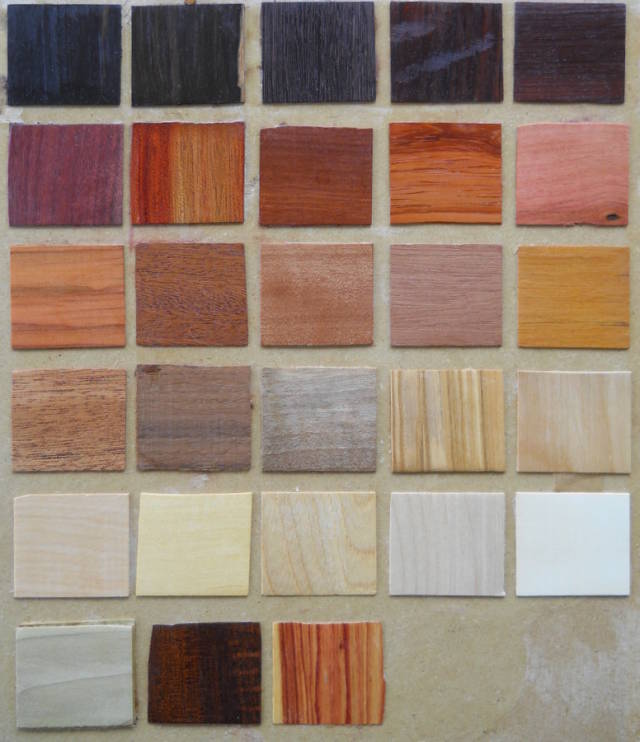
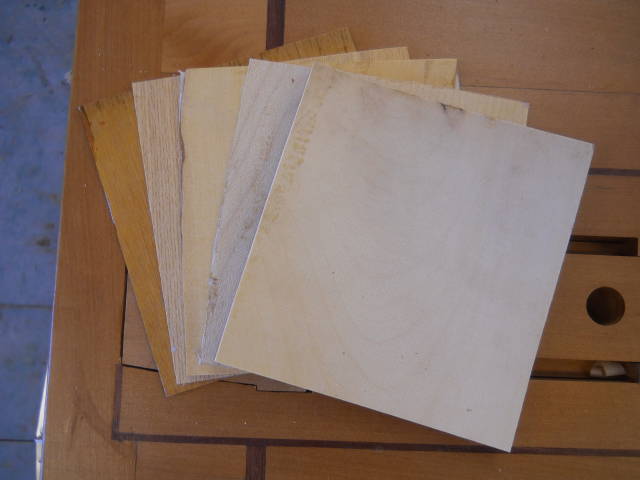
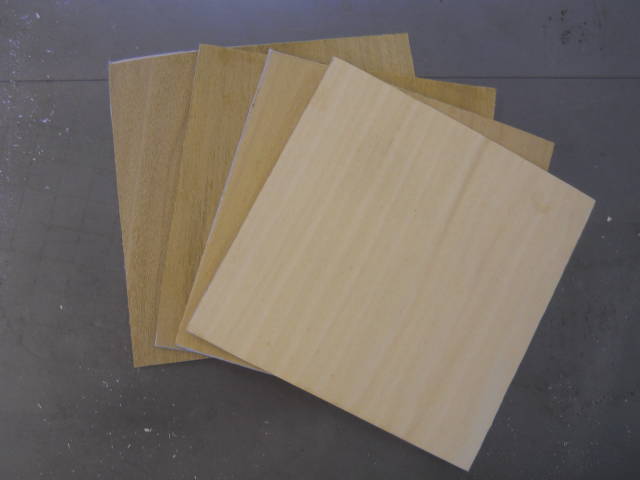
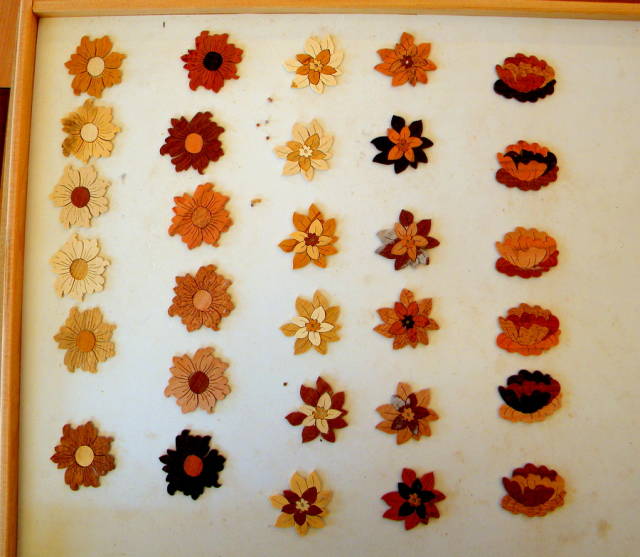
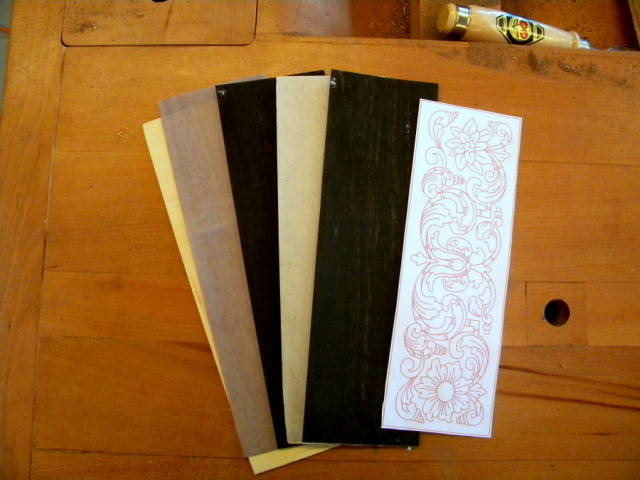
Maybe the main reason I moved on to the marquetry before making up a test drawer was that I had a chevalet demo to do at a local fine arts show and I needed a subject. I decided to do some cutting for this project, but what to cut? I didn’t know what colors I wanted despite having made up sample boards like this one of my new stock.
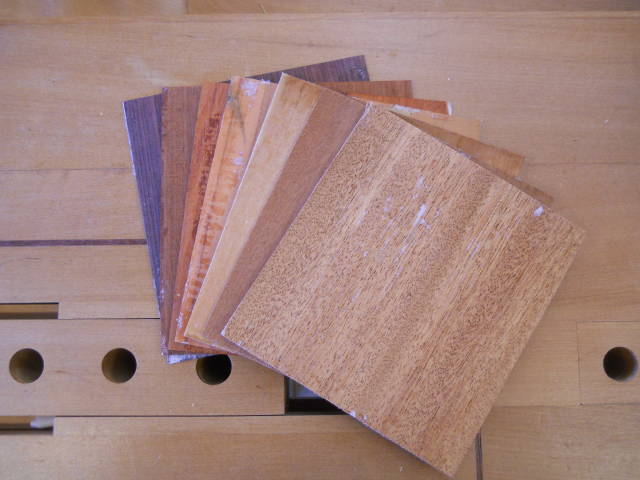
Then I had an idea that I should make up some “pallet” packets from which I could cut a lot of samples at one time. As these pieces weren’t intended for actual use in the box, I could cut them with the distractions of the demo and not worry about ruining anything. These are the “practice pieces” I referred to in the last blog.
I made up a pallet of reds, one of white / yellows, and one of greens.
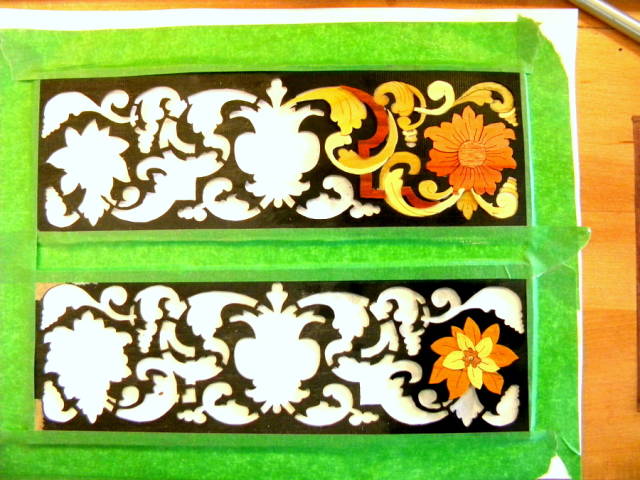
At the show, I cut a couple of the flowers and some of the leaves. That allowed me to generate a lot of options and look at them on a black ground to get a better idea of what veneers I wanted to make up dedicated packets from for the actual pieces.
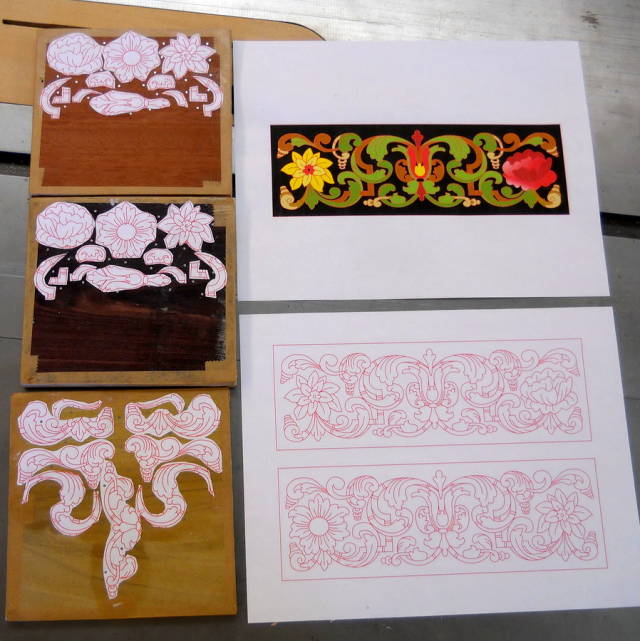
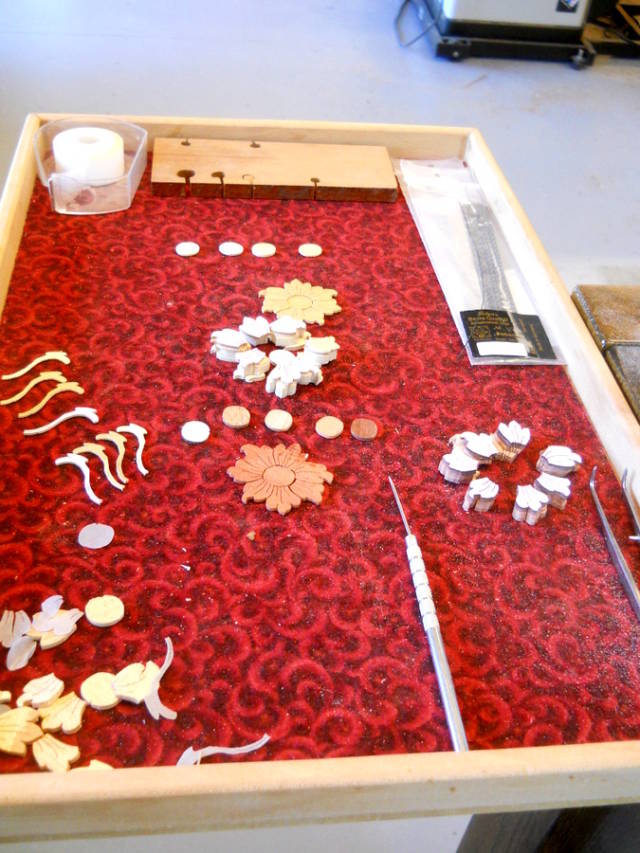
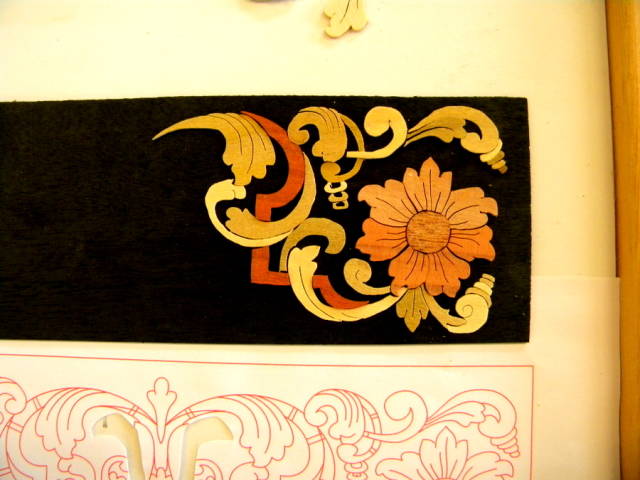
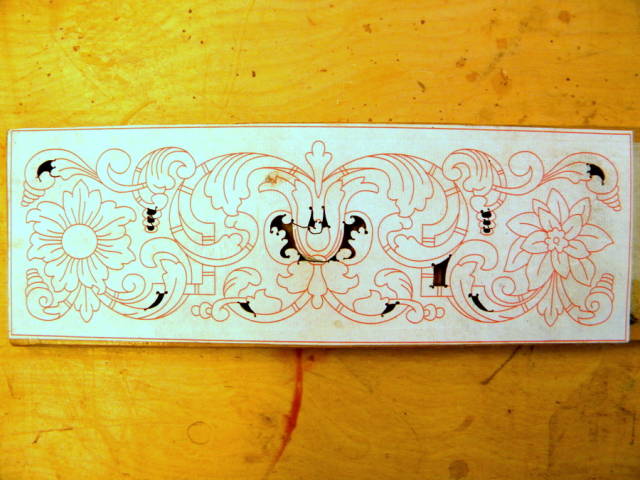
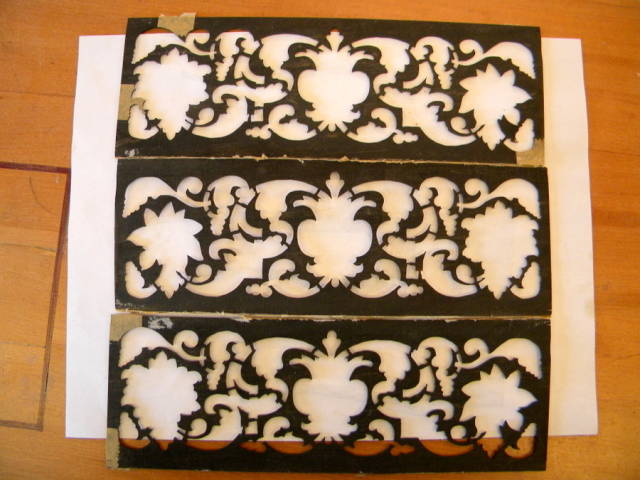
This gave me a better idea of what colors I wanted but the little pieces kept moving around on me so I decided to cut the first of three sets of three ebony backgrounds and look at the pieces trapped in their actual positions in the actual ground.
Cutting the background in piece by piece is a very important step and I was very careful to follow the lines as best I could. The background encloses everything else and it won’t move. If you leave to much material, the pieces won’t fit. If you take too much away, they will be loose. Loose is the side to err on however (if err you must) as black mastic will hide your sins. :-)
This set of backgrounds will be for the three drawers that have these two flowers. Two will have the daisy on the right and one on the left so one piece is in the packet glue side down and two are glue side up.
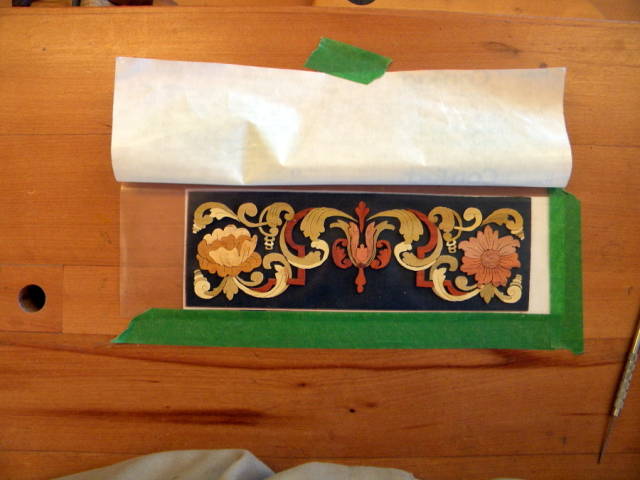
First, I cut out the little black “islands” that were too small to be connected to the main ebony ground by bridges. I’ll explain bridges later.
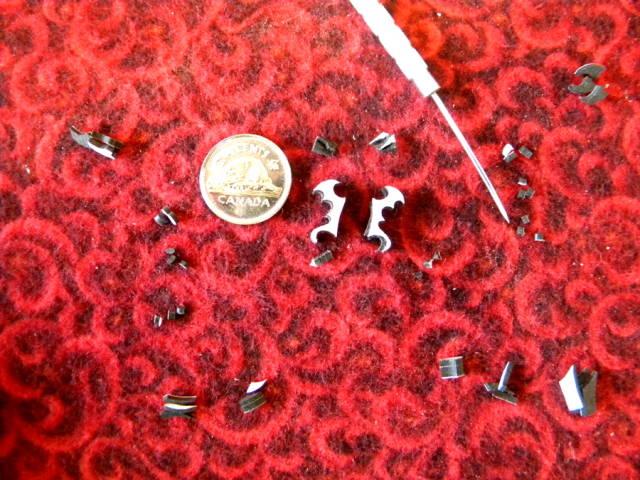
As each area is cut free from the packet it is taped in to help the packet to retain its strength.

Here the packet is cut apart showing the three backgrounds and the scrap, still nailed together.
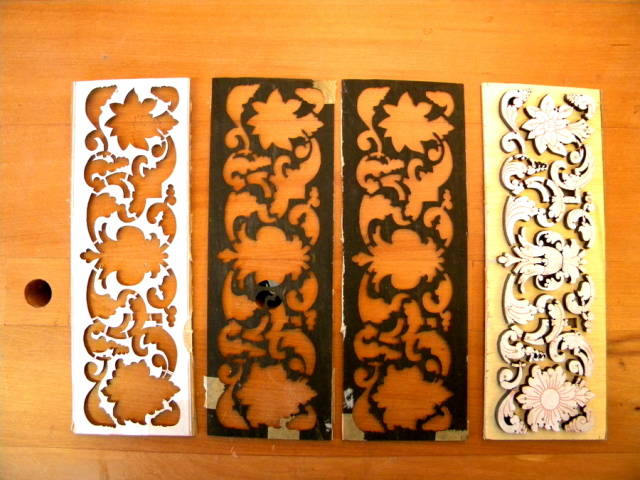
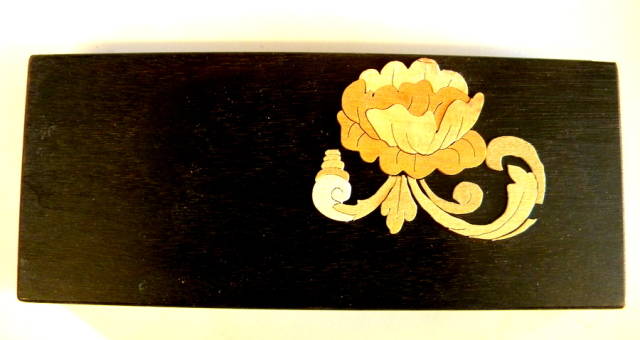
If you look at the pieces below you can see that the background is very fragile. It would be impossibly fragile except for the bridges. They are the little bars of background left in to join the different areas of ground. After the ground is securely glued to the assembly board, they are cut away to allow the inlay pieces to be fitted.
In this picture you can see that in the top piece there are some pieces that could not be fitted with the bridges in place. The flower is fitted because no bridges were needed there. The leaves and trellis are sitting on top of the bridges at this point as the grounds are not yet glued up.
I should say that what I have done here is not a method of attack that I would recommend in general. I just needed to experiment with several aspects of the project because I basically ….. well …. don’t know what I’m doing. When Patrice does this, it is all organized and smooth running ……… but then I think he and Patrick know pretty much exactly what they are building before they start building it. :-)
Well if you aren’t sufficiently confused by now, I am so I’ll call it a day.
Thanks for looking in.
Paul
The early bird gets the worm but its the second mouse that gets the cheese.
6 Comments

Wonderful project and blog Paul, I just hate to see all those expensive ebony cutouts thrown away! Maybe you could grind it up and use it for mastic?
Mike, an American living in Norway
Very detailed blog. Thank you for sharing your expertise on this. It’s a beautiful project. Just out of interest how long did it take to get the project to this point – looks like hours and hours of work to me.
Anna
It’s been a busy summer. I spent more time sailing this year than ever before and I had a commissioned set of tables to make so working in between, here and there, it’s hard to say how long but I started back in June. Maybe sixty or seventy hours but that’s really a guess. I’m not going to keep track of this one. :-)
That’s not a bad idea Mike! I will need LOTS of black mastic here. Unfortunately, I don’t think I can get it fine enough. The rule is 220 grit sanding dust, particularly for thick veneer that is relatively closely fitted.
I will give it some thought though. I probably have fifty dollars worth of scrap there.
The early bird gets the worm but its the second mouse that gets the cheese.

Oh man! if the scrap is about $50, I can only imagine the rest…It is going to be a very expensive project.
I admire you work. All these tiny pieces that have to be cut precisely so they fit the right location with little gap. That’s a lot of precision.
Abbas, Castro Valley, CA

Paul,
Your eyes must still be pretty good to cut such small pieces and find them again once you lay them down! This is going to be one incredible marquetry piece. Had you started marquetry as a youngster, you could give Patrice and Patrick a run for the money! It’s totally amazing to see such expertise in just four years.
Thanks for sharing all the details with us.
L/W
“Those who would give up essential Liberty, to purchase a little temporary Safety, deserve neither Liberty nor Safety.” Benjamin Franklin

Congratulations! I am sufficiently confused. ;-)
Seriously, I can’t even express the awe I have looking at these beautiful in progress photos. Truly amazing. An exercise in creativity and patience for sure.
Losing fingers since 1969