


Share your craft projects
Make new craft buddies
Ask craft questions
Blog your craft journey
Blog Series
This is Part 2 in a 12 part series Wooden Model 1929 Ford Van
Part 1: Radiator and front fender
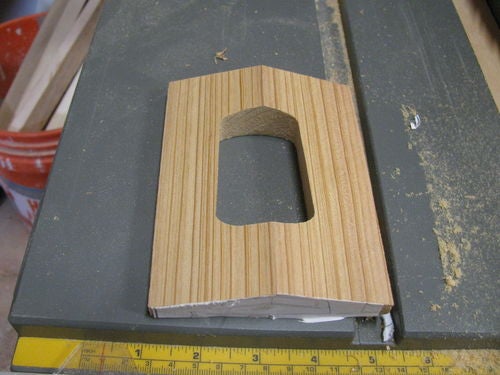
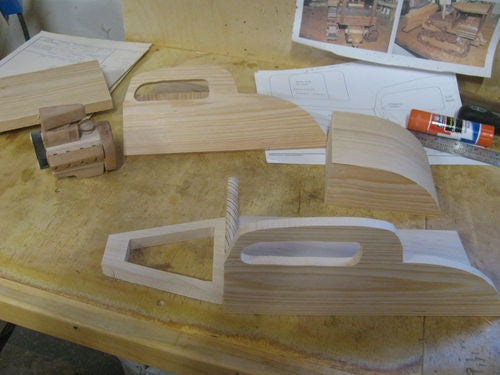
Worked on the radiator and front fenders.
[Image]
[Image]
Added a smaller bearing to my flush cuter bit.
Adds just enough lip to get er done.
[...
1932 Hot Rod Coupe #1: Chop nd Channel the body
Part 1: This is Part 1 in a 12 part series: Chop and Channeling the body
I keep giving away my hot rods so lets try it one more time.
I hid the big motor on the last one so thought I would leave the hood off this time t...
Forklift
Part 26: In which I deviated from the drawing
After I made a plan for a forklift it was time to build my own. This blog is about the build process. Beaware that the way I build my models are no...
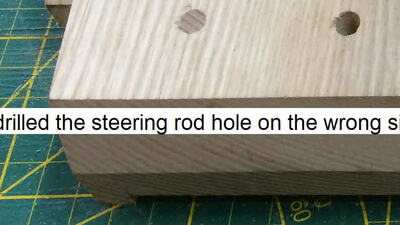
Part 27: What I did wrong
After I made a plan for a forklift it was time to build my own. This blog is about the build process. Beaware that the way I build my models are no...
Watercolour Dye Technique

Part 5: Toscana, My most intricate dye job to date
I have done a few dye projects since the last post to this blog but they have been small and not very noteworthy. I did however learn from them a...

Part 6: Toscana, cutting and assembly
As this blog is supposed to be about hand dyeing and not marquetry, I'll try to cover the cutting and assembly as quickly as I can. The method he...

Part 7: Flip, Flop, and Press ... protecting the dye
.
Warning: boring content. ............ This is technical junk about a sequence of events that will interest people who want to try this technique...
Craftisian.com Community
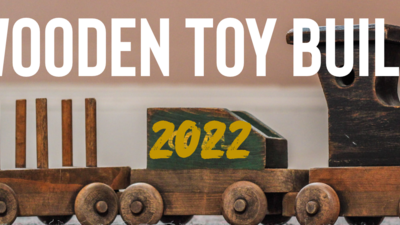
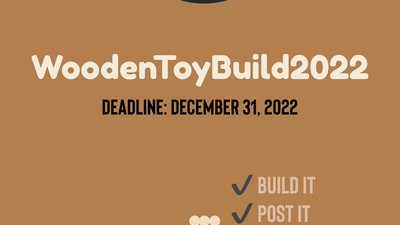
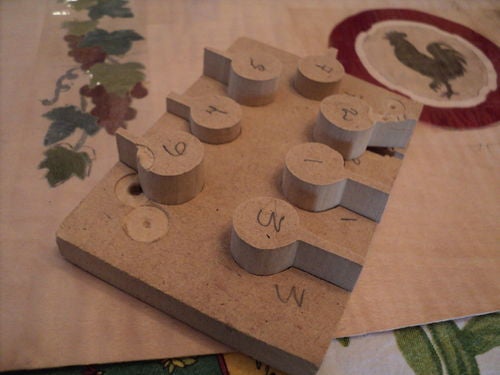
Part 1: Wooden Toy Build 2022
[Craftisian_Dutchy_toy_build.PNG]Thanks to the generous and kind offer by Dutchy, we have another challenge for you, to end off this year.
The C...
Part 2: Wooden Toys
[84279588-3041-4FA8-8CBC-C33FBFA6BDAD.png]
Toys: there are “big kid toys”, such as table saws and chainsaws, and there are “little ones’ toys”, su...
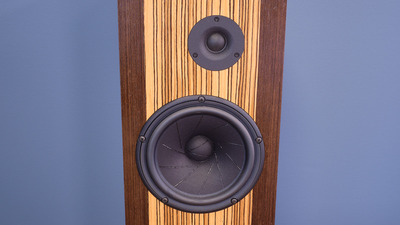
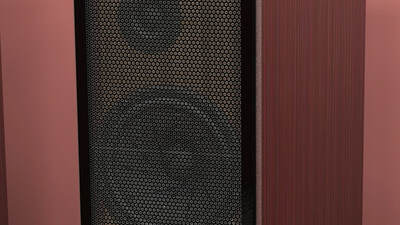
Wenge and Zebrawood Speakers (Curt Campbell's Invictus)
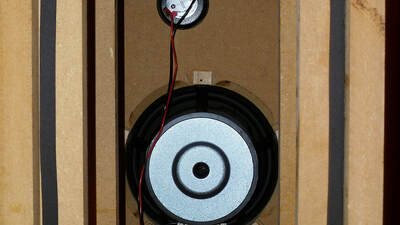
Part 4: Driver Installation and Tuning
Disclaimer: There is no woodworking content in this post. It exists to show the final pre-veneering steps of the build--the steps that turn cabinet...
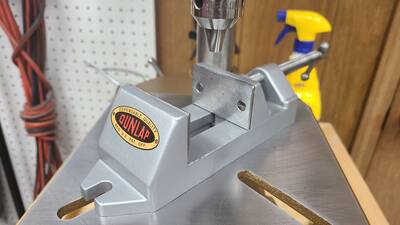
Dunlap 103.23622 Drill Press
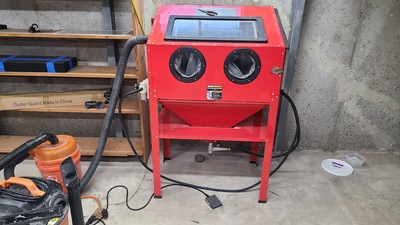
Part 6: Painting the cast iron
Not a lot to cover on this entry but I'm trying my best to at least cover all the major steps.
For paint prep of cast iron its pretty straight for...
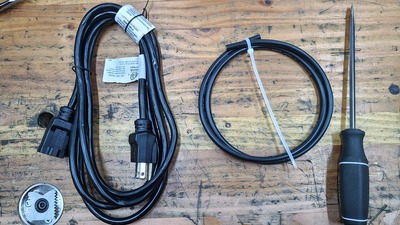
Part 7: Installing a switch and final assembly
One thing I find comical and oddly refreshing is the utter lack of safety measures on this old drill press. No cover for the pulleys and no power ...
Part 8: Balancing the pulleys and some accessories
Today I want to show off a few accessories I got for this drill press. One of them was an eBay find I paid more than I should but it seemed fittin...
Teak and Aluminum Audio/Video Console
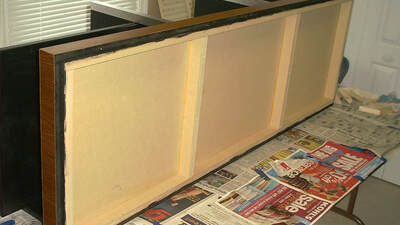
Part 3: Construction Notes
Building the rack was pretty straightforward, but I would like to point out a few details.
Assembly Order
I built the rack in this order:
1. Cutti...
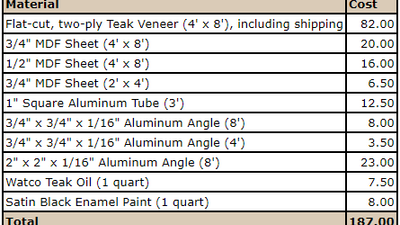
Part 4: Materials and Costs
This post is just for grins. Here's what I wrote back in 2006. Barb (BB1) asked me if I had computed the cost in current dollars. I haven't done th...
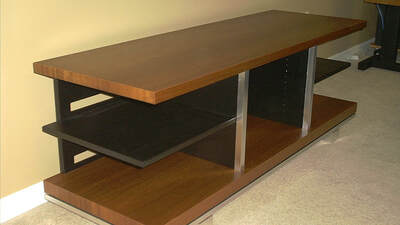
Part 5: Finished Console (2006)
This blog was pretty light on details (at least compared to my more recent ones). To close it out, here are some of my "showcase" photos from 2006....
Chevy II, The CanadianCousin

Part 3: New Blade Clamps
Since I built my first chevalet back in 2011 I have redesigned the blade clamps at least three times, never getting one that I really liked on al...
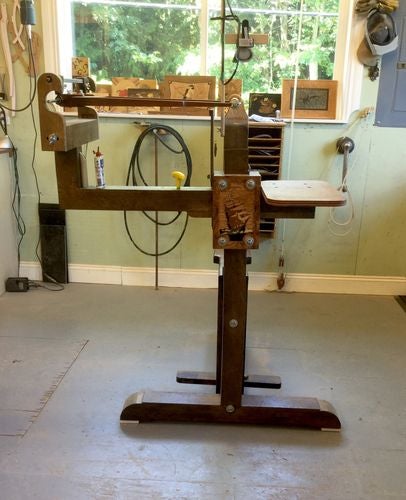
Part 4: Repairing "Curvature of the Spine"
Chevy II is five years old now and has never missed a beat. It still cuts perfectly square with the adjusters in neutral position but the whole co...

Part 5: Repairs / Transplant Complete
The replacement of the warped main column of my old chevalet is all done and dusted and it won't be warping again any time soon. Here are some pr...
How to Build a Chevalet From Scratch
Part 4: Another Little Modification
This is a bit of the fine tuning I knew awaited me once I started getting into the chevalet. My original (re-invention of the wheel) blade clamps...

Part 5: Finishing Up, Refining the Prototype
When I started to build the chevalet from a few photos on the internet, I wasn't at all sure it would amount to anything at all so in many places...

Part 6: New Improved Chevalet Sketchup
I have improved a fair bit since I posted the initial SU of the chevalet. In fact it was my very first attempt and it was, in a word awful. I may ...