


Share your craft projects
Make new craft buddies
Ask craft questions
Blog your craft journey
Blog Series
Reviews - RyanGi

Part 1: Reviews - RyanGi (Intro)
Until the Review section gets built up (no rush Martin!), I figured I’d keep my reviews contained to one blog series. This will serve as the into t...
.jpg)
Part 2: Review: Beall and Combat Abrasives: Buffing wheels…for wood and metal!
I have just finished up and shipped my project for the LJs 2022 knife swap. This was a first for me, as I’ve never made a knife before…well, I stil...

Part 3: Review: GRIT Automation for Dust Collection
Updated Nov 2025:
This continues to be possibly the best addition I’ve made to my home shop…ever. GRIT recently released a firmware update that ma...
The Buick Sedan
Part 10: The Buick sedan Fenders
During making the Buick Sedan I have made a lot of pictures and they will be used for this blog about the build process. This blog is mostly made i...
Part 11: The Buick sedan Wheels
During making the Buick Sedan I have made a lot of pictures and they will be used for this blog about the build process. This blog is mostly made i...
Part 12: The Buick sedan Bumpers
During making the Buick Sedan I have made a lot of pictures and they will be used for this blog about the build process. This blog is mostly made i...
Amigurumi Potion Bottle
Part 2: The Insert
To keep the bottle of essential oil stable inside the potion bottle, I decided to make an insert to hold it.
For the insert, I suggest using the ...

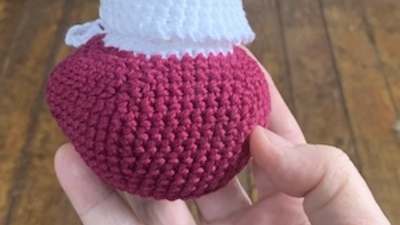
Part 3: The Potion Bottle
The insert is complete... and now to make the outer bottle.
I chose a deep red colour for my bottle, as it was leftover yarn that was sitting nea...
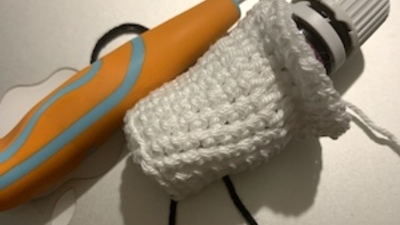
Part 4: Bottle Lid
We could stop here but I wanted a cap for the potion bottle.
Using the white yarn, I made a circle:
√ 6 sc in magic ring
√ inc around = 12
√ [in...
Nanuk: Amigurumi Bear
Part 1: In The Beginning...
With my latest crochet project completed, I went back to looking for an amigurumi animal that hand-size, rather than 18" or so.
Sifting through t...
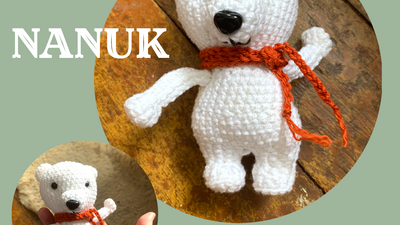
Part 3: Finishing Up
Nanuk is coming to life ..
√ body
√ head
√ nose
√ eyes
Next: arms, ears, and a scarf for an added touch.
ARMS (2, of course)
> magic ring: 6
>...
Lola The Doll
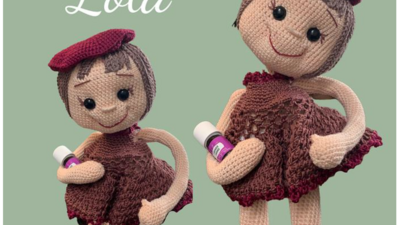
Part 5: Finishing Up
Well... I almost made it through doing the hair.
I have to admit that I got tired of doing hair and my "perfectionism" goal disappeared and my "go...
The Learning Curve
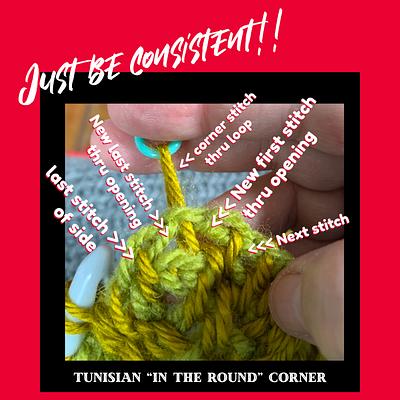
Part 7: Tunisian Corners (afghan)
Disclaimer: this may not be the right way to do #Tunisian corners for “in the round” but it is how I do them and, if I am consistent, it will look ...
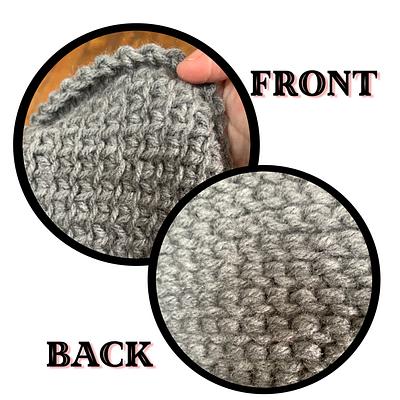
Part 8: Flat Stitch (Tunisian Crochet)
Finding my way back into the world of #TunisianCrochet I discovered a project that used what they called a “flat stitch”.
I don’t remember ever re...
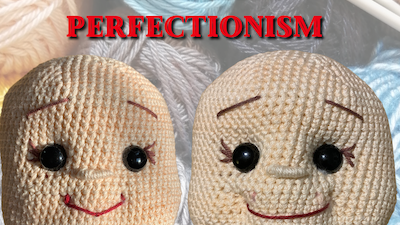
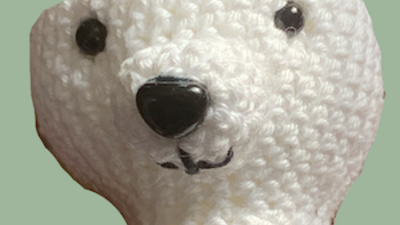
Part 9: Amigurumi HAIR
I'm in the process of making a doll and the goal was to make a face that didn't let down the entire project.
I'm pleased with the result.
[faces...
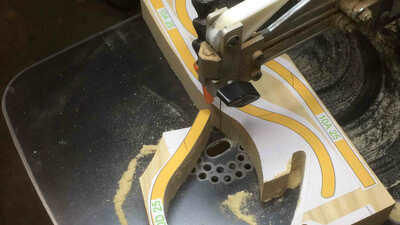
Fibonacci gauges

Part 4: you will get the point...
Fibonacci gauges you will get the point. Hi again Craftisan’s. In the last part we made gouge arm points, yes jigs and . So this blog starts with u...

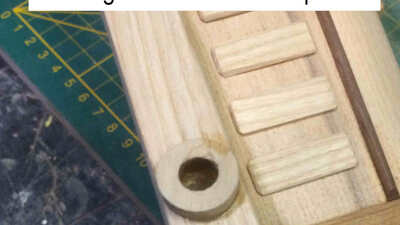
Part 5: rivets, branding and more…
Fibonacci gauges rivets, branding and more… Hi again Craftisan’s. In the last part we finished the build of the first one, while we are waiting for...

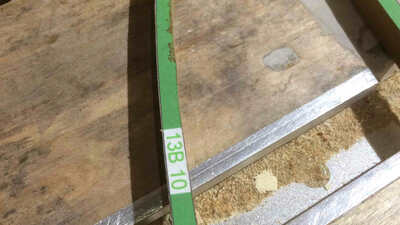
Part 6: finally the screws arrived.
Fibonacci gauges finally the screws arrived. Hi again again Craftisan’s. Now we can call it done, the screws took some time time to arrive and I he...
Crochet: what's next?

Part 1: Owl Inspirations
Next on my list for an amigurumi creation is an owl, so off to google I went to find some patterns that caught my attention.
[Image]https://www.te...

Part 2: Moose Inspirations
Being a Canadian, I just have to add a moose to my amigirumi collection!
Now, to find the right pattern ...
It might be this one:
[Image]
Mart...
Eighteenth Century Cabinet
Part 8: Video of Curved Glue Up
Here’s the video of the first stage of gluing up the curved side. In this stage the marquetry is not glued to the cabinet. It is laminated into a c...
Part 9: Summer Break
I’ve come to a place that is convenient to take a break. Sailing season is approaching and I have work to do on my boat to be ready. This cabinet ...
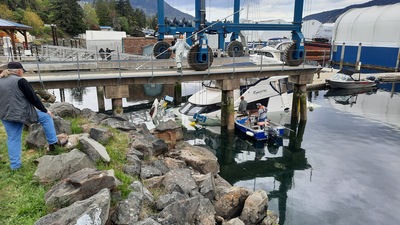
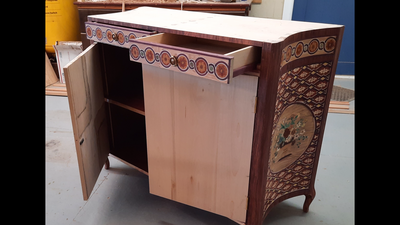
Part 10: Change of Plans, Front Marquetry
I know I said I was taking a break to get back to sailing for the summer but there was a surprise in store for me.
On April 26th I had my boat haul...