


Share your craft projects
Make new craft buddies
Ask craft questions
Blog your craft journey

shipwright
2073 posts
and
113 followers
in over 12 years
in over 12 years
Marquetry Jewellery Box #16: Glue-Up and Details
This is
part 16
in a
17 part
series:
Marquetry Jewellery Box
...
-
Top Sand Shading and Assembly
-
Glue-Up and Details
-
French Polish and Pig Suede
...
- Top Sand Shading and Assembly
- Glue-Up and Details
- French Polish and Pig Suede
With the marquetry all done and mounted the focus turns to getting the carcass finished and glued up and to the finishing details.
First up is to get the back piece veneered with 1/16" Walnut inside and out and the R.E. magnets and concave end trim pieces installed.
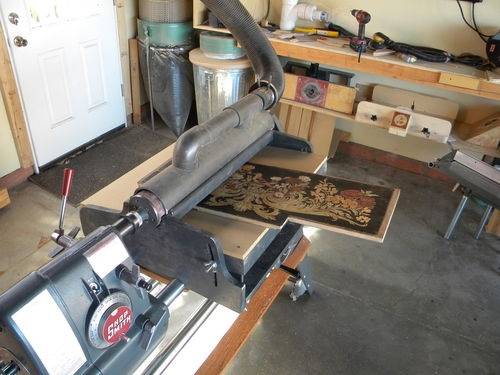
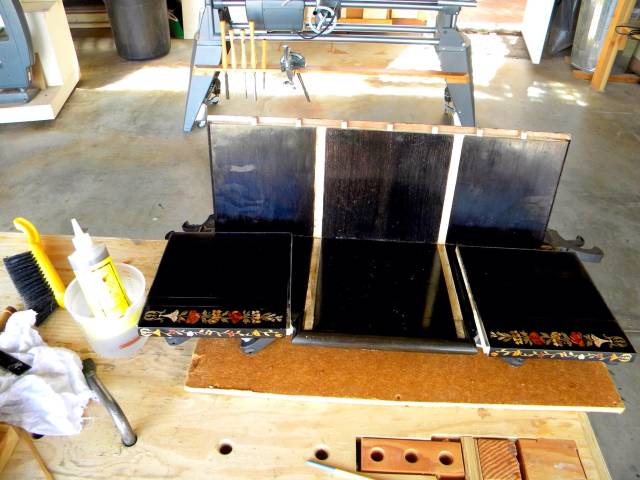
I ran the top through the drum sander to get it all levelled out.
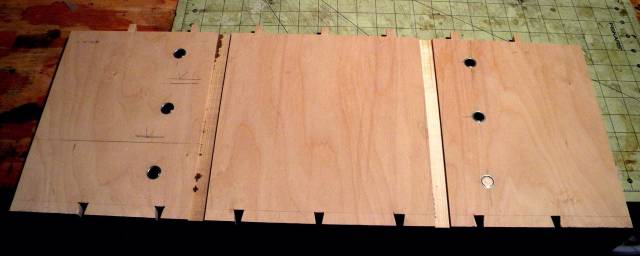
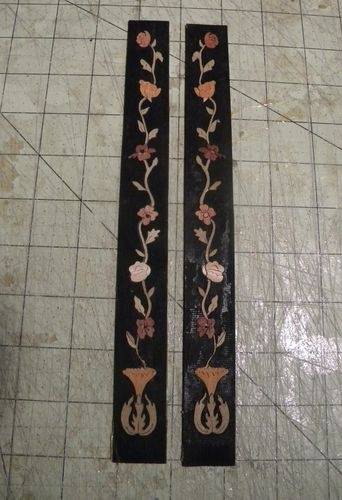
Then the carcass parts got ebonized and got a preliminary finish prior to glue-up. A quick check assembly at this point pointed out the need for just a bit more marquetry as the front edges of the dividers seemed wrong in solid black.
No problem
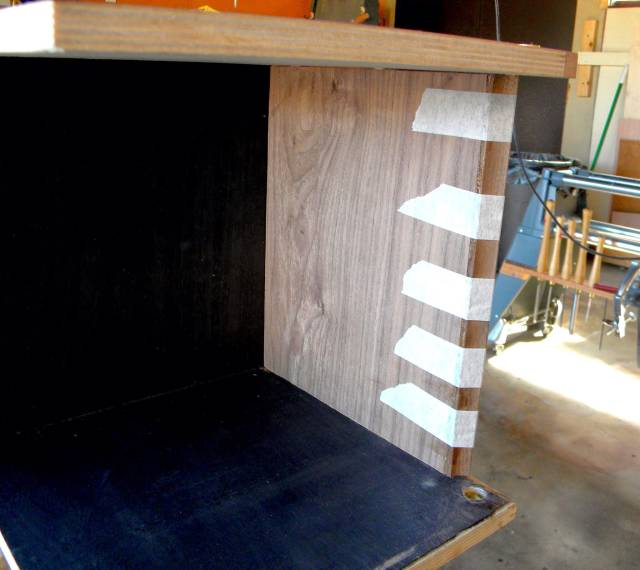
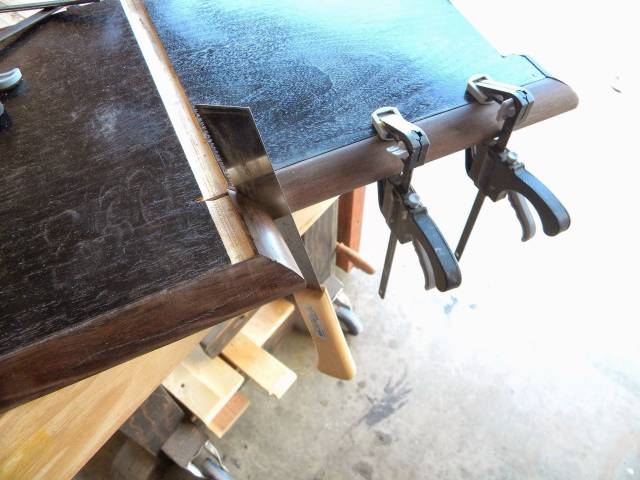
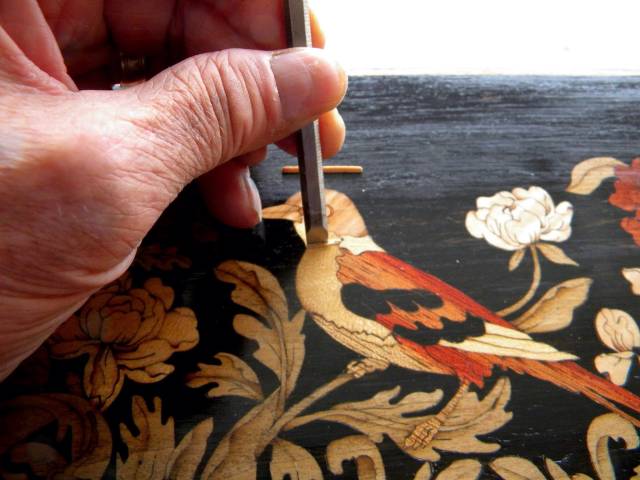
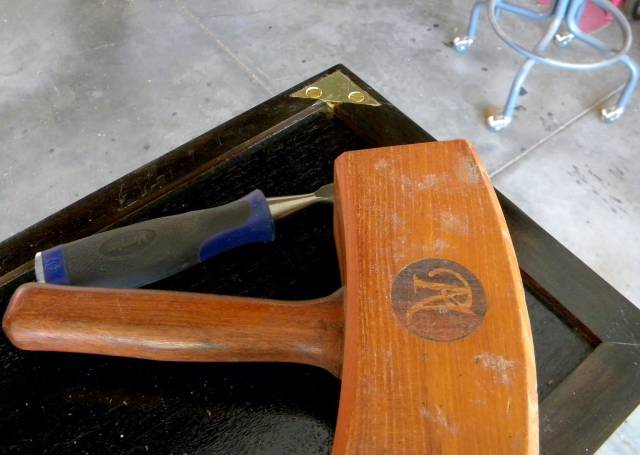
Before glue-up I also added the Queen Ebony trim mouldings to the front and sides. This one is being fitted with a saw cut.
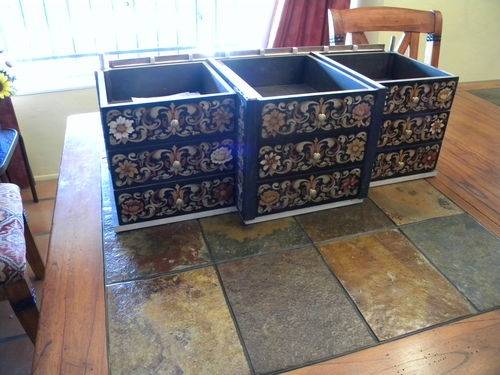
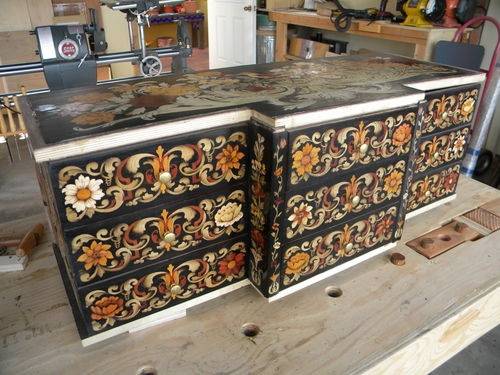
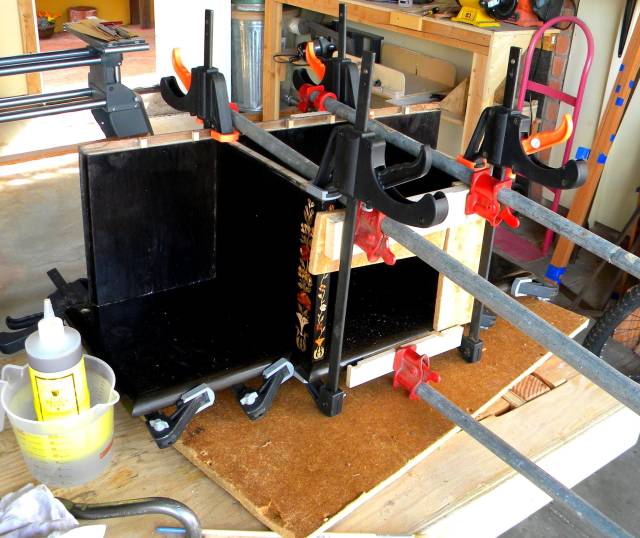
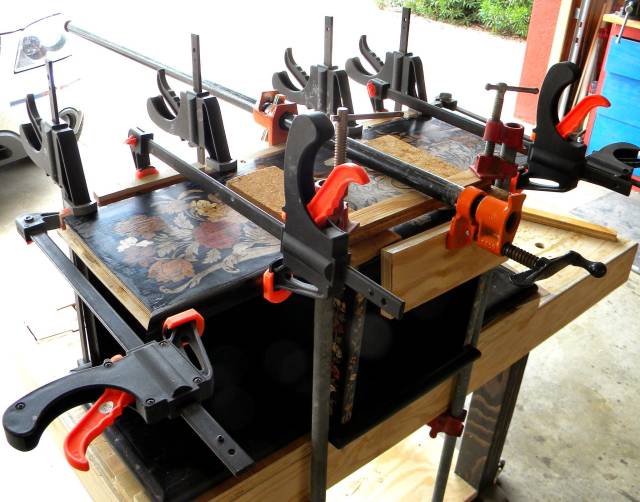
The glue-up. I used OBG for this one as it gave me more time than HHG.
I cleaned up the hinge barrels and added Arararacaga trim to the drawers.

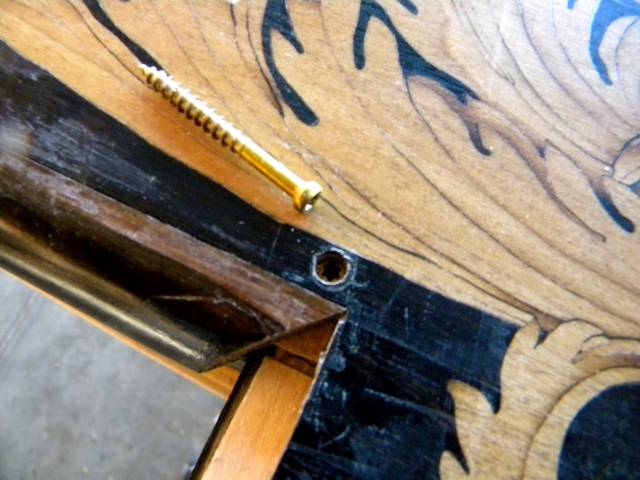
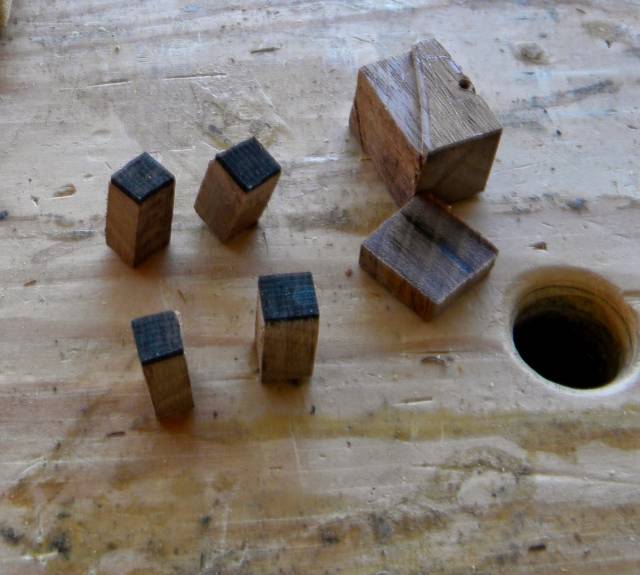
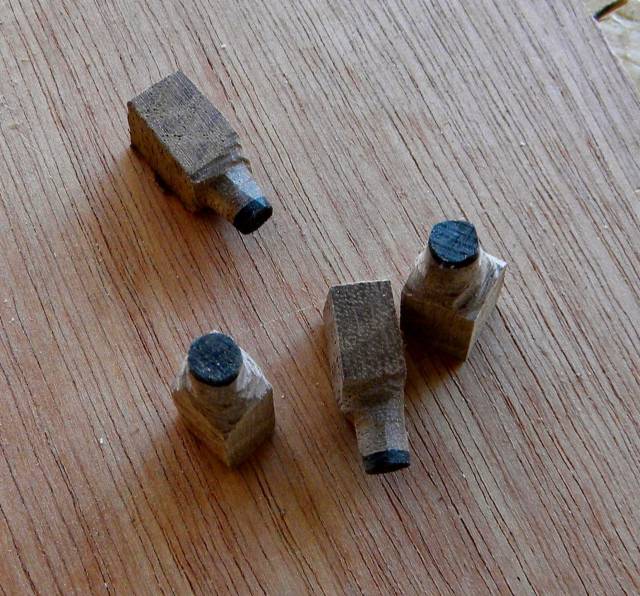
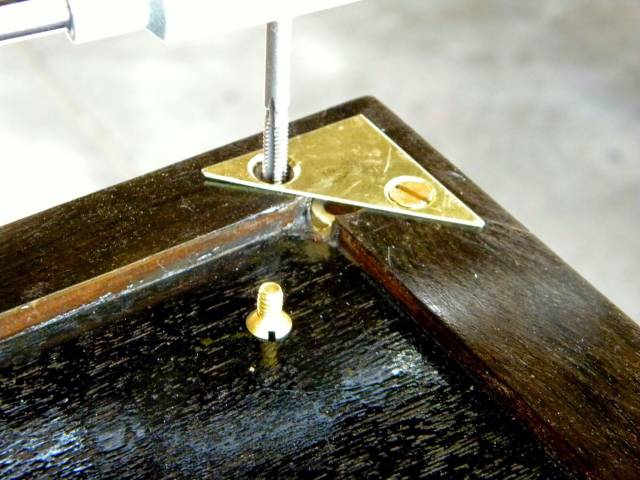
Because there are no ends to add strength to this carcass I made the tough decision to add two trim head screws in the top and two in the bottom. I made veneer topped plugs to hide the holes in the top marquetry.

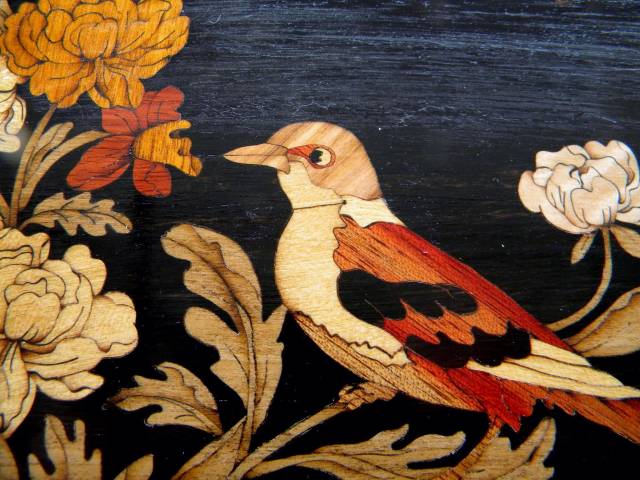
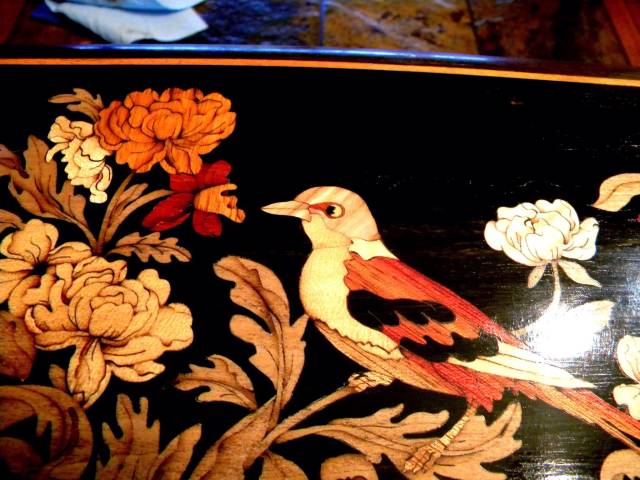
A crack in the veneer was making a real mess of my feature bird’s neck so I took a shot at fixing it. The repair looks better than in the picture.
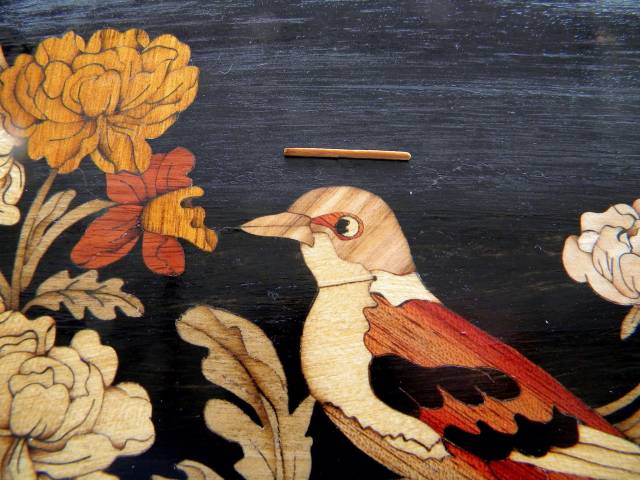
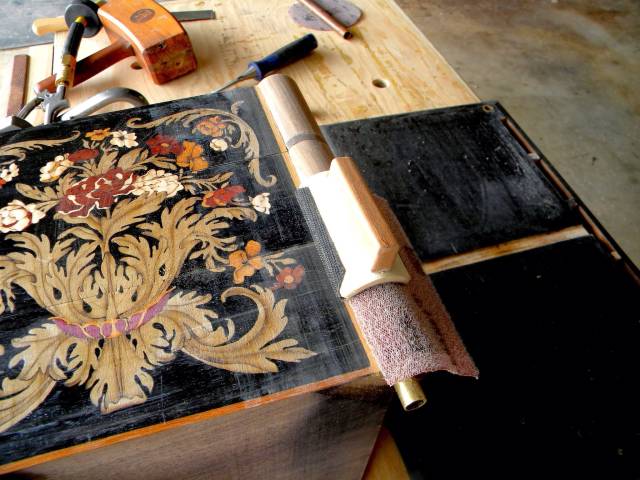
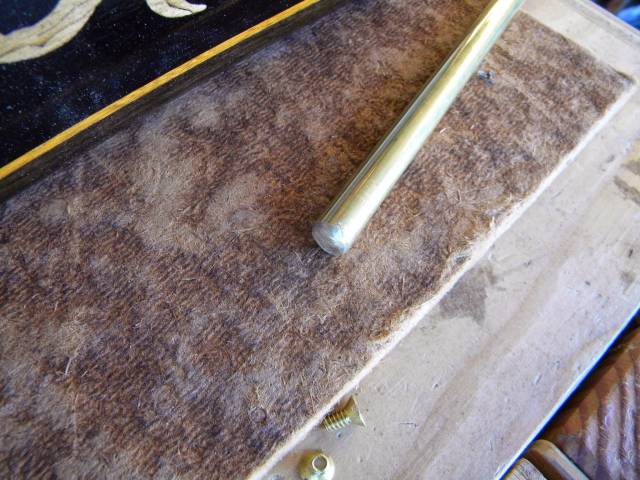
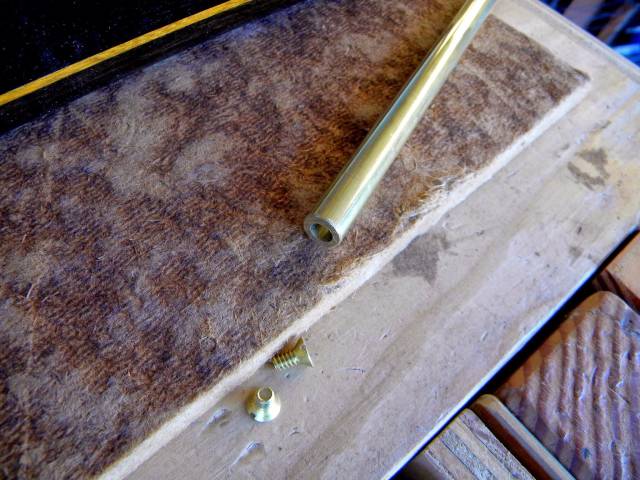
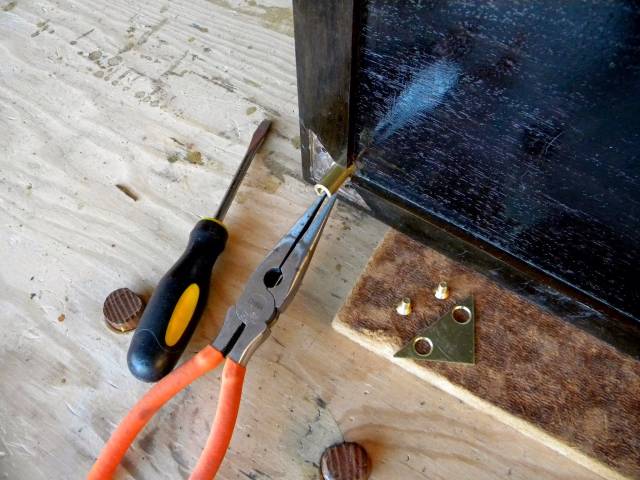
Lastly, I replaced the inner tubing pieces of my hinge pins with solid 7/16" brass rod. I drilled 1/4" holes in the bottom ends to facilitate removal with needle nosed pliers and locked them in with polished brass plates.
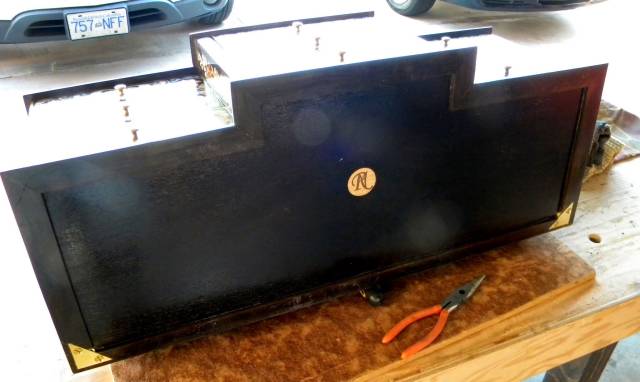
The whole thing is now complete except for French polish but you will have to wait for the pictures until the project post. For now I’m heading home on Friday and I will do the polishing there where I have room to spread out and work on all the parts.
Thanks for looking in.
Paul
The early bird gets the worm but its the second mouse that gets the cheese.
10 Comments

It’s looking great!
I like what you did on the front edges; much more lively.
The bird is lovely.
May I borrow one of the bird pictures? The one without the legs. Probably complicated for me but I am thinking to try it just by itself.
It’s a pleasure to see it assemble. Excellent pictures We don’t see many lately:)
Abbas, Castro Valley, CA
Thanks Abbas. I borrowed the whole top from a Louis XIV coffer in one of Ramond’s books so I could not say no if I wanted to and I don’t want to. Have fun with it. I can send you an Inkscape file of it if you like.
The early bird gets the worm but its the second mouse that gets the cheese.
You are lucky they did not catch you… It would have been la guillotine!
That will be great if it’s not too much trouble:) Take your time though as I am not done with your chickadee, I found on google images, yet. I messed up the legs. I need to cover up the gaps too…
Thanks Paul!
Abbas, Castro Valley, CA

Amazing. I can’t wait to see the final pictures. This needs to go to a gallery somewhere with a very hefty pricetag.
Losing fingers since 1969

Extremely beautiful!!! Great Craftsmenship!!! Yes, I can’t wait to see the finished product glisten. One thing im going to look up on Google is French polish. I’ve heard many people use the term but i don’t know the process.
Jeff Vandenberg aka "Woodsconsin"
Beautiful, great workmanship , looking forward to seeing this piece of art finished
Jaybird
Jeff- if you are curious about French Polish, I think this is probably the best video available on it.

You never cease to amaze, beautiful.
Jack
Thanks Luke. You beat me to it.
I second that Patrice’s video is as good as it gets (IMHO)
The only thing that is better is having him show you hands on. That was almost worth the price of the first week at ASFM all by itself.
The early bird gets the worm but its the second mouse that gets the cheese.

That is rather impressive. A lot of patience and time must have gone into that.
Well done mr. boatbuilder.
Tor and Odin are the greatest of gods.